This page covers all Pillars of Eternity II: Deadfire endings and the conditions needed to achieve them.
Pre end-game slides[ | ]
Prior to the end-game slides playing, you will see one of two scripted interactions.
| Conditions | Outcome | Slides |
|---|---|---|
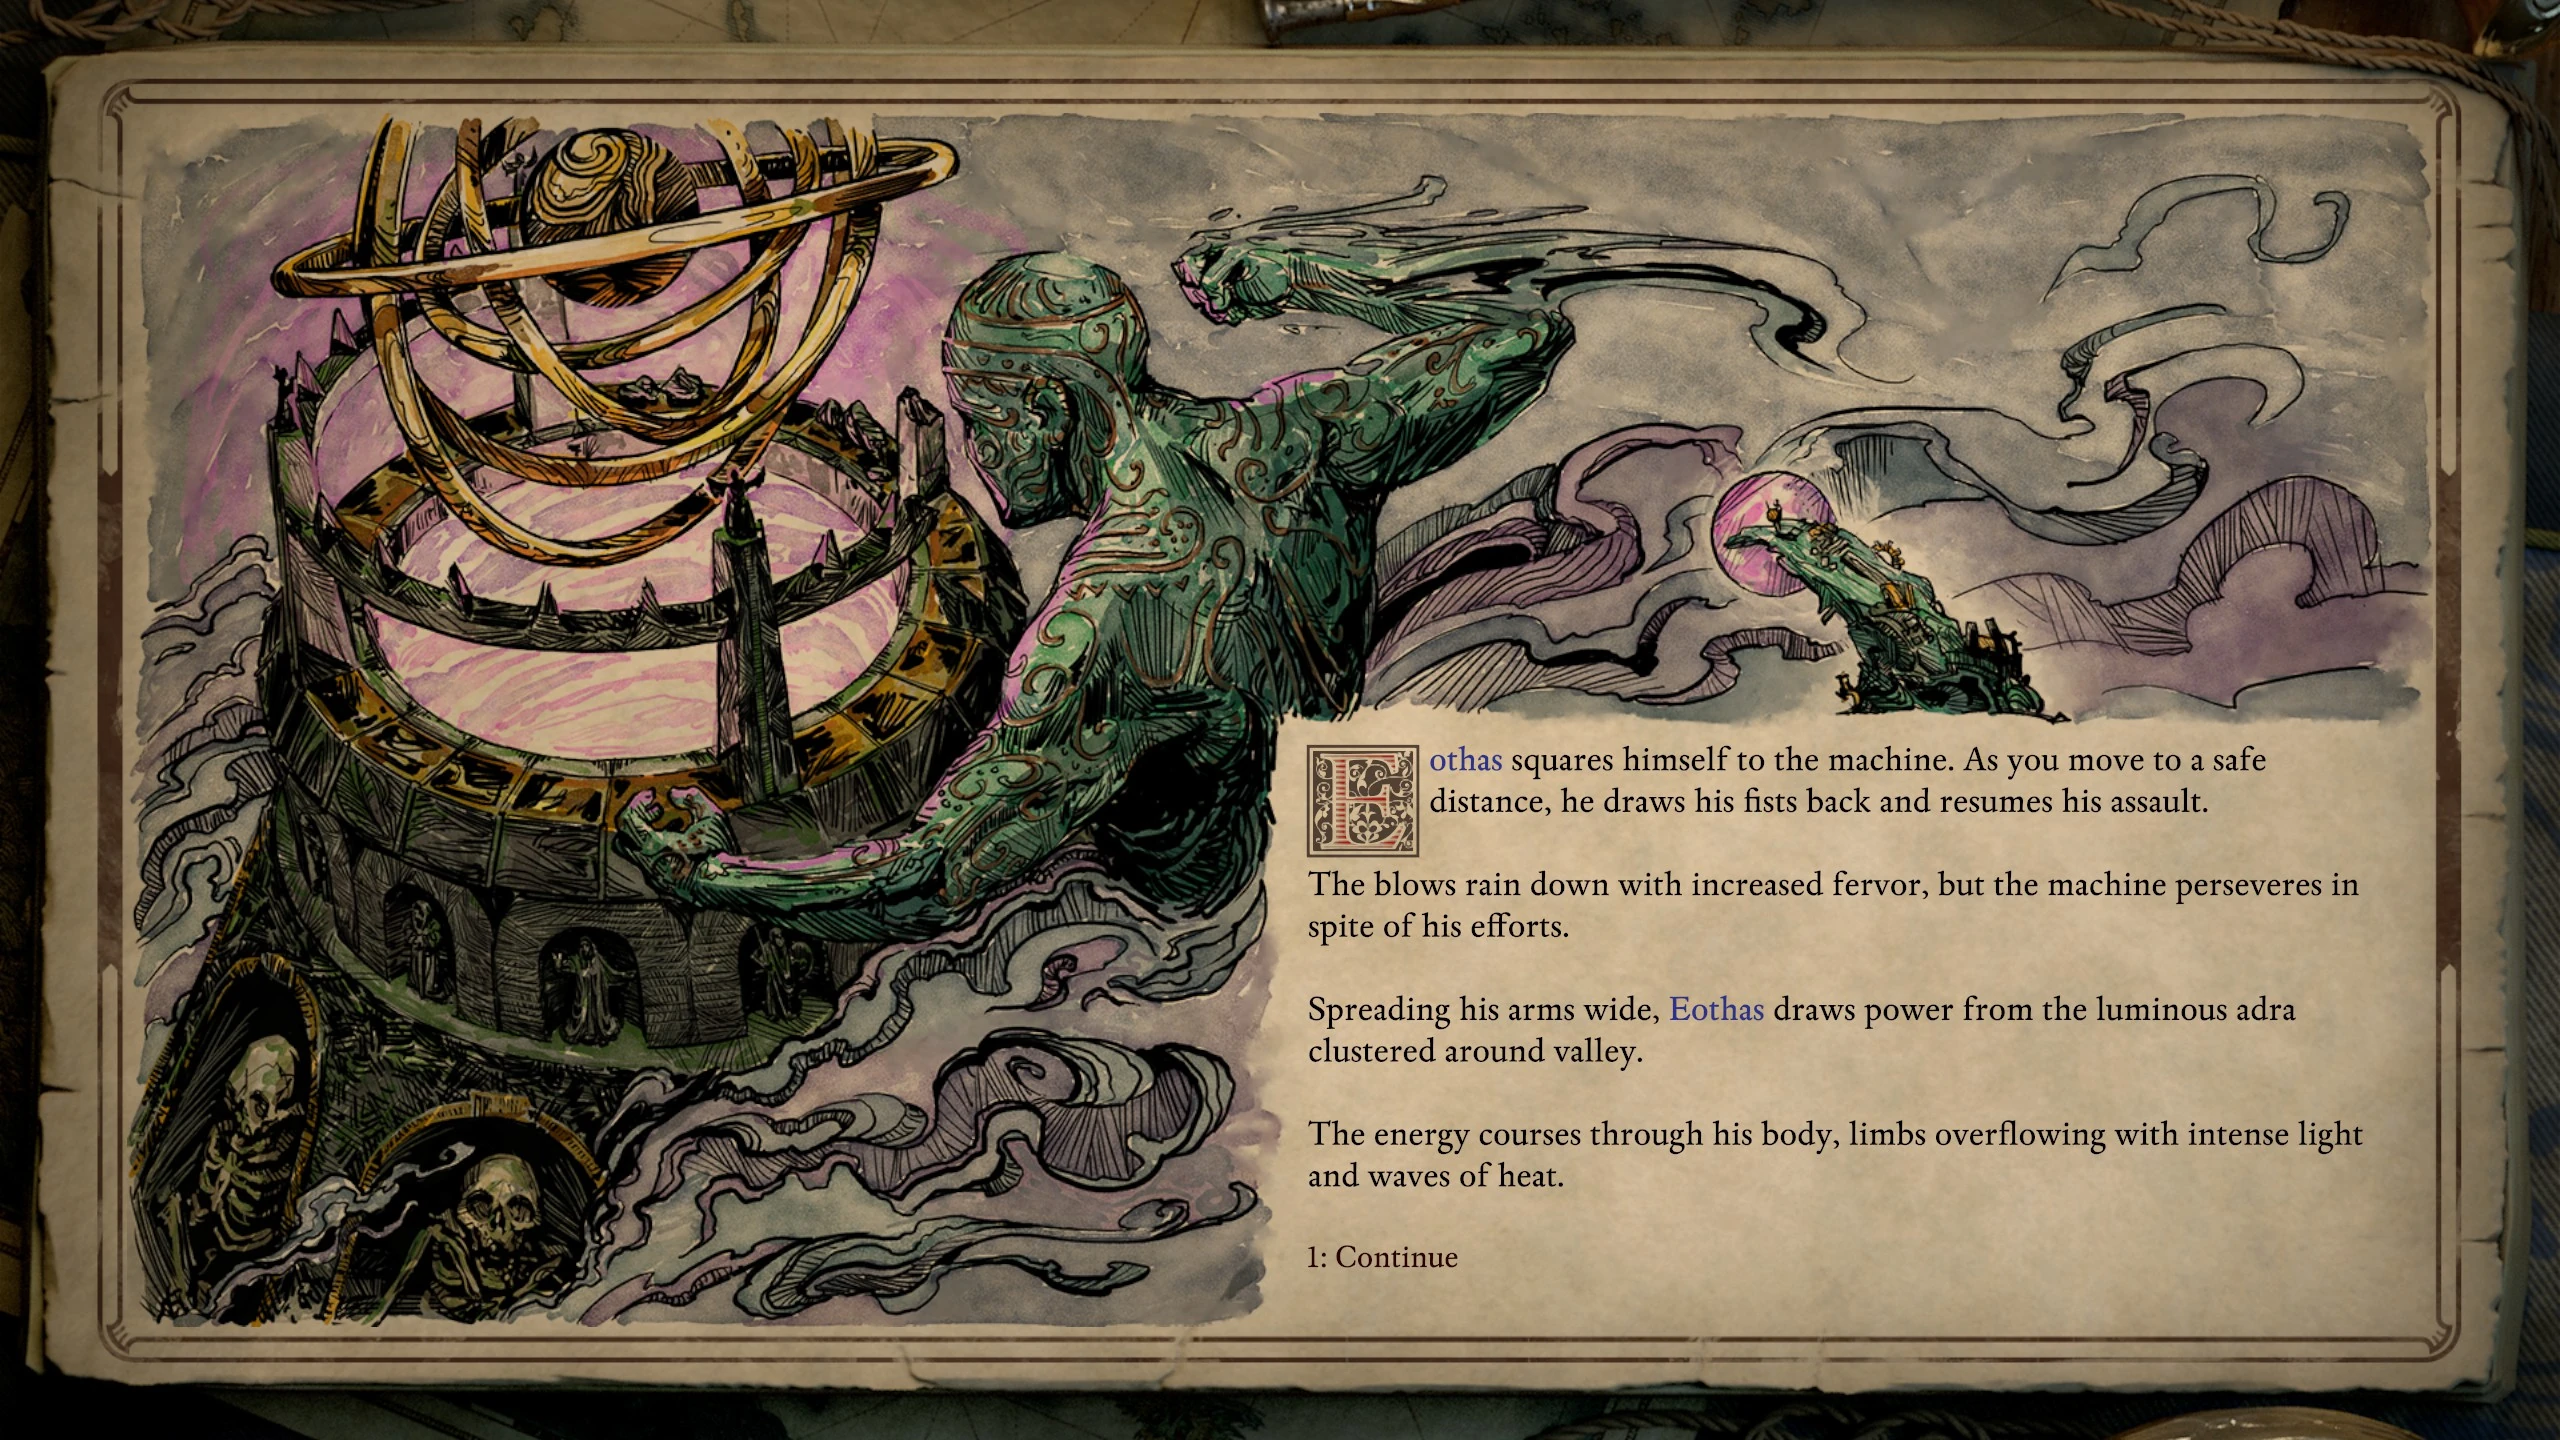
| Complete the main quest line and either didn't convince Wael to use their titan to attack during The Inner Mysteries, or don't summon Wael when offered the chance to, or don't have The Forgotten Sanctum DLC. | Eothas destroys the machine
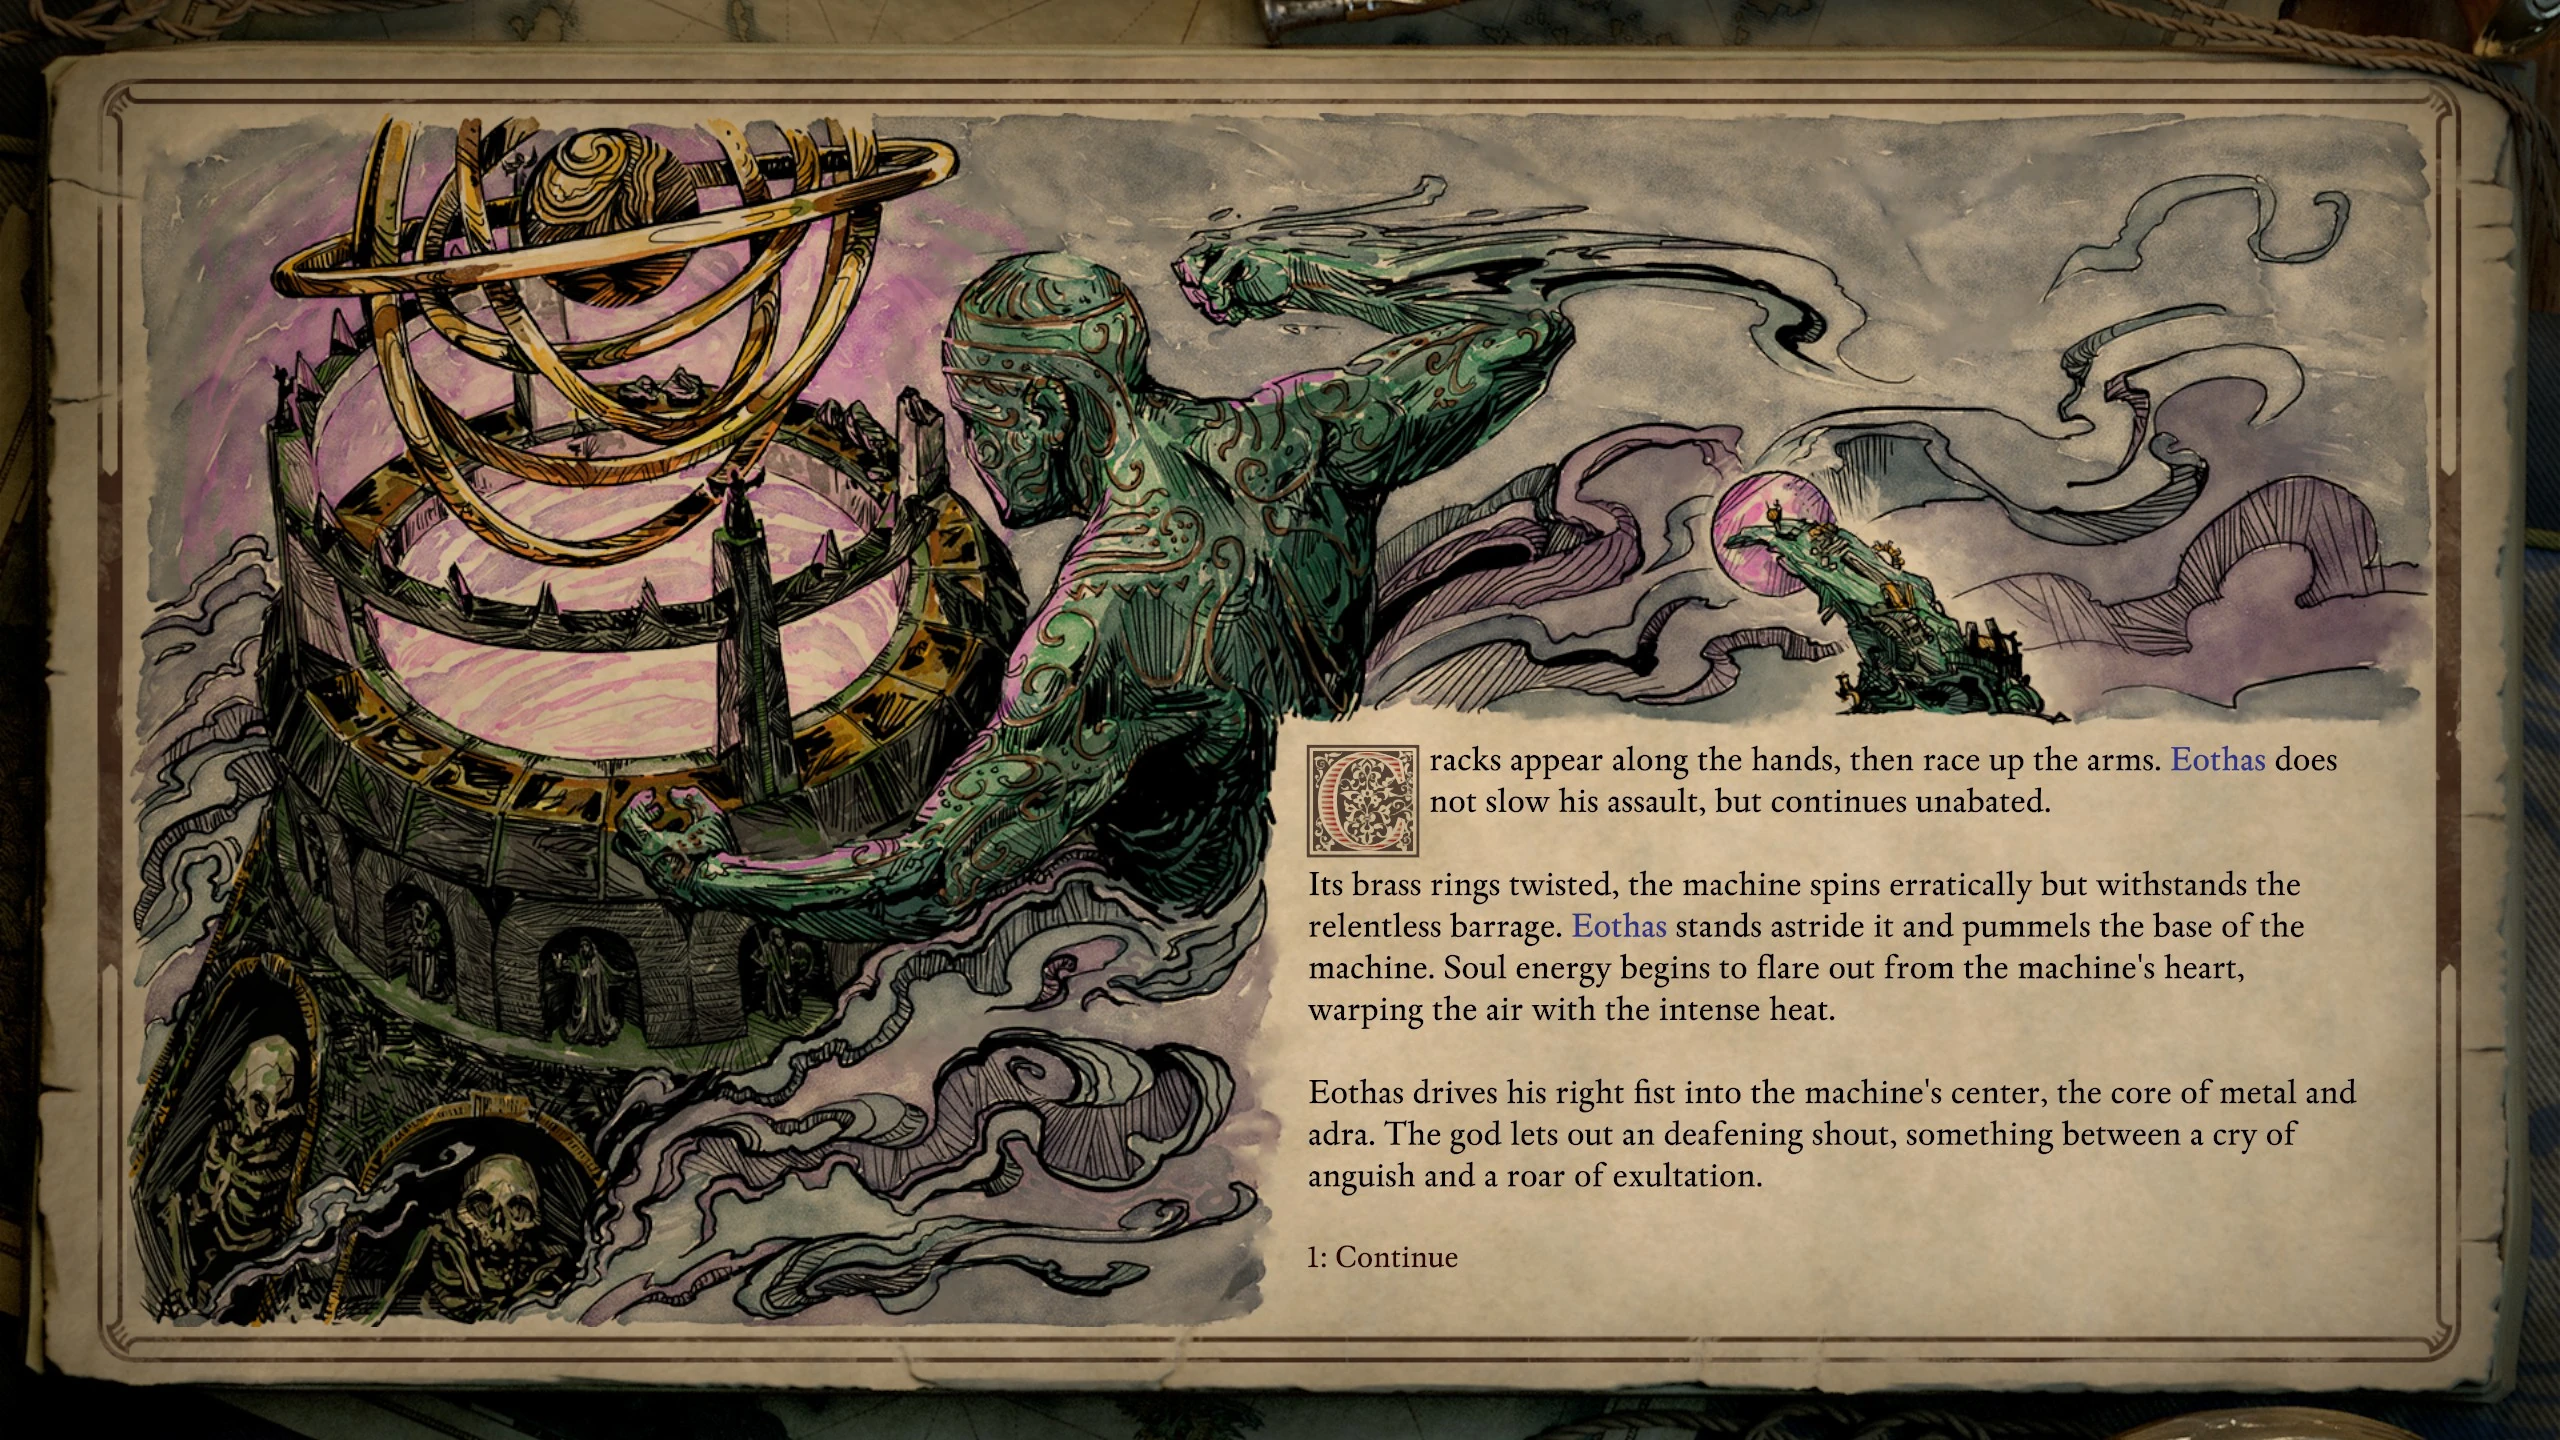
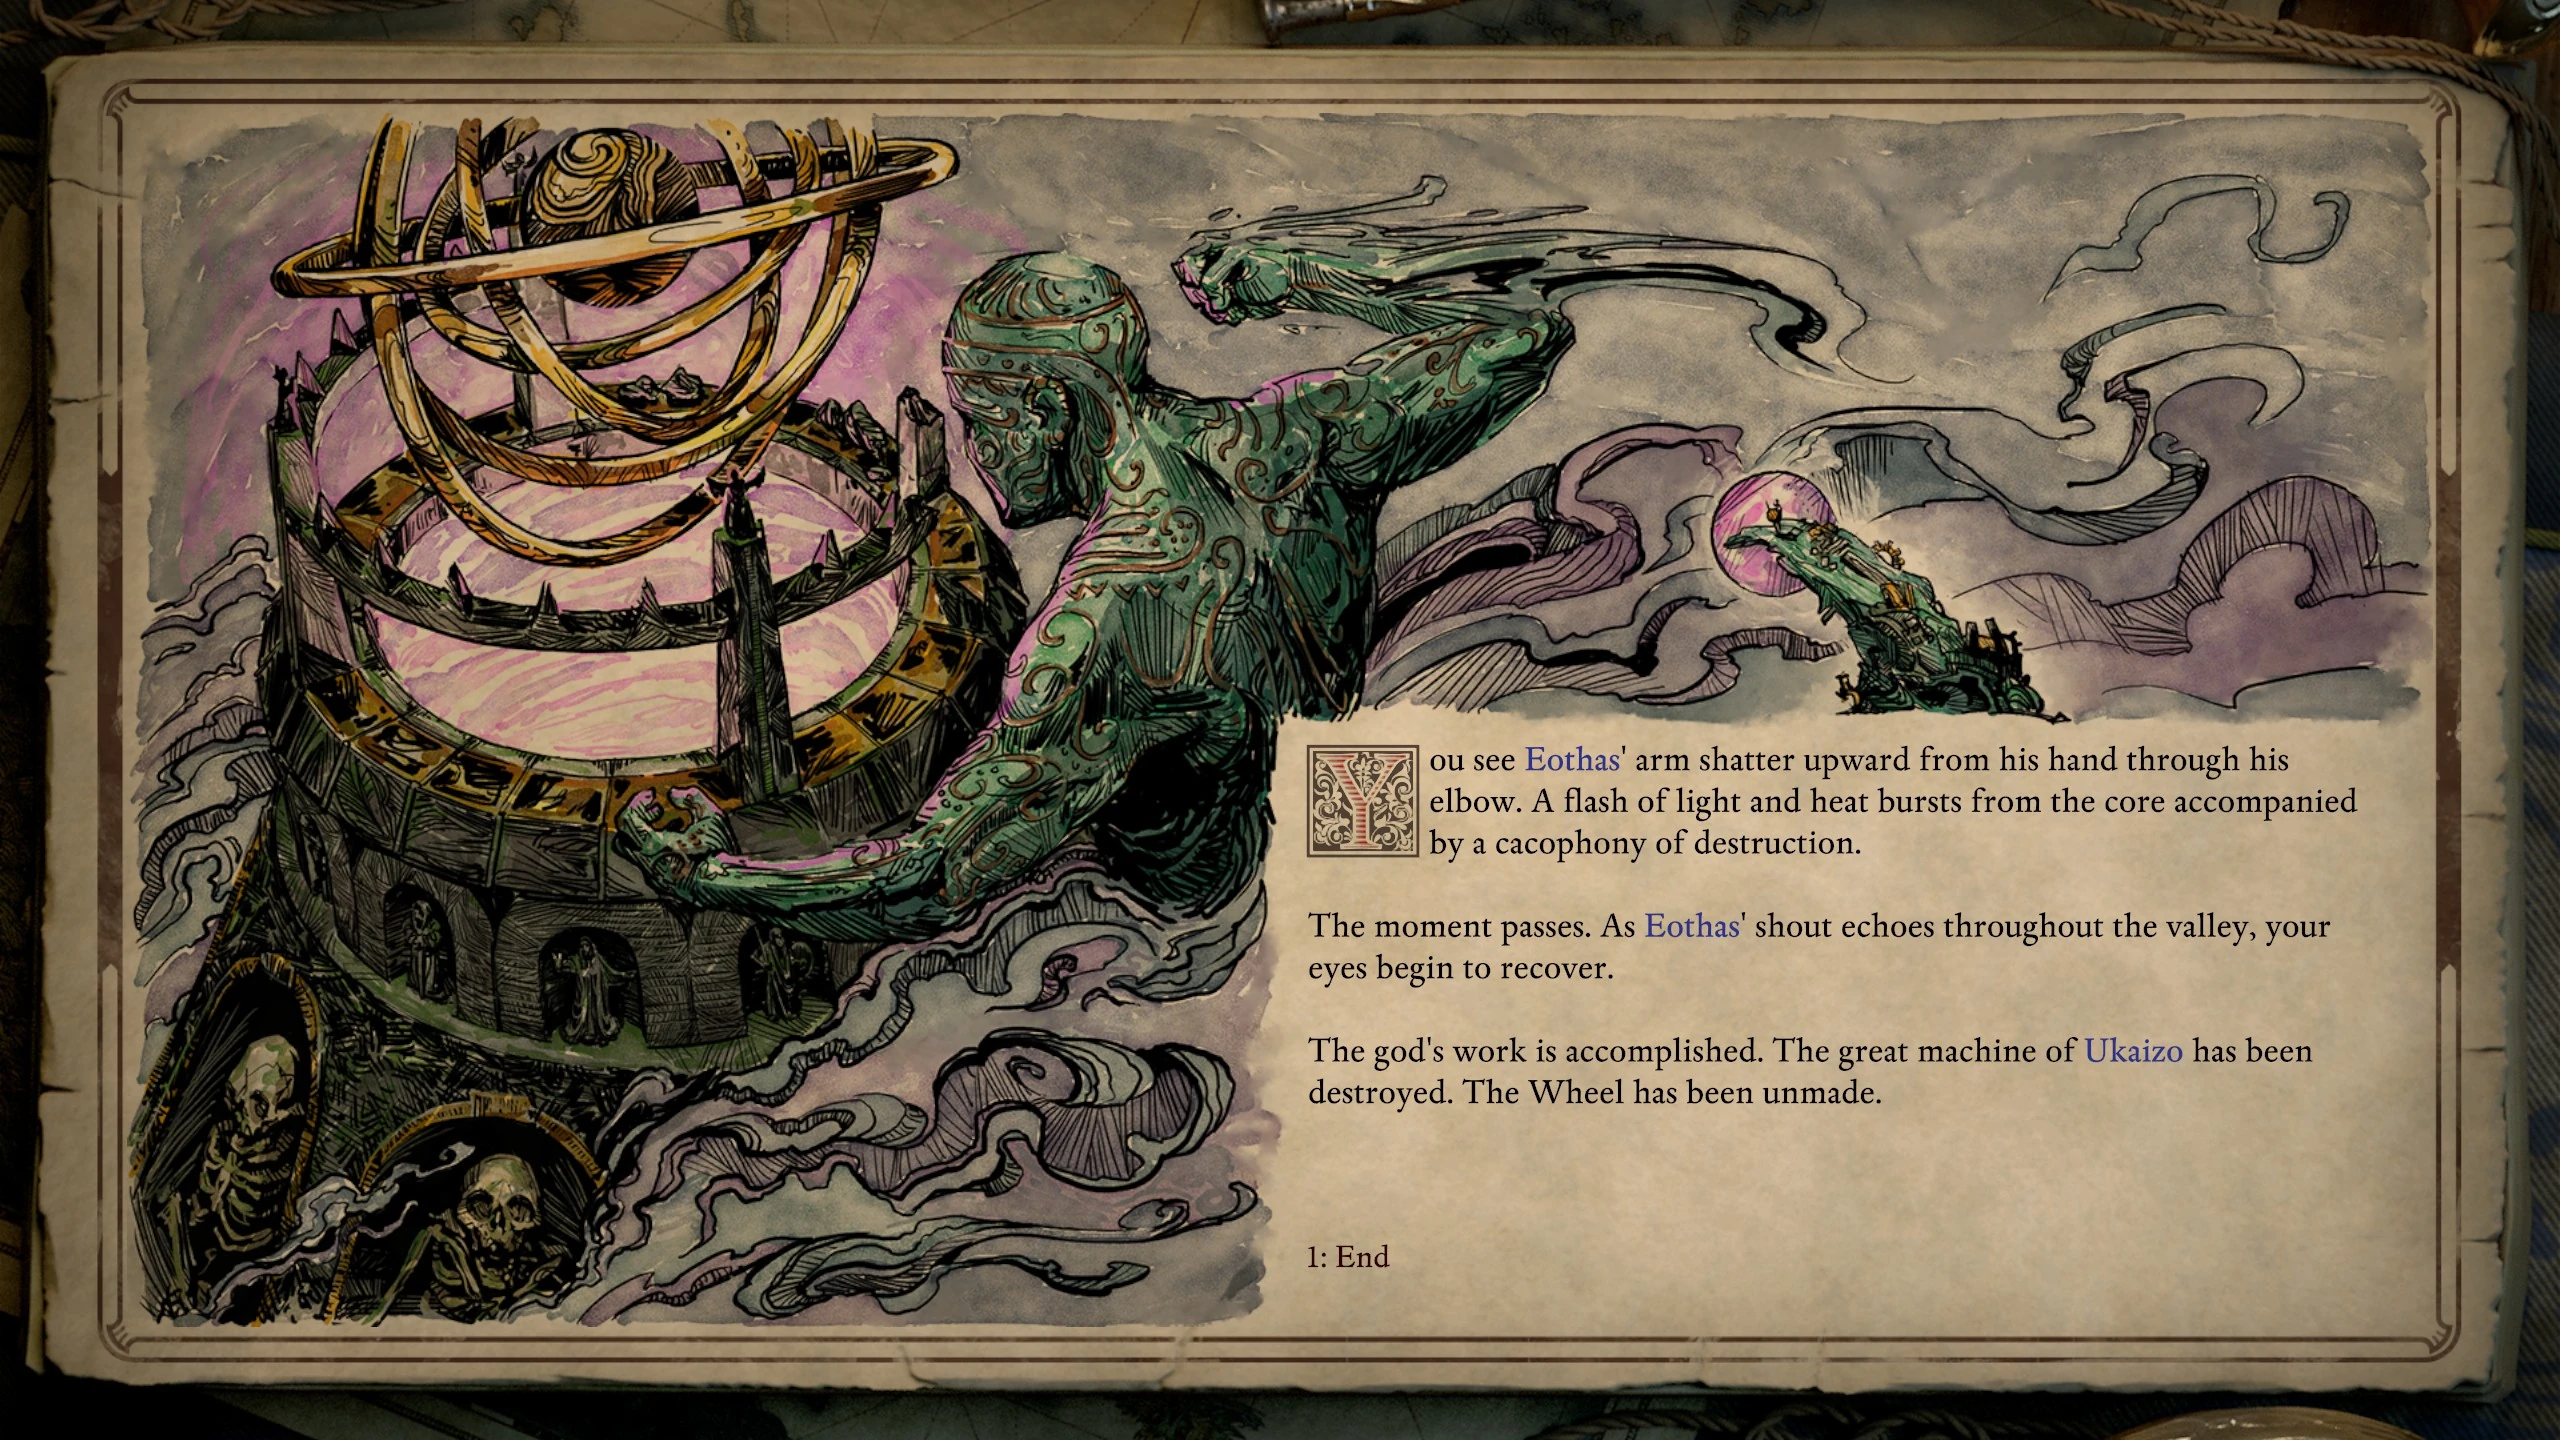
Eothas squares himself to the machine. As you move to a safe distance, he draws his fists back and resumes his assault. The blows rain down with increased fervor, but the machine perseveres in spite of his efforts. Spreading his arms wide, Eothas draws power from the luminous adra clustered around the valley. The energy courses through his body, limbs overflowing with intense light and waves of heat. He returns to his task, each strike bringing with it the sound of cracking stone and twisting metal, the flickering of luminous adra across Ukaizo. As the ancient machine finally begins to succumb to his strength, so too does Eothas' body. Built to withstand the passage of thousands of years, the great adra statue has finally been pushed beyond its limits. Cracks appear along the hands, then race up the arms. Eothas does not slow his assault, but continues unabated. Its brass rings twisted, the machine spins erratically but withstands the relentless barrage. Eothas stands astride it and pummels the base of the machine. Soul energy begins to flare out from the machine's heart, warping the air with intense heat. Eothas drives his right fist into the machine's center, the core of metal and adra. The god lets out a deafening shout, something between a cry of anguish and a roar of exultation. You see Eothas' arm shatter upward from his hand through his elbow. A flash of light and heat bursts from the core accompanied by a cacophony of destruction. The moment passes. As Eothas' shout echoes throughout the valley, your eyes begin to recover. The god's work is accomplished. The great machine of Ukaizo has been destroyed. The Wheel has been unmade. |
|
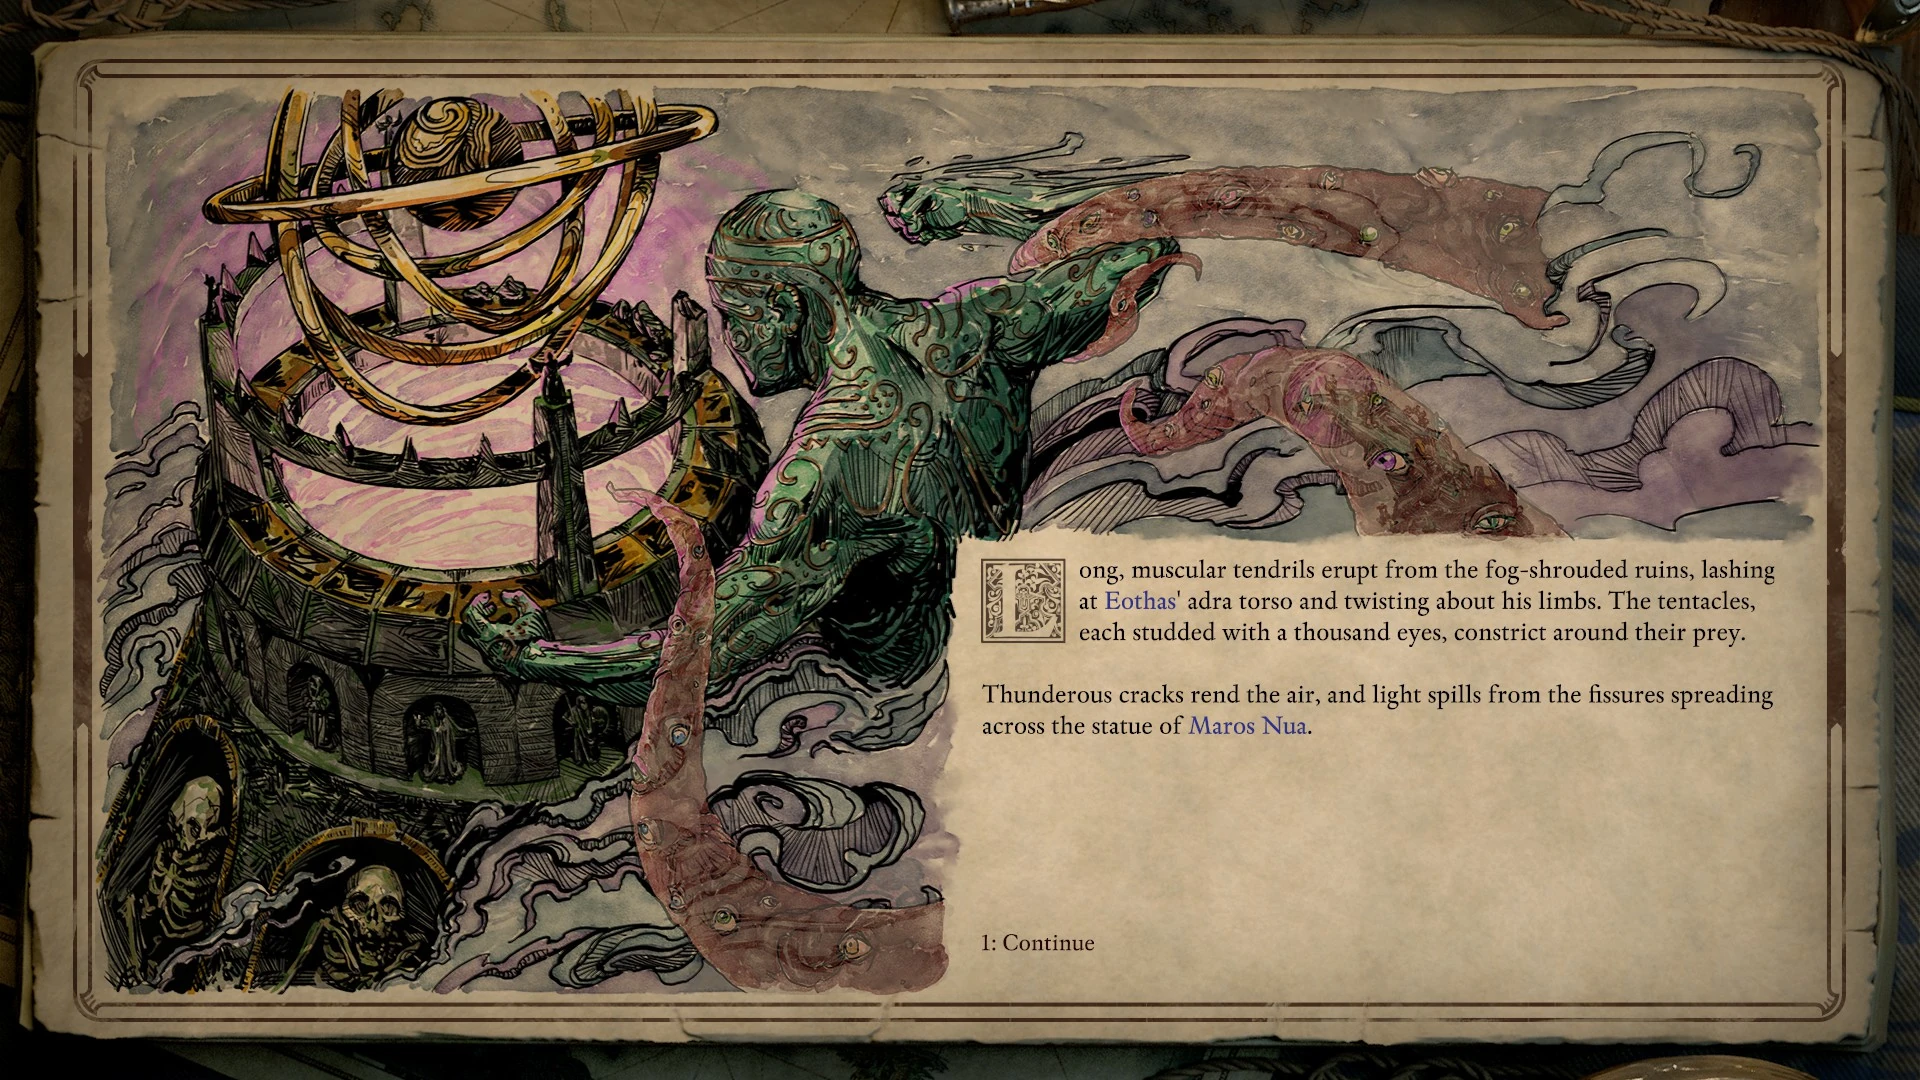
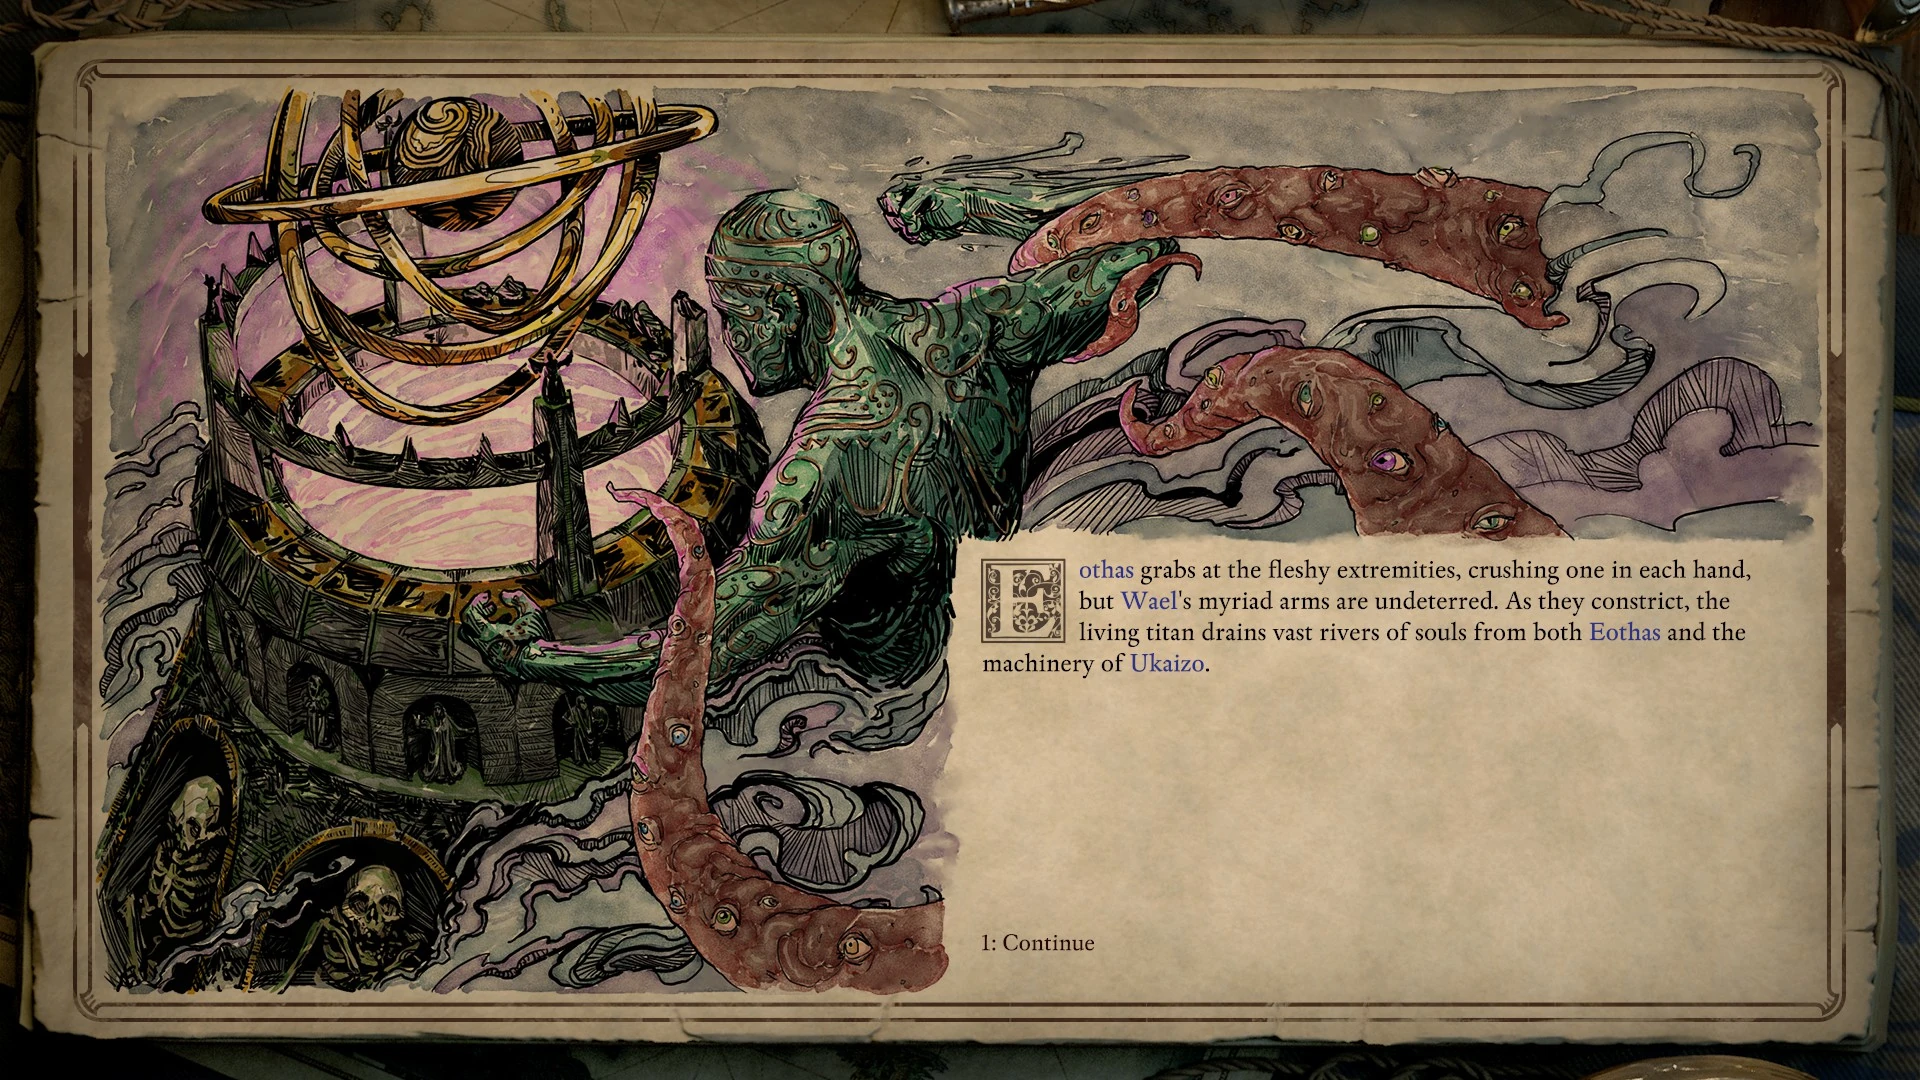
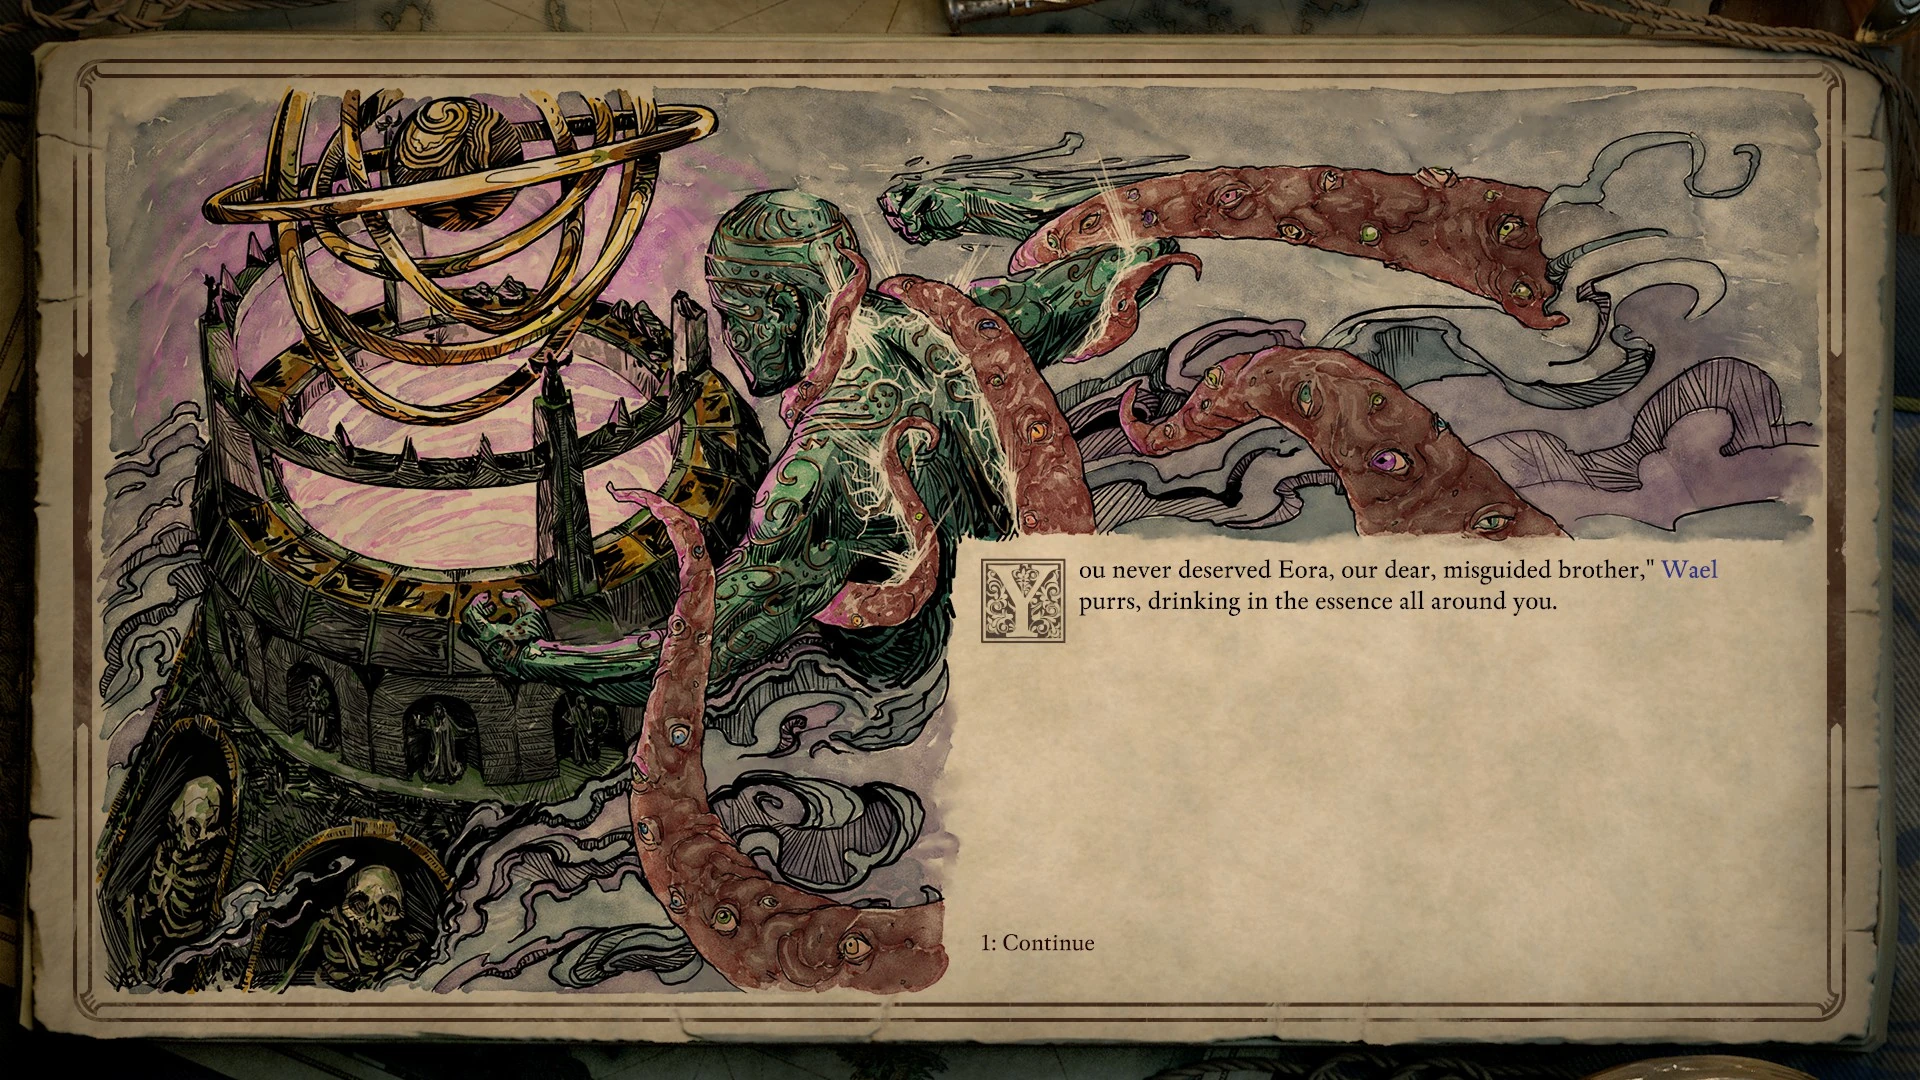
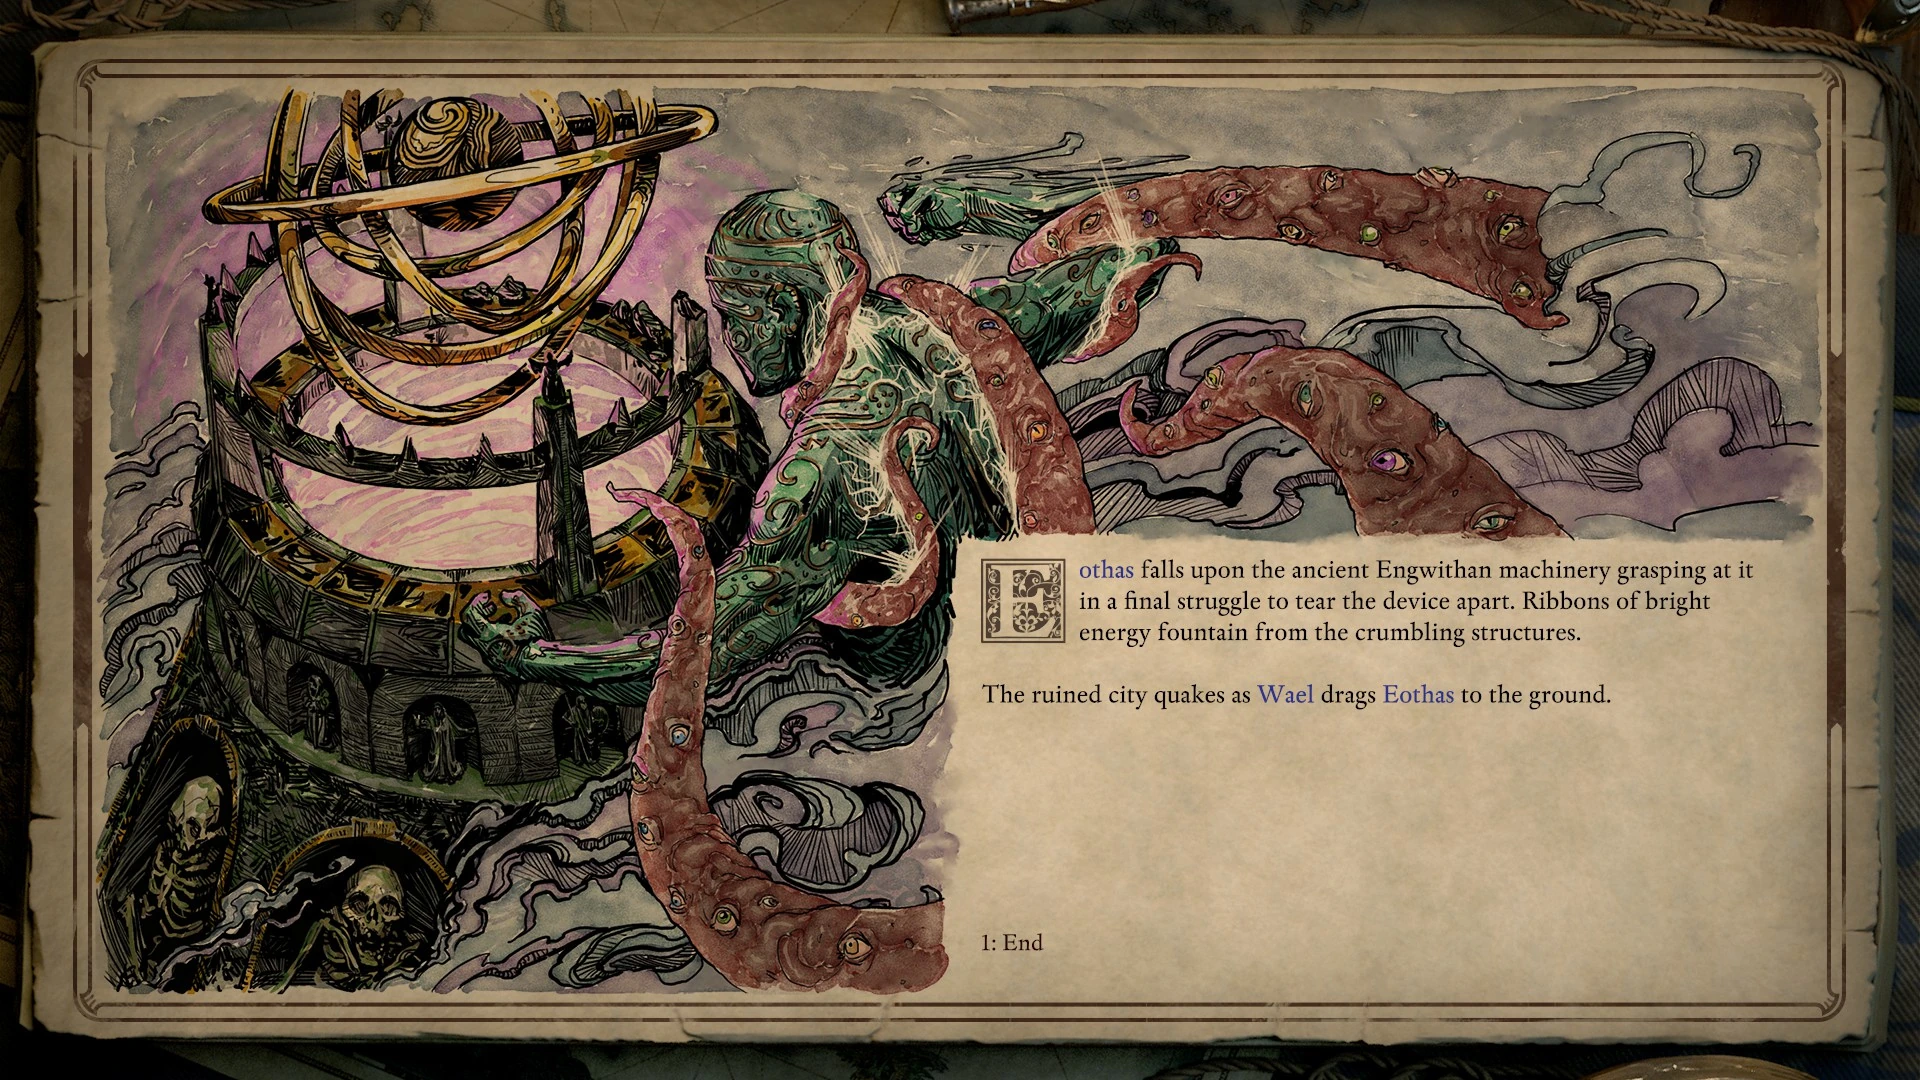
| Complete the main quest line and convinced Wael to use their titan to attack during The Inner Mysteries and summon the titan when given the chance to ("reach out to Wael"). | After an epic struggle, Eothas destroys the machine
Long, muscular tendrils erupt from the fog-shrouded ruins, lashing at Eothas' adra torso and twisting about his limbs. The tentacles, each studded with a thousand eyes, constrict around their prey. Thunderous cracks rend the air, and light spills from the fissures spreading acreoss the status of Maros Nua. Eothas grabs at the fleshy extremities, crushing one in each hand, but Wael's myriad arms are undeterred. As they constrict, the living titan drains vast rivers of souls from both Eothas and the machinery of Ukaizo. "You never deserved Eora, our dear, misguided brother," Wael purrs, drinking in the essence all around you. Eothas falls upon the ancient Engwithan machinery, grasping at it in a final struggle to tear the device apart. Ribbons of bright energy fountain from the structures. The ruined city quakes as Wael drags Eothas to the ground. |
|

Main ending[ | ]
You can either win or lose the game. Losing the game will only show these slides and no more. Winning the game will continue to following slides.
| Conditions | Outcome | Slides |
|---|---|---|
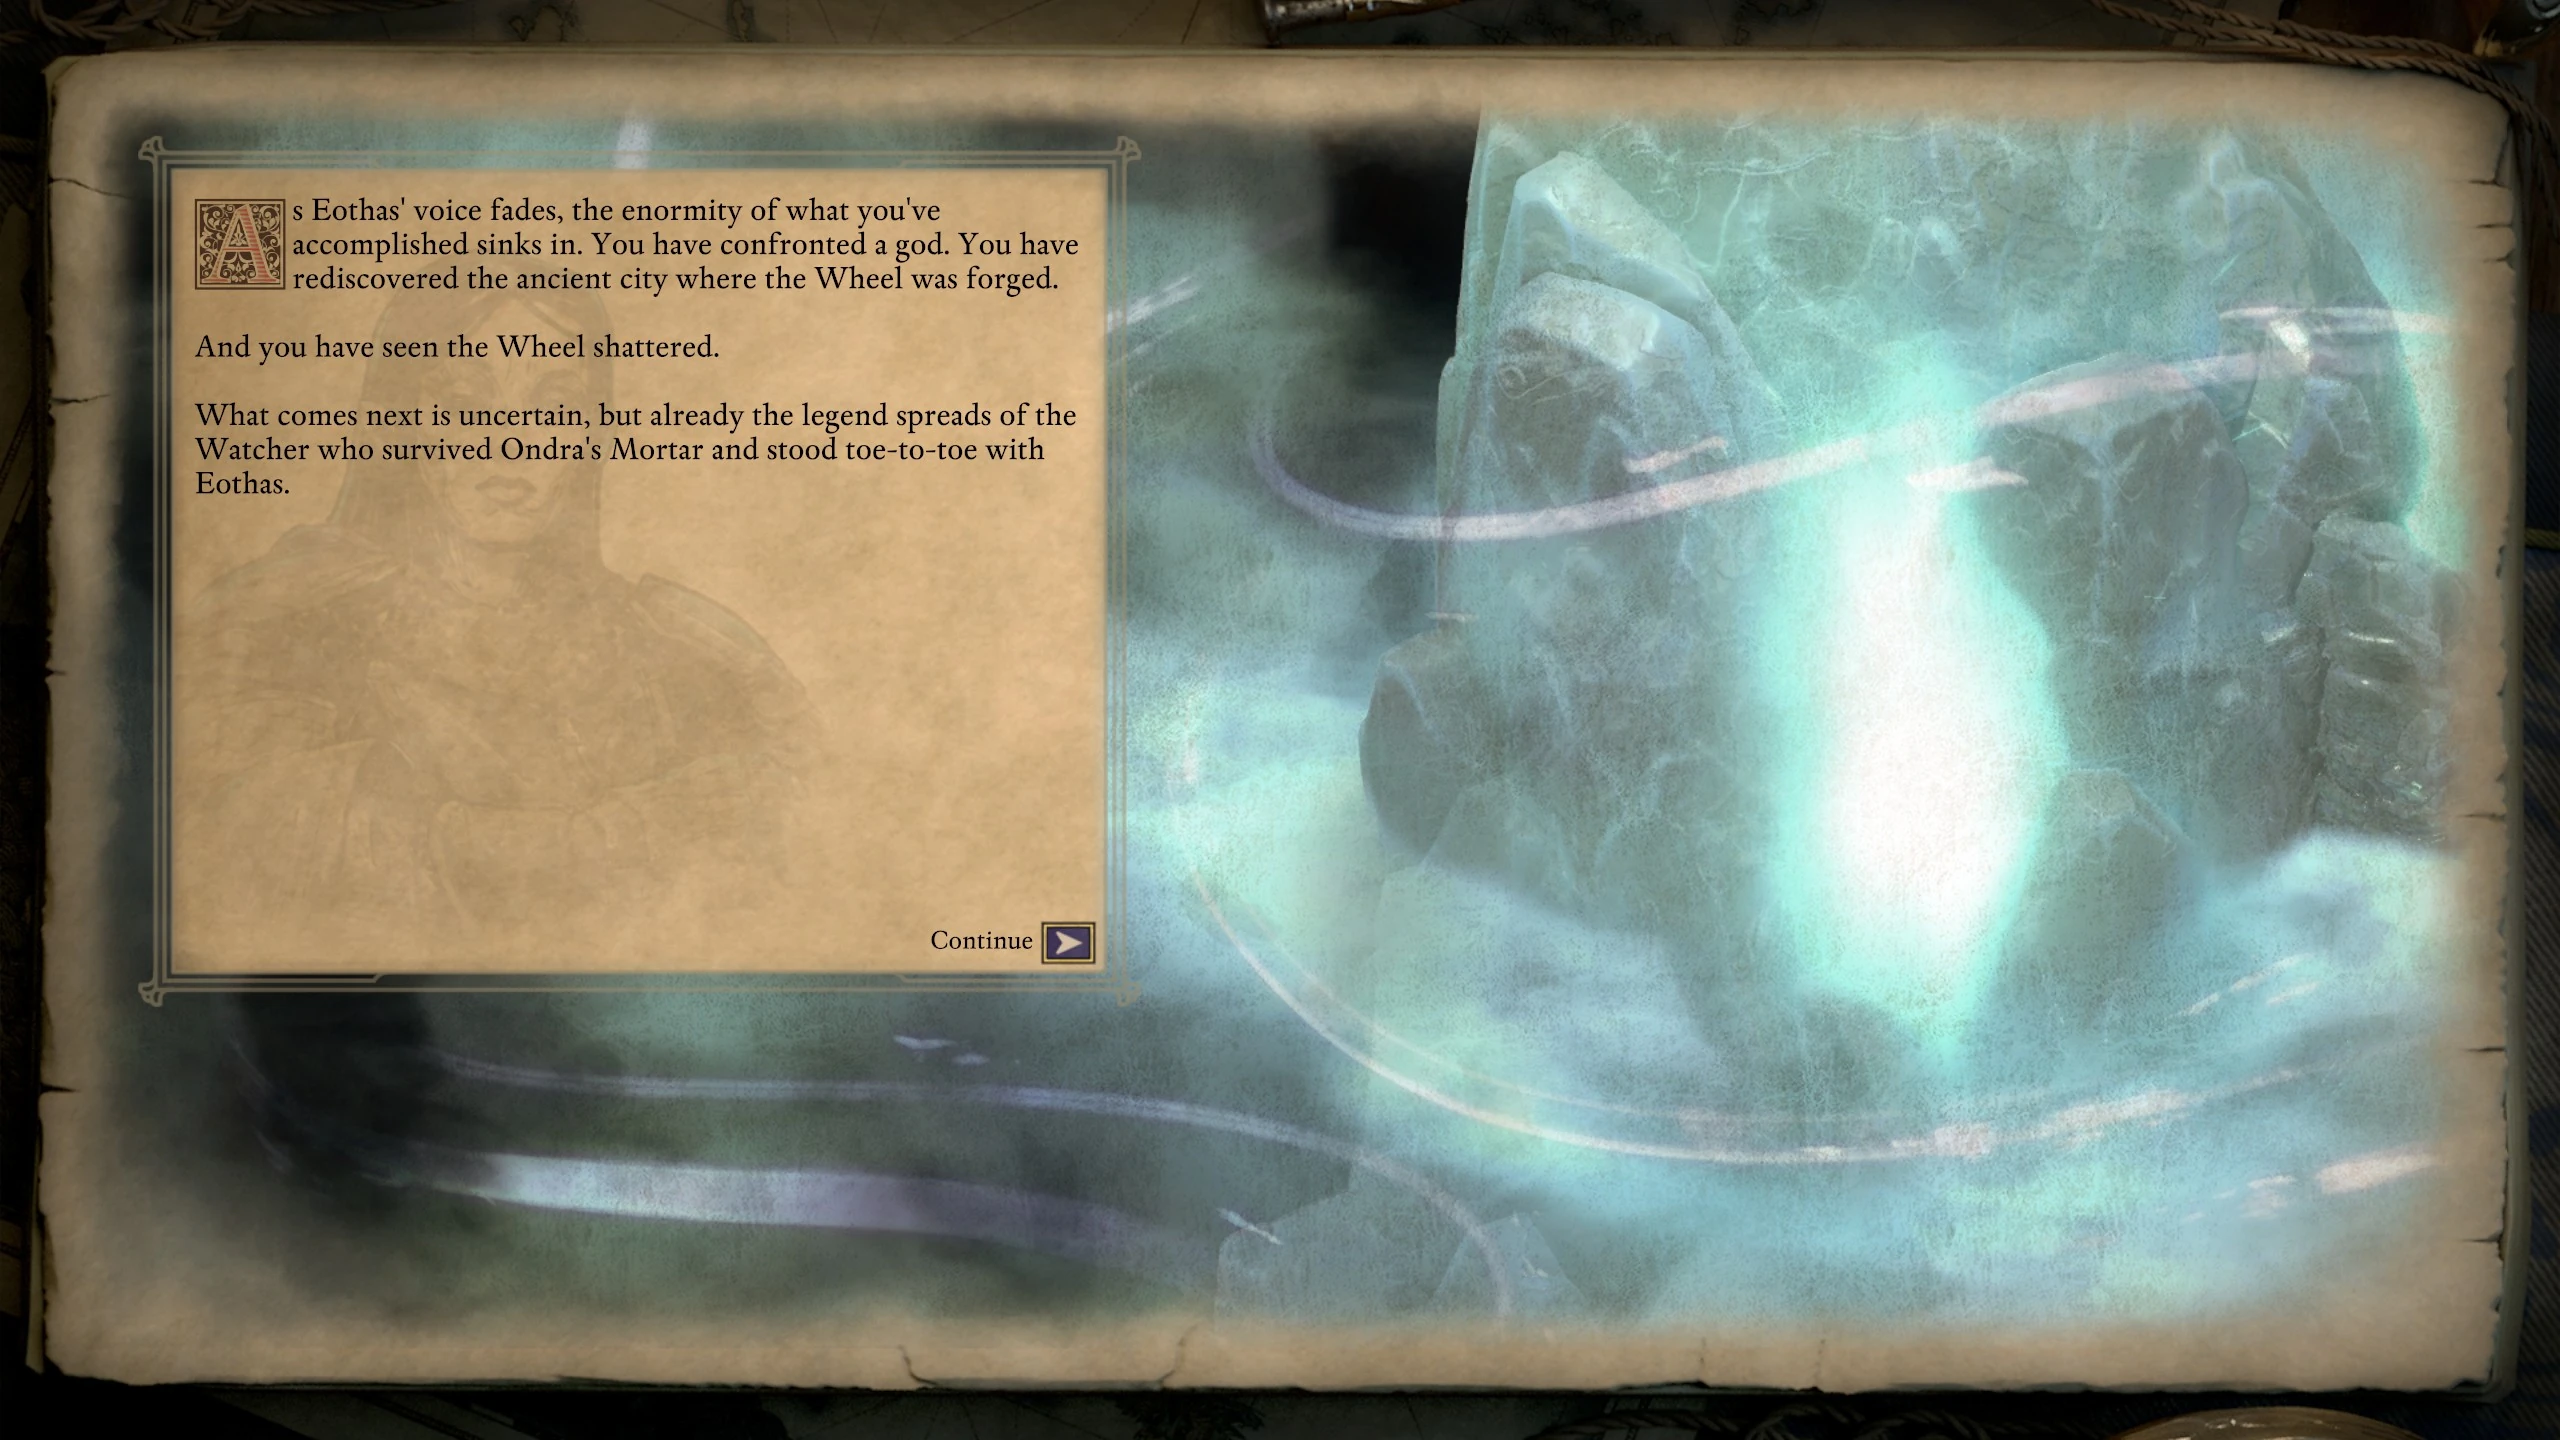
| Complete the main quest line. | Win the game As Eothas' voice fades, the enormity of what you've accomplished sinks in. You have confronted a god. You have rediscovered the ancient city where the Wheel was forged. And you have seen the Wheel shattered. What comes next is uncertain, but already the legend spreads of the Watcher who survived Ondra's Mortar and stood toe-to-toe with Eothas. |
|
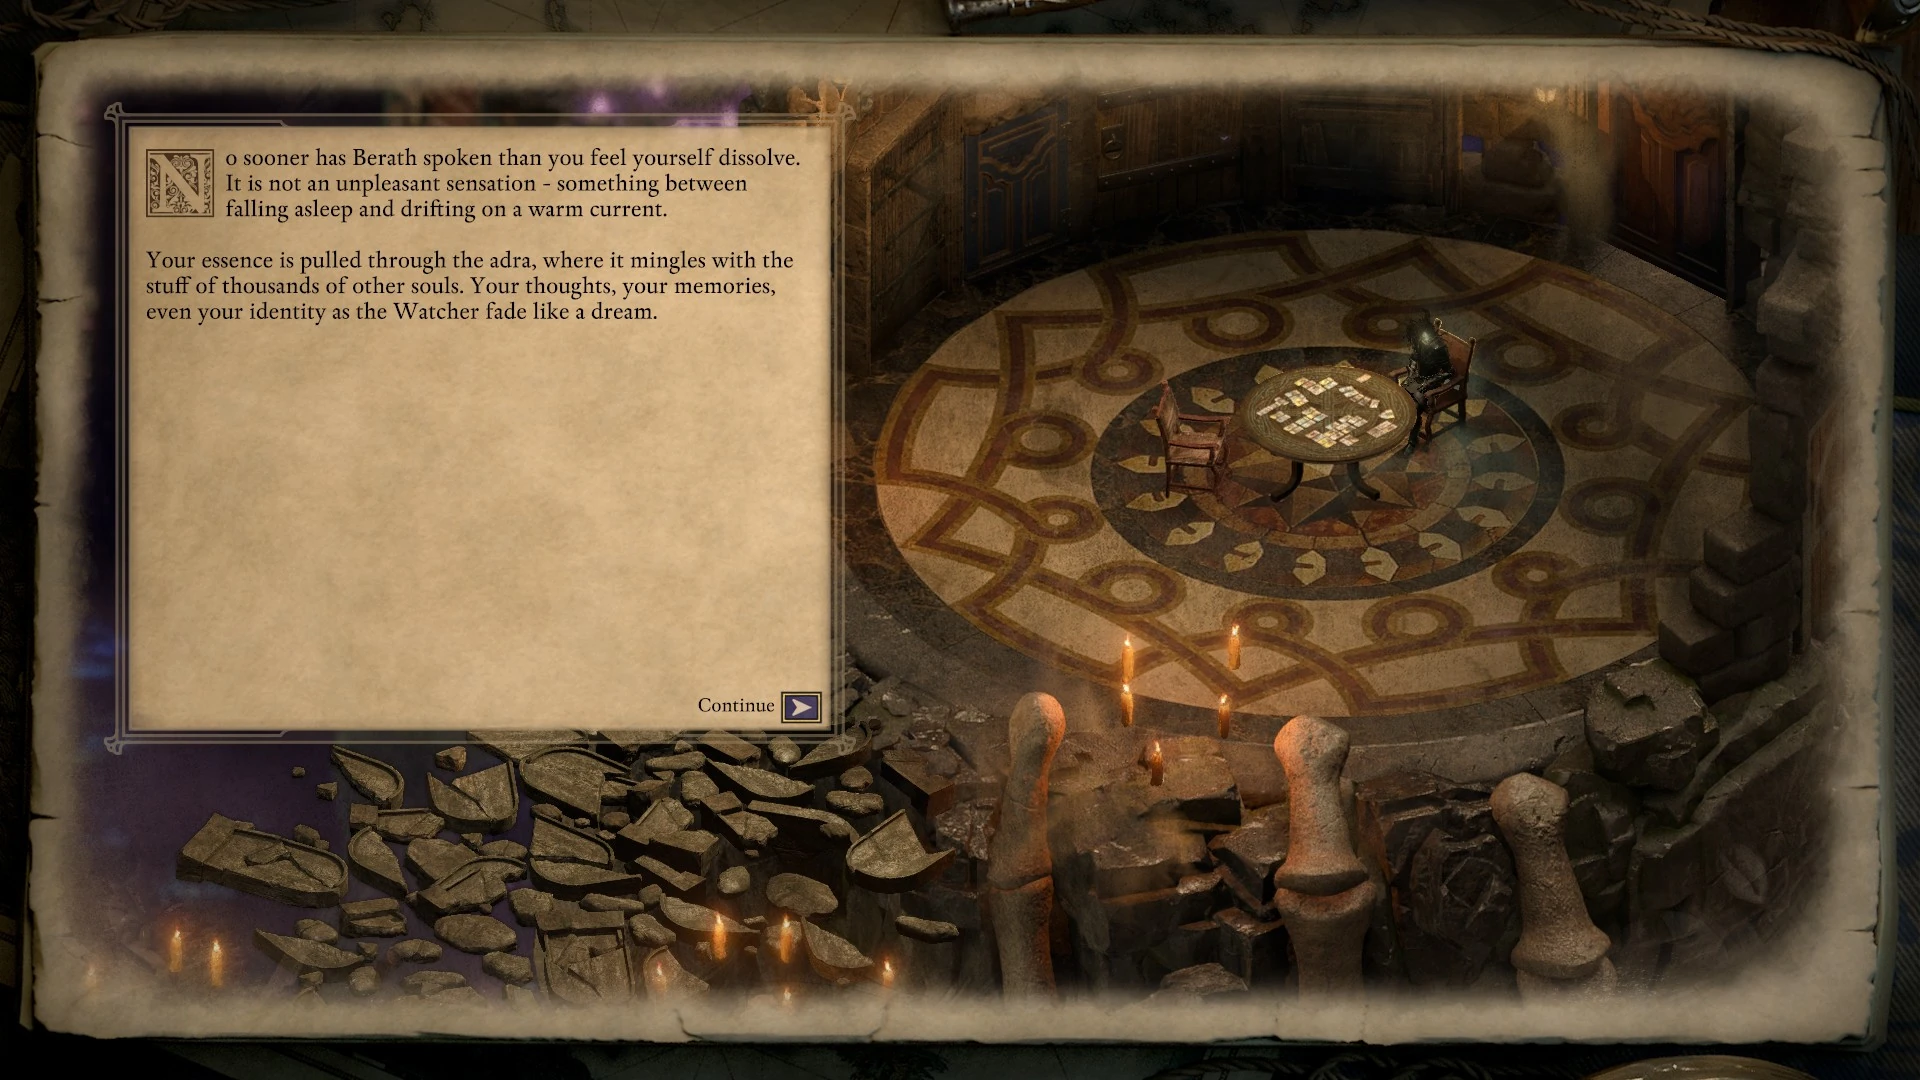
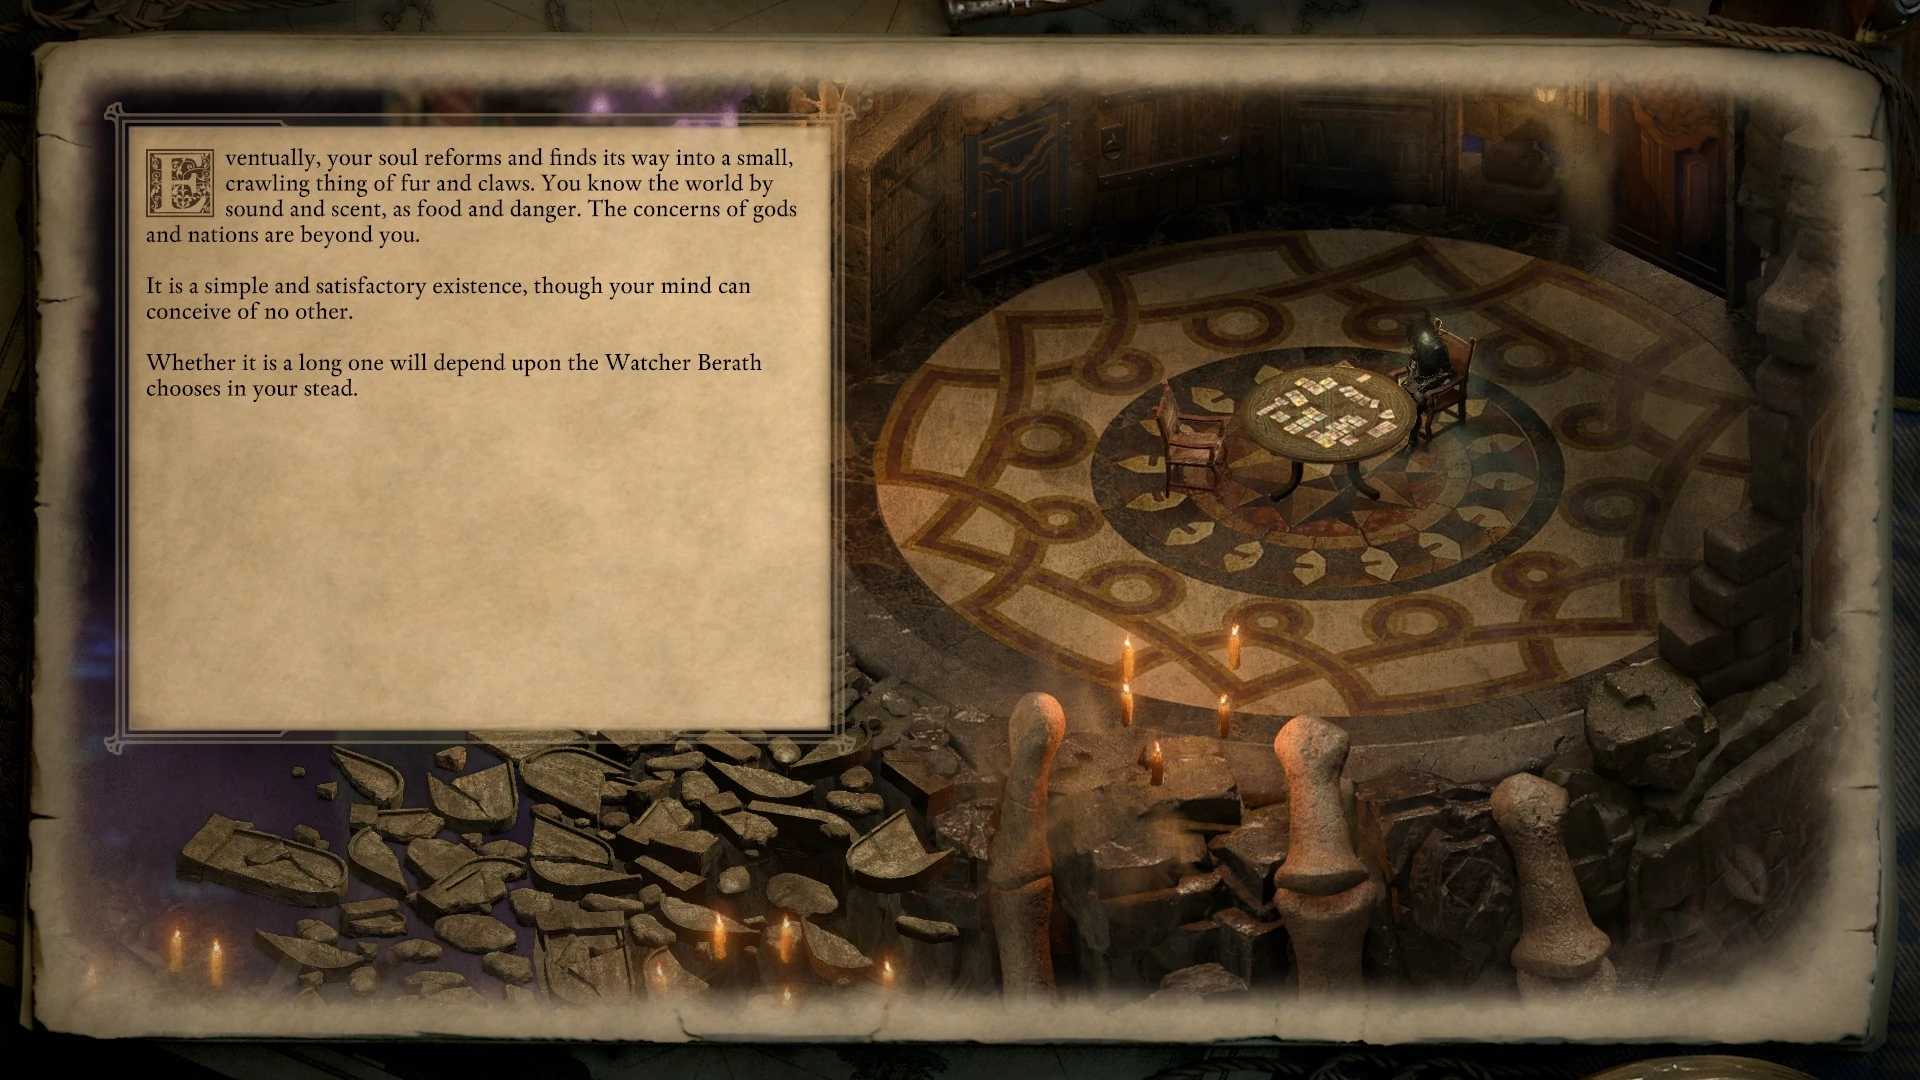
| Refuse to work with Berath at the beginning of the game. | Lose the game
No sooner has Berath spoken than you feel yourself dissolve. It is not an unpleasant sensation - something between falling asleep and drifting on a warm current. Your essence is pulled through the adra, where it mingles with the stuff of thousands of other souls. Your thoughts, your memories, even your identity as the Watcher fade like a dream. Eventually, your soul reforms and finds its way into a small, crawling thing of fur and claws. You know the world by sound and scent, as food and danger. The concerns of gods and nations are beyond you. It is a simple and satisfactory existence, though your mind can conceive of no other. Whether it is a long one will depend upon the Watcher Berath chooses in your stead. |
|
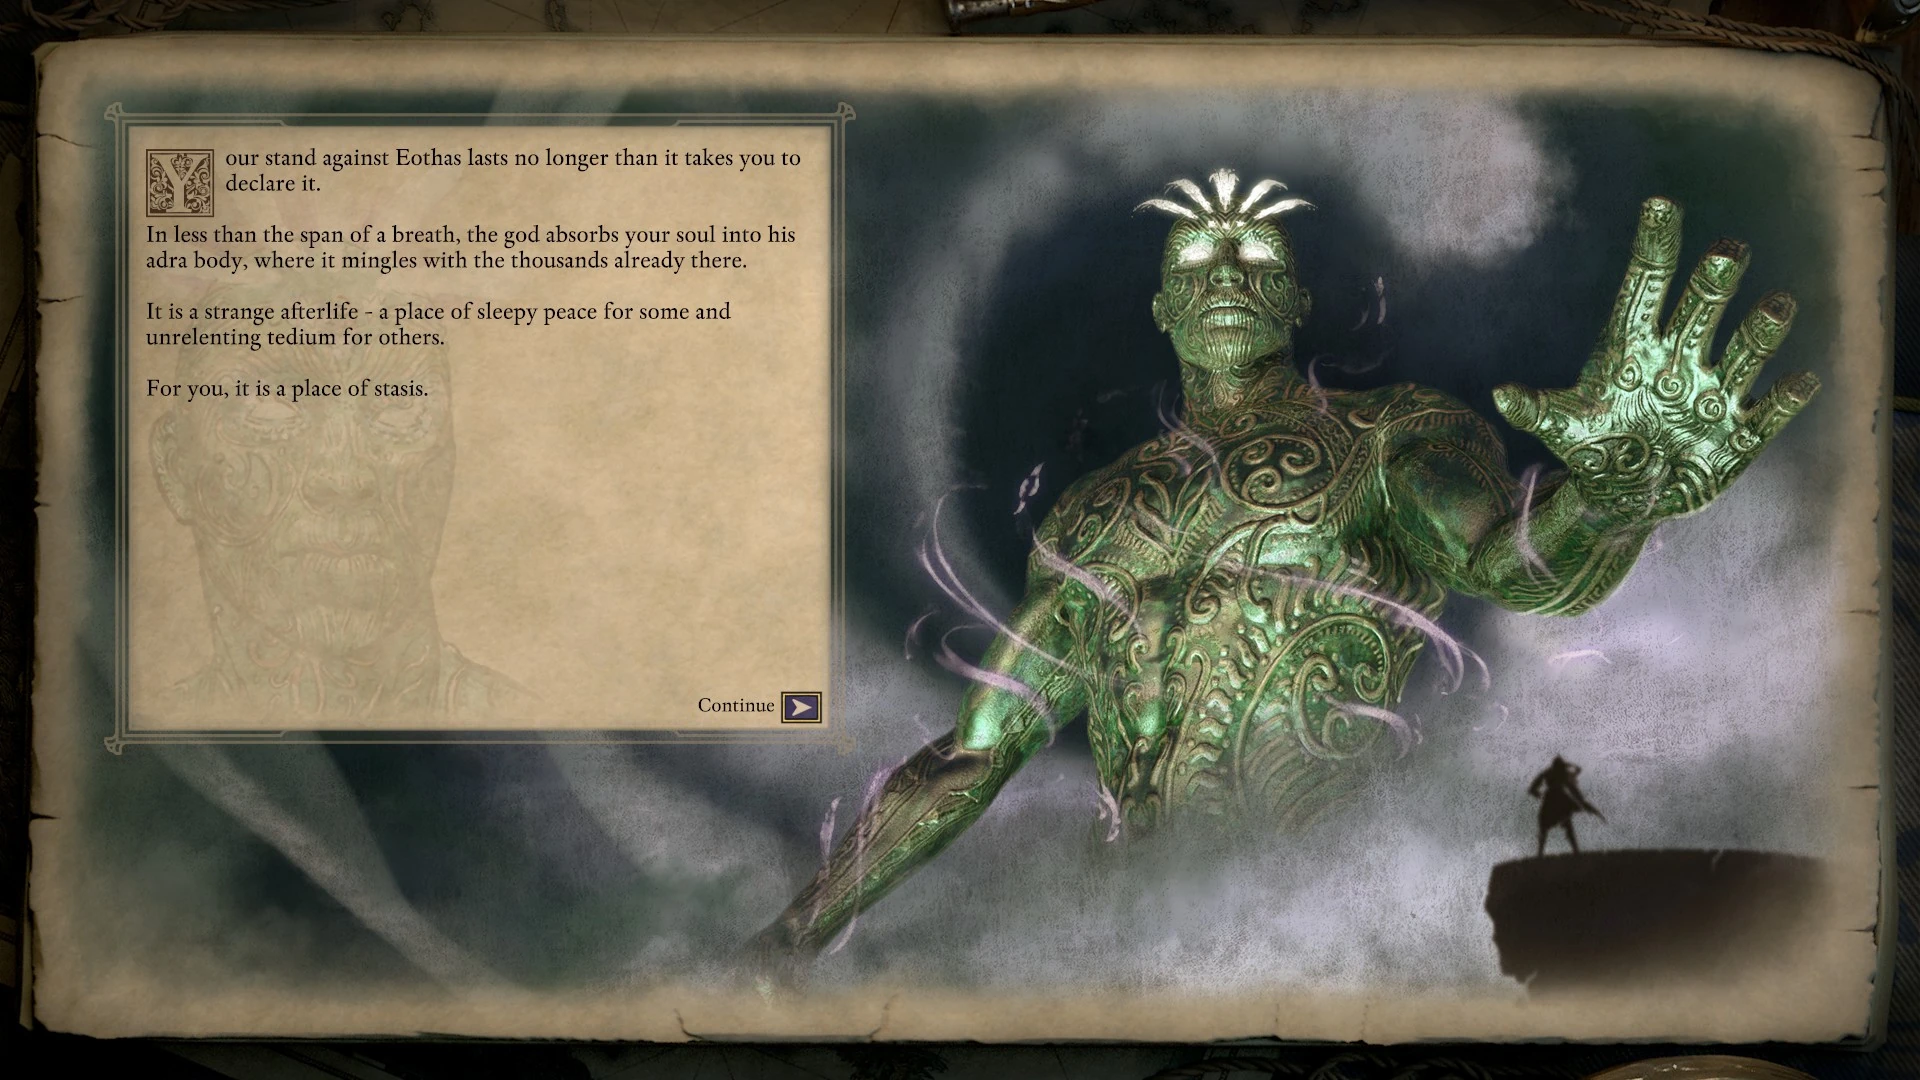
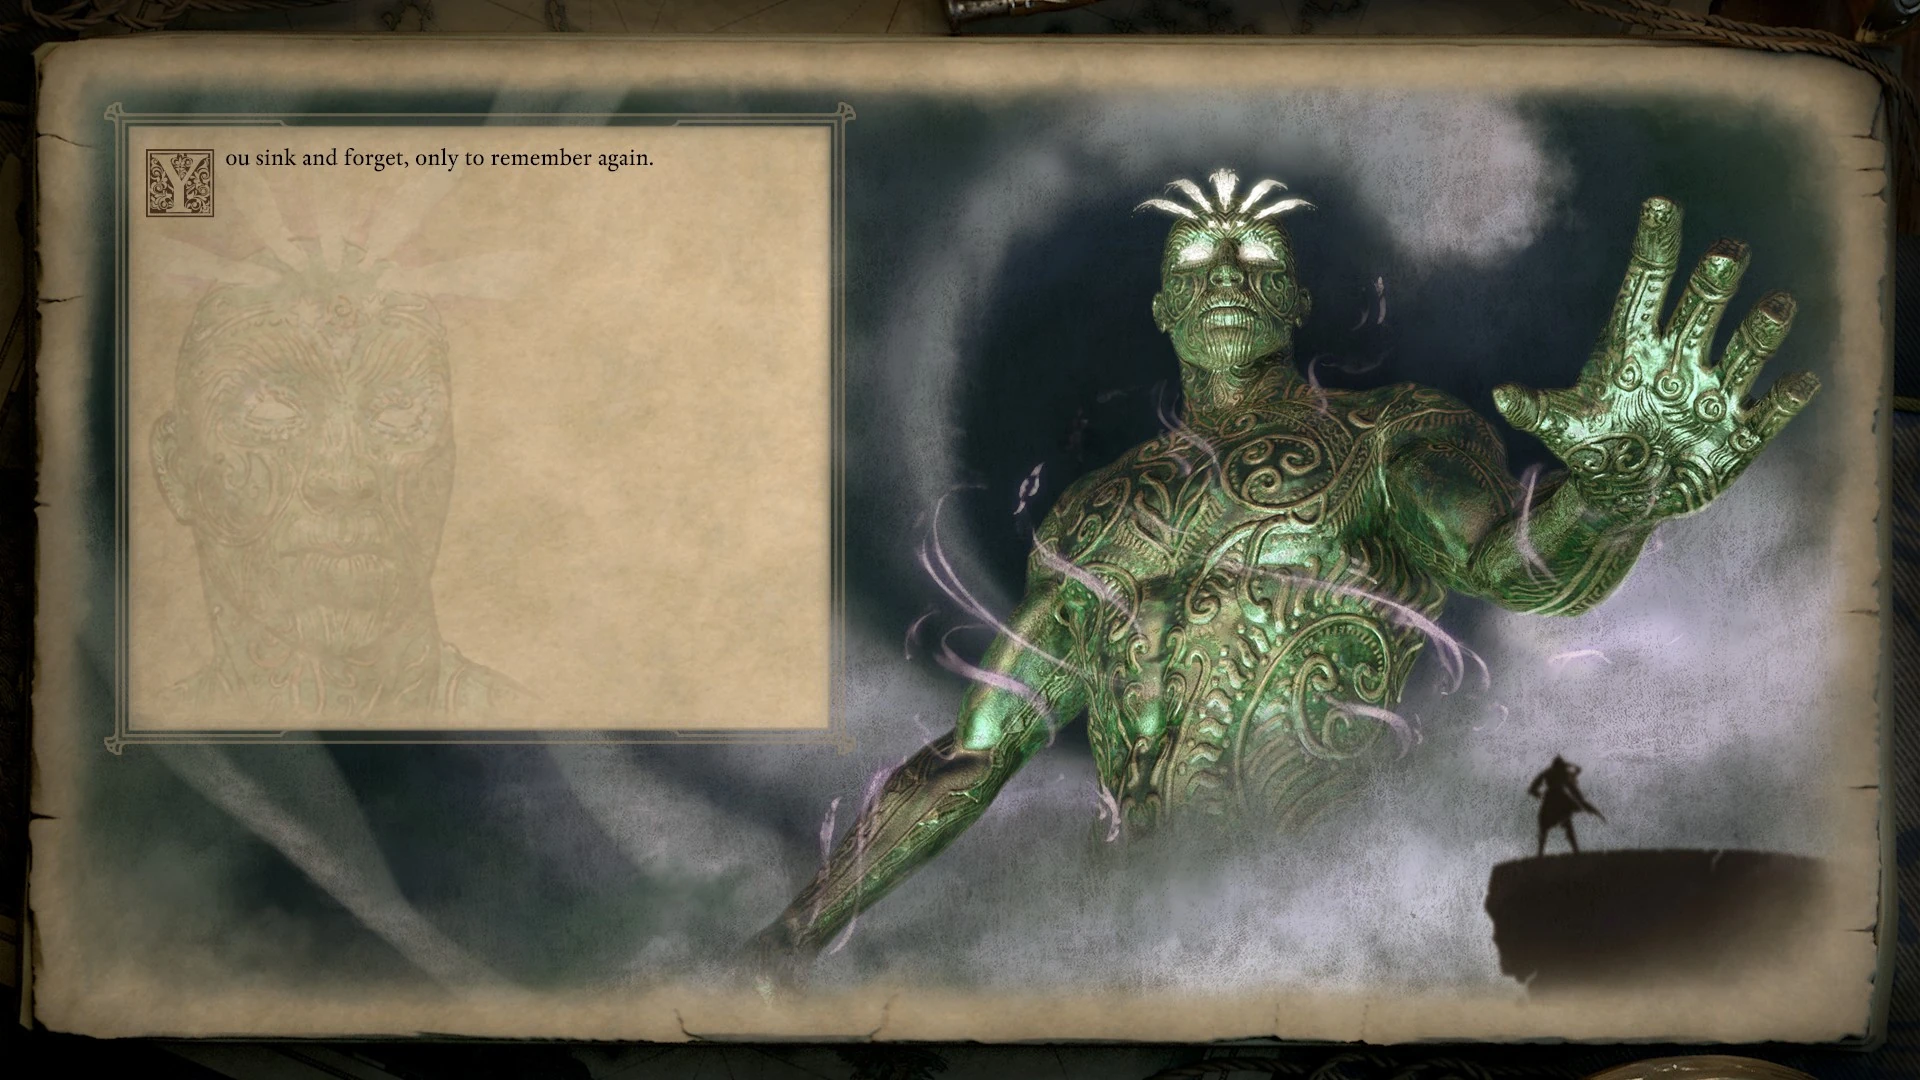
| Fight Eothas during The City Lost to Time. | Lose the game
Your stand against Eothas lasts no longer than it takes you to declare it. In less than the span of a breath, the god absorbs your soul into his adra body, where it mingles with the thousands already there. It is a strange afterlife - a place of sleepy peace for some and unrelenting tedium for others. For you, it is a place of stasis. You surface from the morass time and again only to remember the task you left behind. And how powerless you now are to complete it. You dimly perceive a world in chaos, souls hanging in the balance. You recall there was something you were supposed to do, but it feels as though you've been locked in a cage and dropped into the sea. You sink and forget, only to remember again. |
|
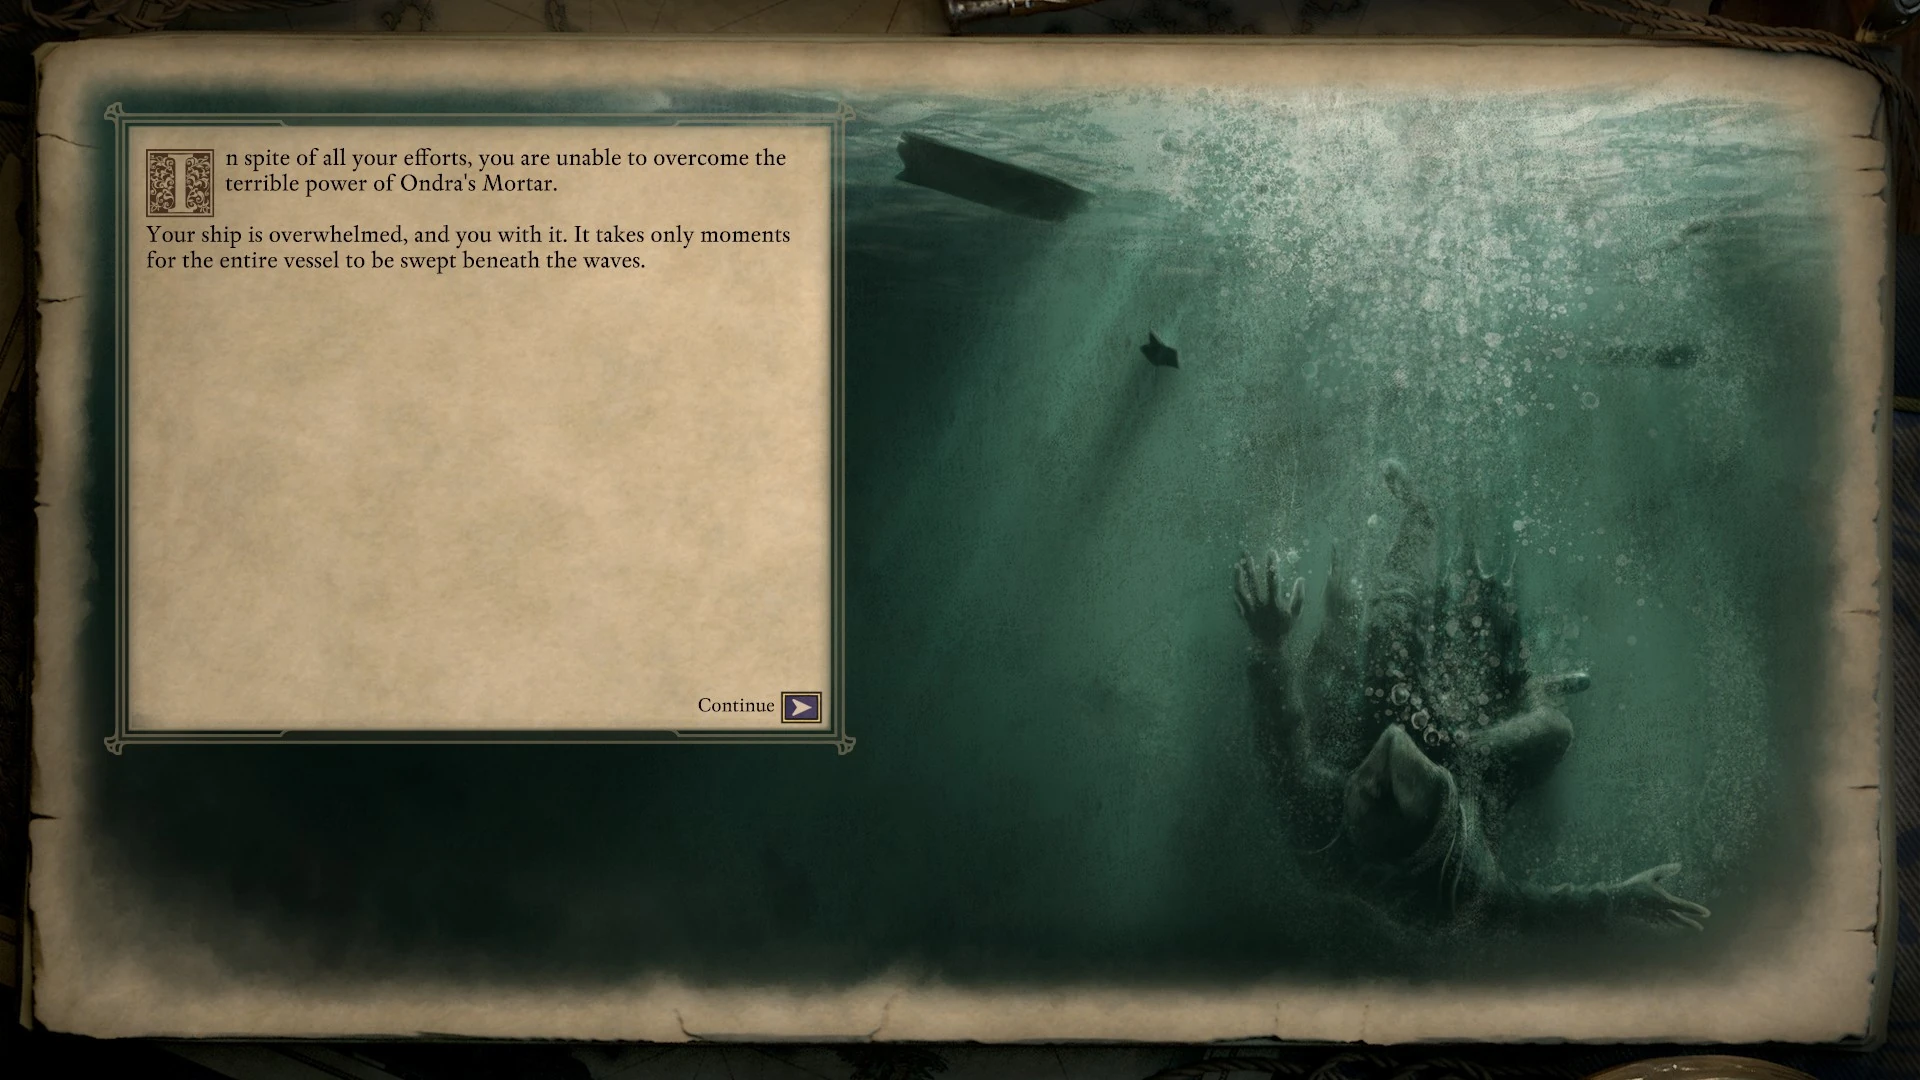
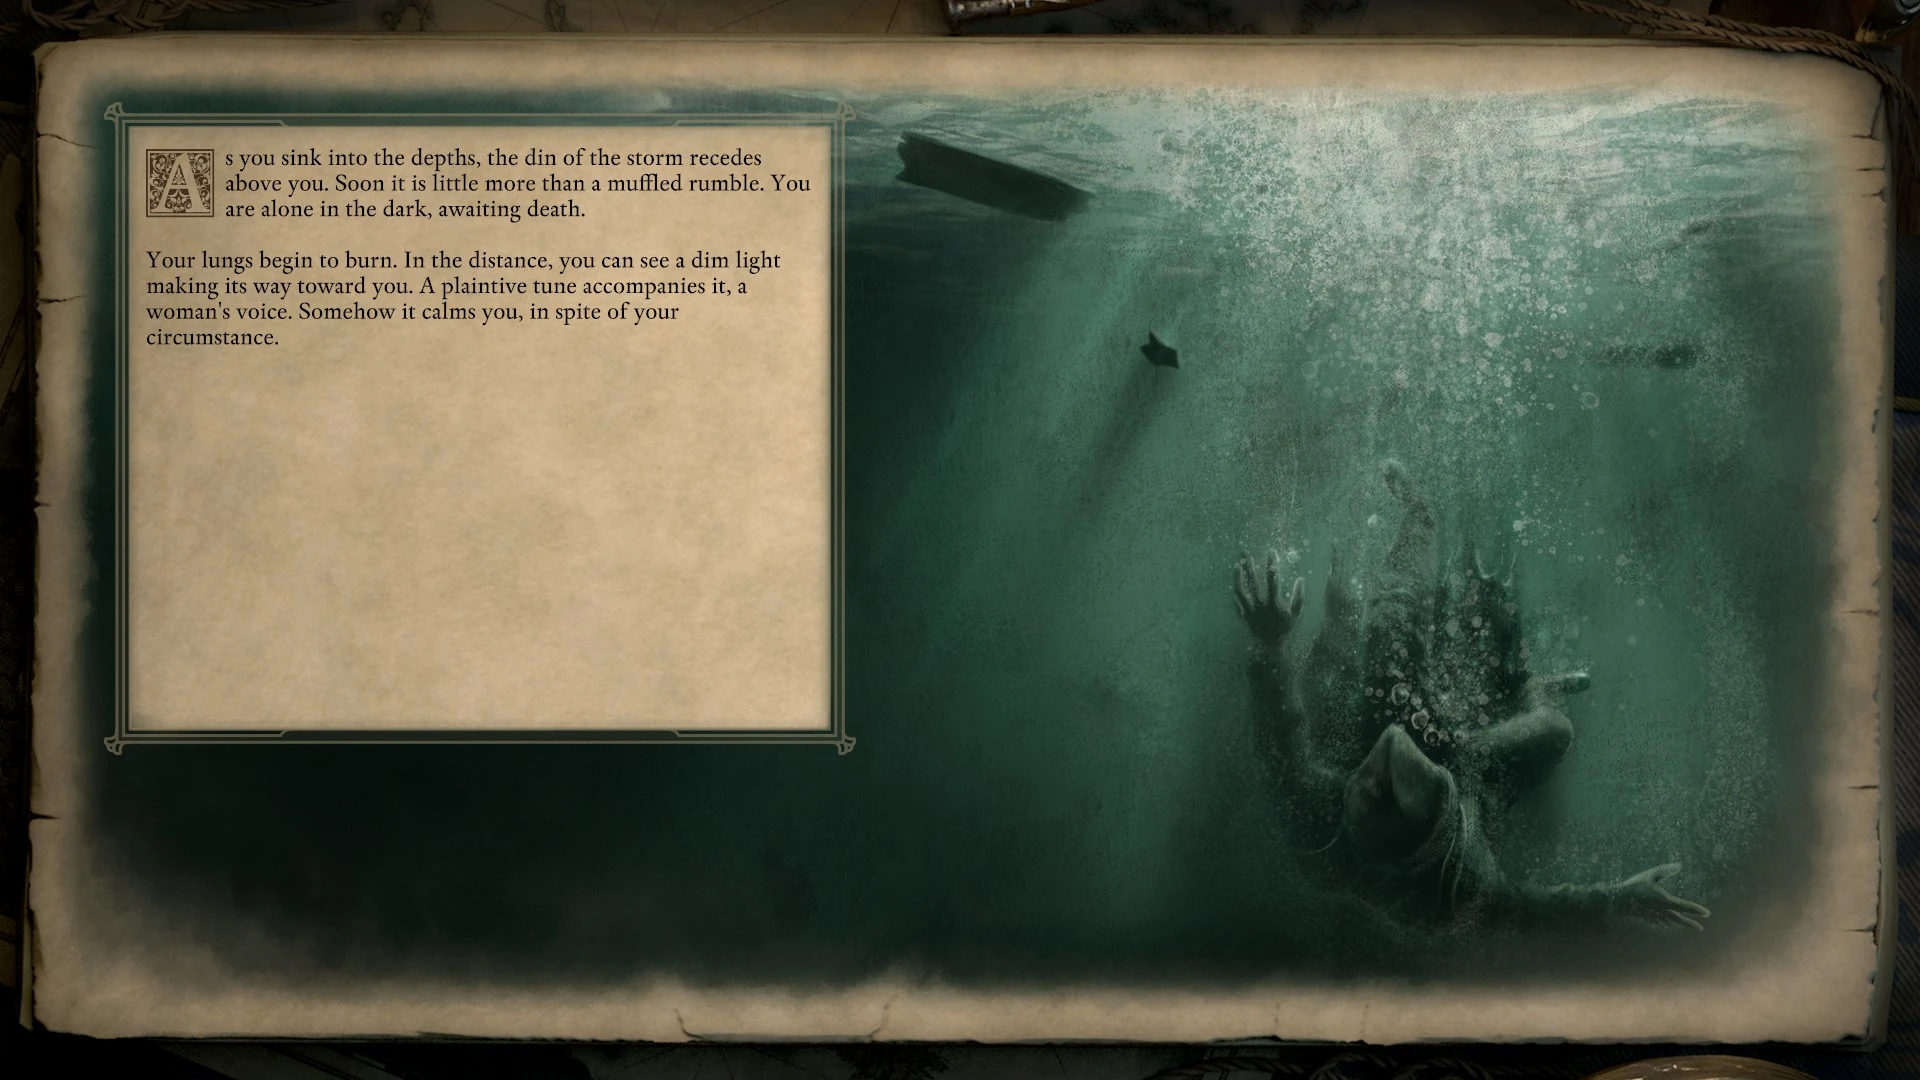
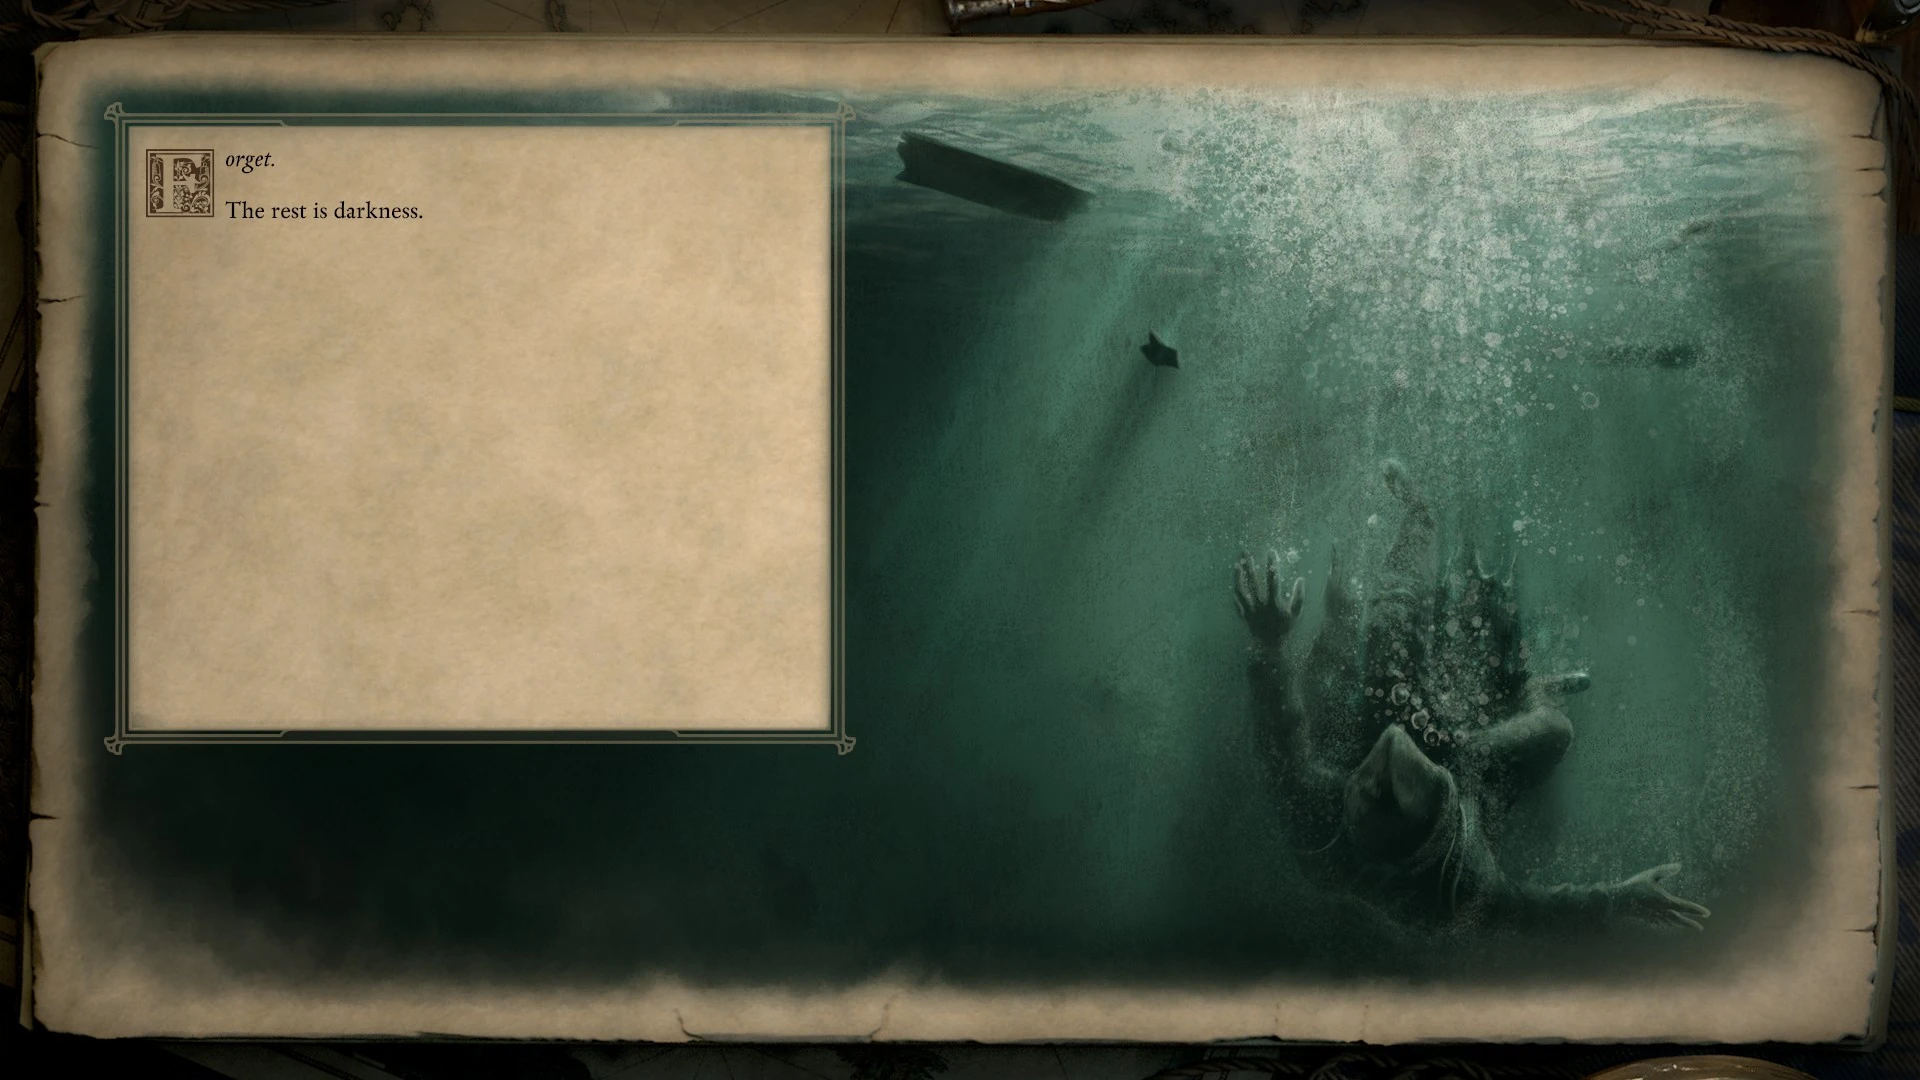
| Attempt to reach Ukaizo on your own without a well equipped ship or help from any factions. | Lose the game In spite of all your efforts, you are unable to overcome the terrible power of Ondra's Mortar. Your ship is overwhelmed, and you with it. It takes only moments for the entire vessel to be swept beneath the waves. As you sink into the depths, the din of the storm recedes above you. Soon it is little more than a muffled rumble. You are alone in the dark, awaiting death. Your lungs begin to burn. In the distance, you can see a dim light making its way toward you. A plaintive tune accompanies it, a woman's voice. Somehow it calms you, in spite of your circumstance. The light reaches you. It is attached to a large angler fish, its scales glittering in the darkness. The woman's singing ceases as the voice speaks to your mind. "We had high hopes for you, Watcher of Caed Nua." Your body betrays you, drawing in a large gulp of sea water. Your chest spasms. The pain is unbearable. "Be still now. Forget your pain. Forget your struggle." The angler fish's light begins to dim and turn sideways, but perhaps it is your sight that is failing, your body that is turning. You can't seem to think straight. "Forget." The sensation of pain begins to fade. Then all sensation fades. "Forget." The rest is darkness. |
|
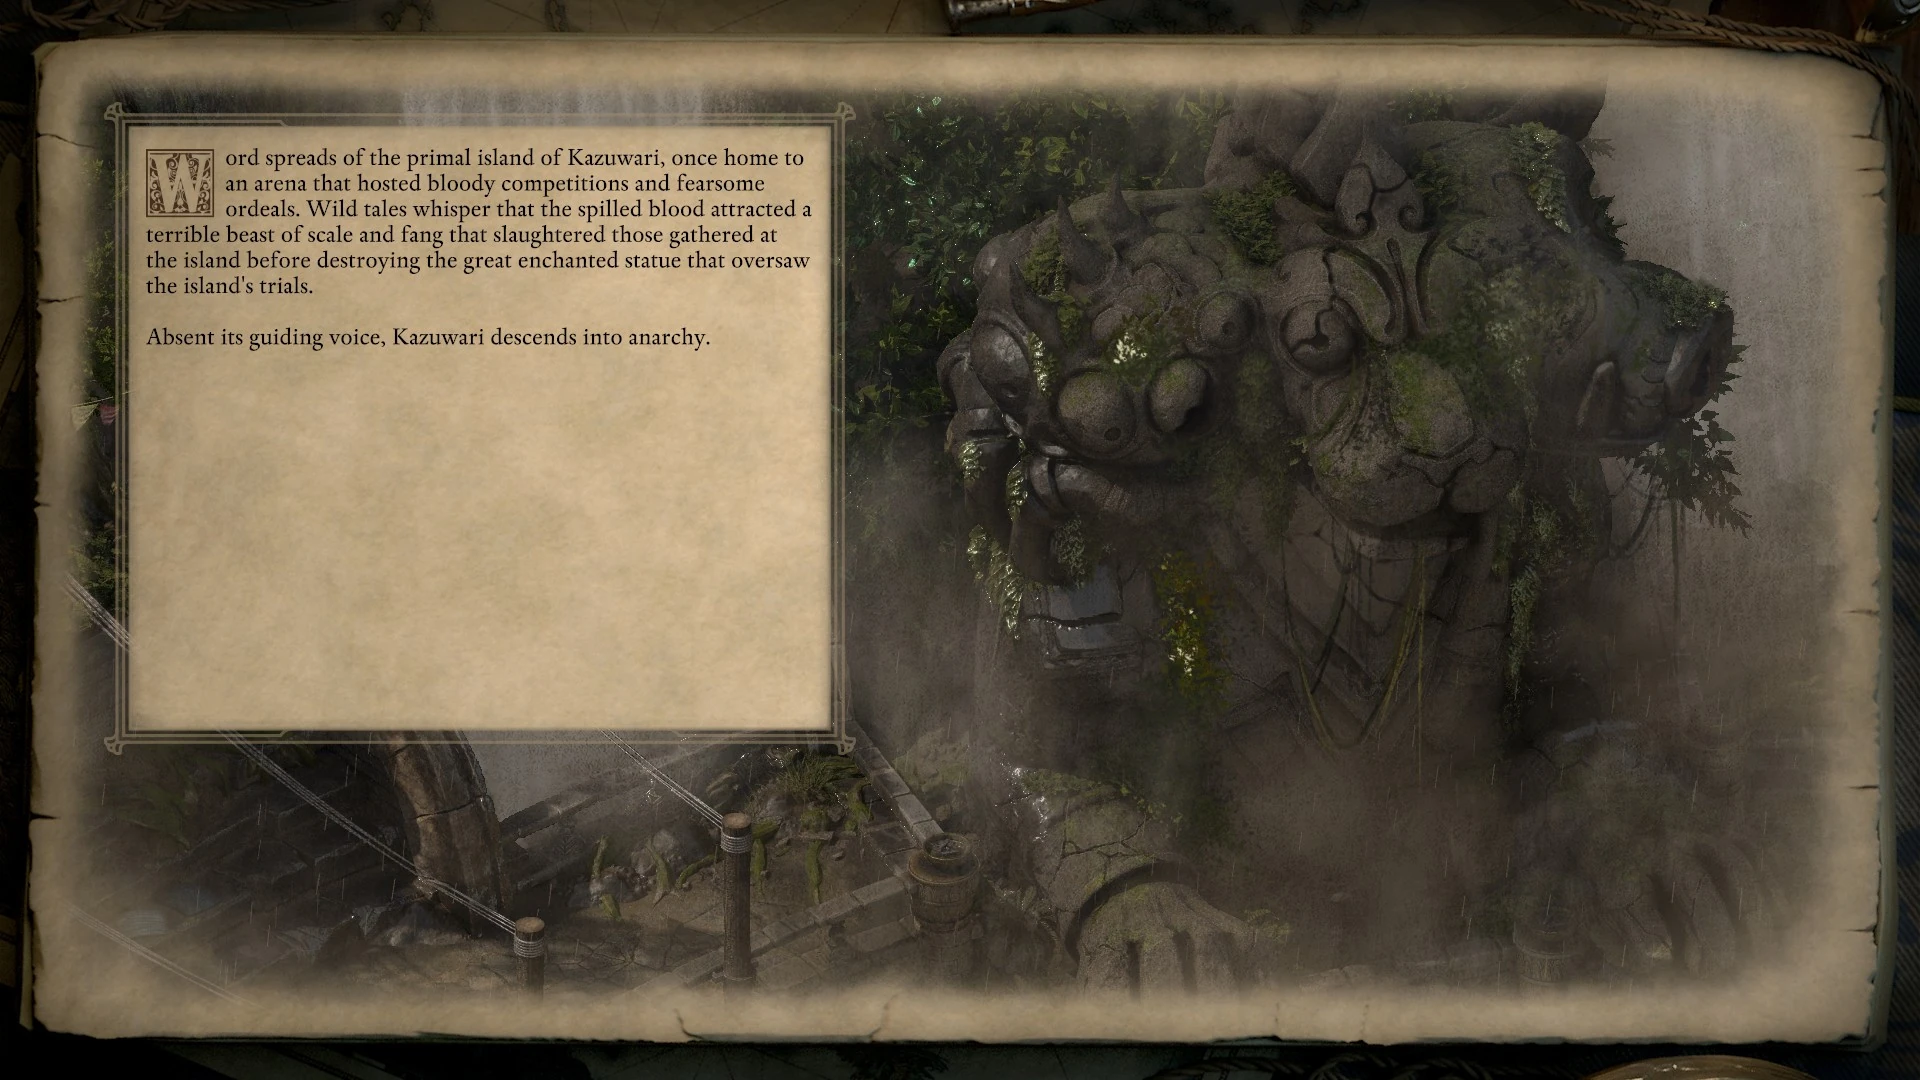
| Allow Whehami to take your body during The Champion of the Hunt. | Lose the game
The sensation is at first one of utter weightlessness as your physical body is untethered from your soul. The absence of any physical sensation is quickly replaced by the roar of a distant crowd and memories of countless battles. Soon, your soul merges with that of the Crucible, linking you to the sacred arena for the remainder of your existence. Word spreads of the primal island of Kazuwari, once home to an arena that hosted bloody competitions and fearsome ordeals. Wild tales whisper that the spilled blood attracted a terrible beast of scale and fang that slaughtered those gathered at the island before destroying the great enchanted statue that oversaw the island's trials. Absent its guiding voice, Kazuwari descends into anarchy. |
|


Eothas[ | ]
The slides shown here depend primarily on which faction, if any, you allied with to take Ukaizo, and what course of action you convinced Eothas to take at the end of The City Lost to Time.
| Conditions | Outcome | Slides |
|---|---|---|
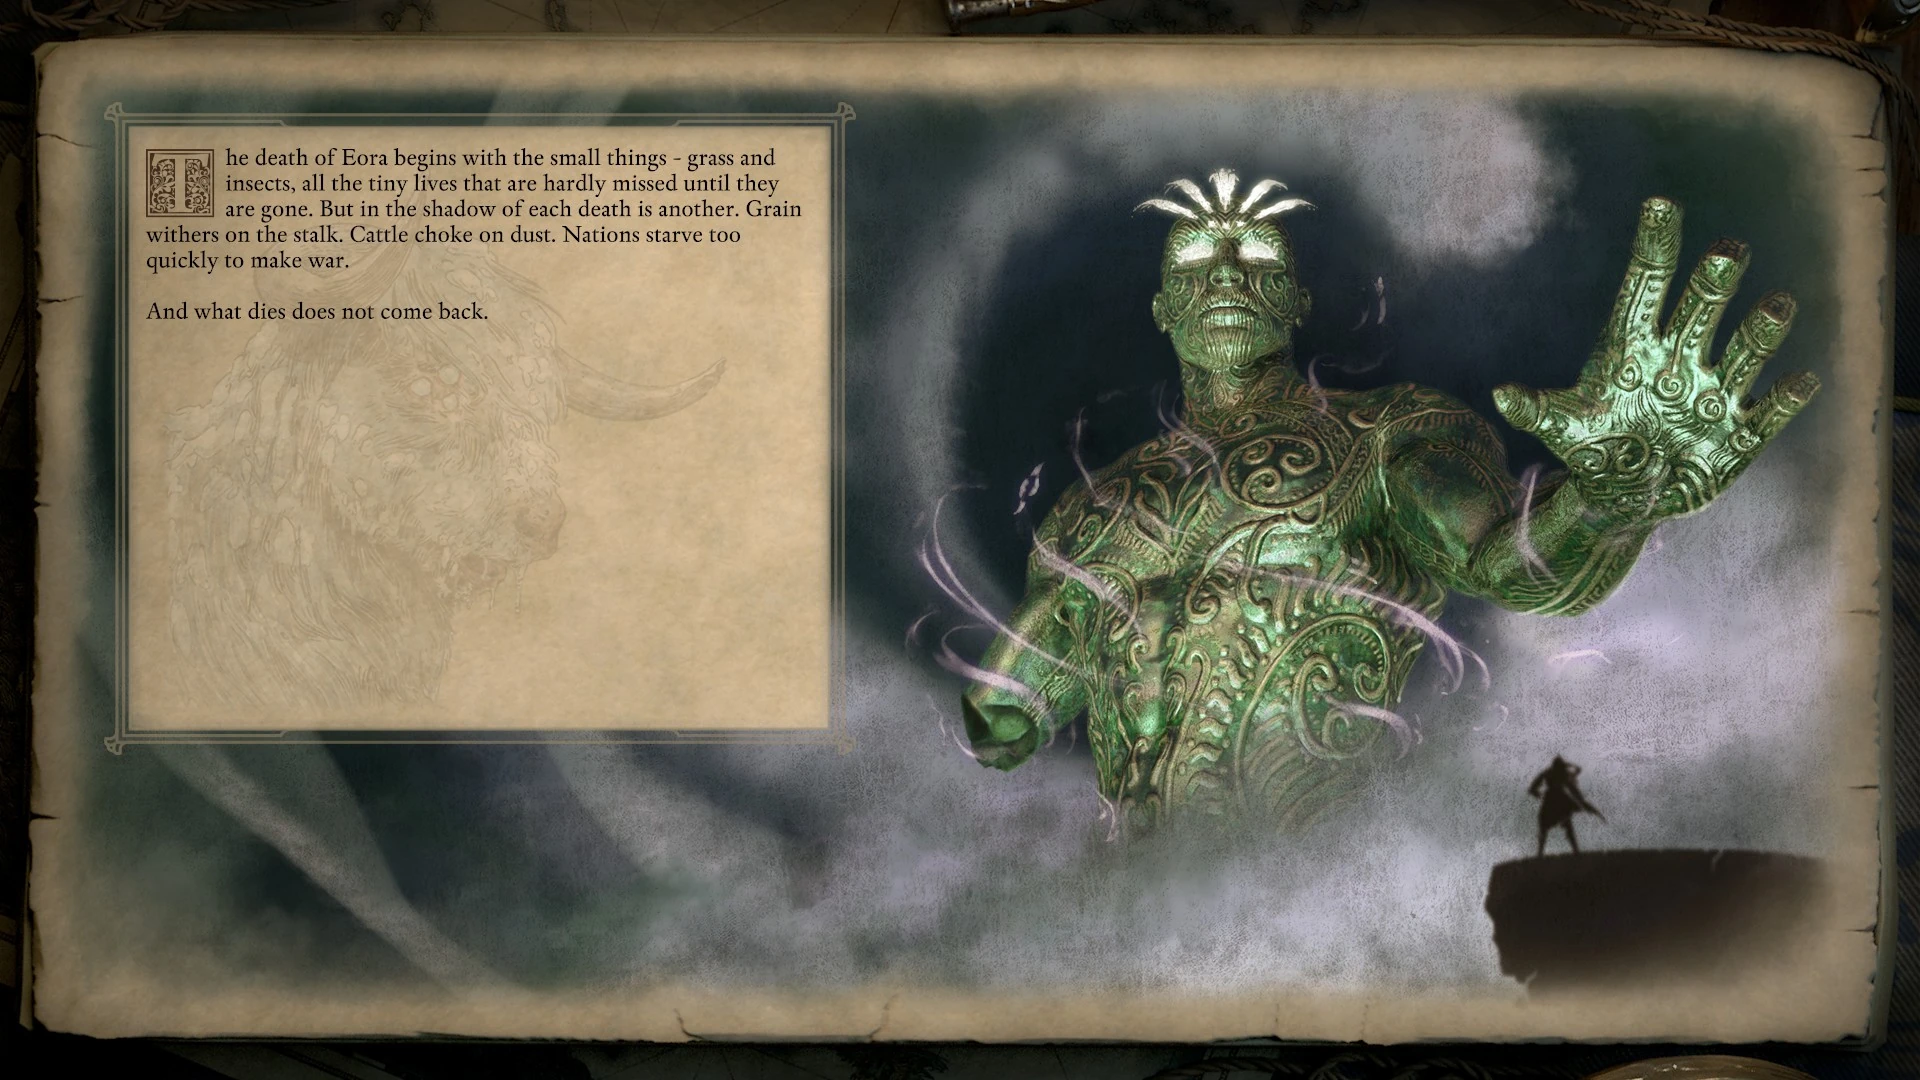
| Convince Eothas to end the world. | Warning: Picking this option will end the slides here! Nothing more will apear. Unfortunately, your legend will not last very long. The doubt you have planted in Eothas is a relentless force. To have come so far and hoped so boldly in the valor of kith, only to have those hopes rebuked - it is too much, even for a god. This doubt festers within Eothas. As he reaches beyond the wreckage of the Wheel, it passes from him to the luminous adra beneath. The entire world trembles as the adra at its core splinters. Waves drown the coast. The earth splits and swallows cities. Luminous adra dims. And the gods fall silent. The real destruction, however, begins in the hours and days that follow. The death of Eora begins with the small things - grass and insects, all the tiny lives that are hardly missed until they are gone. But in the shadow of each death is another. Grain withers on the stalk. Cattle choke on dust. Nations starve too quickly to make war. And what dies does not come back. The bones of Eora's dead sink into the soil, and their untethered souls leach into the In-Between. The world ends as others have begun - a lifeless rock in a cloud of essence. |

|
| Convince Eothas to inspire mortals and give them a head start over the gods, Vailian Trading Company does not control Ukaizo. | Eothas disperses his essence and inspires new breakthroughs
On your recommendation, Eothas disperses his essence - and that of the thousands of souls within him - to centers of knowledge and learning around the world. Animancers, engineers, wizards, and scholars of all stripes make astounding breakthroughs in understanding and harnessing the phenomena that govern Eora. While some of these developments prove beneficial to kith, others are decidedly less so. But such is the price of innovation. What remains to be seen is how - indeed, whether - they will restore the cycle Eothas has broken. |

|
| Convince Eothas to inspire mortals and give them a head start over the gods, Vailian Trading Company controls Ukaizo under Director Castol. | Eothas disperses his essence, inspires new breakthroughs while the VTC unites animancers and make advancements to rival Engwith
On your recommendation, Eothas disperses his essence - and that of the thousands of souls within him - to centers of knowledge and learning around the world. Animancers, engineers, wizards, and scholars of all stripes make astounding breakthroughs in understanding and harnessing the phenomena that govern Eora. Under the leadership of Director Castol and amply supplied with Ukaizo's luminous adra, the Vailian Trading Company unites animancers from around the world. The advances they make together promise to surpass even the work of the Engwithans. While some of these developments prove beneficial to kith, others are decidedly less so. But such is the price of innovation. What remains to be seen is how - indeed, whether - they will restore the cycle Eothas has broken. |
|
| Convince Eothas to inspire mortals and give them a head start over the gods, Vailian Trading Company controls Ukaizo under Director Alvari. | Eothas disperses his essence, inspires new breakthroughs while the VTC unites animancers, but hoards the knowledge
On your recommendation, Eothas disperses his essence - and that of the thousands of souls within him - to centers of knowledge and learning around the world. Animancers, engineers, wizards, and scholars of all stripes make astounding breakthroughs in understanding and harnessing the phenomena that govern Eora. Under the leadership of Director Alvari and amply supplied with Ukaizo's luminous adra, the Vailian Trading Company becomes the dominant force in animancy. Knowledge is gathered and hoarded, and rivals are recruited, discredited, or worse. The field of animancy is both invigorated and weakened by this fierce competition. While some of these developments prove beneficial to kith, others are decidedly less so. But such is the price of innovation. What remains to be seen is how - indeed, whether - they will restore the cycle Eothas has broken. |
|
| Convince Eothas to take pity on mortals and help them rebuild, neither the Huana nor the Vailian Trading Company under Director Castol controls Ukaizo. | Eothas uses his power to unearth long lost Engwithan ruins
As the light of thousands of souls leaves Maros Nua's body, Deadfire quakes. The sea churns. All around the archipelago, long-forgotten Engwithan ruins rise from the rubble and the waves - a lost bounty of ancient knowledge now laid bare for kith. Priests, mystics, and visionaries around the world dream of ancient pasts. Scholars delve into the annals of history. All of Eora gazes backward to find its way forward. What remains to be seen is whether kith will find the same answers the Engwithans did, and whether they will apply them to the same effect. |

|
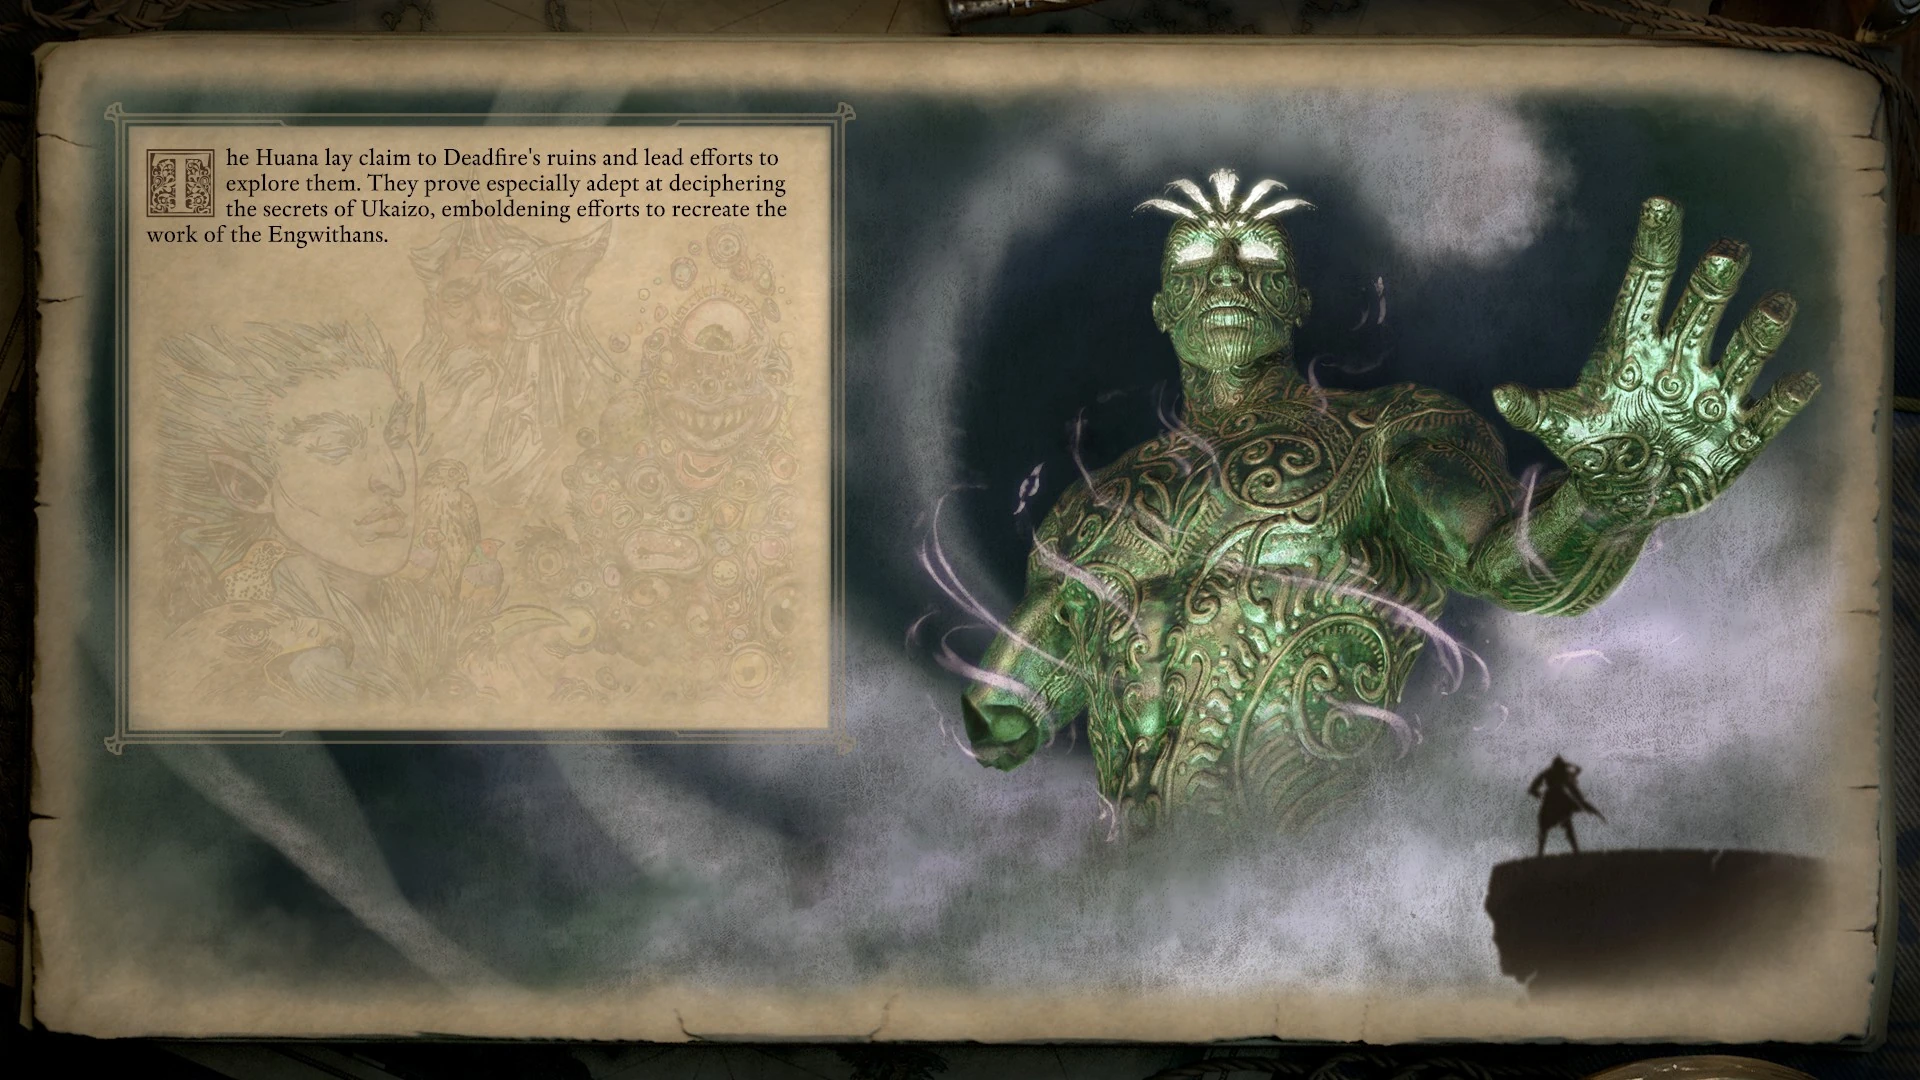
| Convince Eothas to take pity on mortals and help them rebuild, Huana control Ukaizo. | Eothas uses his power to unearth long lost Engwithan ruins and the Huana lead the efforts to understand them
As the light of thousands of souls leaves Maros Nua's body, Deadfire quakes. The sea churns. All around the archipelago, long-forgotten Engwithan ruins rise from the rubble and the waves - a lost bounty of ancient knowledge now laid bare for kith. The Huana lay claim to Deadfire's ruins and lead efforts to explore them. They prove especially adept at deciphering the secrets of Ukaizo, emboldening efforts to recreate the work of the Engwithans. Priests, mystics, and visionaries around the world dream of ancient pasts. Scholars delve into the annals of history. All of Eora gazes backward to find its way forward. What remains to be seen is whether kith will find the same answers the Engwithans did, and whether they will apply them to the same effect. |
|
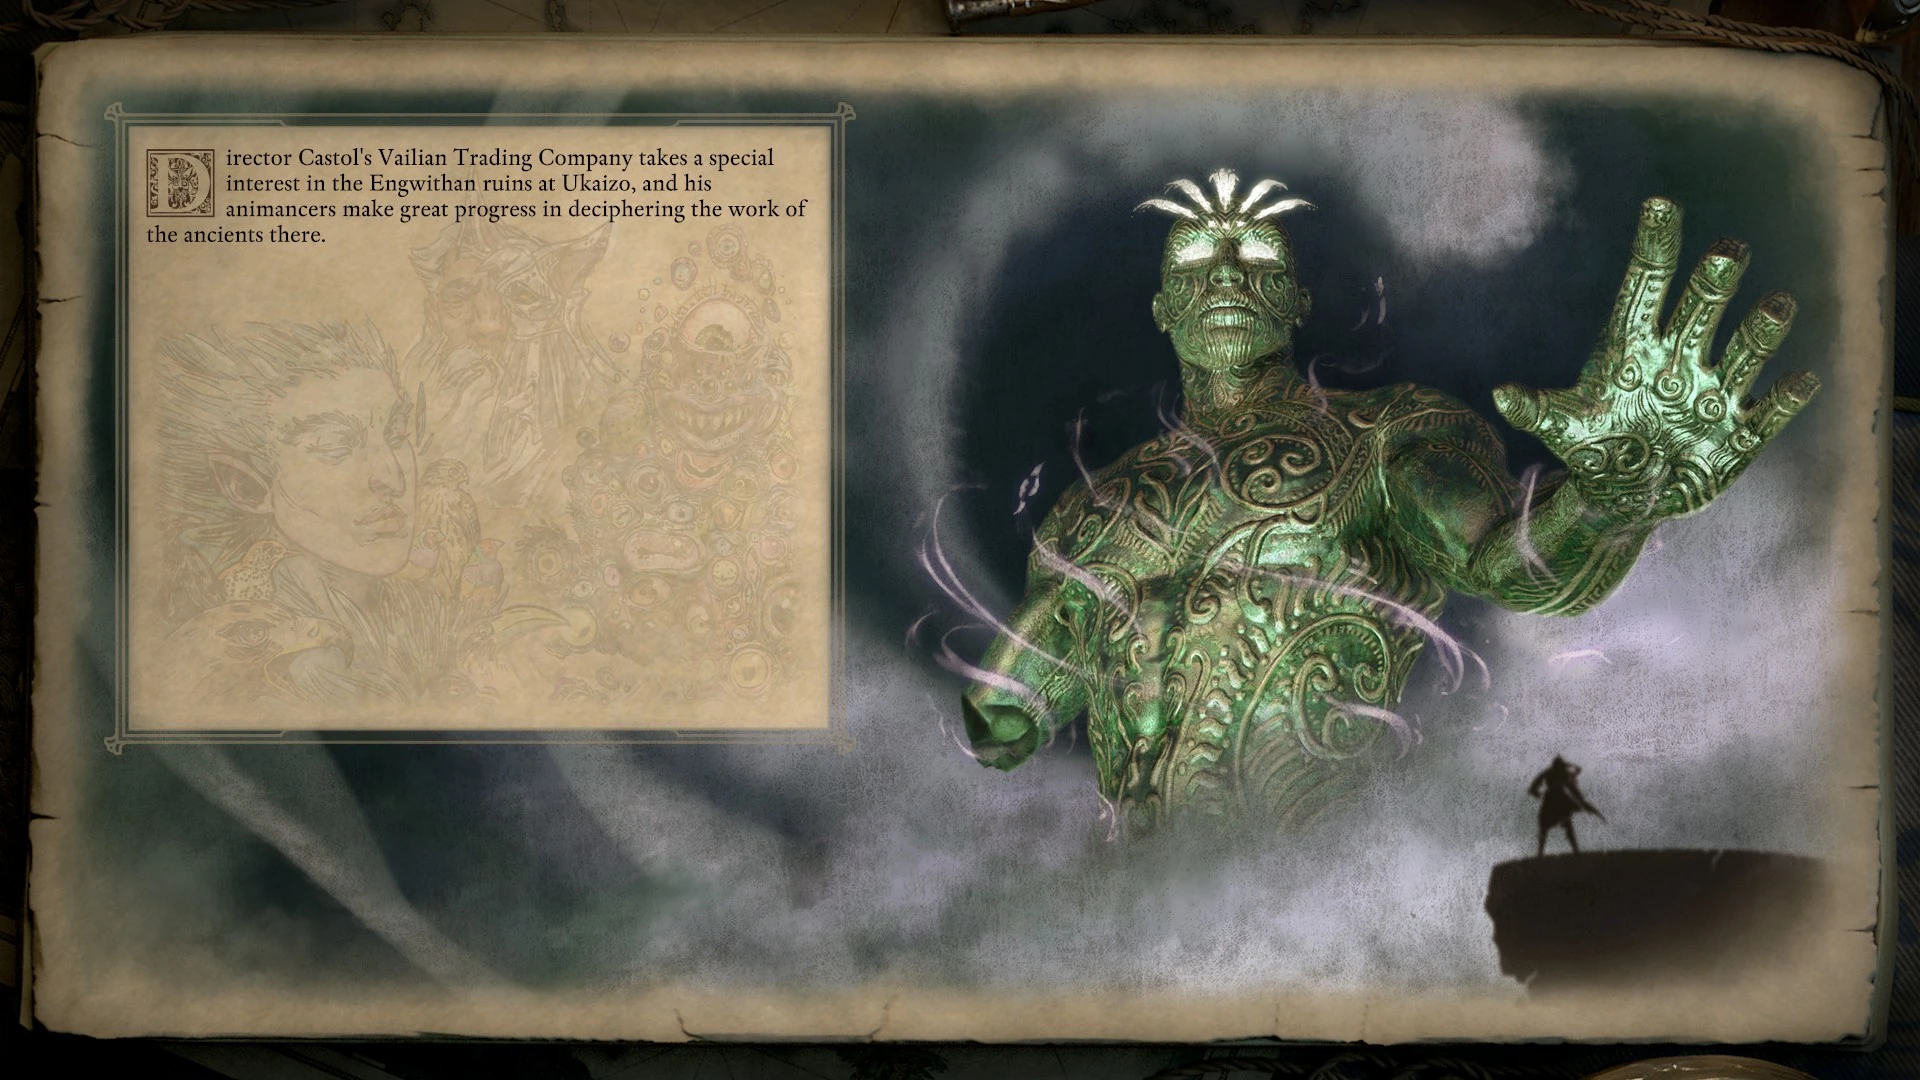
| Convince Eothas to take pity on mortals and help them rebuild, Vailian Trading Company under Director Castol controls Ukaizo. | Eothas uses his power to unearth long lost Engwithan ruins and the VTC animancers lead the efforts to understand them
As the light of thousands of souls leaves Maros Nua's body, Deadfire quakes. The sea churns. All around the archipelago, long-forgotten Engwithan ruins rise from the rubble and the waves - a lost bounty of ancient knowledge now laid bare for kith. Director Castol's Vailian Trading Company takes a special interest in the Engwithan ruins at Ukaizo, and his animancers make great progress in deciphering the work of the ancients there. Priests, mystics, and visionaries around the world dream of ancient pasts. Scholars delve into the annals of history. All of Eora gazes backward to find its way forward. What remains to be seen is whether kith will find the same answers the Engwithans did, and whether they will apply them to the same effect. |
|
| Convince Eothas to empower one of the gods to lead, Rauatai does not control Ukaizo. | Berath is empowered and creates an era of stability, but slow progress
Eothas channels his essence into Berath, empowering the god of doors, cycles, and life and death beyond all other gods. Berath vows to maintain peace and order in the Here and the Beyond while kith labor toward a solution. The other gods, for the time being, submit. Under Berath's guidance, the world becomes a more predictable, stable place. Seasons fall into a disturbingly regular rhythm, and wars, famines, and natural disasters dwindle. But so too do surges of prosperity and innovation. Great minds around the world work methodically toward salvation, both unhindered and uninspired by changes, upheavals, and the unexpected. |

|
| Convince Eothas to empower one of the gods to lead, Rauatai controls Ukaizo. | Berath is empowered and creates an era of stability, Rauatai rises and leads in finding a solution
Eothas channels his essence into Berath, empowering the god of doors, cycles, and life and death beyond all other gods. Berath vows to maintain peace and order in the Here and the Beyond while kith labor toward a solution. The other gods, for the time being, submit. Under Berath's guidance, the world becomes a more predictable, stable place. Seasons fall into a disturbingly regular rhythm, and wars, famines, and natural disasters dwindle. But so too do surges of prosperity and innovation. Newly empowered by their victory in Deadfire and this season of calm, Rauatai rises to prominence in Eora. The ranga nui and his people lead efforts to effect a solution to the winding down of reincarnation, pursuing that goal with the same dogged relentlessness with which they have pursued all others for millennia. Their resourcefulness and tenacity slowly but surely guide Eora closer to salvation. |
|
| Bear witness to Eothas' actions without trying to change his mind, Ukaizo is not controlled by the Vailian Trading Company, the Huana, or Rauatai. | Marus Nua houses the souls Eothas collected and attacts more, the gods let kith solve the crisis
Maros Nua's body finally goes still amidst the rubble of the Engwithan machines, yet it continues to glow. Priests and mystics have strange dreams of an island of eternal dawn at the eye of a storm, a port where the tide never flows out, a roadside tavern whose door leads only inward. As a Watcher, you see what these dreamers cannot - the souls of the departed drifting toward the adra colossus and the twilit afterlife within. Whether it is a temporary haven or a permanent end will depend on what the kith of Eora are able to accomplish on their own. And while Maros Nua stands frozen over Ukaizo, the gods look on the labors of kith. But they do not intervene. They watch and argue, wager and conjecture at how - or whether - mortals will solve the puzzle set before them. |

|
| Bear witness to Eothas' actions without trying to change his mind, Vailian Trading Company controls Ukaizo. | Marus Nua houses the souls Eothas collected and attacts more, the gods let kith solve the crisis and the VTC focuses on animancy
Maros Nua's body finally goes still amidst the rubble of the Engwithan machines, yet it continues to glow. Priests and mystics have strange dreams of an island of eternal dawn at the eye of a storm, a port where the tide never flows out, a roadside tavern whose door leads only inward. As a Watcher, you see what these dreamers cannot - the souls of the departed drifting toward the adra colossus and the twilit afterlife within. Whether it is a temporary haven or a permanent end will depend on what the kith of Eora are able to accomplish on their own. The greatest hope seems to lie in animancy, which the burgeoning Vailian Trading Company explores with newfound purpose and vigor. And while Maros Nua stands frozen over Ukaizo, the gods look on the labors of kith. But they do not intervene. They watch and argue, wager and conjecture at how - or whether - mortals will solve the puzzle set before them. |
|
| Bear witness to Eothas' actions without trying to change his mind, the Huana controls Ukaizo. | Marus Nua houses the souls Eothas collected and attacts more, the gods let kith solve the crisis and the Huana focuses on understanding Engwithan ruins
Maros Nua's body finally goes still amidst the rubble of the Engwithan machines, yet it continues to glow. Priests and mystics have strange dreams of an island of eternal dawn at the eye of a storm, a port where the tide never flows out, a roadside tavern whose door leads only inward. As a Watcher, you see what these dreamers cannot - the souls of the departed drifting toward the adra colossus and the twilit afterlife within. Whether it is a temporary haven or a permanent end will depend on what the kith of Eora are able to accomplish on their own. The greatest hope seems to lie in the work of the ancient Engwithans and the Huana's efforts to unearth and understand it. And while Maros Nua stands frozen over Ukaizo, the gods look on the labors of kith. But they do not intervene. They watch and argue, wager and conjecture at how - or whether - mortals will solve the puzzle set before them. |
|
| Bear witness to Eothas' actions without trying to change his mind, Rauatai controls Ukaizo | Marus Nua houses the souls Eothas collected and attacts more, the gods let kith solve the crisis and Rauatai focuses on rebuilding the machine
Maros Nua's body finally goes still amidst the rubble of the Engwithan machines, yet it continues to glow. Priests and mystics have strange dreams of an island of eternal dawn at the eye of a storm, a port where the tide never flows out, a roadside tavern whose door leads only inward. As a Watcher, you see what these dreamers cannot - the souls of the departed drifting toward the adra colossus and the twilit afterlife within. Whether it is a temporary haven or a permanent end will depend on what the kith of Eora are able to accomplish on their own. The greatest hope seems to lie with the Rauataians, whose plans to excavate and rebuild the shattered machinery of reincarnation draws many of the engineers and weather mages who once irrigated and protected their rocky homeland. And while Maros Nua stands frozen over Ukaizo, the gods look on the labors of kith. But they do not intervene. They watch and argue, wager and conjecture at how - or whether - mortals will solve the puzzle set before them. |
|
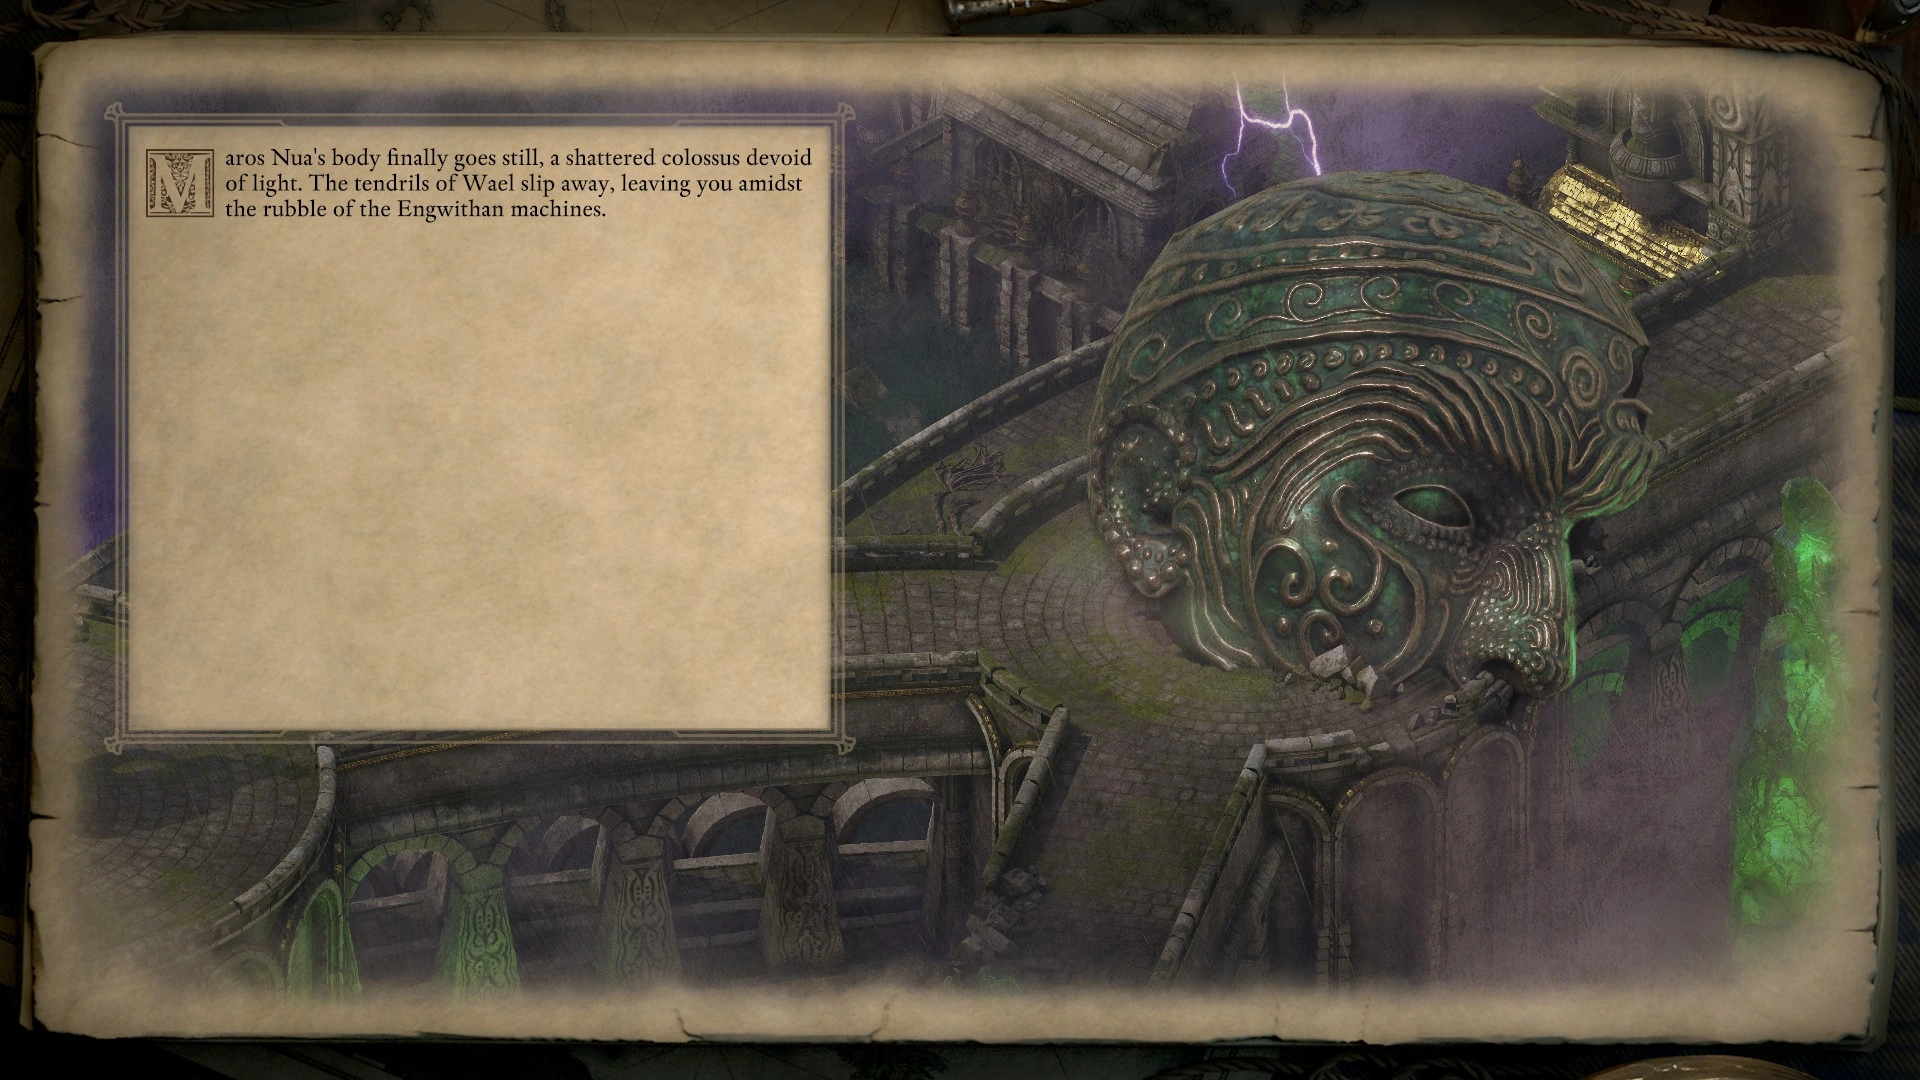
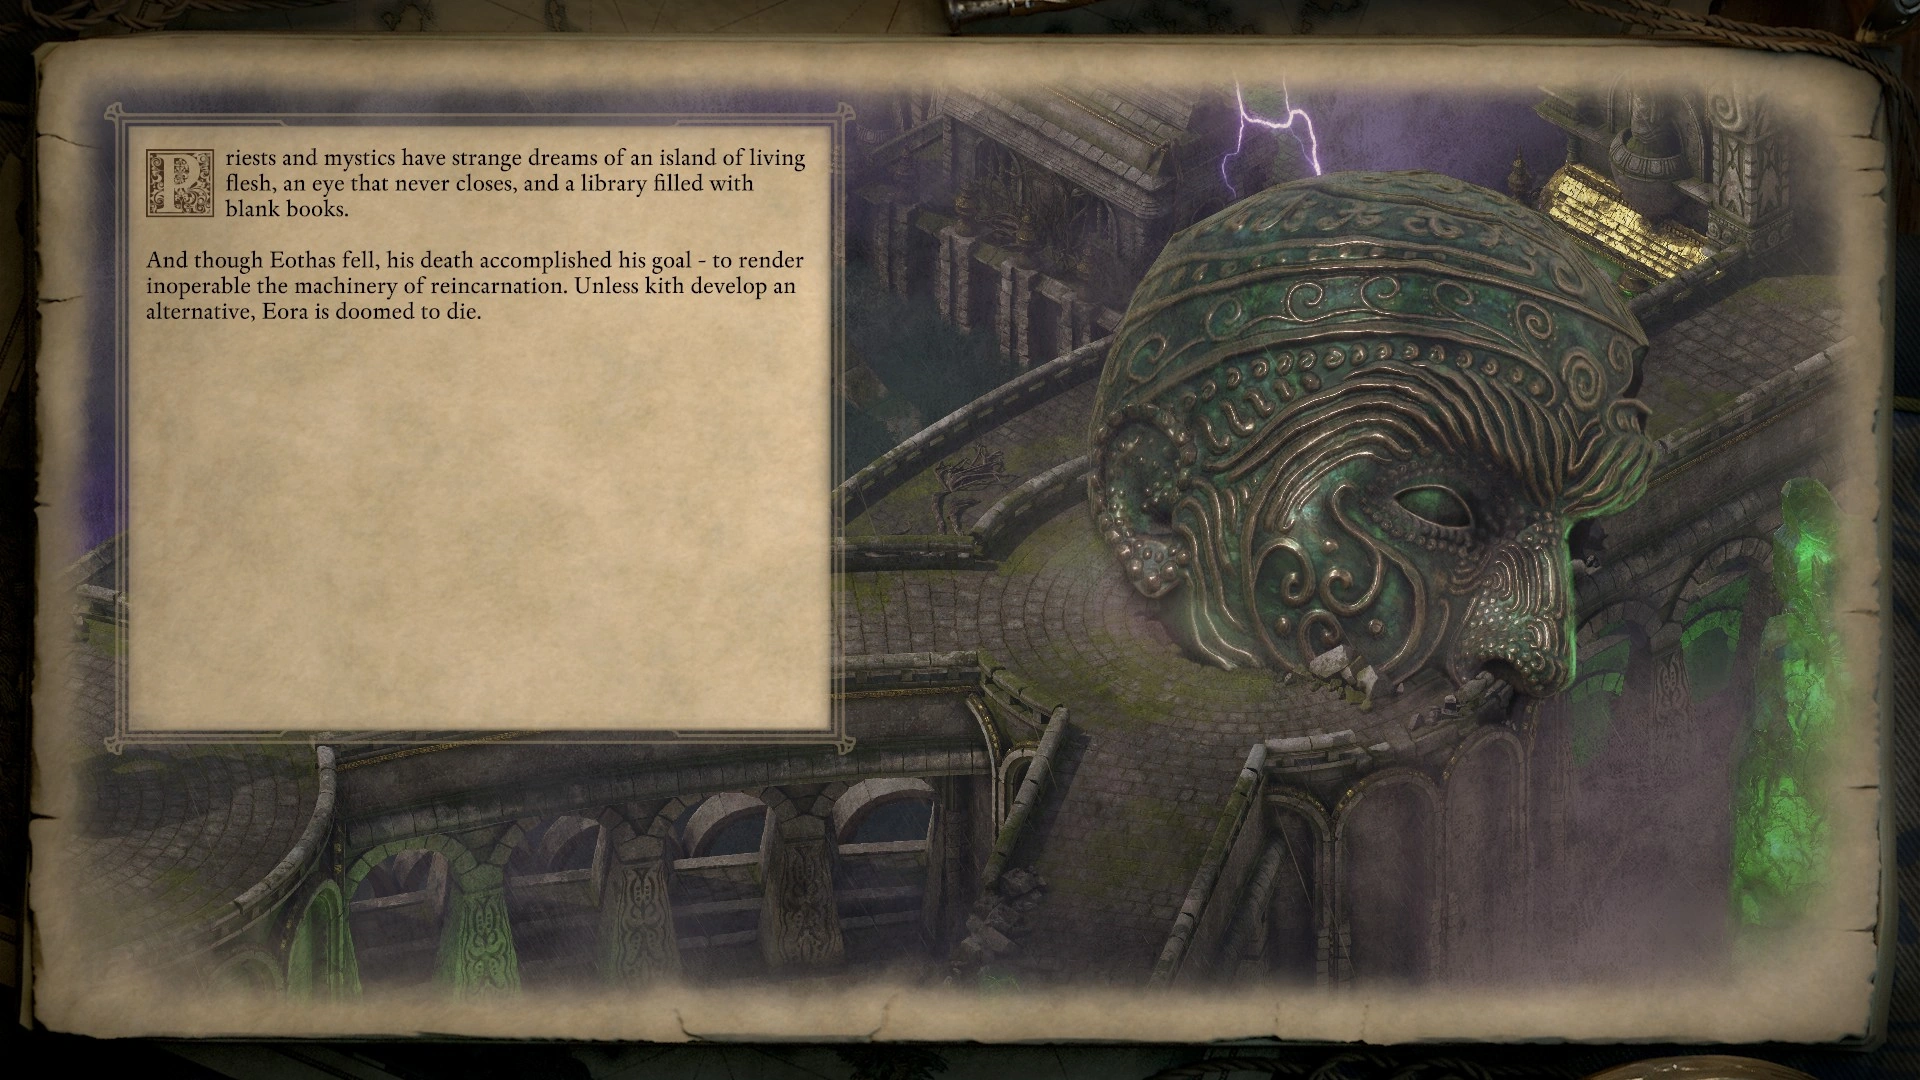
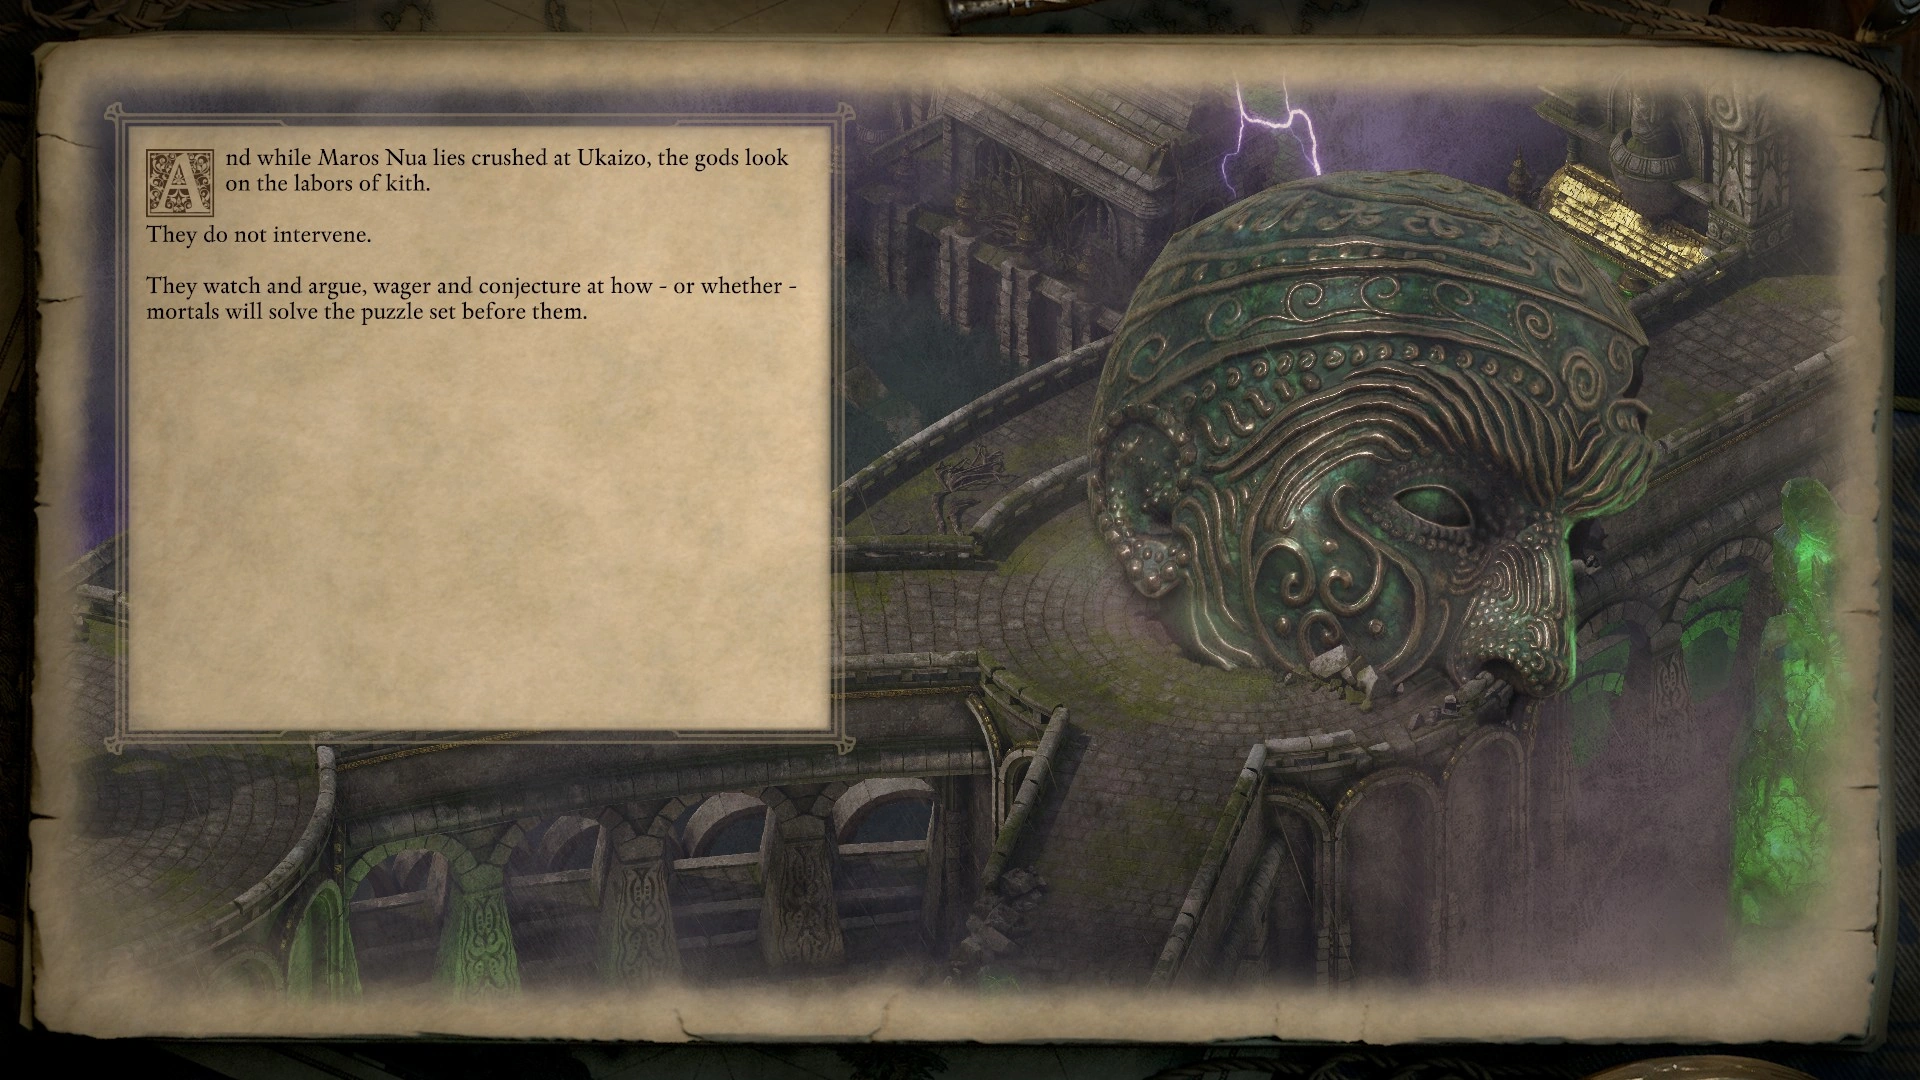
| Convince Wael to use their titan to attack Eothas during The Inner Mysteries. | Maros Nua's statue is destroyed, Eothas still breaks the machine, and the gods let kith solve the crisis
Maros Nua's body finally goes still, a shattered colossus devoid of light. The tendrils of Wael slip away, leaving you amidst the rubble of the Engwithan machines. Priests and mystics have strange dreams of an island of living flesh, an eye that never closes, and a library filled with blank books. And though Eothas fell, his death accomplished his goal - to render inoperable the machinery of reincarnation. Unless kith develop an alternative, Eora is doomed to die. And while Maros Nua lies crushed at Ukaizo, the gods look on the labor of kith. They do not intervene. They watch and argue, wager and conjecture at how - or whether - mortals will solve the puzzle set before them. |
|


Ukaizo[ | ]
This part of the ending has a number of variations depending on different faction outcomes. For this reason, they are separated into categories based on which faction the Watcher chose to ally with:
Many of these endings factor in the strongest rival, or the faction that attacked you during The City Lost to Time.
Huana[ | ]
This category is only displayed if allied with the Huana when reclaiming Ukaizo.
The first slide is always shown, showing the status of the Huana.
| Conditions | Outcome | Slides |
|---|---|---|
| Side with the Huana by completing Taking Out the Traders. | The Huana reclaim Ukaizo, use it as their capital and renegotiate their trade deals with the VTC
Reclaiming Ukaizo is both a symbolic and a practical victory for the Huana. The ancient city is a potent reminder of their people's ancient glory, and it promises to be a much more easily defensible capital, especially with the storm controls of Ondra's Spire close at hand. The other tribes unite under the Kahanga and dedicate themselves to rebuilding Ukaizo and relearning its secrets. The Vailian Trading Company continues its operations in Deadfire, though it is forced to renegotiate many of its contracts with the newly-empowered Huana crown. Company leadership finds that the new terms are much more favorable to the tribes than to their own interests in the region. |

|

The status of the Vailian Trading Company is then shown.
| Conditions | Outcome | Slides |
|---|---|---|
| Vailian Trading Company was not the strongest rival of the Huana, Director Castol was not voted out during A Vote of No Confidence. | Director Castol remains in the Deadfire and oversees their local animancy operations
Due to these changes, the Vailian Trading Company eventually withdraws most of its people from Deadfire, though Castol convinces the Songretta mea Compresa to maintain nominal animancy operations in the region. They agree and put him in charge of them. Most in the Republics consider this an embarrassing demotion, though Castol himself relishes his smaller, quieter role. |

|
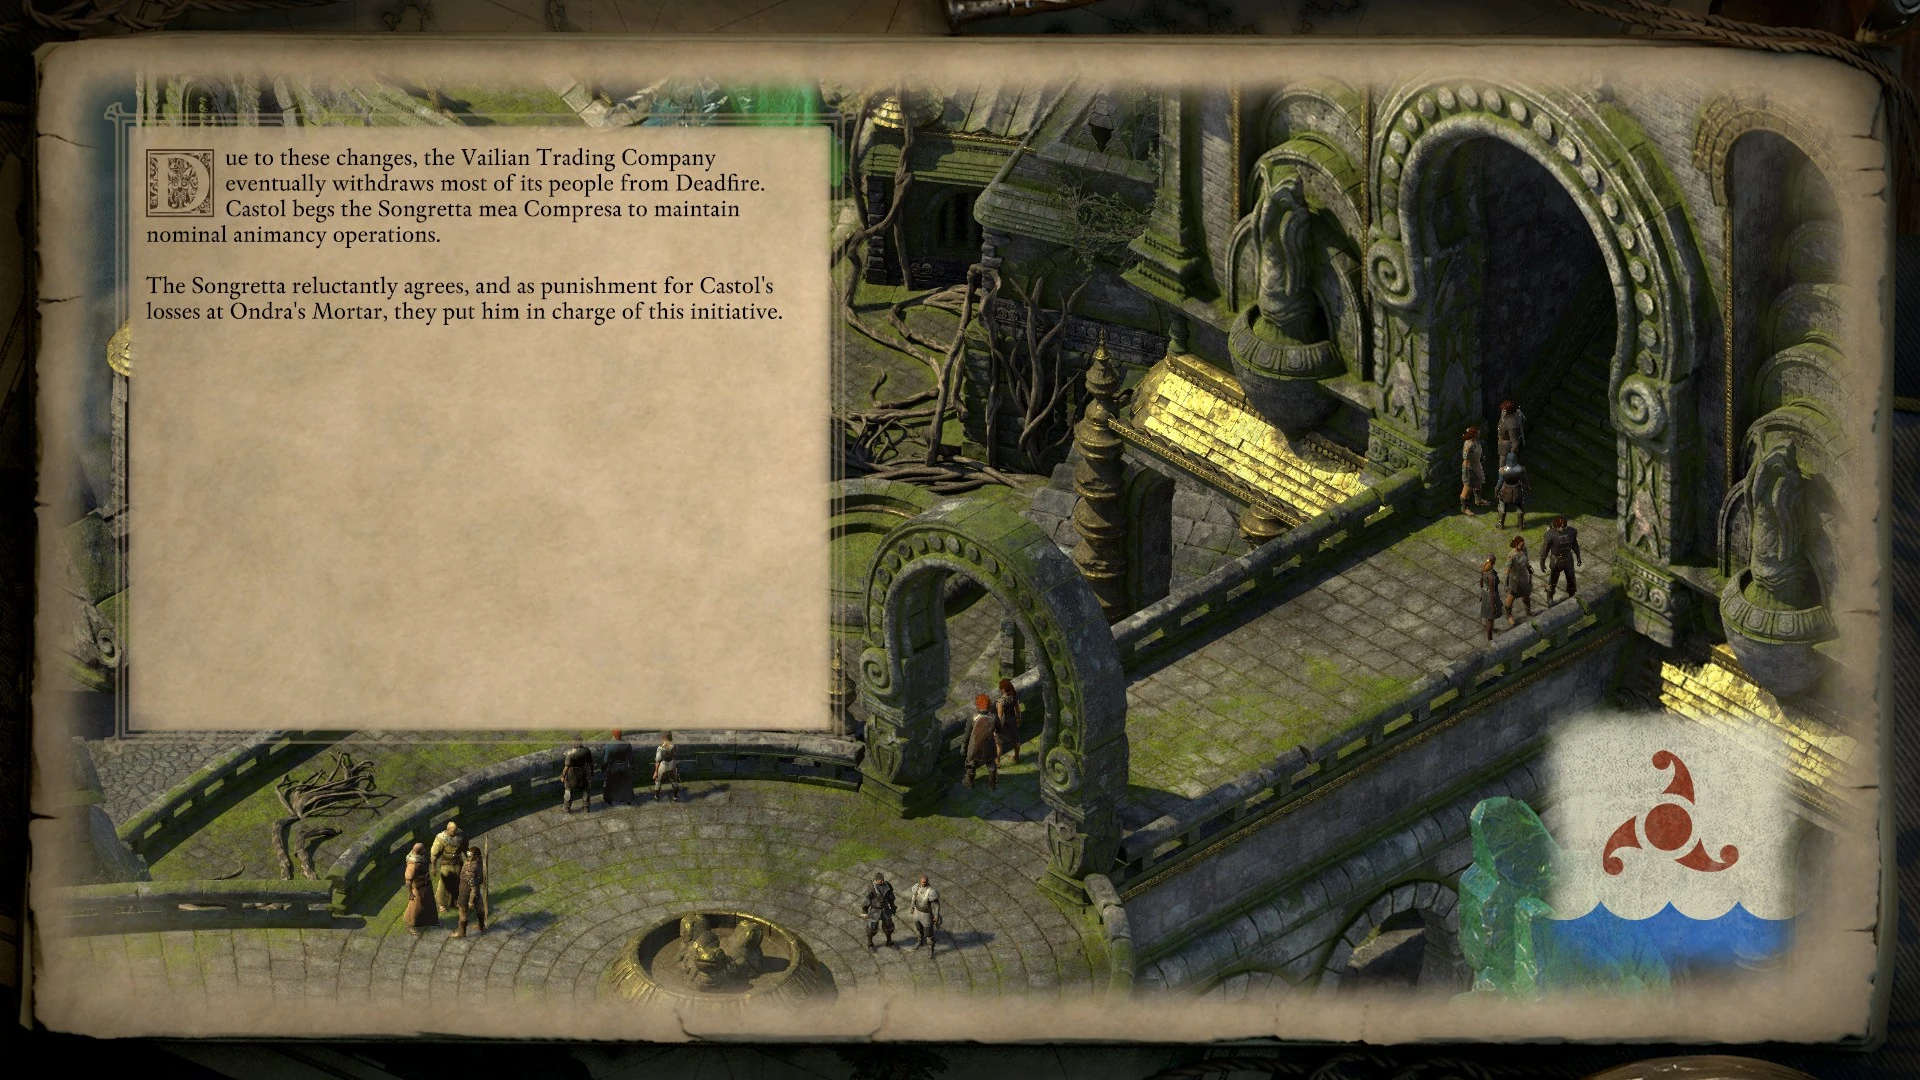
| Vailian Trading Company was the strongest rival of the Huana, Director Castol was not voted out. | Due to these changes, the Vailian Trading Company eventually withdraws most of its people from Deadfire. Castol begs the Songretta mea Compresa to maintain nominal animancy operations. The Songretta reluctantly agrees, and as punishment for Castol's losses at Ondra's Mortar, they put him in charge of this initiative. Most in the Republics consider this an embarrassing demotion, though Castol himself relishes his smaller, quieter role. |
|
| Vailian Trading Company was not the strongest rival of the Huana, Director Castol was voted out during A Vote of No Confidence. | The VTC leaves Deadfire
Due to these changes, the Vailian Trading Company eventually withdraws most of its people from Deadfire. |

|
| Vailian Trading Company was the strongest rival of the Huana, Director Castol was voted out. | The VTC leaves Deadfire and lost much of their fleet
Due to these changes - and the loss of much of its fleet - the Vailian Trading Company eventually withdraws most of its people from Deadfire. |

|

The status of Rauatai and the Royal Deadfire Company is then shown.
| Conditions | Outcome | Slides |
|---|---|---|
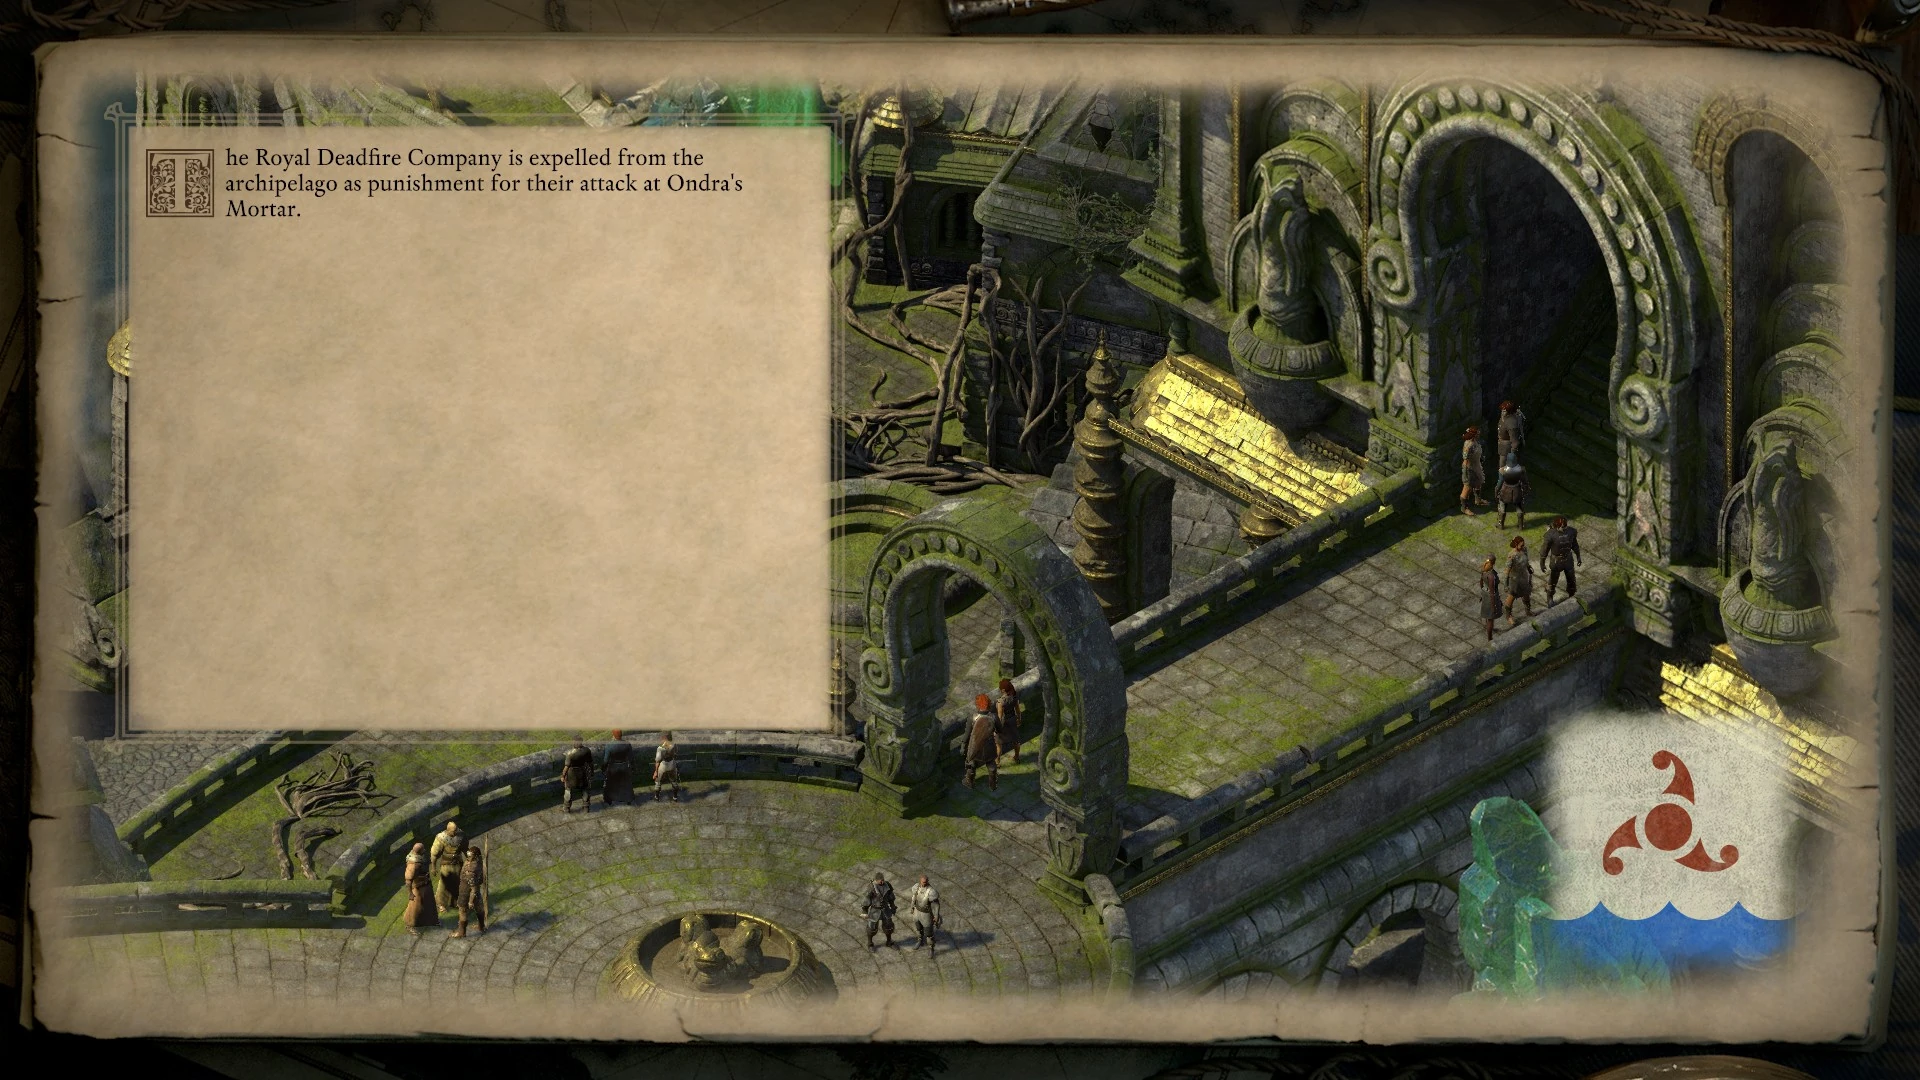
| Royal Deadfire Company was the strongest rival of the Huana. |
The Royal Deadfire Company is expelled from the archipelago as punishment for their attack at Ondra's Mortar. |
|
| Royal Deadfire Company was not the strongest rival of the Huana |
The Royal Deadfire Company is allowed to continue trading in the archipelago, though they are forced to submit most of their outposts and fortifications to Huana leadership. |

|
| Always shown. | The storms of Rauatai subside
The storms across the Rauataian mainland subside along with those of Ondra's Mortar. The storms across the Rauataian mainland subside along with those of Ondra's Mortar. However, Rauatai regards this respite with a wary eye, ever mindful that the machinery at Ondra's Spire remains under their foes' control. |

|
Finally, the state of the Príncipi sen Patrena is shown.
| Conditions | Outcome | Slides |
|---|---|---|
| Príncipi sen Patrena was the strongest rival of the Huana. |
The battle at Ondra's Mortar leaves the fleet of the Príncipi sen Patrena in shambles. Thus sundered, they fight among each other until they are little more than squabbling bands of pirates.
|

|
| Príncipi sen Patrena was not the strongest rival of the Huana, Furrante is the leader of the Príncipi | The Huana settlement of Ukaizo reignites Furrante's dream of a new Vailian empire. Deadfire is claimed and controlled, but the clearing of Ondra's Mortar offers the possibility of new prospects in yet-undiscovered lands. He leads the Old Vailian loyalists across the sea, searching still for a new Vailian homeland. |

|
| Príncipi sen Patrena was not the strongest rival of the Huana, Aeldys is the leader of the Príncipi | With the Huana settling in at Ukaizo and both Vailian and Rauataian trade reduced, Deadfire becomes a much less tempting target for Aeldys' Príncipi. The end of the storms at Ondra's Mortar, however, offers tantalizing possibilities: new lands and fatter prizes. Aeldys leads the newbloods across the sea, in search of fresh adventures. |

|
| Príncipi sen Patrena was not the strongest rival of the Huana, Two-Eyed Pim became leader of the Príncipi during Honor Among Thieves. | The Príncipi become a profitable (and well armed) transit company.
The last thing Two-Eyed Pim wants is leadership over the divided Príncipi, but he finds himself thrust into the role nonetheless. To the surprise of all, he prospers. While he lacks Furrante's charisma and Aeldys' bravura, he proves to have a knack for delegation and an excellent head for business. And despite all the changes in Deadfire, the archipelago still hungered for trade. Under him, the Príncipi sen Patrena evolve into a transit company - one of the largest and certainly the best-armed in all of Eora. And as the only sizable outfit without a connection to any rival government, Pim finds himself in a rather profitable niche, indeed. |

|

Vailian Trading Company[ | ]
This category is only displayed if allied with the Vailian Trading Company when reclaiming Ukaizo.
The first set of slides are dependent on who is the director of the Vailian Trading Company.
| Conditions | Outcome | Slides |
|---|---|---|
| Castol is the director of the Vailian Trading Company | At Ukaizo, the Vailian Trading Company discovers a cornucopia of Engwithan devices and artifacts as well as vast reserves of luminous adra. Under Director Castol's leadership, the company is poised to become not only the foremost authority on animancy, but also the dominant power in Deadfire. The Songretta mea Compresa quickly approves the construction of an academy at Ukaizo in addition to several permanent settlements. |

|
| Alvari is the director of the Vailian Trading Company | At Ukaizo, the Vailian Trading Company discovers vast reserves of luminous adra. Under Director Alvari's leadership, the company begins harvesting it at breakneck speed. The Songretta mea Compresa hastily approves the construction of several temporary settlements, and the message is clear - the company is here for business, but not forever. Vailian wealth flows into the archipelago, and what powers remain chase it desperately - Huana tribes compete with one another for contracts, and independent traders vie for business. Everyone seizes what they can while the boom lasts, anxious in the knowledge that, one day, the Vailians will leave, and the contest for Deadfire will likely begin again. |

|
The next slides shown are dependent on the status of the Huana.
| Conditions | Outcome | Slides |
|---|---|---|
| Huana were the strongest rival of the Vailian Trading | With Queen Onekaza II dead, the Huana tribes fragment further. Some profit by working with the Vailians, and others find themselves evicted from their old lands, but for many, life continues much as it had before. |

|
| Huana were not the strongest rival of the Vailian Trading | With the Kahanga monarch reduced to a figurehead, the Huana tribes fragment further. Some profit by working with the Vailians, and others find themselves evicted from their old lands, but for many, life continues much as it had before. |
|
Finally, the status of the other factions is displayed.
| Conditions | Outcome | Slides |
|---|---|---|
The Vailians' business interests trump their enmity, and they allow most of the Royal Deadfire Company's ships and personnel to remain in the archipelago to trade. Rauatai's legendary cannons pose little threat to them now. After all, the Vailians could not want for better leverage than Ondra's Spire. The storms across the Rauataian mainland subside along with those of Ondra's Mortar. However, Rauatai regards this respite with a wary eye, ever mindful that the machinery at Ondra's Spire remains under their foes' control. The influx of Vailian business into Deadfire creates an unprecedented opportunity for the Príncipi sen Patrena. Though their dreams of conquest have been squashed, there are more than enough prizes passing through to keep the captains in silks and their crews fed and content. And business is good enough that the Songretta is willing to write off more than a few losses with each transit. |

|
Royal Deadfire Company[ | ]
This category is only displayed if allied with the Royal Deadfire Company when reclaiming Ukaizo.
The first slide is always shown, showing the status of Rauatai and the Royal Deadfire Company.
| Conditions | Outcome | Slides |
|---|---|---|
As Rauatai's engineers had predicted, turning off the machine at Ondra's Spire calms not only the storms of Ondra's Mortar, but also those in Rauatai. For the first time, citizens of the mainland admire the beauty of sea and sky without wondering when they will unleash destruction. The changes to Rauatai, however, extend far beyond the weather. Rauataians had long forged their identities around enduring hardship and laboring together. But over time, as their cities and crops flourish under sunny skies, they find they need one another less. Inevitably, some lament this softer, easier life. Others point to national self-reliance, to burgeoning industry, to families that did not have to send their kin abroad, as evidence that the new ways are vastly preferable to the old. Besides, Rauataians everywhere still share a purpose more urgent than any the world had ever known: reforging the cycle of reincarnation. The changes to Deadfire are just as significant. The ranga nui declares the archipelago an extension of his empire, and his administrators waste no time in making that true in deed as well as in word. |

|

The next slides depend on the status of the Príncipi sen Patrena.
| Conditions | Outcome | Slides |
|---|---|---|
| Príncipi sen Patrena was the strongest rival of the Royal Deadfire Company | Rauataian gunships patrol Deadfire, hunting down pirates and smugglers, including the remaining Príncipi. After their defeat at Ondra's Mortar, the pirate nation stands no chance against the organized might of Rauatai. |

|
| Príncipi sen Patrena was not the strongest rival of the Royal Deadfire Company... | Rauataian gunships patrol Deadfire, hunting down pirates and smugglers, including the Príncipi. Divided as they are, the pirate nation stands little chance against the organized might of Rauatai. |

|
| ...and Furrante is the leader of the Príncipi | They manage a few respectable battles before Furrante is forced to declare their defeat and disband once and for all. |

|
| ...and Aeldys is the leader of the Príncipi | Aeldys keeps them fighting until the very end, losing most of her ships in a grand battle that Rauatai's lore chanters will sing about for years to come. |

|
Finally, the status of the other factions is shown.
| Conditions | Outcome | Slides |
|---|---|---|
As Rauataian farmers, merchants, and laborers move to the archipelago, there is little room - and less patience - for the Vailian Trading Company. The ranga nui soon forces the Vailian Trading Company to surrender its holdings in Deadfire, straining relations with the Republics. Rauatai knits its new archipelago together with all the tools of government and infrastructure. New ports spring up across Deadfire, guarded with sturdy Rauataian bronze and run with dispassionate Rauataian efficiency. Most Huana remain, even as their homeland changes around them. Their huts and lodges are cleared to make way for towns of stone and brick. The walls that are built to protect them also cut them off from the freedom of the open sea. Those Huana who trade caste and prize-share for Rauataian unity and striving prosper. Others mourn the passing of their queen and see the end of their way of life as a precursor of the doom of Eora. |

|


Príncipi sen Patrena[ | ]
This category is only displayed if allied with the Príncipi sen Patrena when reclaiming Ukaizo.
The first set of slides are dependant on who is the leader of the Príncipi sen Patrena.
| Conditions | Outcome | Slides |
|---|---|---|
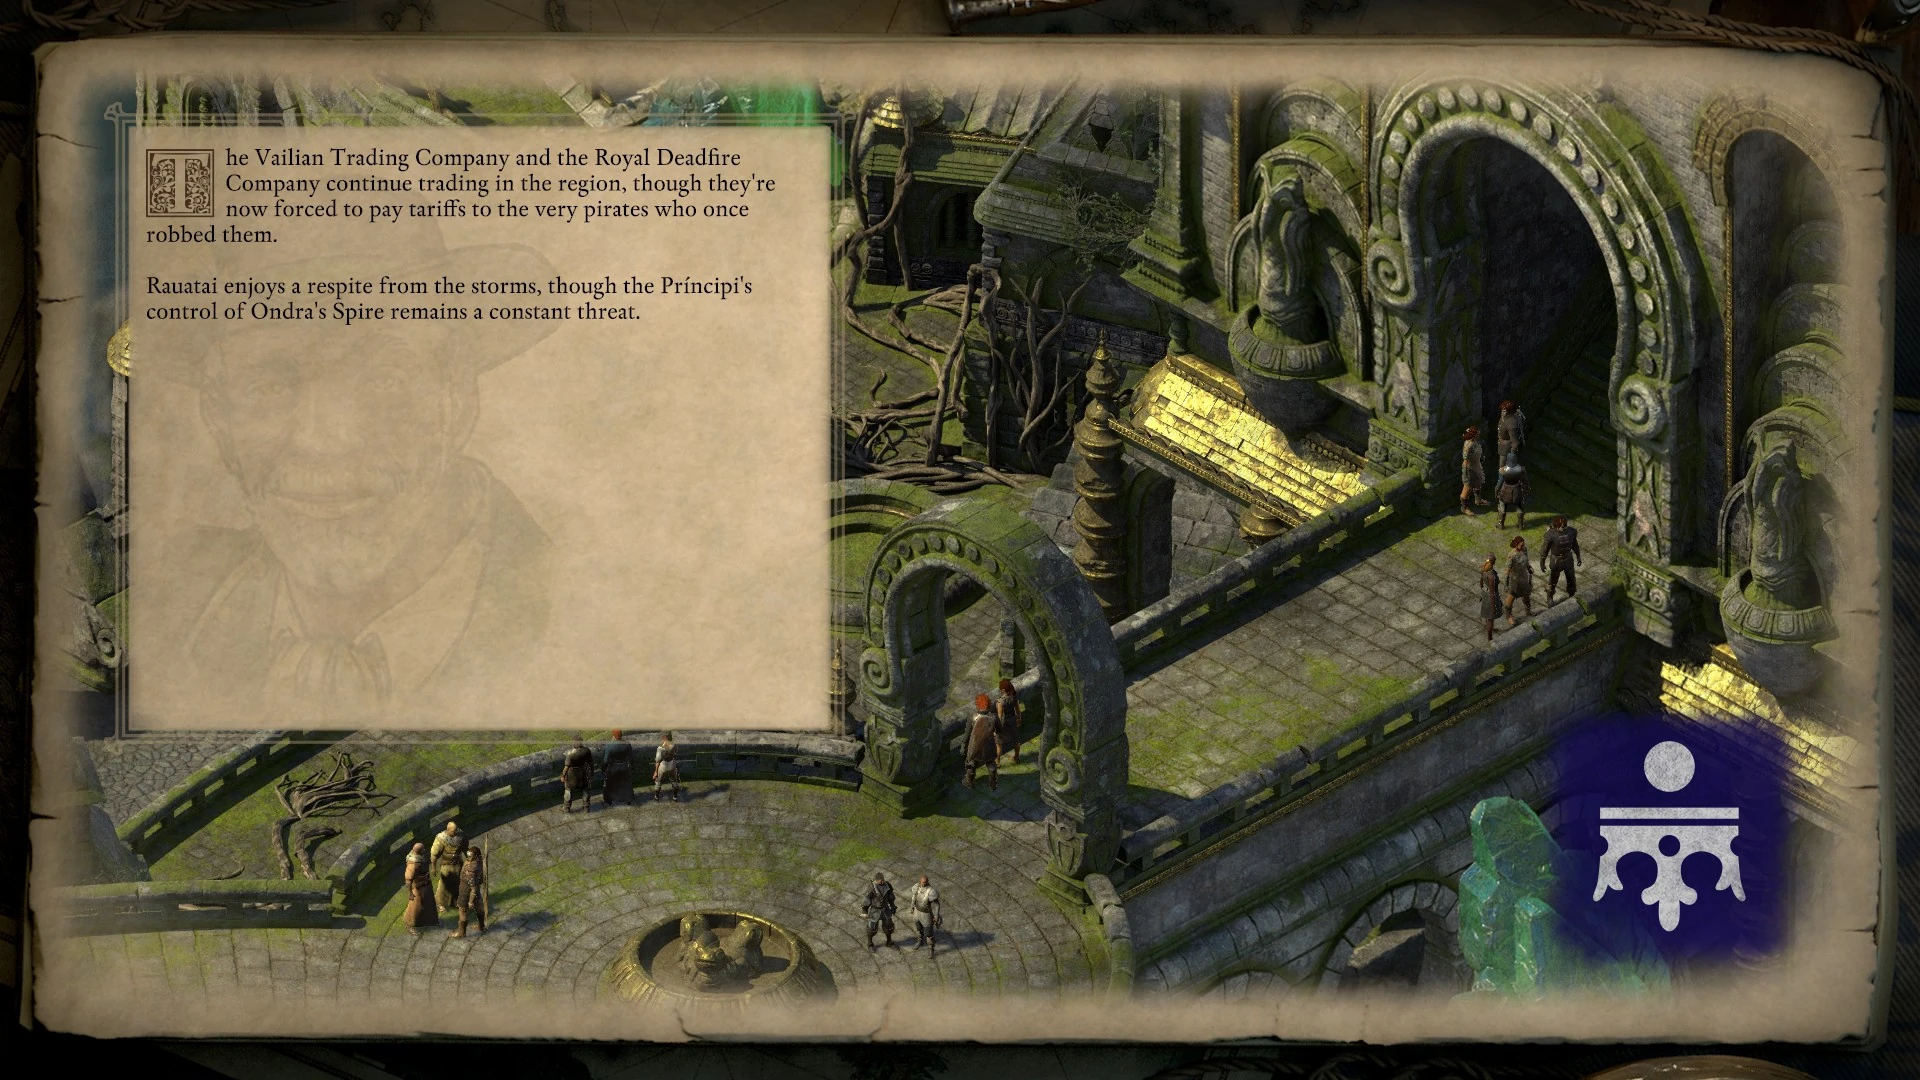
| Furrante leads the Príncipi | Under Furrante's guidance, the Príncipi sen Patrena lay claim to Ukaizo and begin the difficult work of nation-building. They establish a formal government around the Consuaglo mes Casitàs and learn to cultivate and trade for the resources they once seized and stole. Their neighbors in the archipelago are intially reluctant to accept them, but given the ample protection that Ondra's Spire affords Ukaizo, they have little choice. The Vailian Trading Company and the Royal Deadfire Company continue trading in the region, though they're now forced to pay tariffs to the very pirates who once robbed them. Rauatai enjoys a respite from the storms, though the Príncipi's control of Ondra's Spire remains a constant threat. |

|
| Aeldys leads the Príncipi | After the battle, Aeldys sends her fleet from Ukaizo. Her first and last act as lady of the ancient city is to reactivate the storms from Ondra's Spire. Her work done, she departs in the Floating Hangman. She determines that none shall control the power of Ukaizo. Under her, the Príncipi shall remain a lawless, rootless pirate band, and Deadfire shall remain free for any with the will to make their way in it. As the rise in piracy makes operations in Deadfire ever more costly, the Consuaglo mea Compresa votes to scale back the Vailian Trading Company's presence. Luminous adra and animancy research remain valuable enterprises, but the company can no longer afford to seek dominance in the region. The Royal Deadfire Company makes a final attempt to seize Ukaizo using an innovation of its own - a ship that submerges itself beneath the waves and storms. It is not, however, immune to the magically-charged barrels that Aeldys' ships drop into the water. After an embarrassing defeat, the Royal Deadfire Company consolidates its forces in the archipelago and limits its ambitions to a handful of well-guarded plantations. The storms of Rauatai rage on, and its people muddle through with the same tenacity that has served them for millennia. |
|


The state of the Huana is then shown.
| Conditions | Outcome | Slides |
|---|---|---|
| Huana were the strongest rival of the Príncipi sen Patrena | Devastated by their defeat at Ondra's Mortar and demoralized by the loss of Ukaizo, the Huana tribes fragment further. Without a monarch in place, the once-great city of Neketaka gradually devolves into a den of crime. |

|
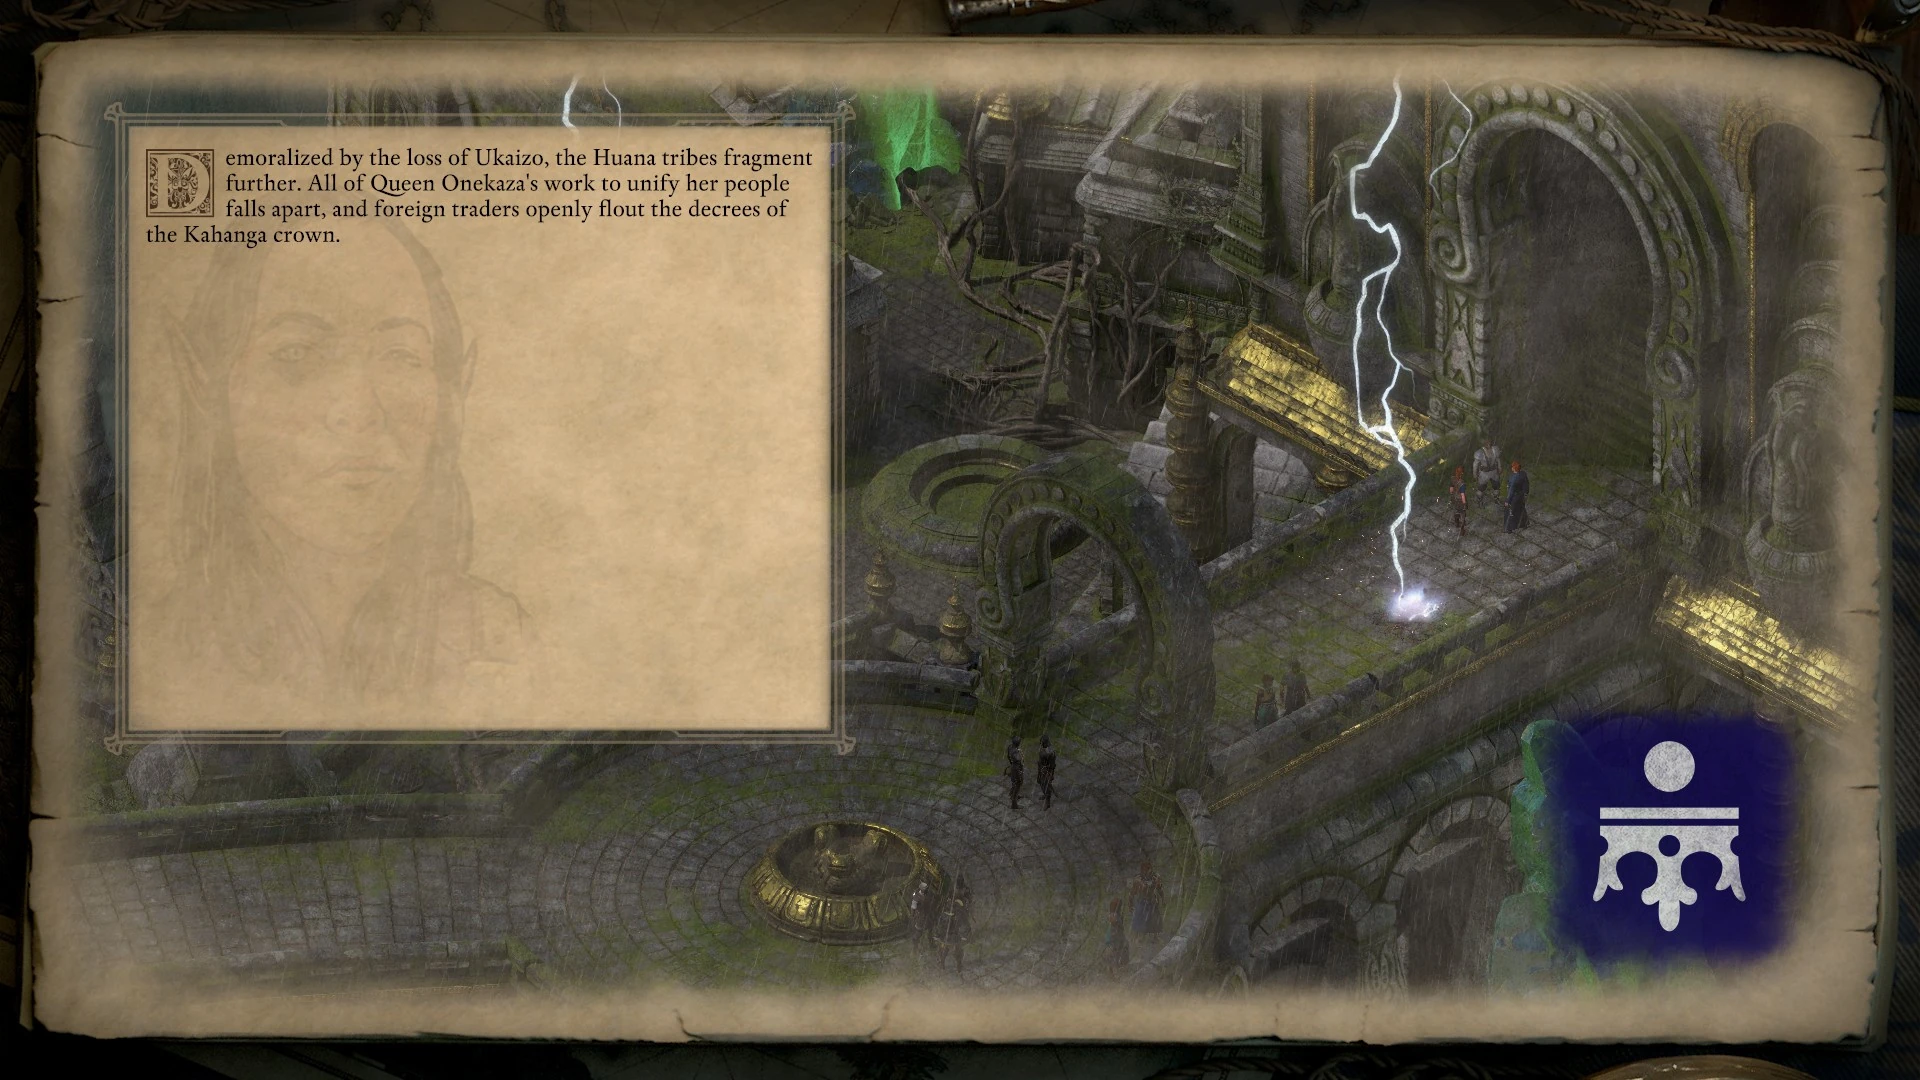
| Huana were not the strongest rival of the Príncipi sen Patrena | Demoralized by the loss of Ukaizo, the Huana tribes fragment further. All of Queen Onekaza's work to unify her people falls apart, and foreign traders openly flout the decrees of the Kahanga crown. |
|
No Faction[ | ]
This category is only displayed if the Watcher chooses to reclaim Ukaizo on their own, without the assistance of a faction.
| Conditions | Outcome | Slides |
|---|---|---|
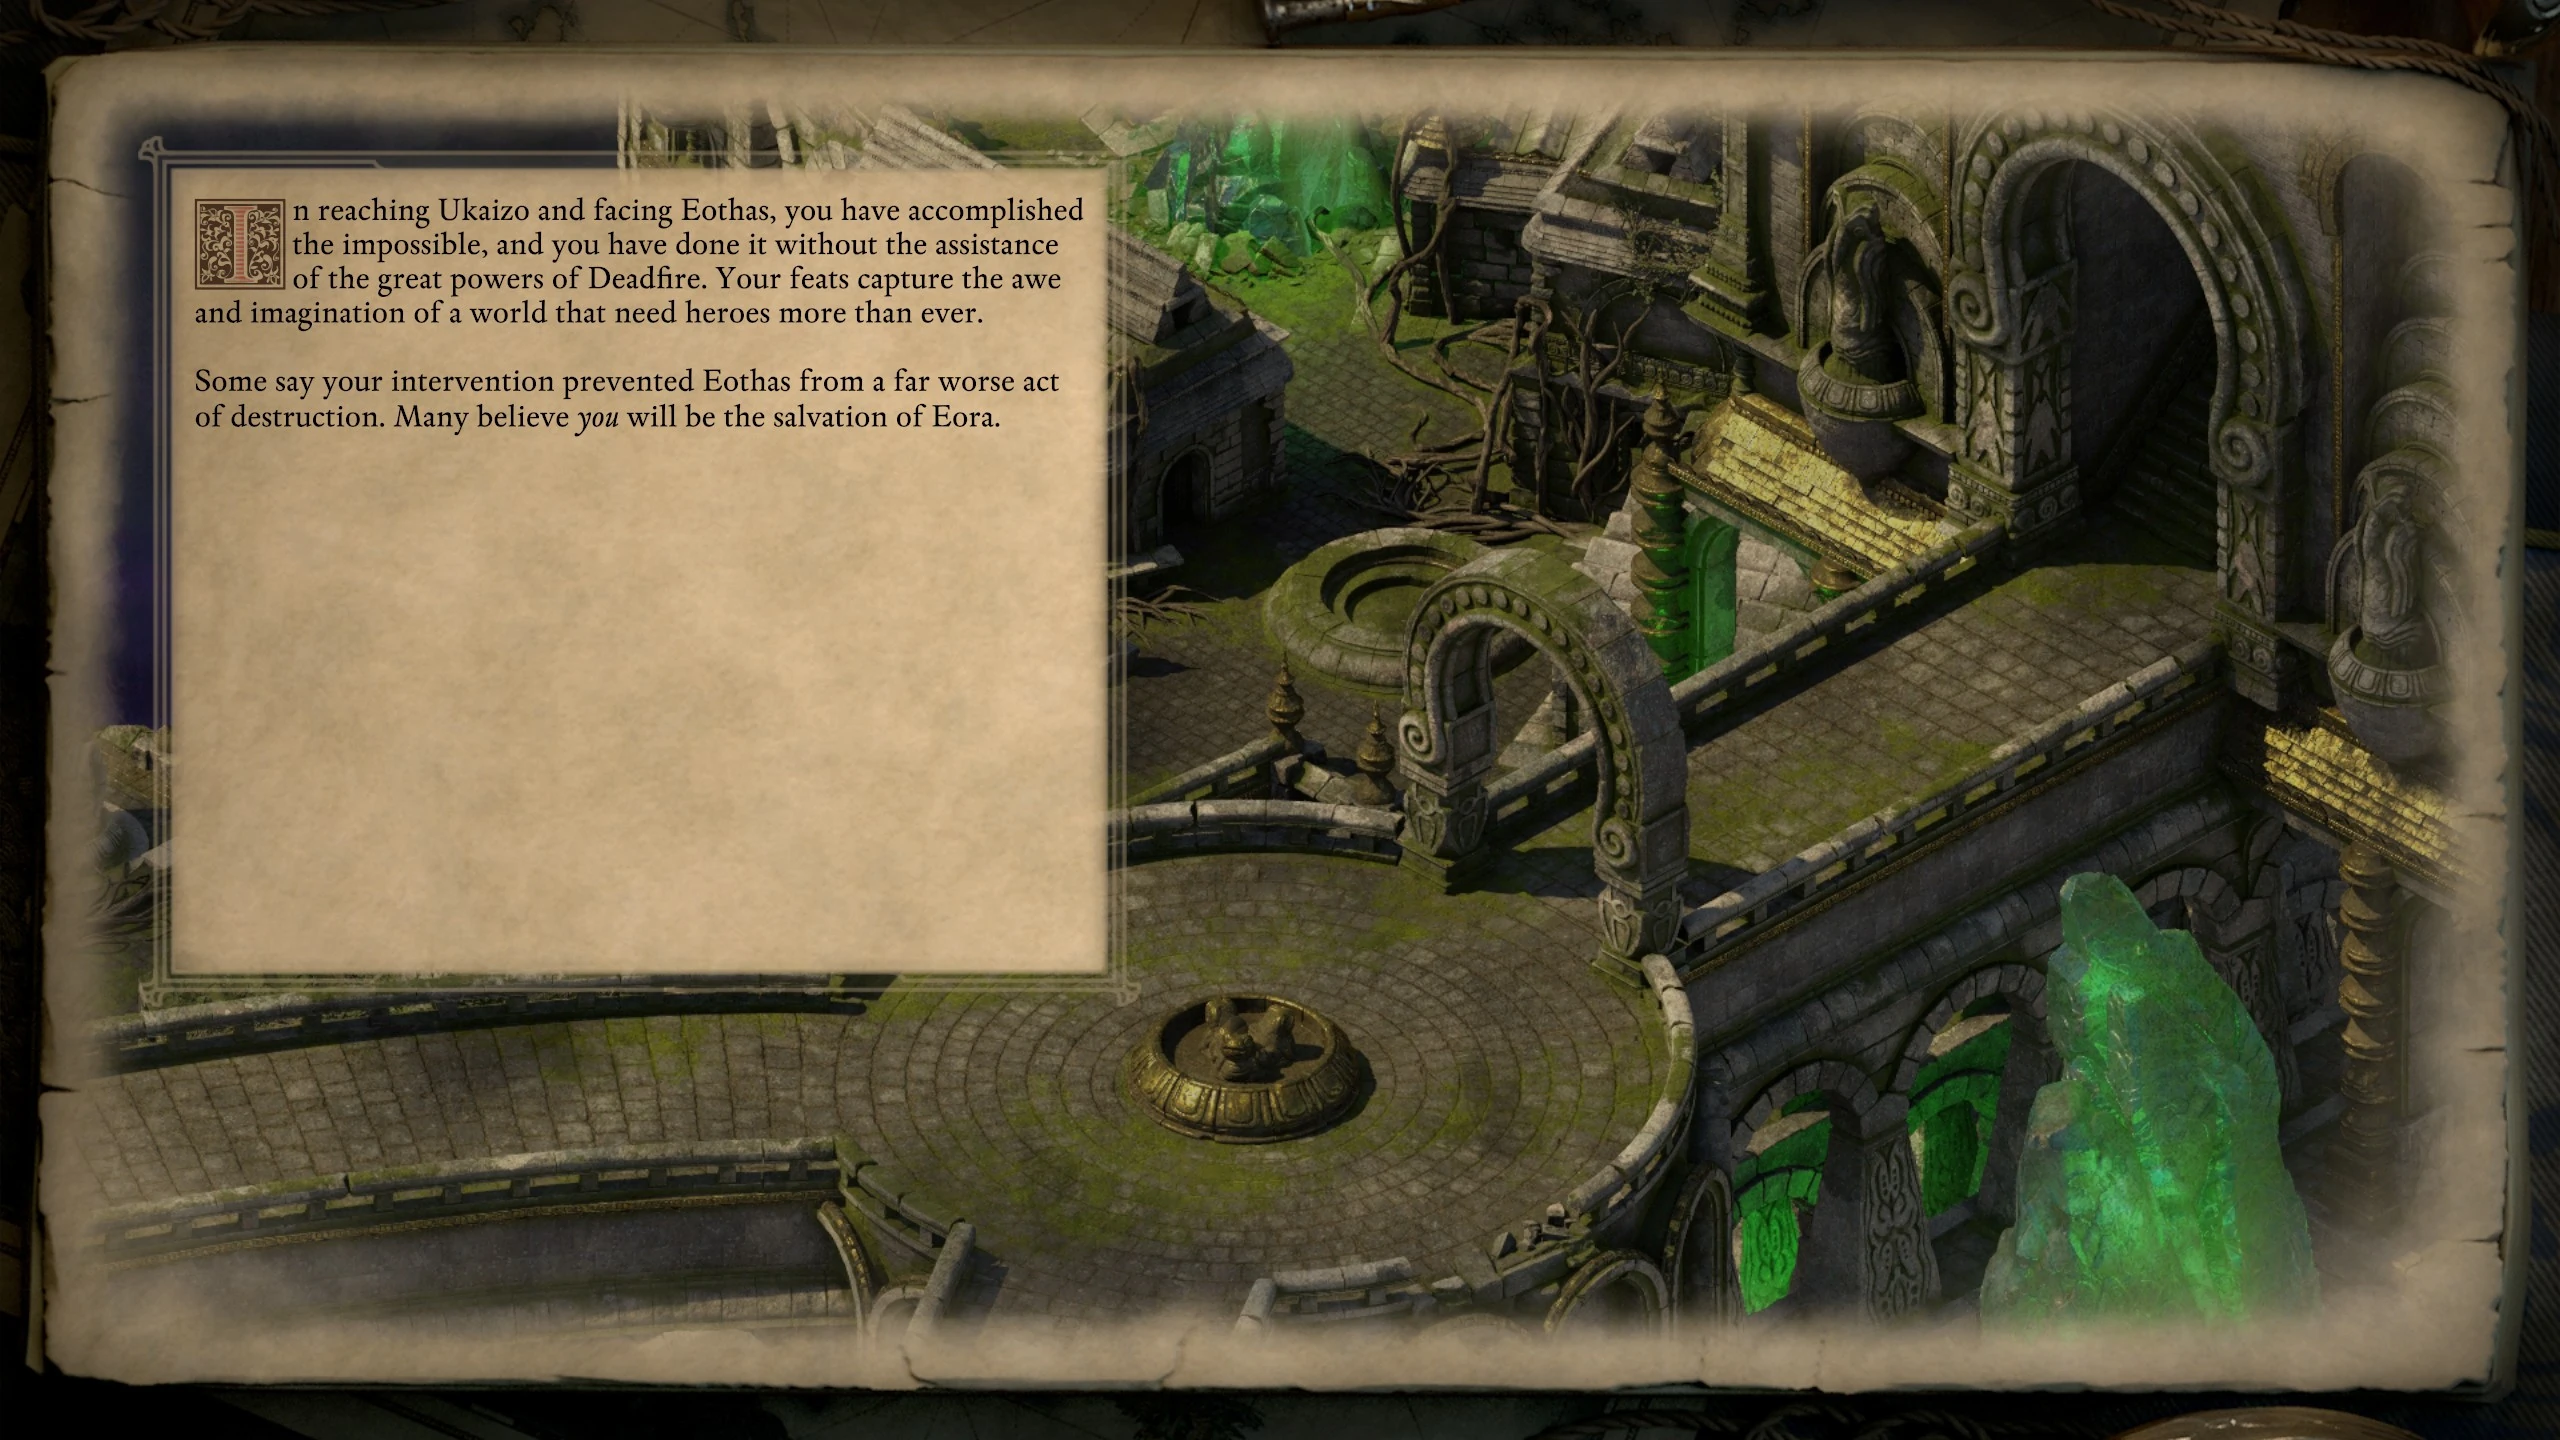
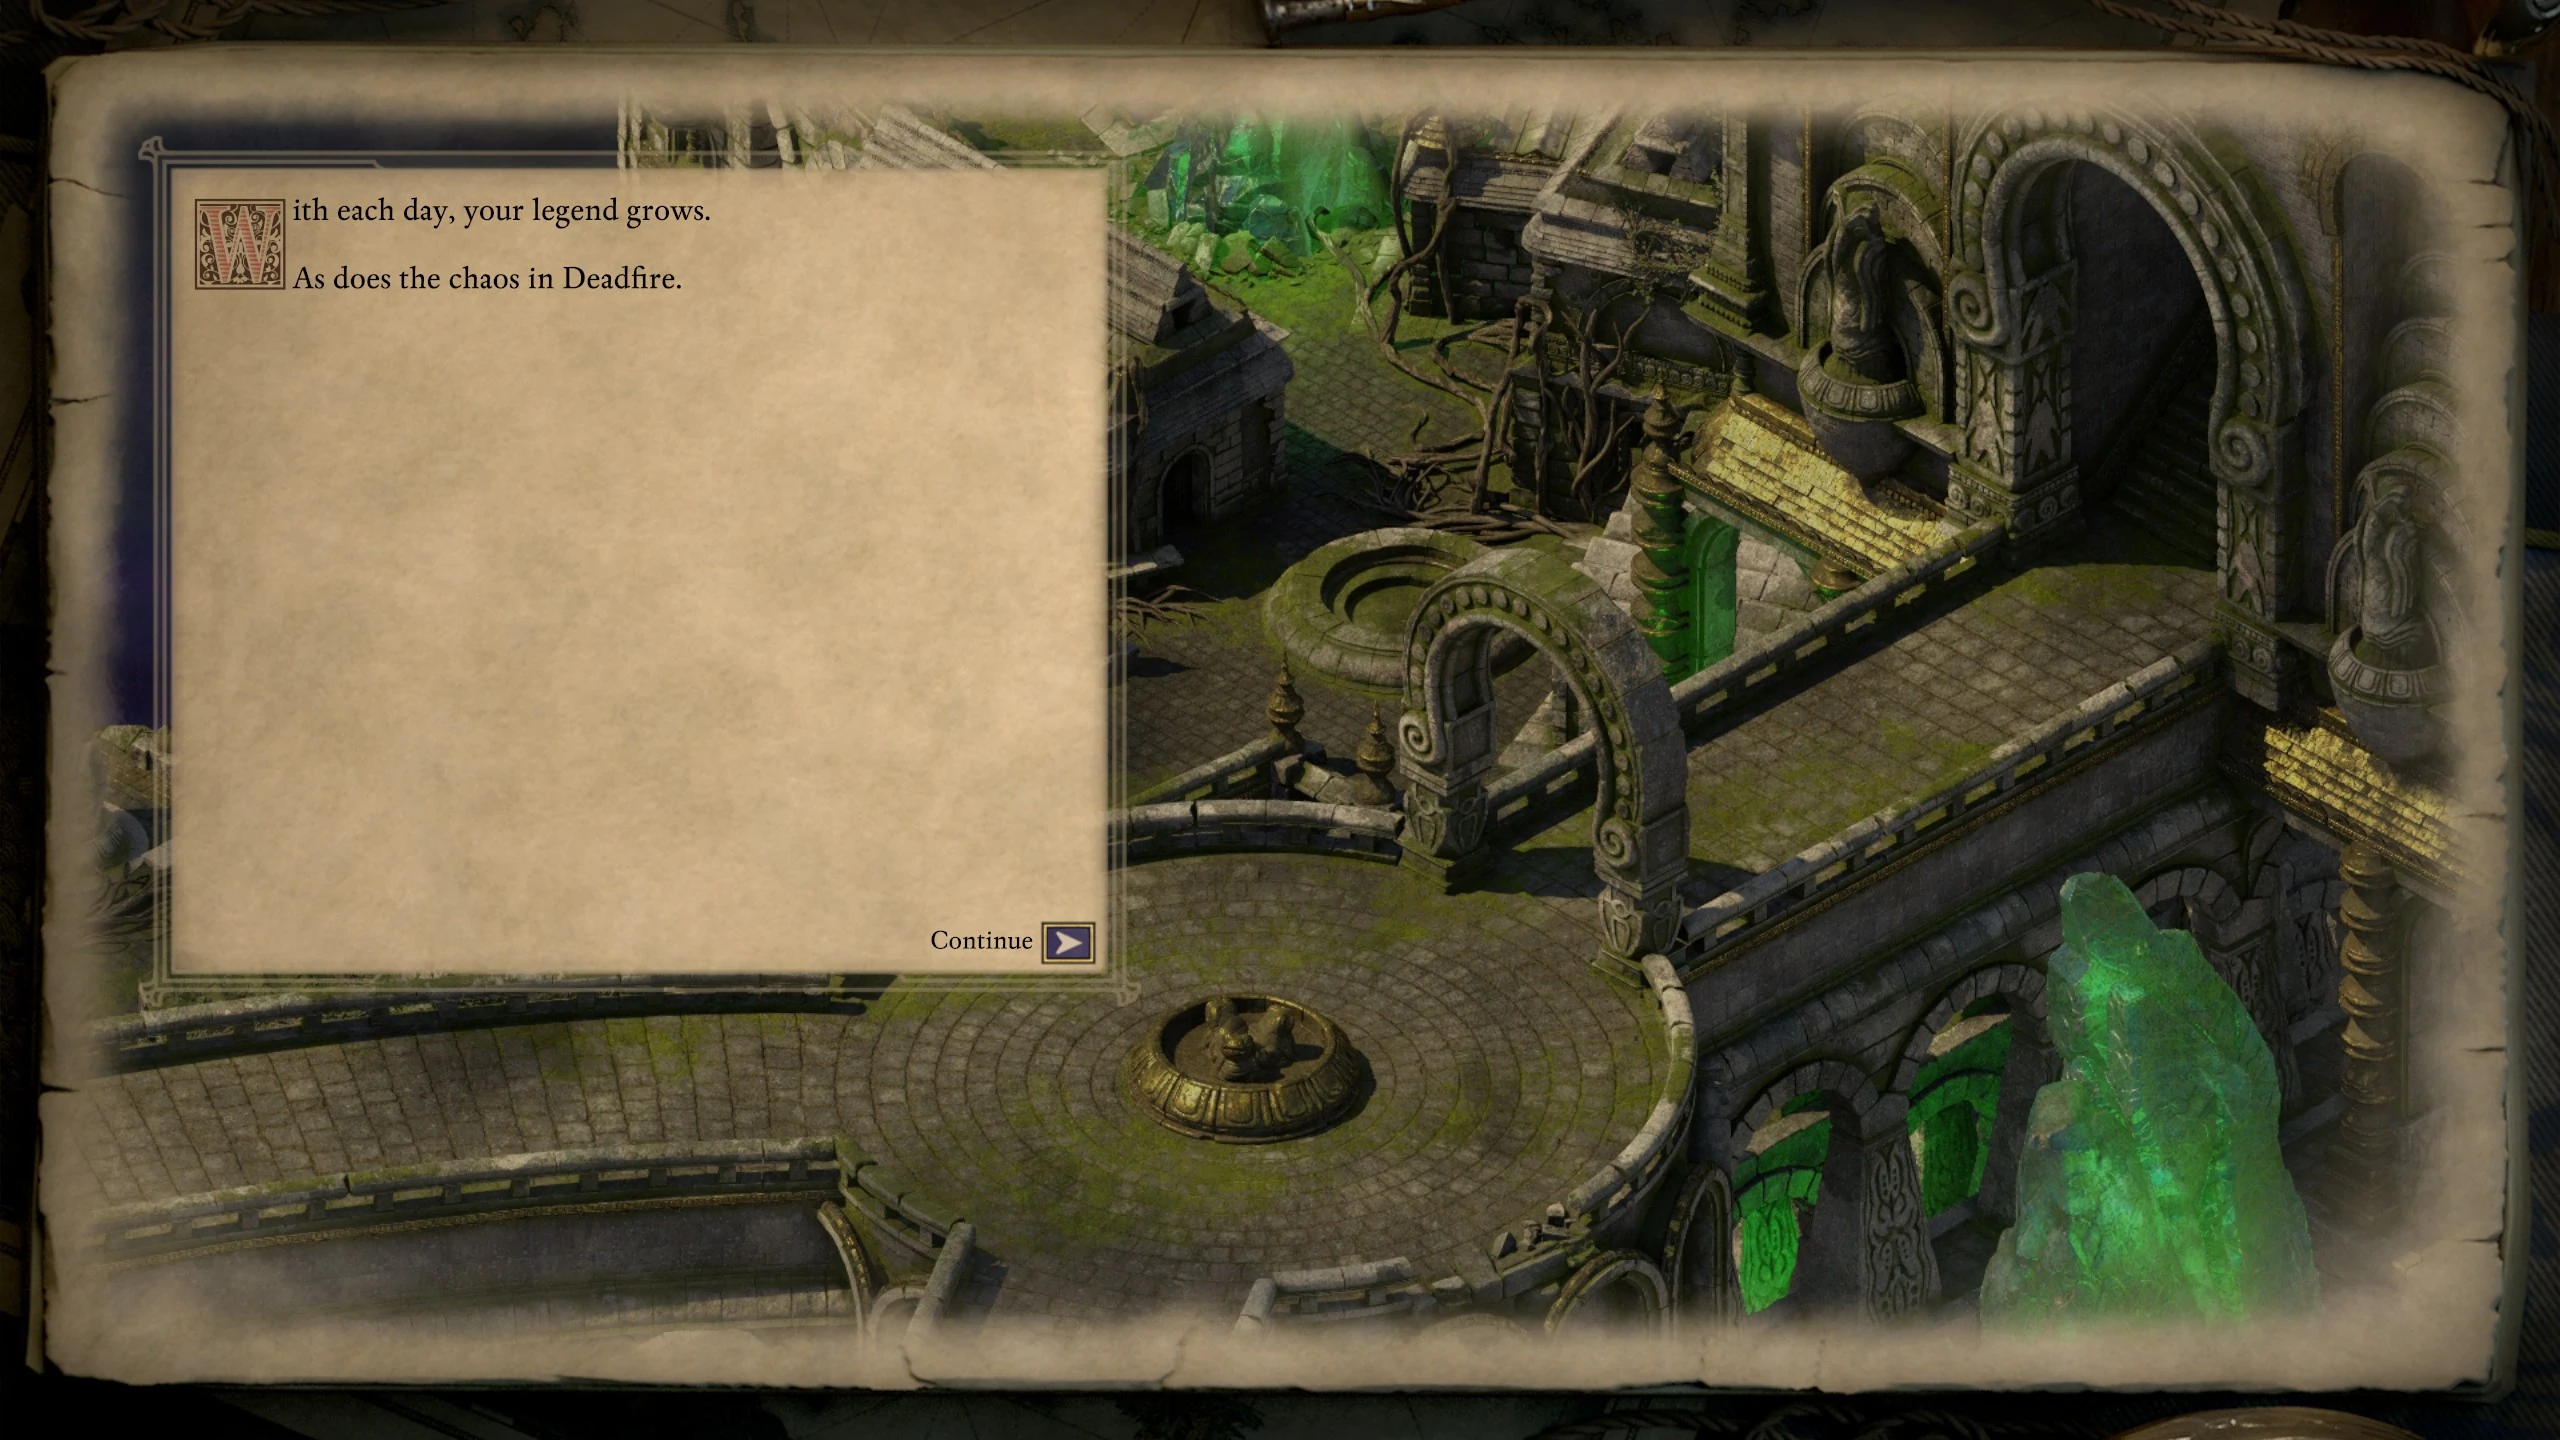
In reaching Ukaizo and facing Eothas, you have accomplished the impossible, and you have done it without the assistance of the great powers of Deadfire. Your feats capture the awe and imagination of a world that need heroes more than ever. Some say your intervention prevented Eothas from a far worse act of destruction. Many believe you will be the salvation of Eora. With each day, your legend grows. As does the chaos in Deadfire. Ukaizo remains unclaimed, and Ofecchia Channel becomes the site of a near-constant battle as the Huana and the Rauataians vie for control of the unprotected island. The Rauataians rely on their cannons, and the Huana call forth massive waves and beasts of the deep to sink their foes. And while they chip away at one another, the Vailians and the Príncipi pursue their own ends with increasing abandon. Emboldened by their rivals' distraction, the Vailian Trading Company seizes territory and mines luminous adra at a startling pace. Huana villages are left at the mercy of unscrupulous speculators, and resource-rich islands are swarmed and stripped. To support their operations, the Vailian Trading Company begins shipping ever greater quantities of supplies and luminous adra to and from the archipelago. This attracts the attention of the Príncipi, who target these ships with increasing aggression. The promise of fat prizes draws even more pirates to their ranks. The Rauataians - as well as the Huana - are too busy to stop them. |
|
Port Maje[ | ]
The slides shown for Port Maje primarily depend on the status of its leaders, which is influenced by the Watcher either helping Maia Rua deliver her missive to Tuaha, or even choosing to personally attack the leaders of Port Maje themselves.
Port Maje Assassination[ | ]
This category is only displayed if the Watcher assists Maia Rua in delivering her missive to Tuaha in Port Maje, as it turns out the consequence of this is the leaders of Port Maje being assassinated.
The first slide shown depicts the status of Port Maje.
| Conditions | Outcome | Slides |
|---|---|---|
The mysterious deaths of Governor Clario and Storm Speaker Ikawha provoke hostilities between the Vailian settlers and the Huana residents. What starts with angry words escalates to retaliatory killings as each side blames the another. By the time anyone bother to question the strange coincidences surrounding their deaths - including reports of a cloaked aumaua woman seen in both the port and the village - both sides have gone too far to turn back. |
|

Additionally, unless the Watcher chose to reclaim Ukaizo alone, further influence from the controlling faction is shown.
| Condition | Outcome | Slides |
|---|---|---|
| Royal Deadfire Company controls Ukaizo | The chaos makes it easy for a small Rauataian contingent to swoop in and establish control over the island. Within days, they eject the remaining Vailians and pacify the Huana. Port Maje becomes a valuable outpost, and one that allows Rauatai easy control over the southern end of Deadfire. It is, by all accounts, a smooth and exceedingly well-run operation. |
|
| The Huana control Ukaizo | The conflict eventually draws the attention of Queen Onekaza, who sends a contingent of warriors to drive the remaining Vailians from the island. Port Maje becomes a cautionary tale for outsiders who would abuse the hospitality of the Huana tribes. |

|
| Vailian Trading Company controls Ukaizo | The conflict eventually draws the attention of the Songretta mea Compresa. They dispatch a mercenary company to subdue the remaining Huana and select a strict hard-liner to replace Clario. Port Maje becomes a cautionary tale for Huana tribes that would consider violence against the Vailian Trading Company. |

|
| Príncipi sen Patrena controls Ukaizo | As the conflict tears both the village and the town apart, many people - Huana and Vailian alike - drift away in search of other opportunities. Many find themselves among the newly-empowered Príncipi. After the violence they've already seen, piracy doesn't seem so bad. |

|
Port Maje Bloodshed[ | ]
This category is displayed if the Watcher decides to murder either Clario and/or Ikawha, the leaders of Port Maje.
| Conditions | Outcome | Slides |
|---|---|---|
| Always applies | Many flee Port Maje.
Your wanton bloodshed scarred the people of Port Maje, especially following in the wake of the catastrophic storm and the sighting of the adra colossus. Many who had come seeking their fortunes leave Deadfire for good. |

|
| Ikawha killed | Sātahuzi is abandoned.
Ikawha's death leaves Sātahuzi a ghost town. Those who survived your attack flee and never set foot on the island again. |
|
| Ikawha alive | Ikawha moves the villagers.
After your murder of Clario, Ikawha leads her people away from Sātahuzi, resolved to avoid the capricious violence of outsiders' affairs. |

|
Furthermore, some of the factions may have further influence over Port Maje when in control of Ukaizo. If so, these slides are then shown.
| Conditions | Outcome | Slides |
|---|---|---|
| Royal Deadfire Company controls Ukaizo | The Rauataians swoop in and quickly establish control over the island. They built up much better defenses than their Vailian predecessors, transforming Port Maje into a control point for the southern region of the archipelago. |
|
| Vailian Trading Company controls Ukaizo | The Vailian Trading Company eventually reestablishes control over the island. Learning from their mistakes, they built up Port Maje's defenses and hire mercenaries to protect it. |

|
| Príncipi sen Patrena controls Ukaizo | Half-abandoned and undefended, Port Maje gradually becomes a haven for the Príncipi. |

|
Port Maje Peaceful[ | ]
This category is displayed if the Watcher does not allow Maia Rua to deliver her missive to Tuaha in Port Maje, stopping the leaders of Port Maje from being assassinated. Additionally, Clario and Ikawha must not be killed by the Watcher.
| Conditions | Outcome | Slides |
|---|---|---|
| Huana, Vailian Trading Company, or No Faction controls Ukaizo | Despite other tensions across the archipelago, Port Maje remains a model of peaceful, productive cooperation between the Huana and the Vailian Trading Company. Though they do not always agree, Governor Clario and Storm Speaker Ikawha work together for the mutual benefit of their people. |

|
| Royal Deadfire Company controls Ukaizo | As Rauataian ships close on Port Maje, Governor Clario and Storm Speaker Ikawha unite their forces in resistance. Rauatai eventually prevails, but only after a long and costly campaign. |

|
| Príncipi sen Patrena controls Ukaizo | Port Maje remains stable despite the changes at work in Deadfire. Governor Clario and Storm Speaker Ikawha work together to shore up their defenses against the Príncipi and to petition the Vailian Trading Company for additional funding. Thanks to their joint efforts, Port Maje becomes a bastion of security and prosperity in the southern archipelago. |

|
Neketaka[ | ]
| Conditions | Outcome | Slides |
|---|---|---|
| Always applies. | As the balance of power changes in Deadfire, so too does Neketaka transform. |

|
| The Huana control Ukaizo | Though the Kahanga monarchy moves its new seat of government to Ukaizo, Neketaka continues to be a busy and important city. |

|
| Vailian Trading Company controls Ukaizo | The Vailian Trading Company builds up the port in Queen's Berth. The company's expanding presence, however, quickly outgrows the dockside district. Company facilities and personnel spread throughout Neketaka. |
|
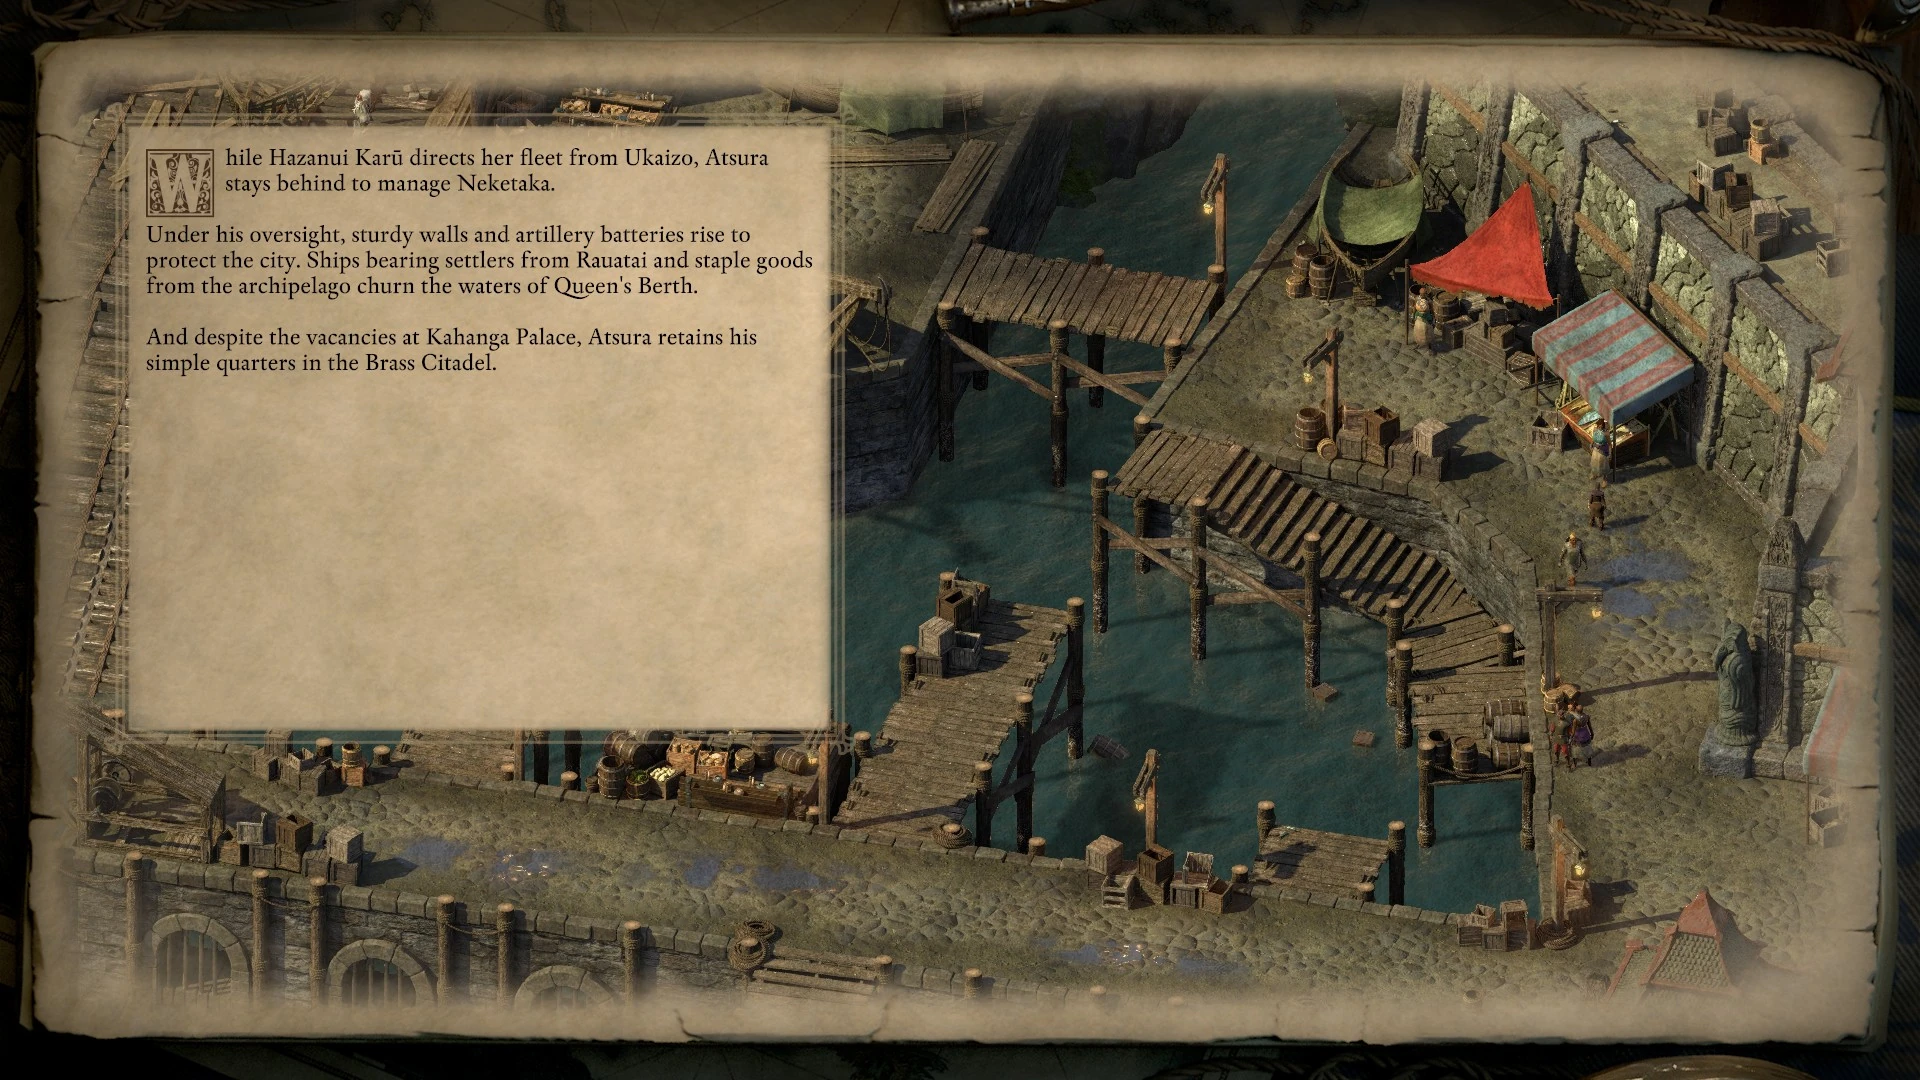
| Royal Deadfire Company controls Ukaizo | While Hazanui Karū directs her fleet from Ukaizo, Atsura stays behind to manage Neketaka. Under his oversight, sturdy walls and artillery batteries rise to protect the city. Ships bearing settlers from Rauatai and staple goods from the archipelago churn the waters of Queen's Berth. And despite the vacancies at Kahanga Palace, Atsura retains his simple quarters in the Brass Citadel. |
|
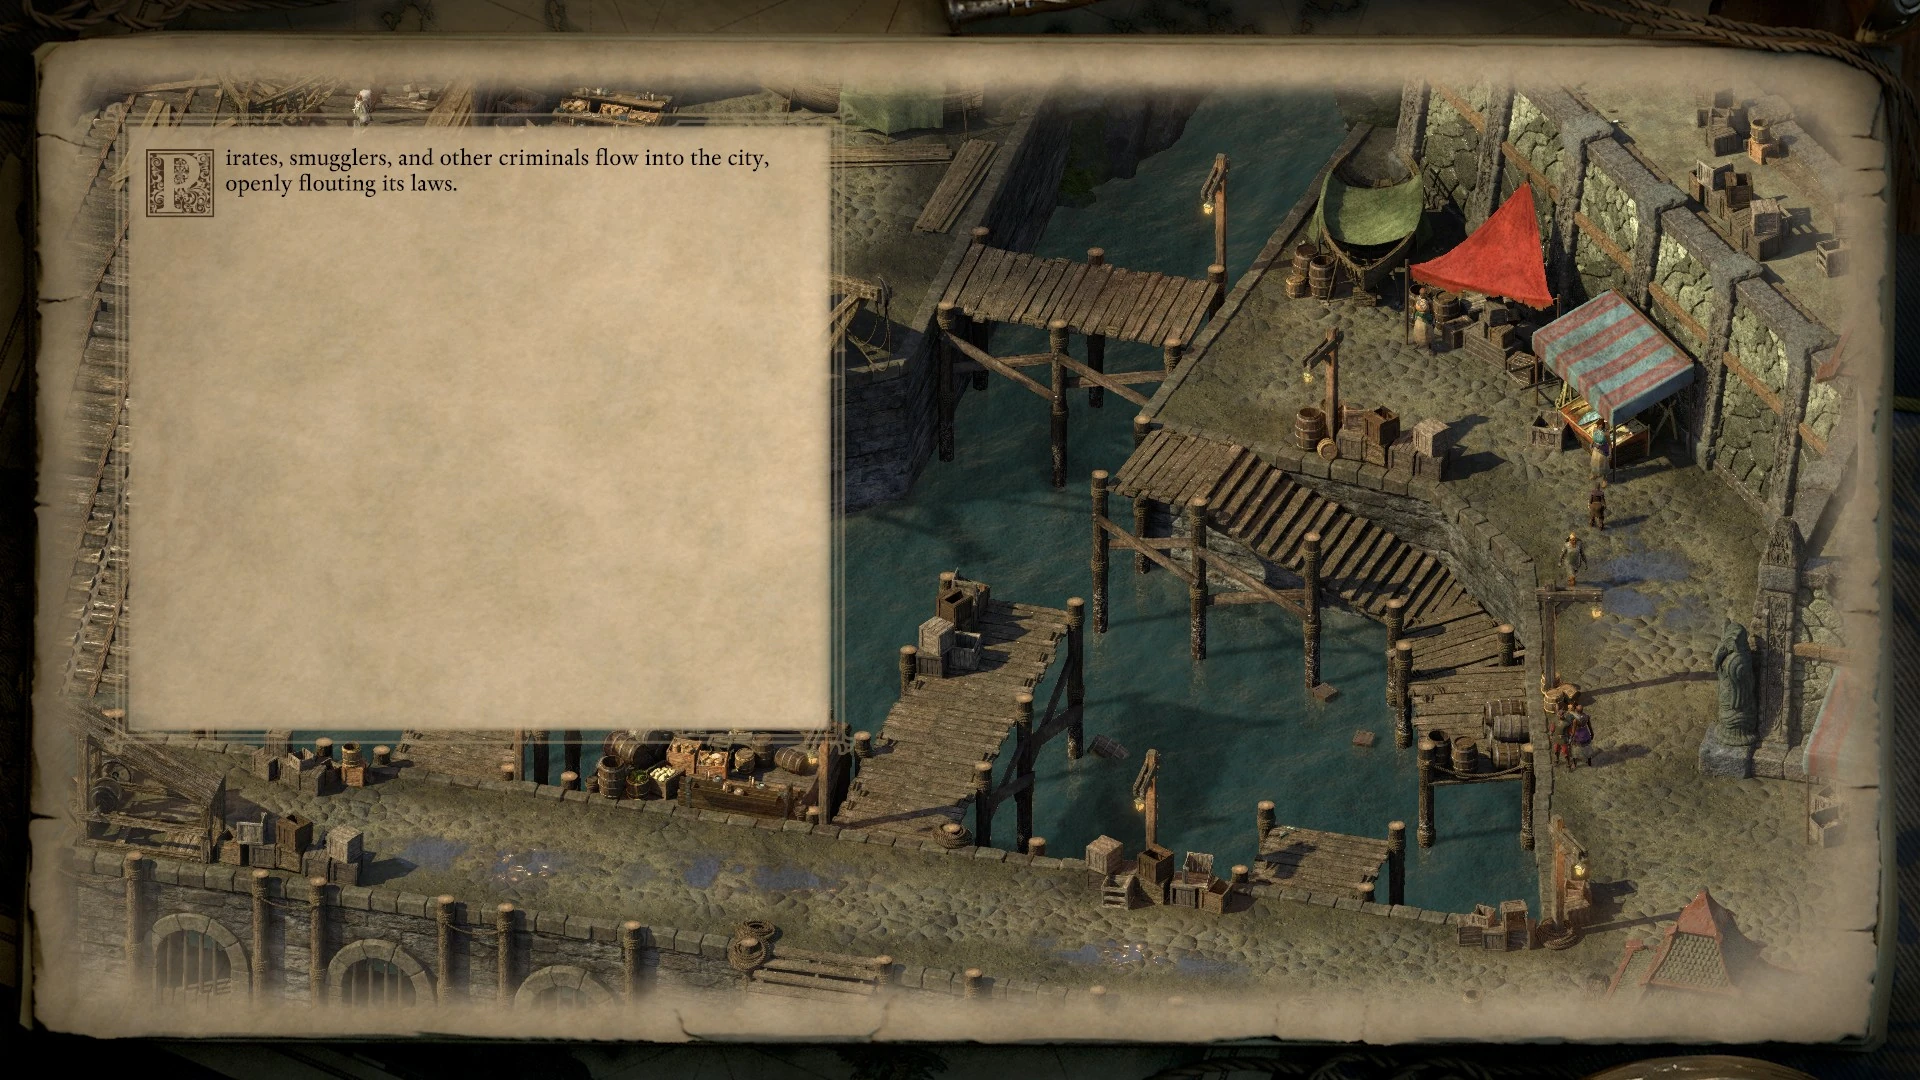
| Príncipi sen Patrena controls Ukaizo | Pirates, smugglers, and other criminals flow into the city, openly flouting its laws. |
|
| No faction controls Ukaizo | With the major powers at one others' throats, Neketaka becomes a maelstrom of chaos. Spies and smugglers follow the flow of refugees into the city, where violence is commonplace. Ukaizo remains the coveted prize, and Neketaka fades into an afterthought. |

|
The Gullet[ | ]
Only one slide will be displayed from this section. The first criteria to be true in this list is what will be shown in your ending.
| Conditions | Outcome | Slides |
|---|---|---|
| Kahanga convinced to take better care of the Roparu in the Gullet, Royal Deadfire Company does not control Ukaizo | The Kahanga leadership takes responsibility for the welfare of the Roparu, and the Gullet starts to improve. What was once a den of crime, poverty, and illness slowly becomes a quiet haven for the Roparu. |

|
| The Roparu supplied with food via Príncipi smugglers | The pirates continue smuggling food into the Gullet, and the Roparu embrace their benefactors, aiding and concealing their smuggling operations. Over time, the Gullet becomes a hotbed of piracy. |

|
| Royal Deadfire Company controls Ukaizo | The Royal Deadfire Company evacuates and razes the Gullet, hoping to lift the Roparu out of squalor and eradicate the criminal elements. They certainly rid Neketaka of an eyesore, though the larger problems of crime and poverty prove harder to solve. |

|
| The Roparu in the Gullet left unhelped | Largely forgotten amidst more prominent concerns, the Gullet continues to be a miserable place, especially for those Roparu who flee to Neketaka seeking a haven amidst the turmoil. For them, the grand city is a promise cruelly broken. |

|
Watershapers Guild[ | ]
Only one slide will be displayed from this section. The first criteria to be true in this list is what will be shown in your ending.
| Conditions | Outcome | Slides |
|---|---|---|
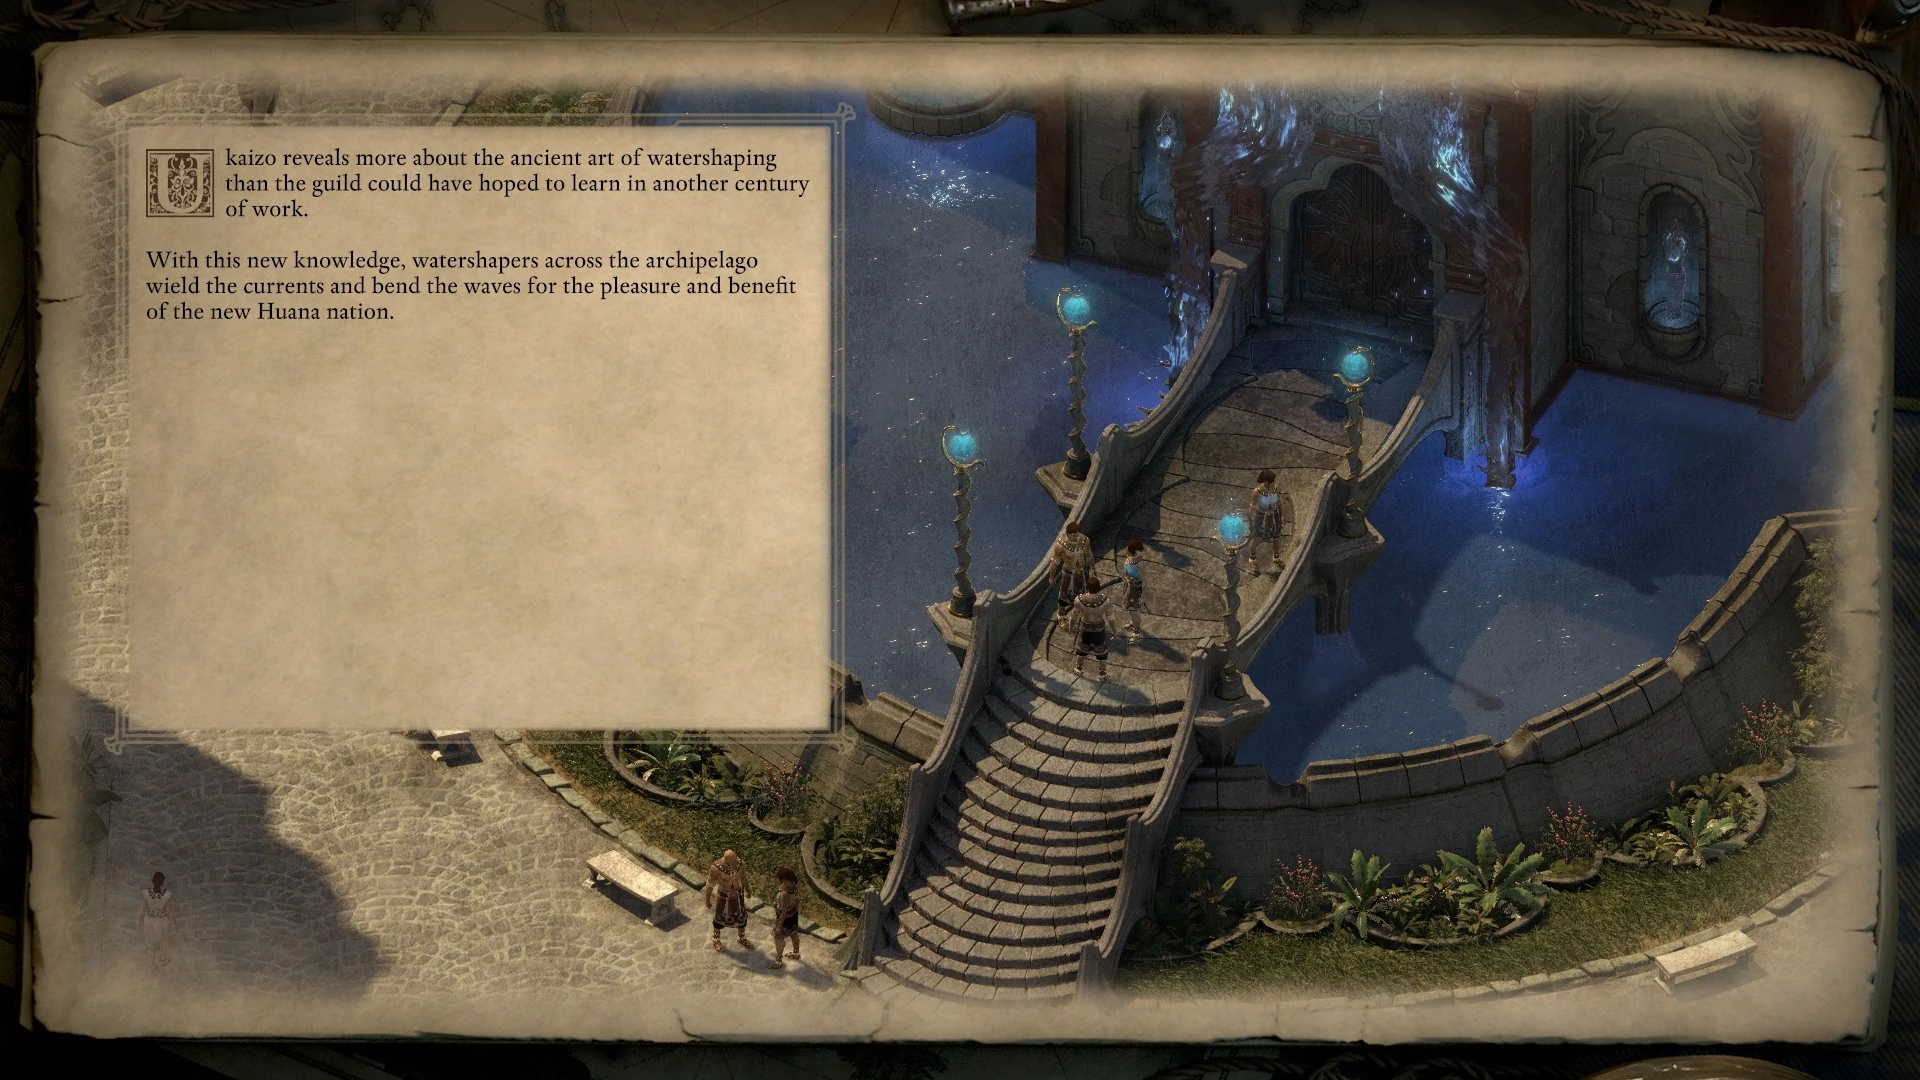
| Huana control Ukaizo | Ukaizo reveals more about the ancient art of watershaping than the guild could have hoped to learn in another century of work. With this new knowledge, watershapers across the archipelago wield the currents and bend the waves for the pleasure and benefit of the new Huana nation. |
|
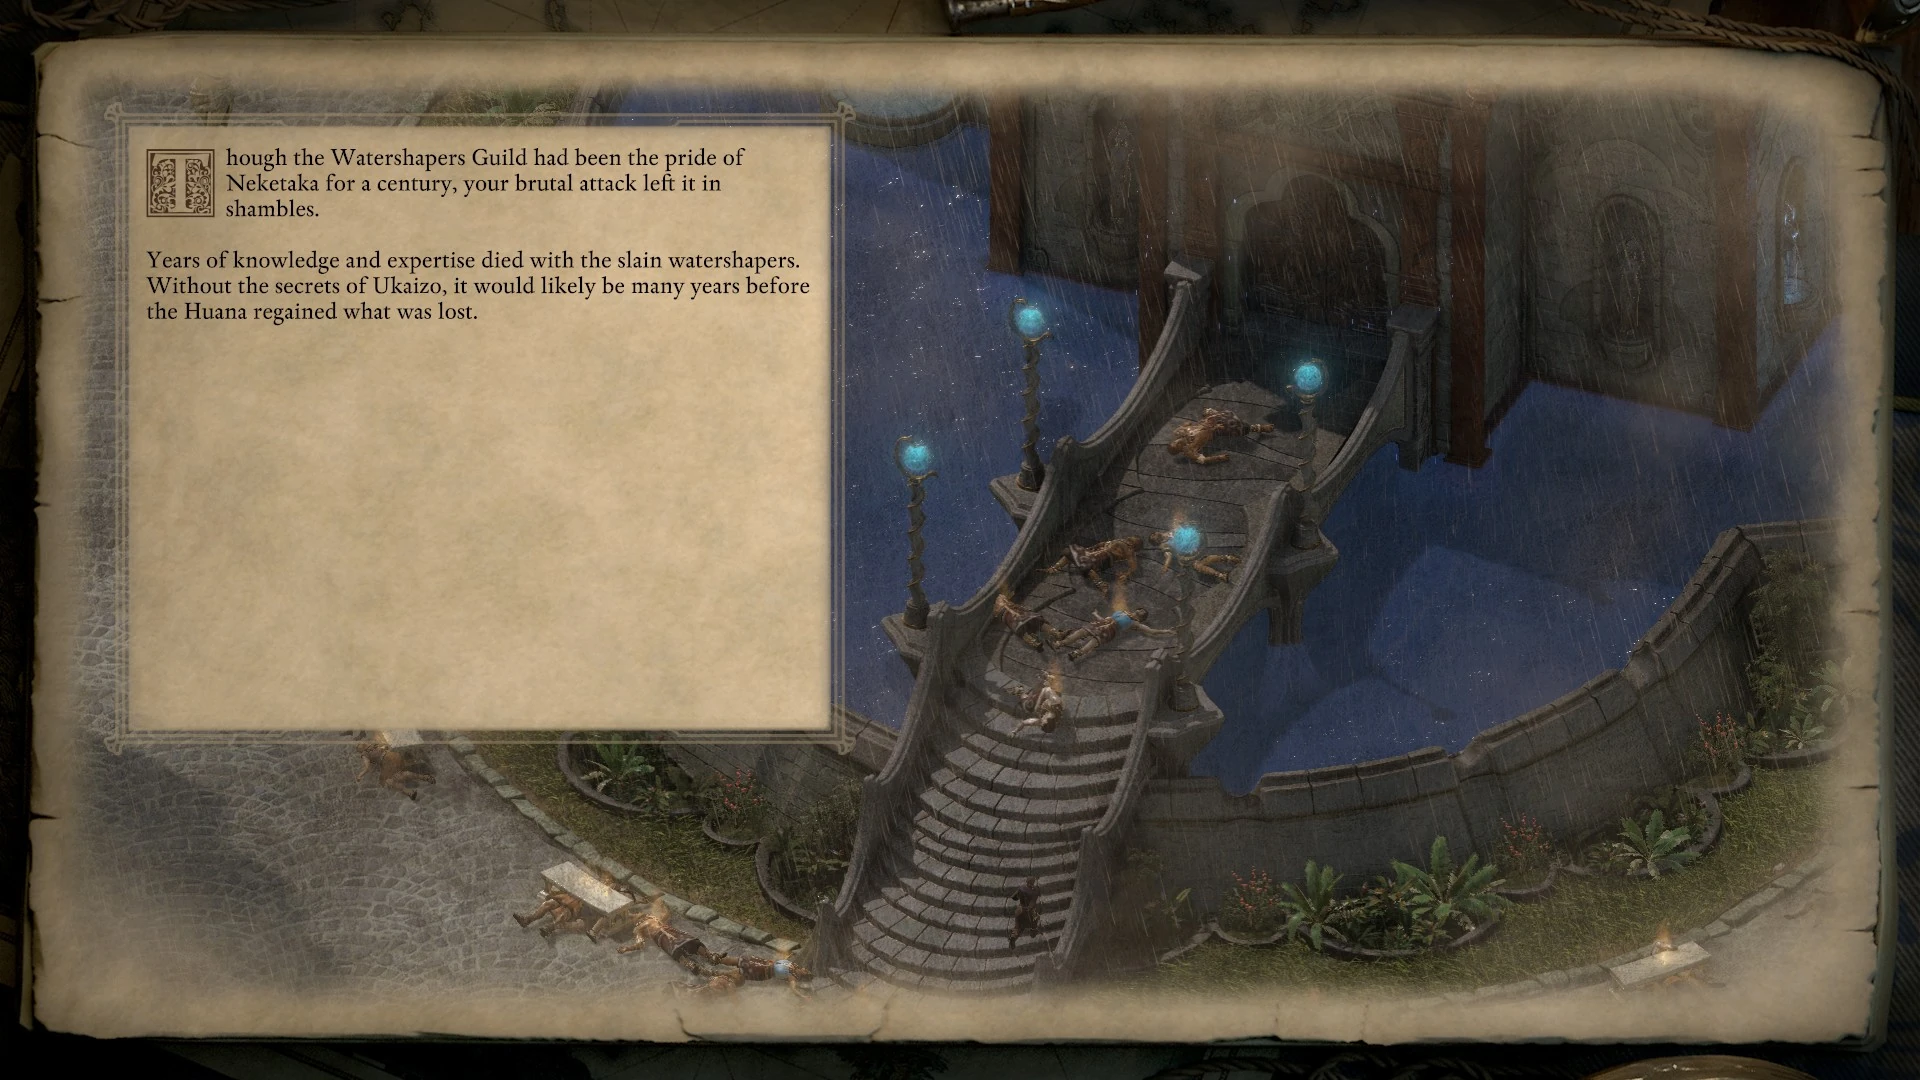
| Watershapers Guild wiped out by the Watcher | Though the Watershapers Guild had been the pride of Neketaka for a century, your brutal attack left it in shambles. Years of knowledge and expertise died with the slain watershapers. Without the secrets of Ukaizo, it would likely be many years before the Huana regained what was lost. |
|
| Eothas convinced to help mortals rebuild | The Engwithan and Huana ruins that Eothas reveals hold many surprises for the Watershapers Guild. Though they yearn for the knowledge still hidden in Ukaizo, what they learn amidst their people's ruins spreads and strengthens the practice of watershaping across the archipelago. |

|
| The wards imprisoning Scyorielaphas were renewed, or Scyorielaphas' essence was still bound though his soul was freed | With Scyorielaphas' essence still empowering the Watershapers Guild, the practice of watershaping grows and flourishes in Neketaka, and its practioners rise in prestige. They install conveyors in the falls that run through the city and craft sculptures for every street and plaza. Thus, the Watershapers Guild becomes a power in its own right in the city of Neketaka. |

|
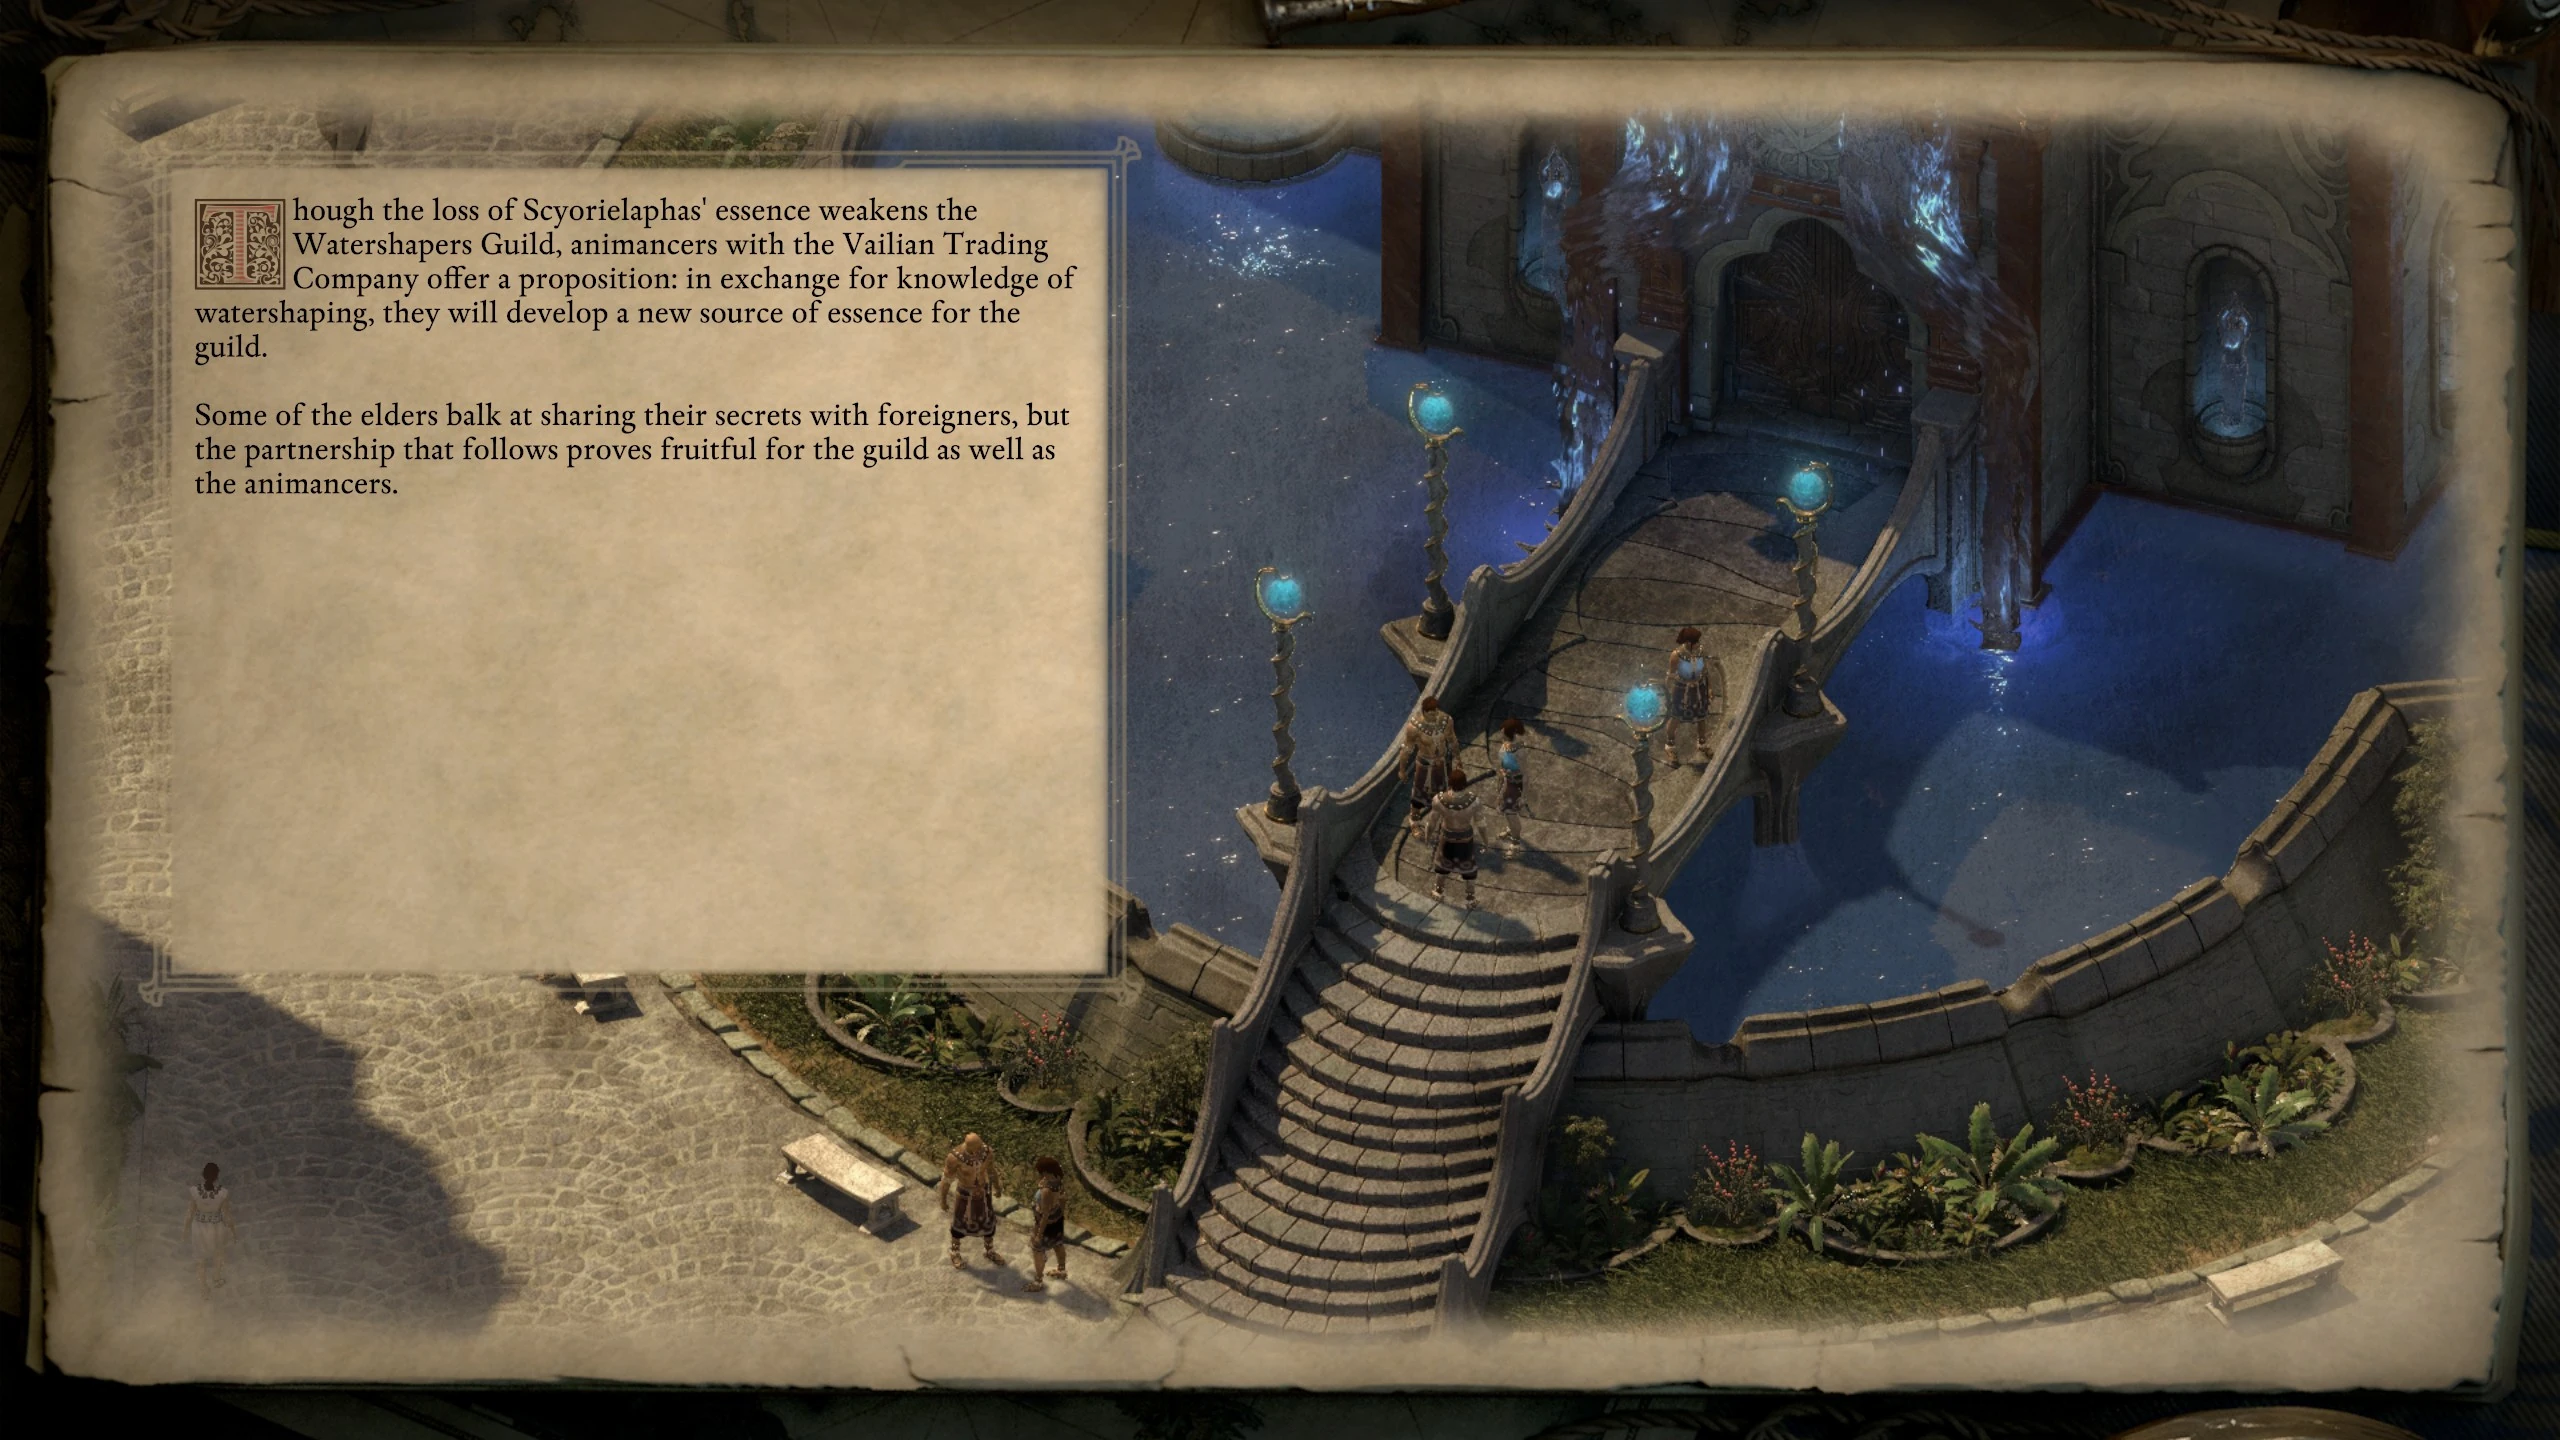
| Scyorielaphas freed, Vailian Trading Company controls Ukaizo | Though the loss of Scyorielaphas' essence weakens the Watershapers Guild, animancers with the Vailian Trading Company offer a proposition: in exchange for knowledge of watershaping, they will develop a new source of essence for the guild. Some of the elders balk at sharing their secrets with foreigners, but the partnership that follows proves fruitful for the guild as well as the animancers. |
|
| Scyorielaphas freed or killed | The loss of Scyorielaphas' essence weakens the Watershapers Guild. Their power wanes, and their influence fades. The art of watershaping survives as an arcane curiosity. |

|
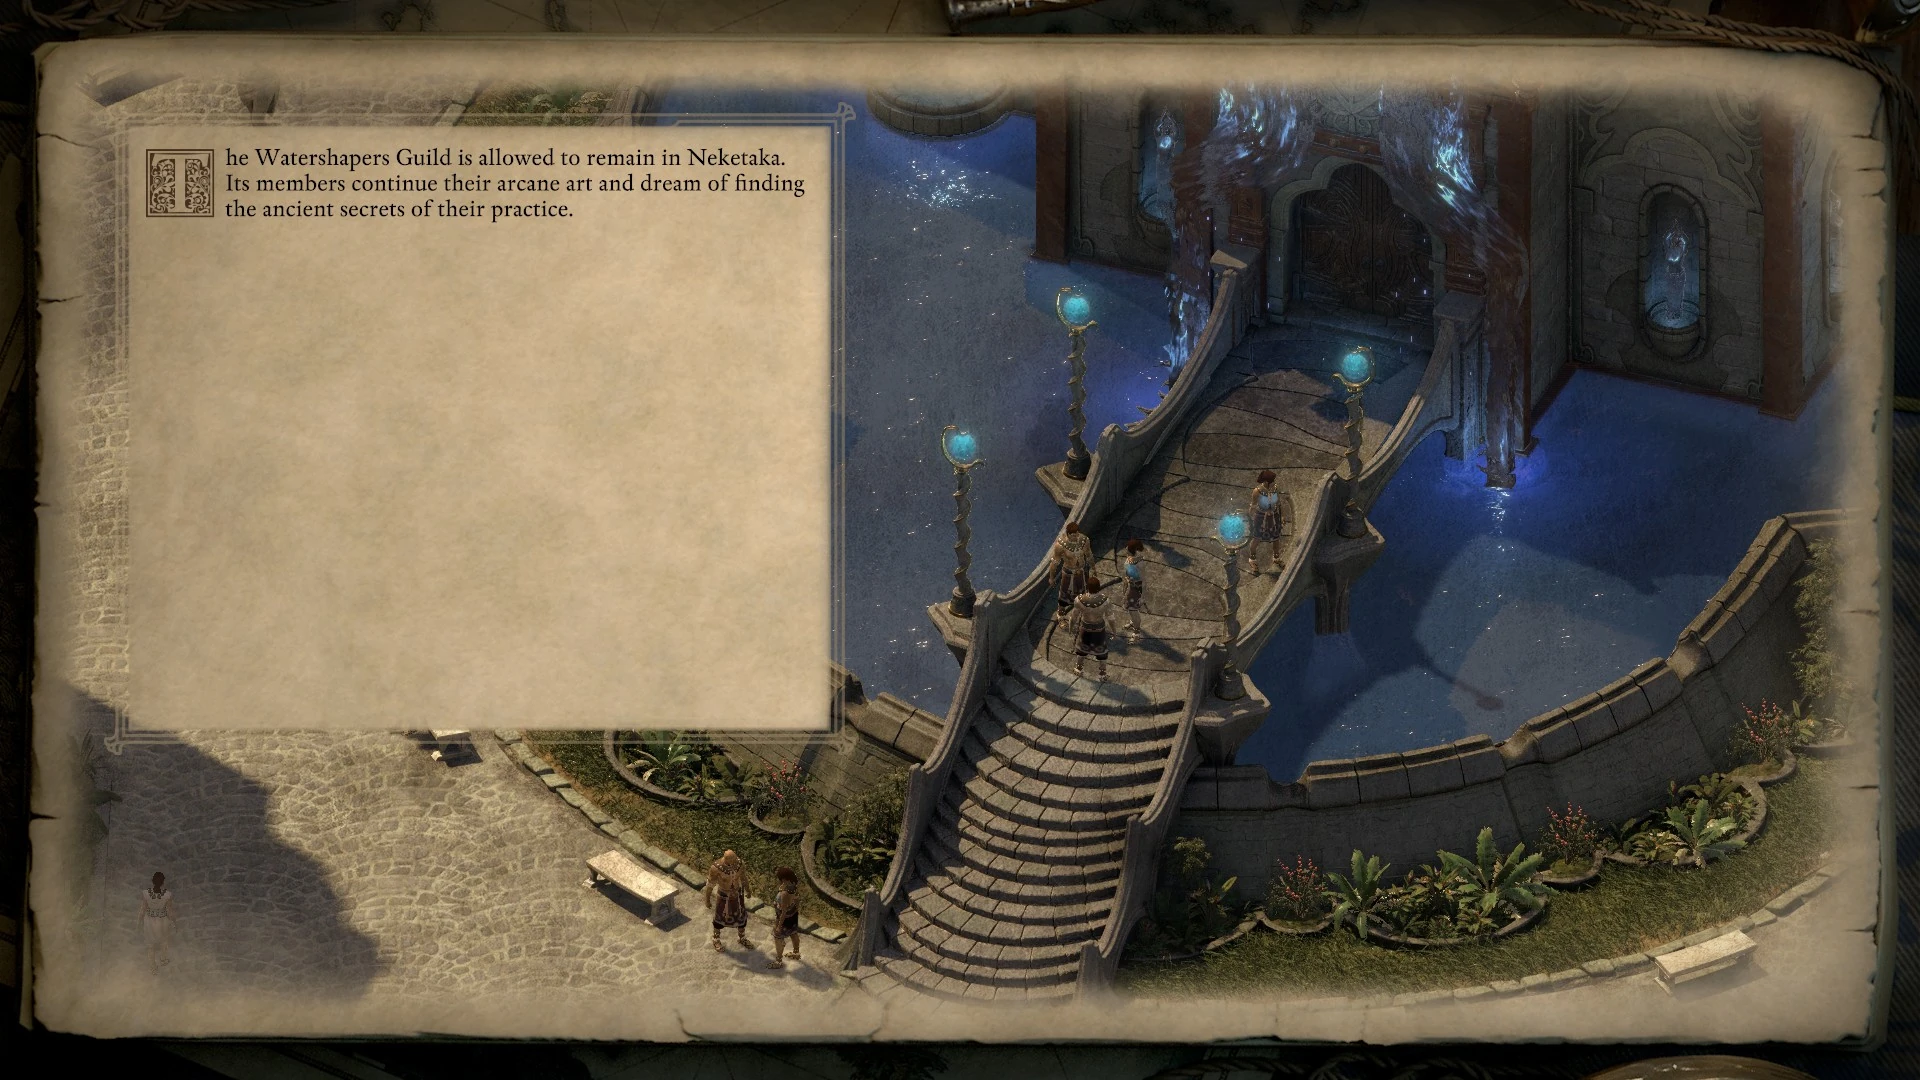
| No other conditions met | The Watershapers Guild is allowed to remain in Neketaka. Its members continue their arcane art and dream of finding the ancient secrets of their practice. |
|
Children of the Dawnstars[ | ]
Firstly, the status of Laethärn and his leadership.
| Conditions | Outcome | Slides |
|---|---|---|
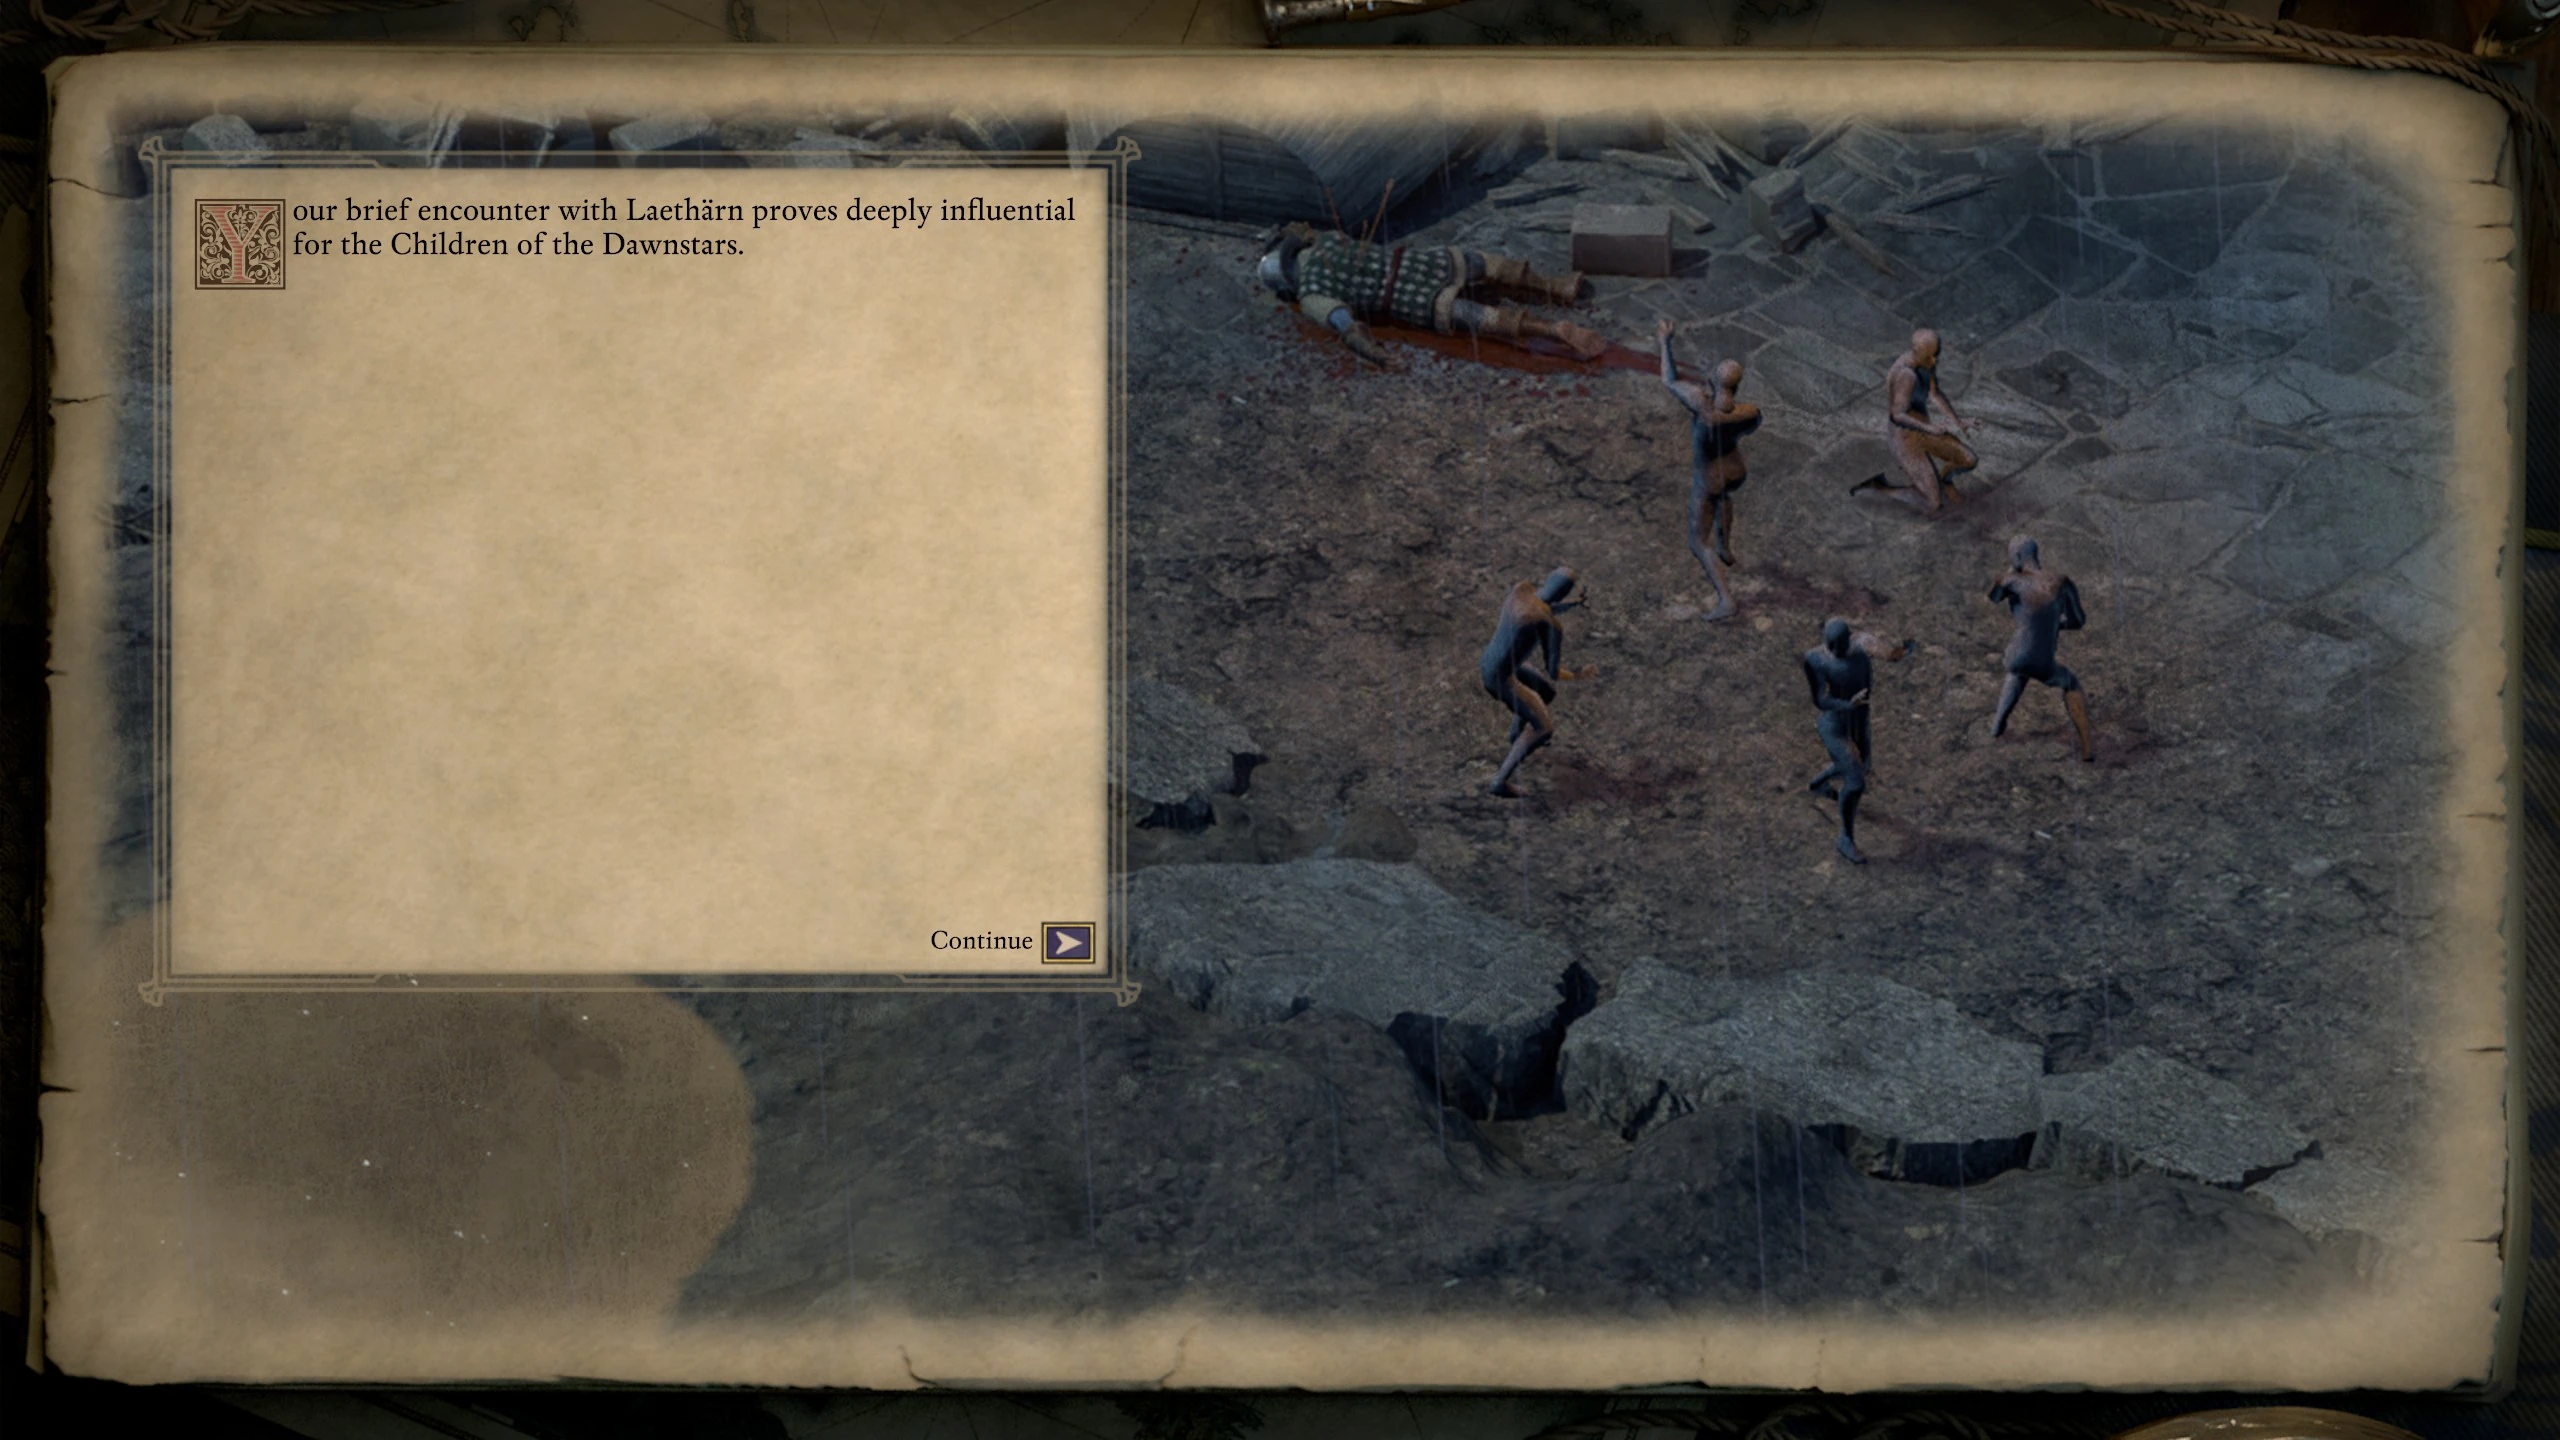
| Always applies | Your brief encounter with Laethärn proves deeply influential for the Children of the Dawnstars. |
|
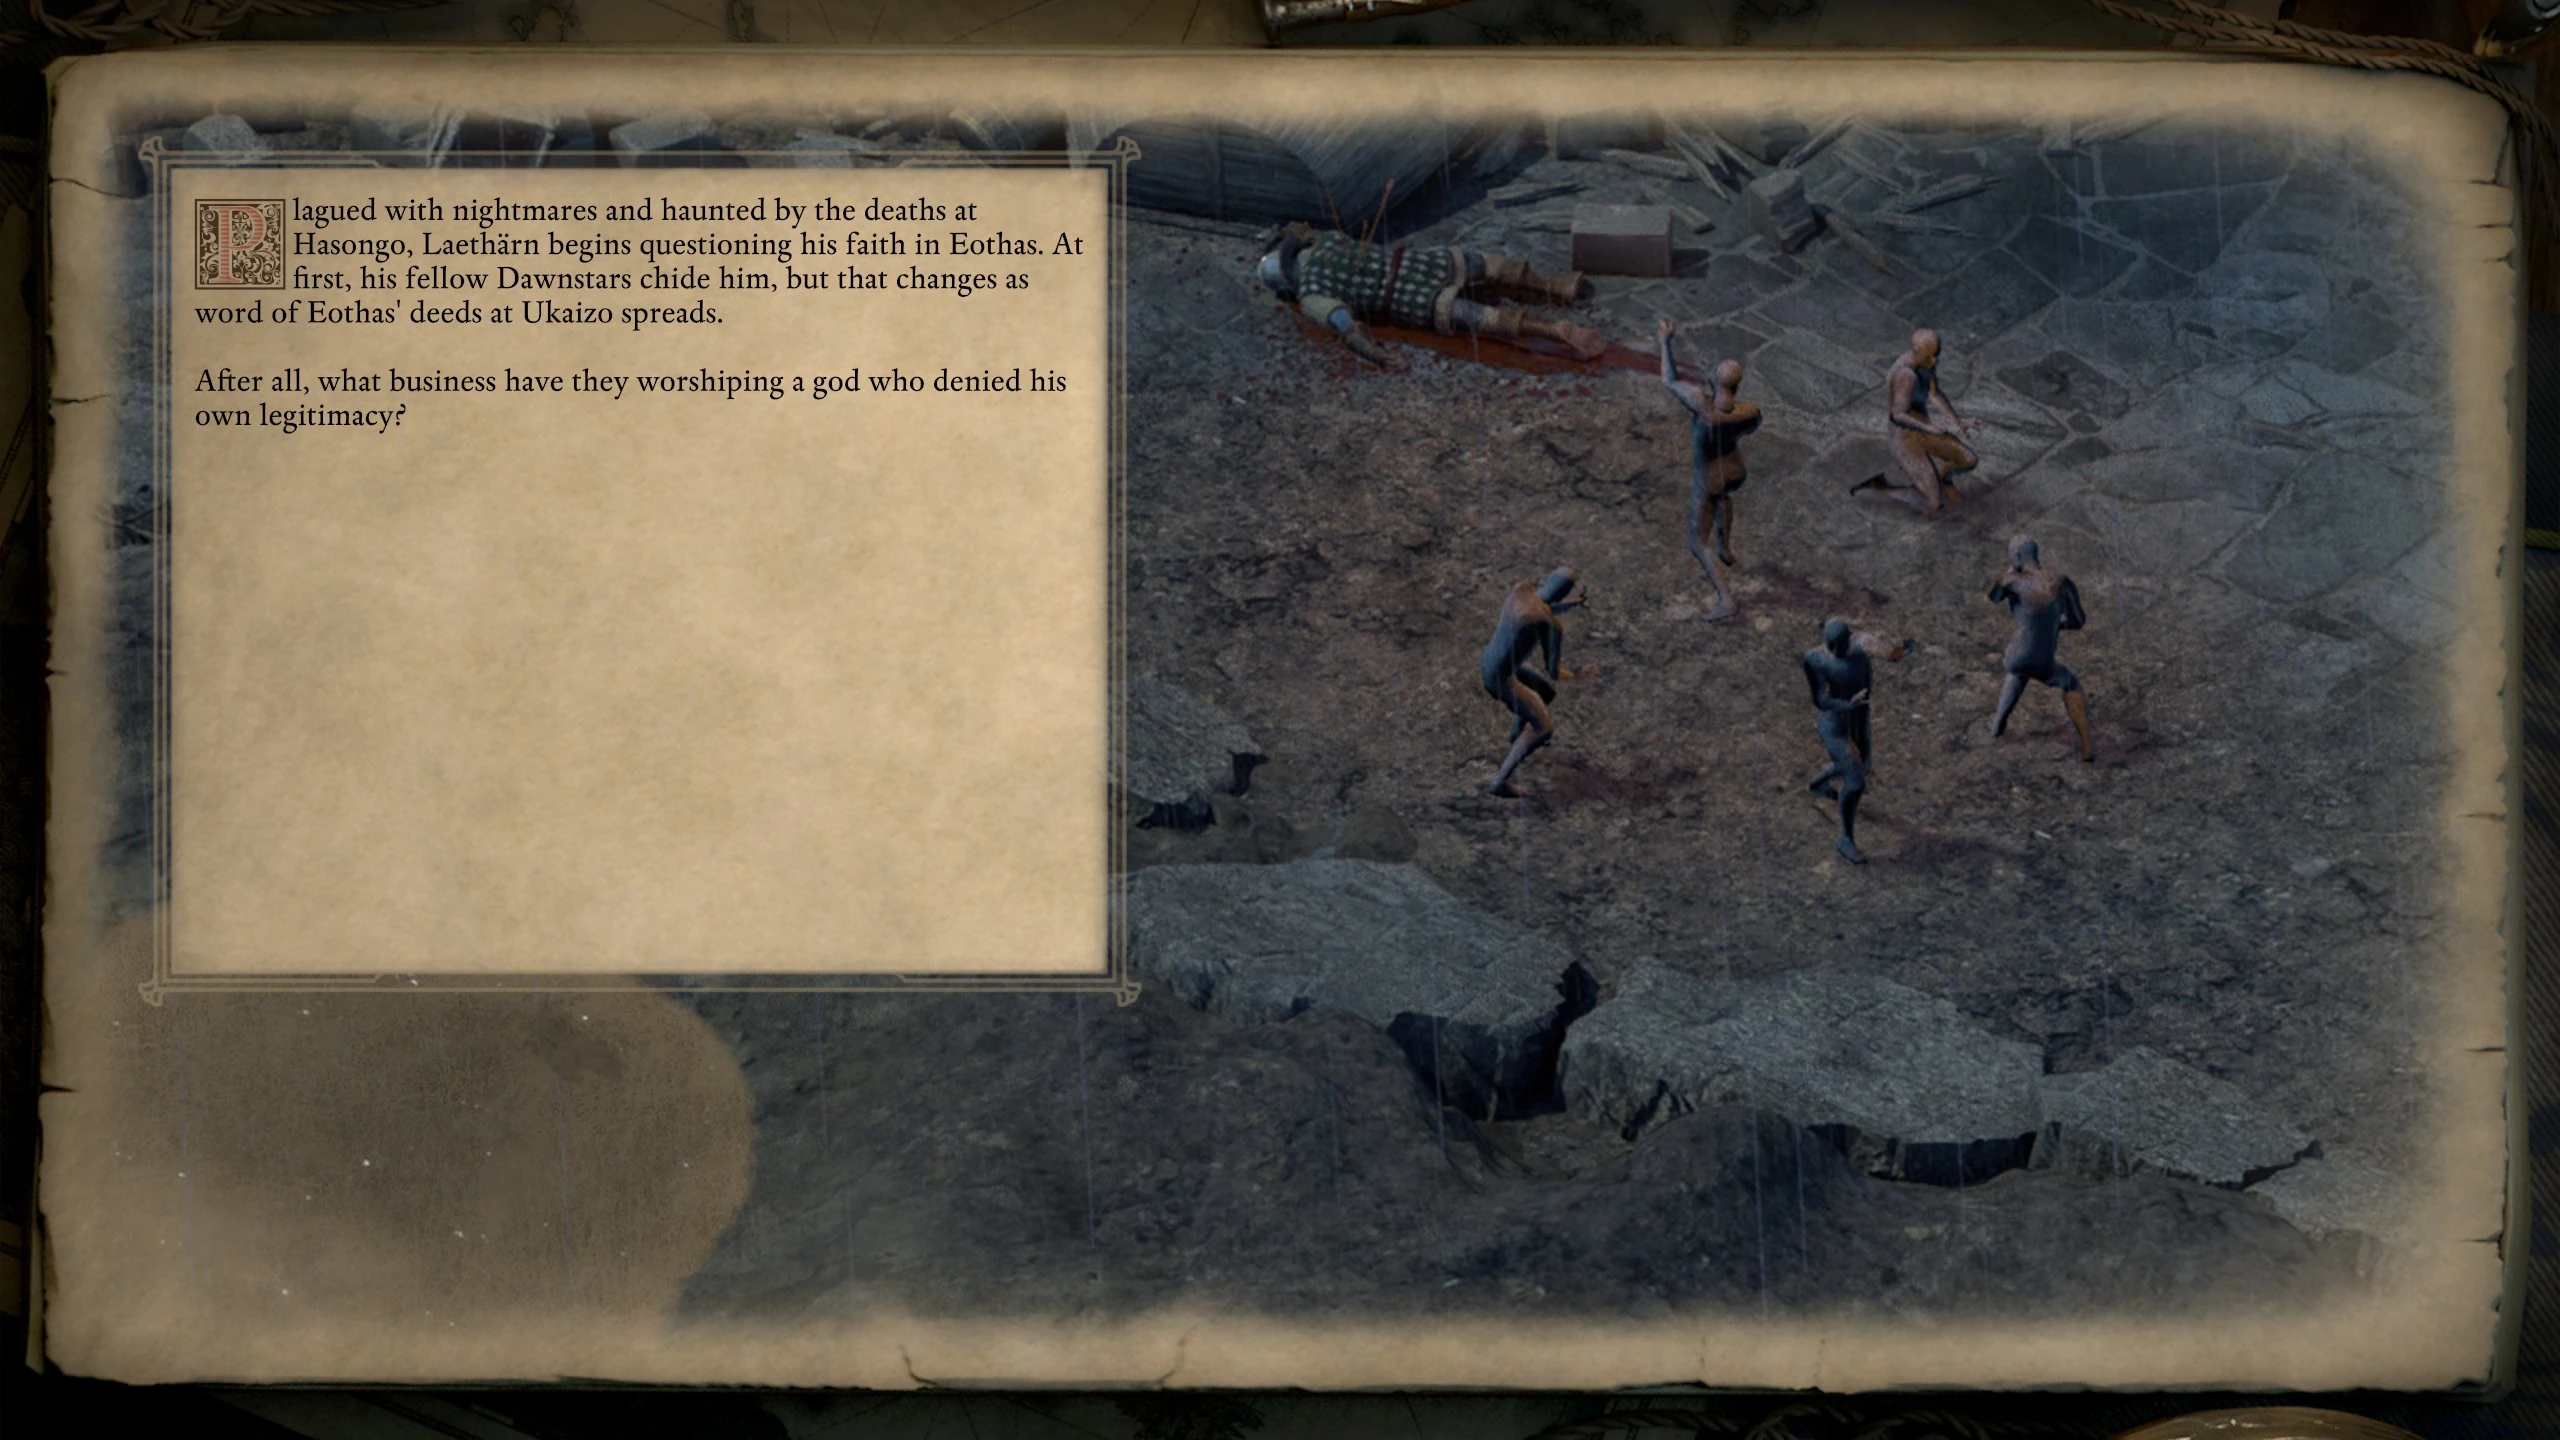
| Convince Laethärn to question his faith in Eothas | Plagued with nightmares and haunted by the deaths at Hasongo, Laethärn begins questioning his faith in Eothas. At first, his fellow Dawnstars chide him, but that changes as word of Eothas' deeds at Ukaizo spreads. After all, what business have they worshiping a god who denied his own legitimacy? |
|
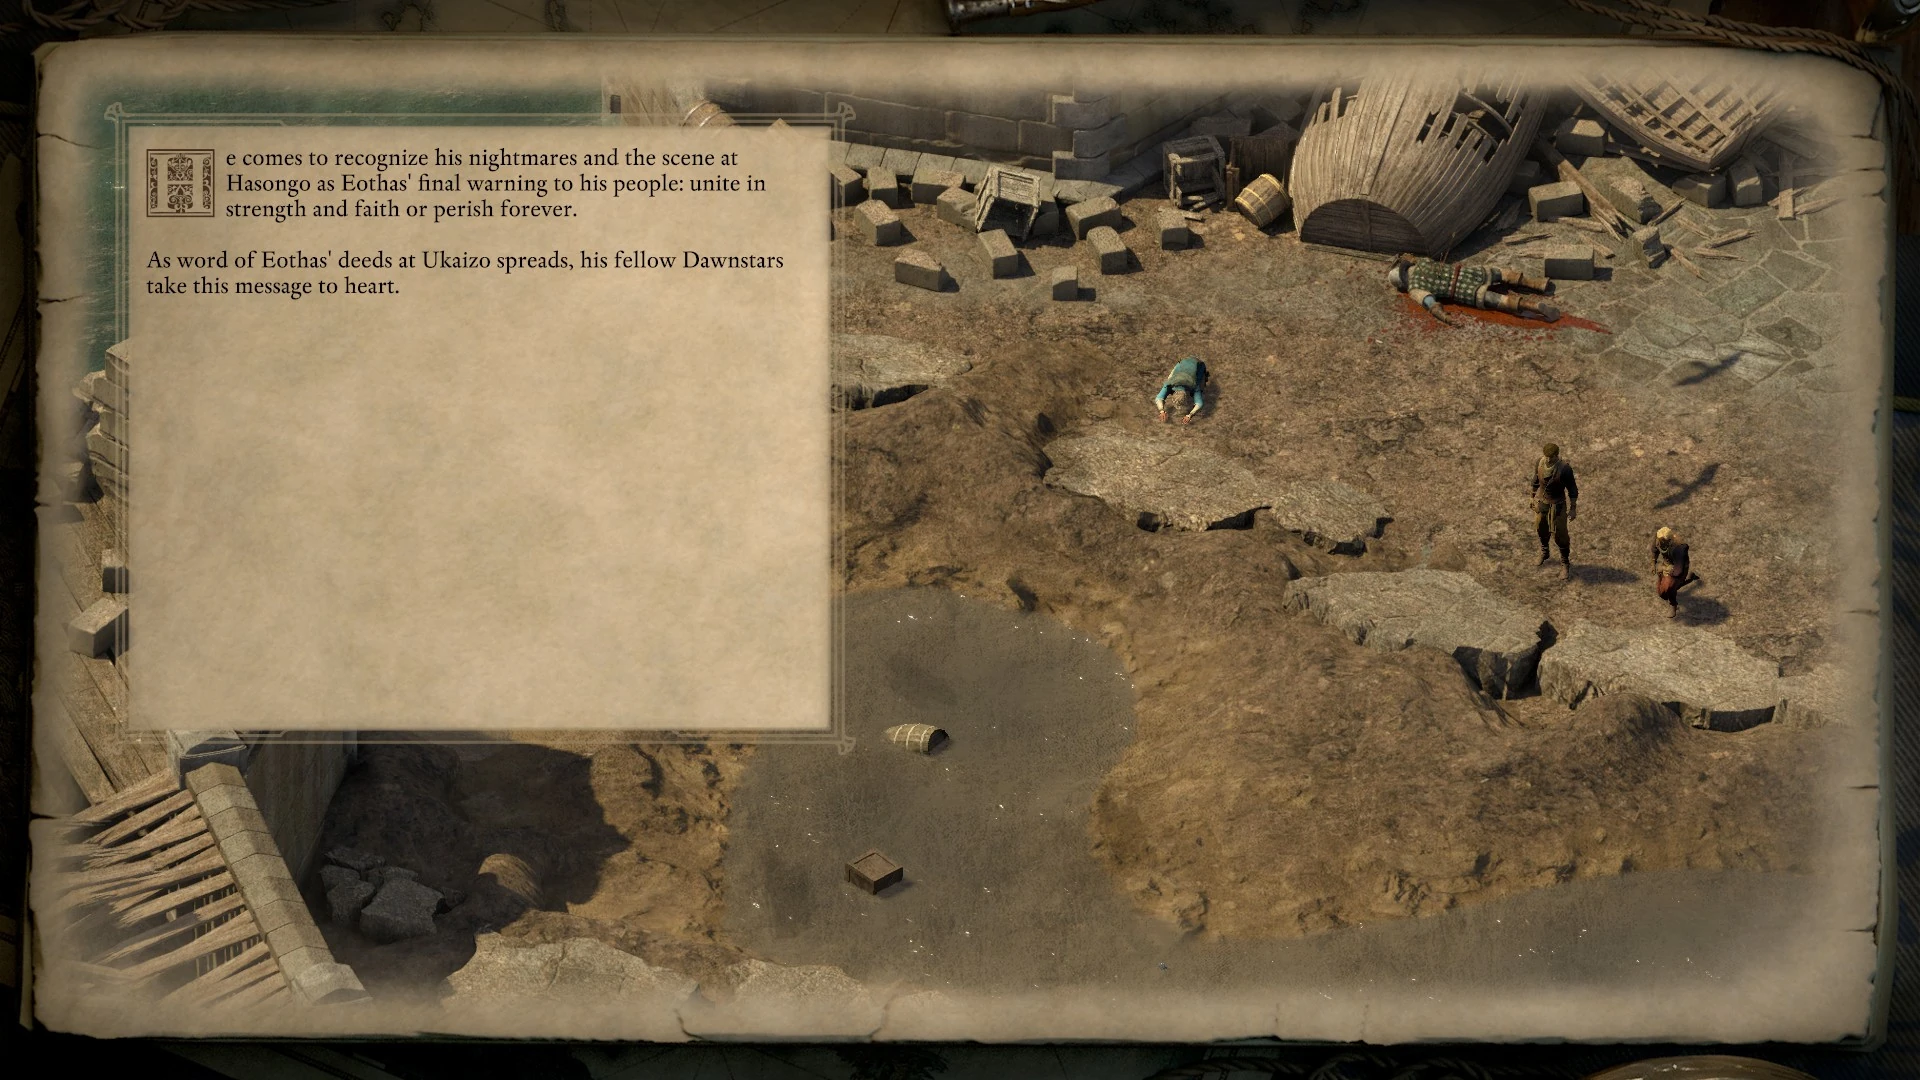
| Convince Laethärn to strengthen his faith in Eothas | He comes to recognize his nightmares and the scene at Hasongo as Eothas' final warning to his people: unite in strength and faith or perish forever. As word of Eothas' deeds at Ukaizo spreads, his fellow Dawnstars take this message to heart. |
|
Afterwards, the overall status of the Children of the Dawnstars is shown.
| Conditions | Outcome | Slides |
|---|---|---|
| Allow Eothas to complete his work without trying to convince him of anything, Ukaizo is not controlled by an Aeldys-led Príncipi | The Children of the Dawnstars respond to Eothas' sacrifice by taking up the lanterns and sickles of the Harvesters of Gaun. They become pilgrims of essence, gathering souls across Eora and ferrying them to the haven within the adra colossus. Others will repair or rebuild the Wheel one day. In the meantime, the Dawnstars will care for the souls of the dead. |

|
| Allow Eothas to complete his work without trying to convince him of anything, Ukaizo is controlled by an Aeldys-led Príncipi | The Children of the Dawnstars respond to Eothas' sacrifice by taking up the lanterns and sickles of the Harvesters of Gaun. They become pilgrims of essence, gathering souls across Eora and ferrying them to the edge of Ondra's Mortar that they might find their way to the haven within the adra colossus. Others will repair or rebuild the Wheel one day. In the meantime, the Dawnstars will care for the souls of the dead. |

|
| Eothas convinced to empower Berath, Laethärn is not convinced to question his faith | As Eothas pours his essence into Berath, so too do the Children of the Dawnstars pour their faith into the god of doors and cycles, life and death. Some pray for guidance and order. Others take it upon themselves to enforce it. They sharpen their scythes and sickles to defend the peace they have been granted. They failed Eothas before. They will not fail Berath now. |

|
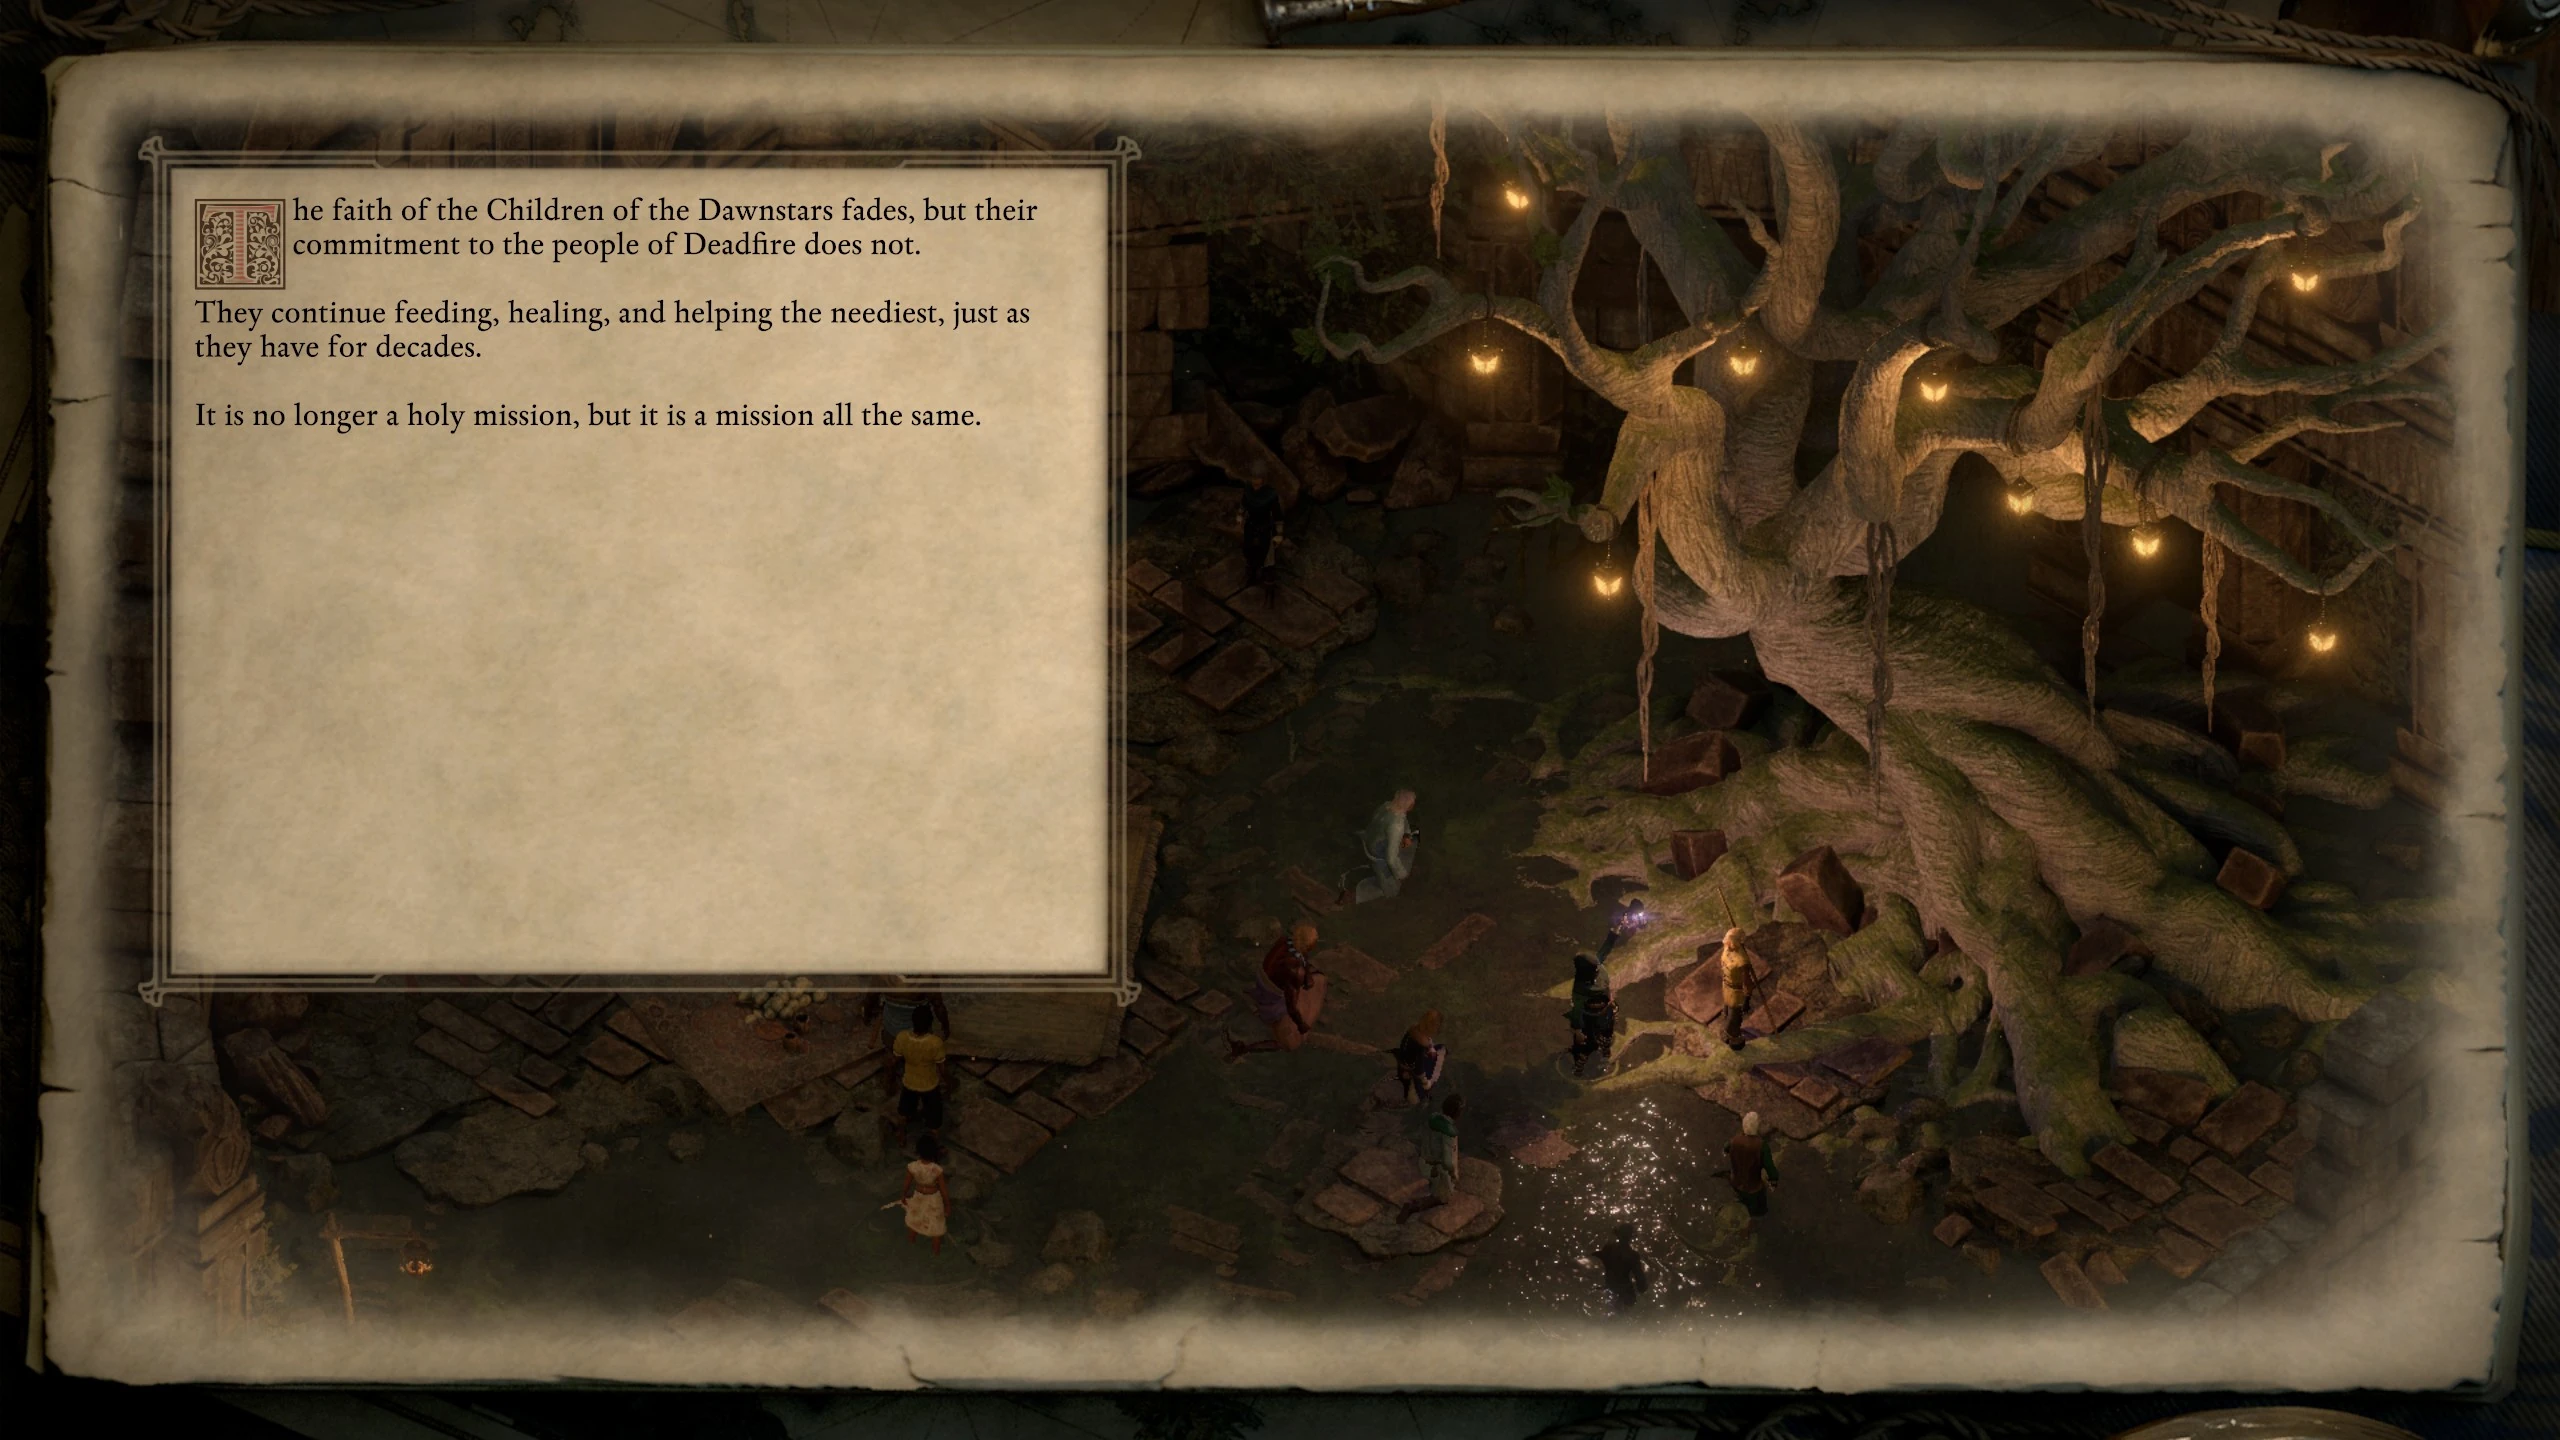
| Eothas is convinced to change his work in some way, Laethärn is convinced to question his faith | The faith of the Children of the Dawnstars fades, but their commitment to the people of Deadfire does not. They continue feeding, healing, and helping the neediest, just as they have for decades. It is no longer a holy mission, but it is a mission all the same. |
|
| Eothas is convinced to change his work in some way other than empowering Berath, Laethärn is not convinced to question his faith | The faith of the Children of the Dawnstars brightens. Eothas returned to give the world the greatest gift of all: hope. In response, they continue feeding, healing, and helping the neediest in Deadfire, just as they have for decades. It remains their holy mission. And they will persevere in love and faith. |

|
Tikawara[ | ]
The slides shown for Tikawara primarily depend on the status of its leaders, which is influenced by whether the Watcher helps Maia Rua deliver her missive to Harama.
Tikawara Assassination[ | ]
This category is only displayed if the Watcher assists Maia Rua in delivering her missive to Harama in Tikawara, as it turns out the consequence of this is the leader of Tikawara being assassinated.
The first slide shown depicts the status of Tikawara's leader.
| Conditions | Outcome | Slides |
|---|---|---|
| Ruānu was the leader of Tikawara | Ruānu, the chieftain of the Huana at Tikawara, dies mysteriously. The tribe finds his body washed up on the same beach where Anaharu challenged him to the Trial of Waves. Some blame Anaharu's vengeful spirit. Others see it as Ngati's final judgment. And a few speak of a strange man seen lingering in the village. |

|
| Nairi was the leader of Tikawara | Nairi, the priestess of the Huana at Tikawara, dies mysteriously. The tribe finds her body washed up on the same beach where her father challenged Ruānu to the Trial of Waves. Some blame Ruānu's restless spirit. Others see it as Ngati's final judgment. And a few speak of a strange man seen lingering in the village. |
|
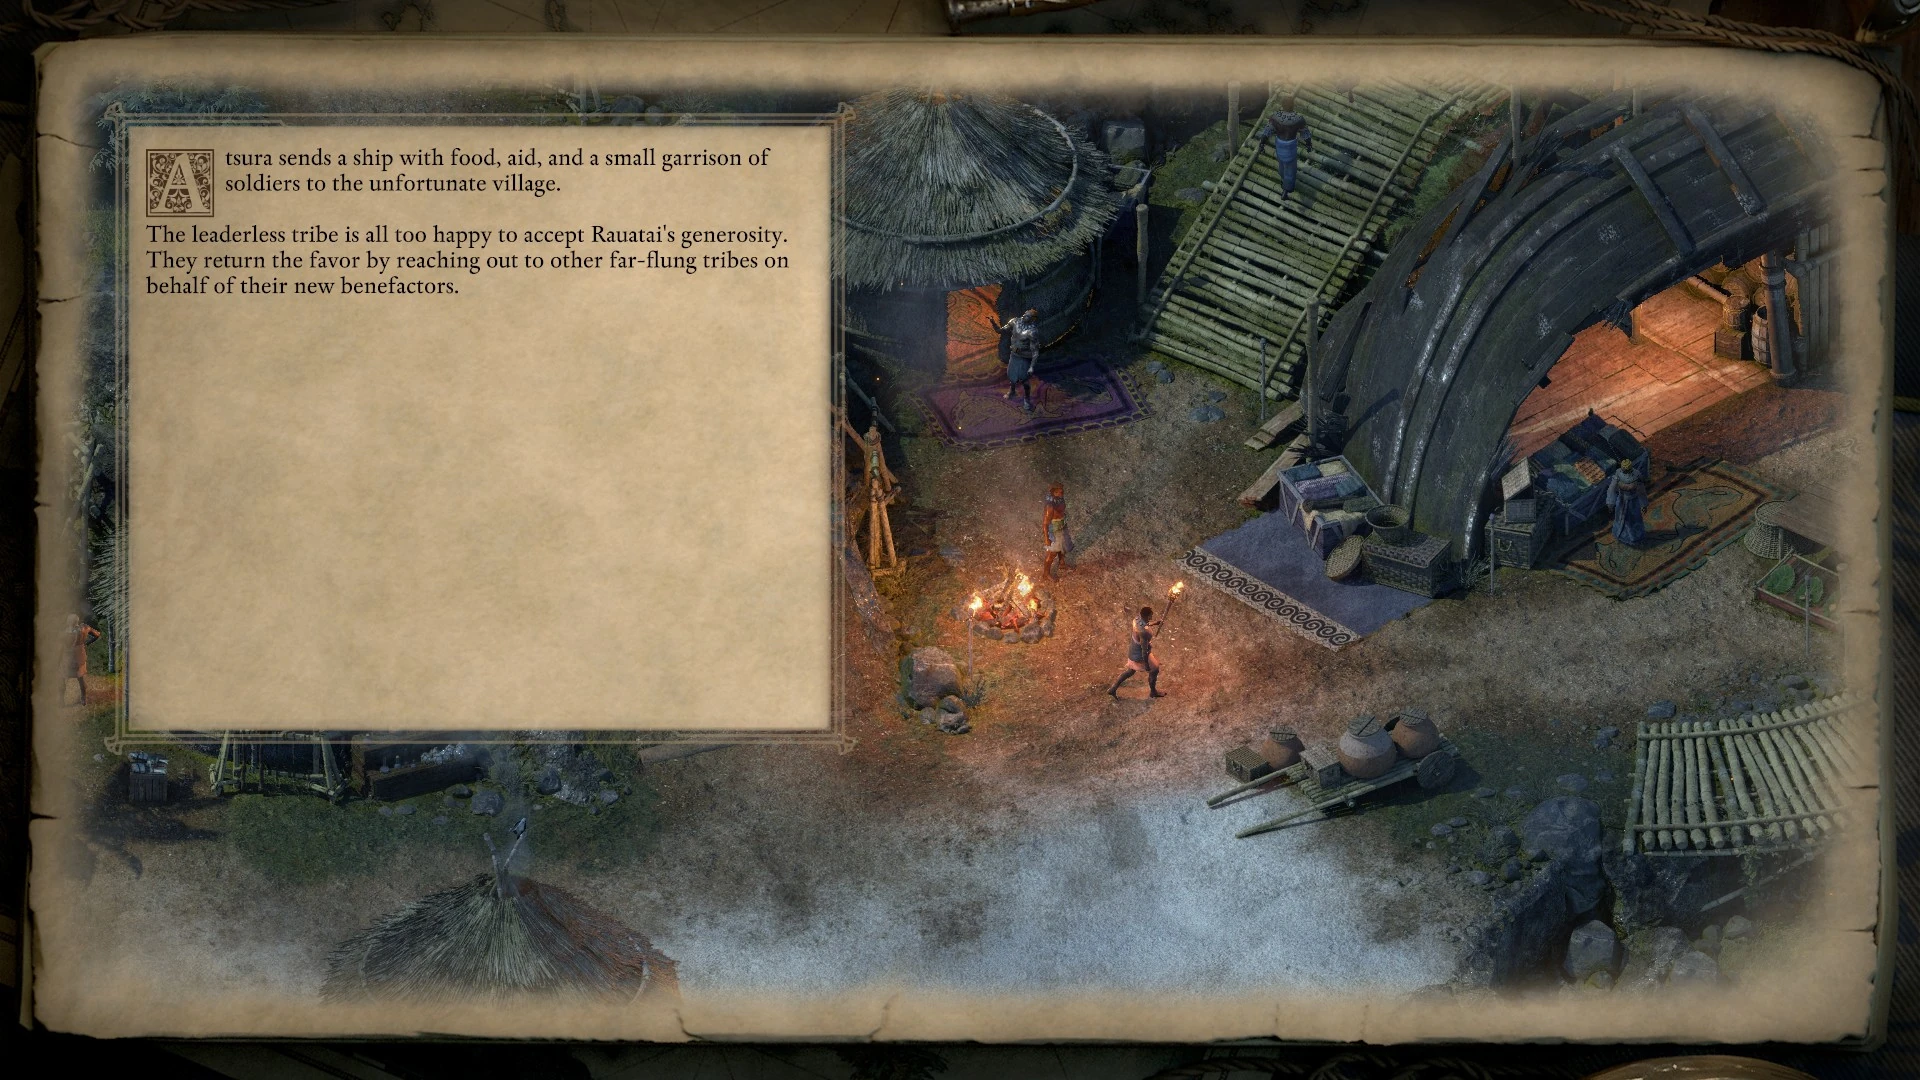
| Royal Deadfire Company controls Ukaizo | Atsura sends a ship with food, aid, and a small garrison of soldiers to the unfortunate village. The leaderless tribe is all too happy to accept Rauatai's generosity. They return the favor by reaching out to other far-flung tribes on behalf of their new benefactors. |
|
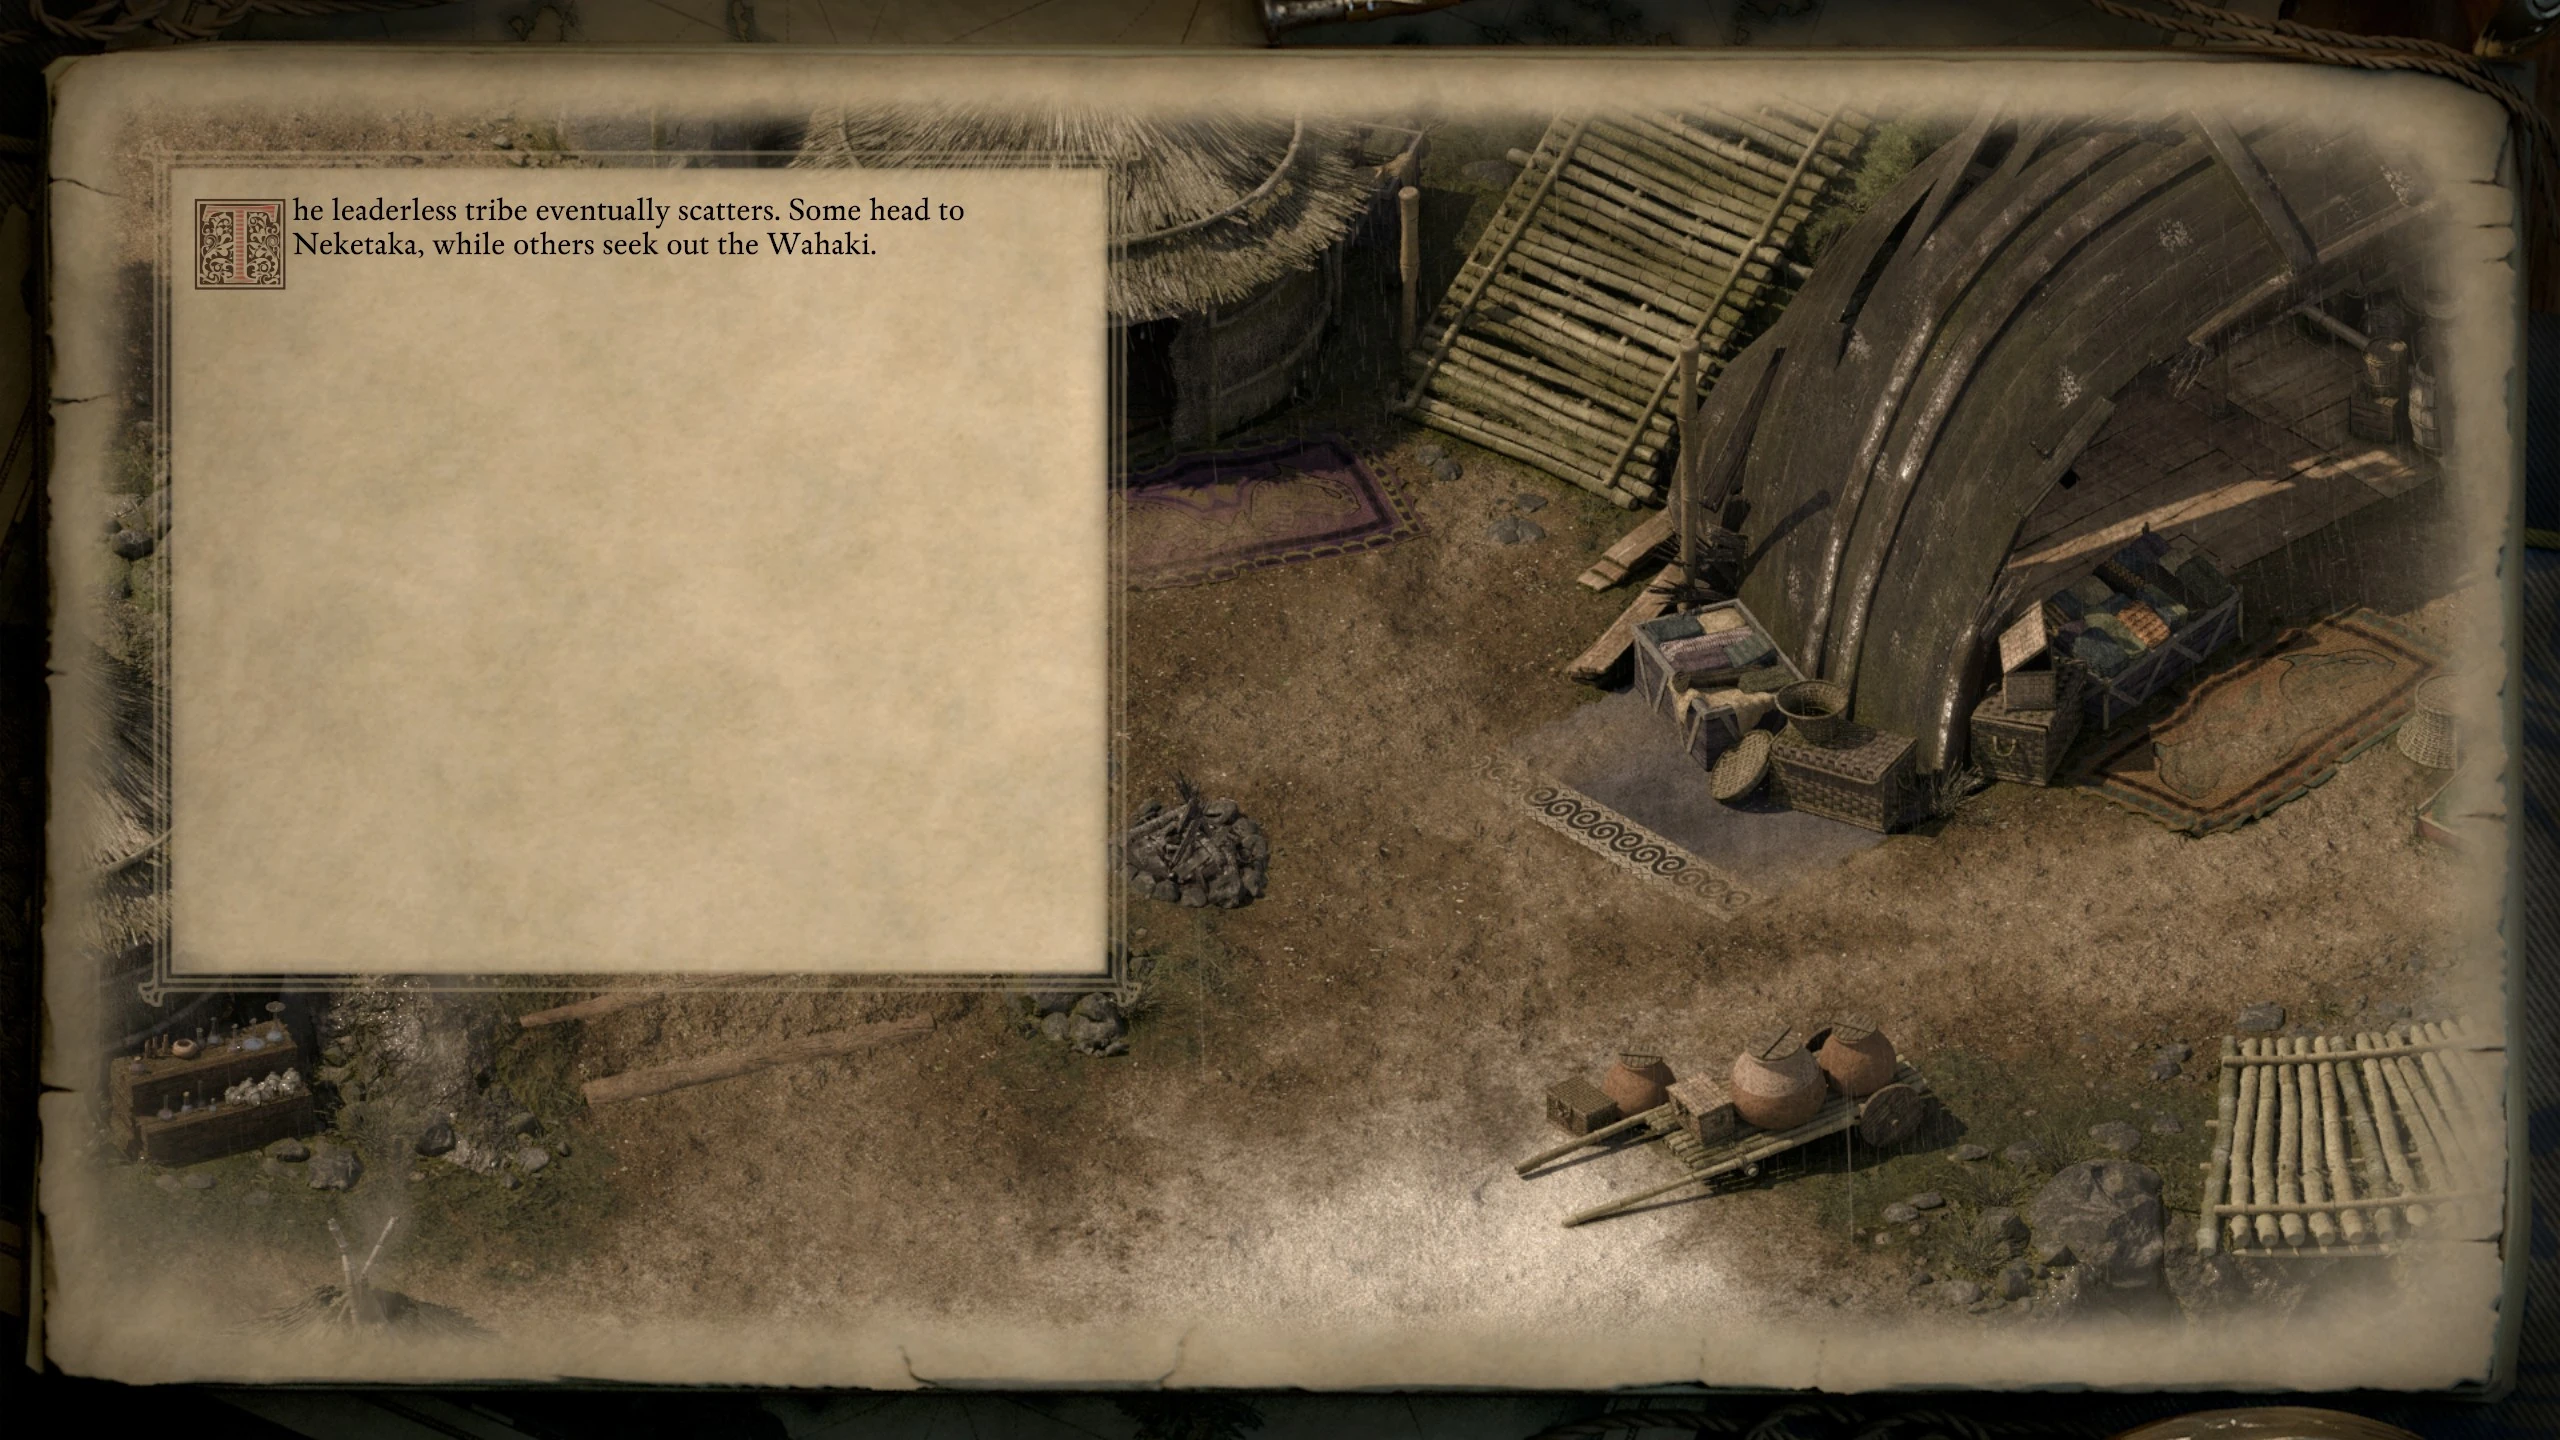
| Royal Deadfire Company does not control Ukaizo | The leaderless tribe eventually scatters. Some head to Neketaka, while others seek out the Wahaki. |
|
Tikawara Peaceful[ | ]
This category is only displayed if the Watcher did not assist Maia Rua in delivering her missive to Harama in Tikawara, resulting in the leader of Tikawara remaining alive.
| Conditions | Outcome | Slides |
|---|---|---|
| Poko Kohara restored, Vailian Trading Company directed by Castol controls Ukaizo, Port Maje is not peaceful with both leaders still alive | With the adra of Poko Kohara restored, Director Castol establishes a small port at Tikawara. He sends a team of animancers to study the ruins and their machinery. It is a small operation, but one that brings a measure of stability and prosperity to Tikawara and its people. |
|
| Poko Kohara restored, Vailian Trading Company directed by Castol controls Ukaizo, Port Maje is peaceful with both leaders still alive | With the adra of Poko Kohara restored, Director Castol establishes a small port at Tikawara. He sends a team of animancers to study the ruins and their machinery. It is a small operation, but one that brings a measure of stability and prosperity to Tikawara and its people. Given his success with Port Maje, Clario is asked to recommend a governor for the new Tikawara port. Ikawha advises the tribe on working with their new Vailian neighbors. It is, by all accounts, a successful and promising venture. |
|
| Poko Kohara restored, Vailian Trading Company directed by Alvari controls Ukaizo | With the adra of Poko Kohara restored, Director Alvari establishes a small port at Tikawara. Her team works day and night to extract the luminous adra from Poko Kohara. But the labor is hardest on the Huana, who are assigned the arduous and dangerous work of hauling the adra from the ruins. Some slip away, hoping for better fortunes in Neketaka or among other tribes. |
|
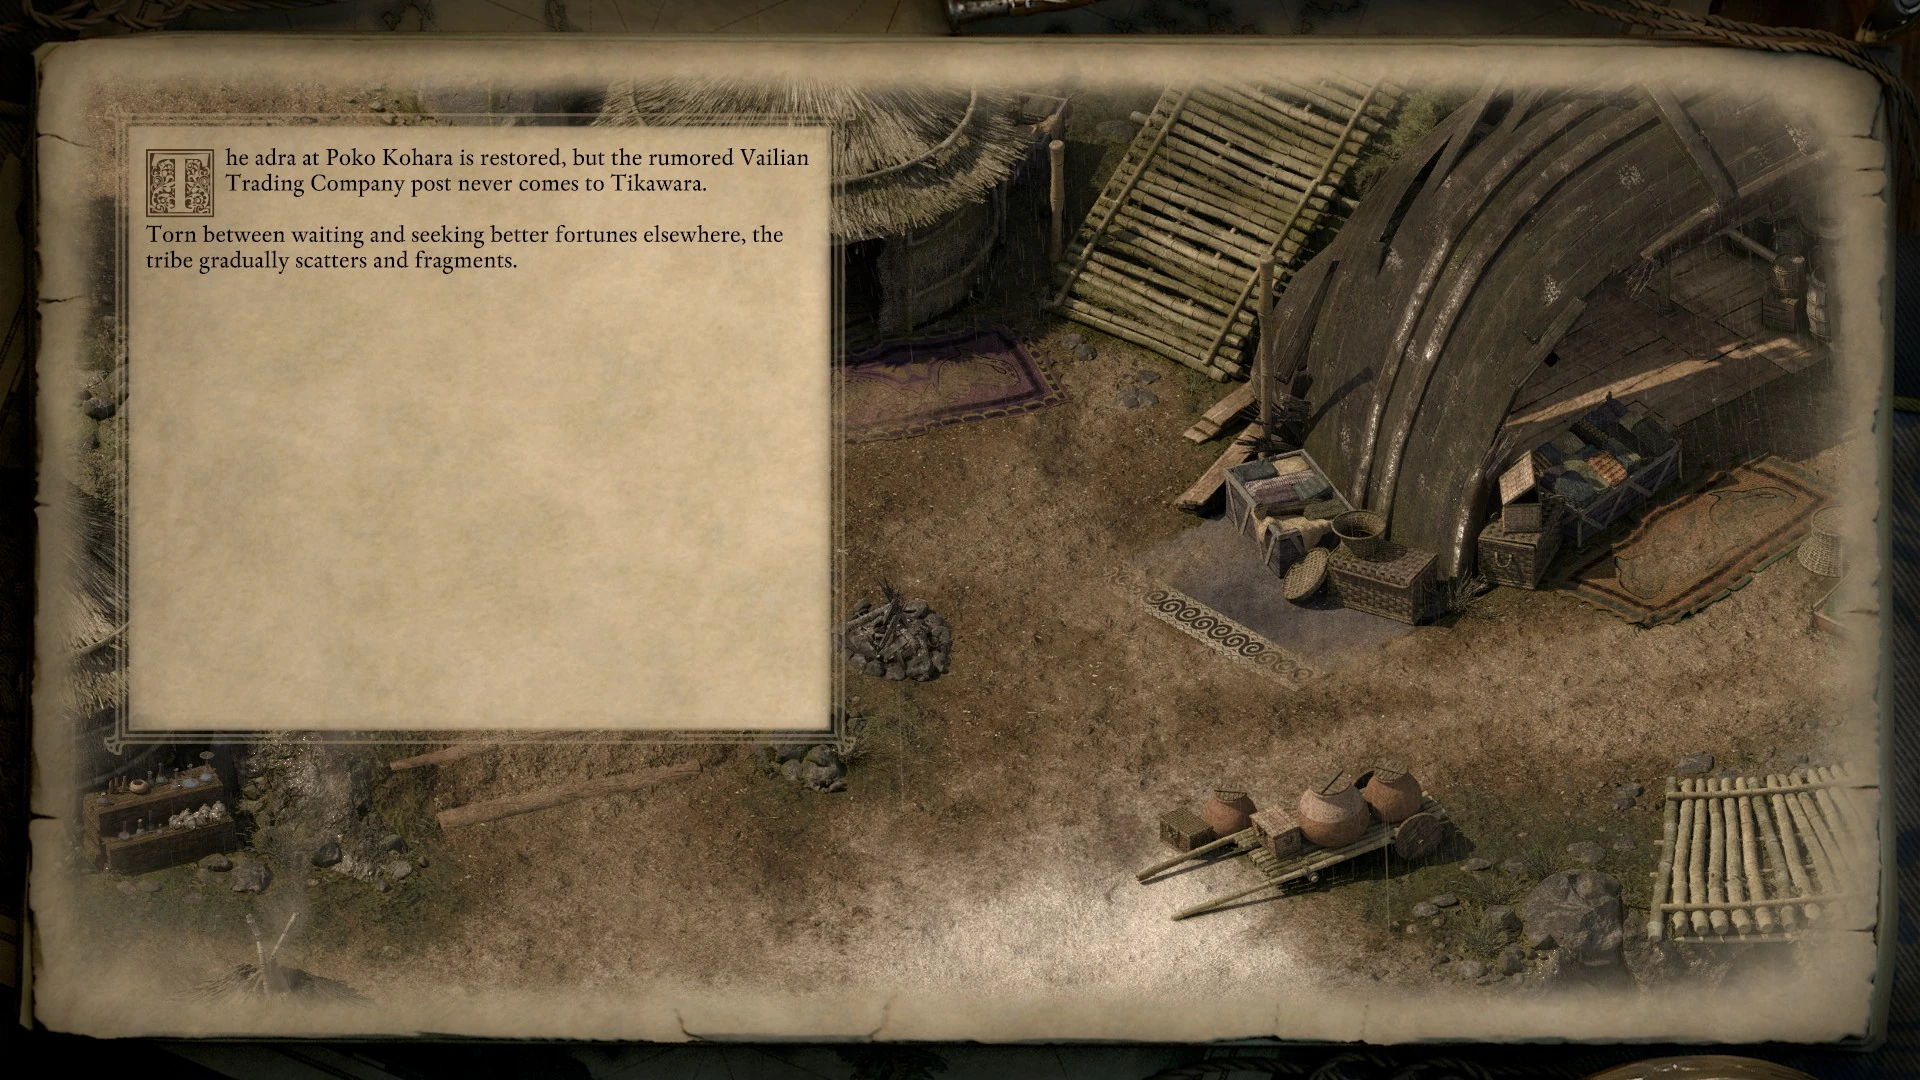
| Poko Kohara restored, Vailian Trading Company does not control Ukaizo | The adra at Poko Kohara is restored, but the rumored Vailian Trading Company post never comes to Tikawara. Torn between waiting and seeking better fortunes elsewhere, the tribe gradually scatters and fragments. |
|
| Poko Kohara destroyed | With the adra at Poko Kohara destroyed and hopes of a Vailian outpost dashed, the tribe resolves to leave Tikawara behind. Small and mobile, they move amongst the Kua o Rikuhu Islands, where they escape the notice of larger powers. |

|
Crookspur[ | ]
These slides only appear if you did not take out the slavers at Crookspur Island.
| Conditions | Outcome | Slides |
|---|---|---|
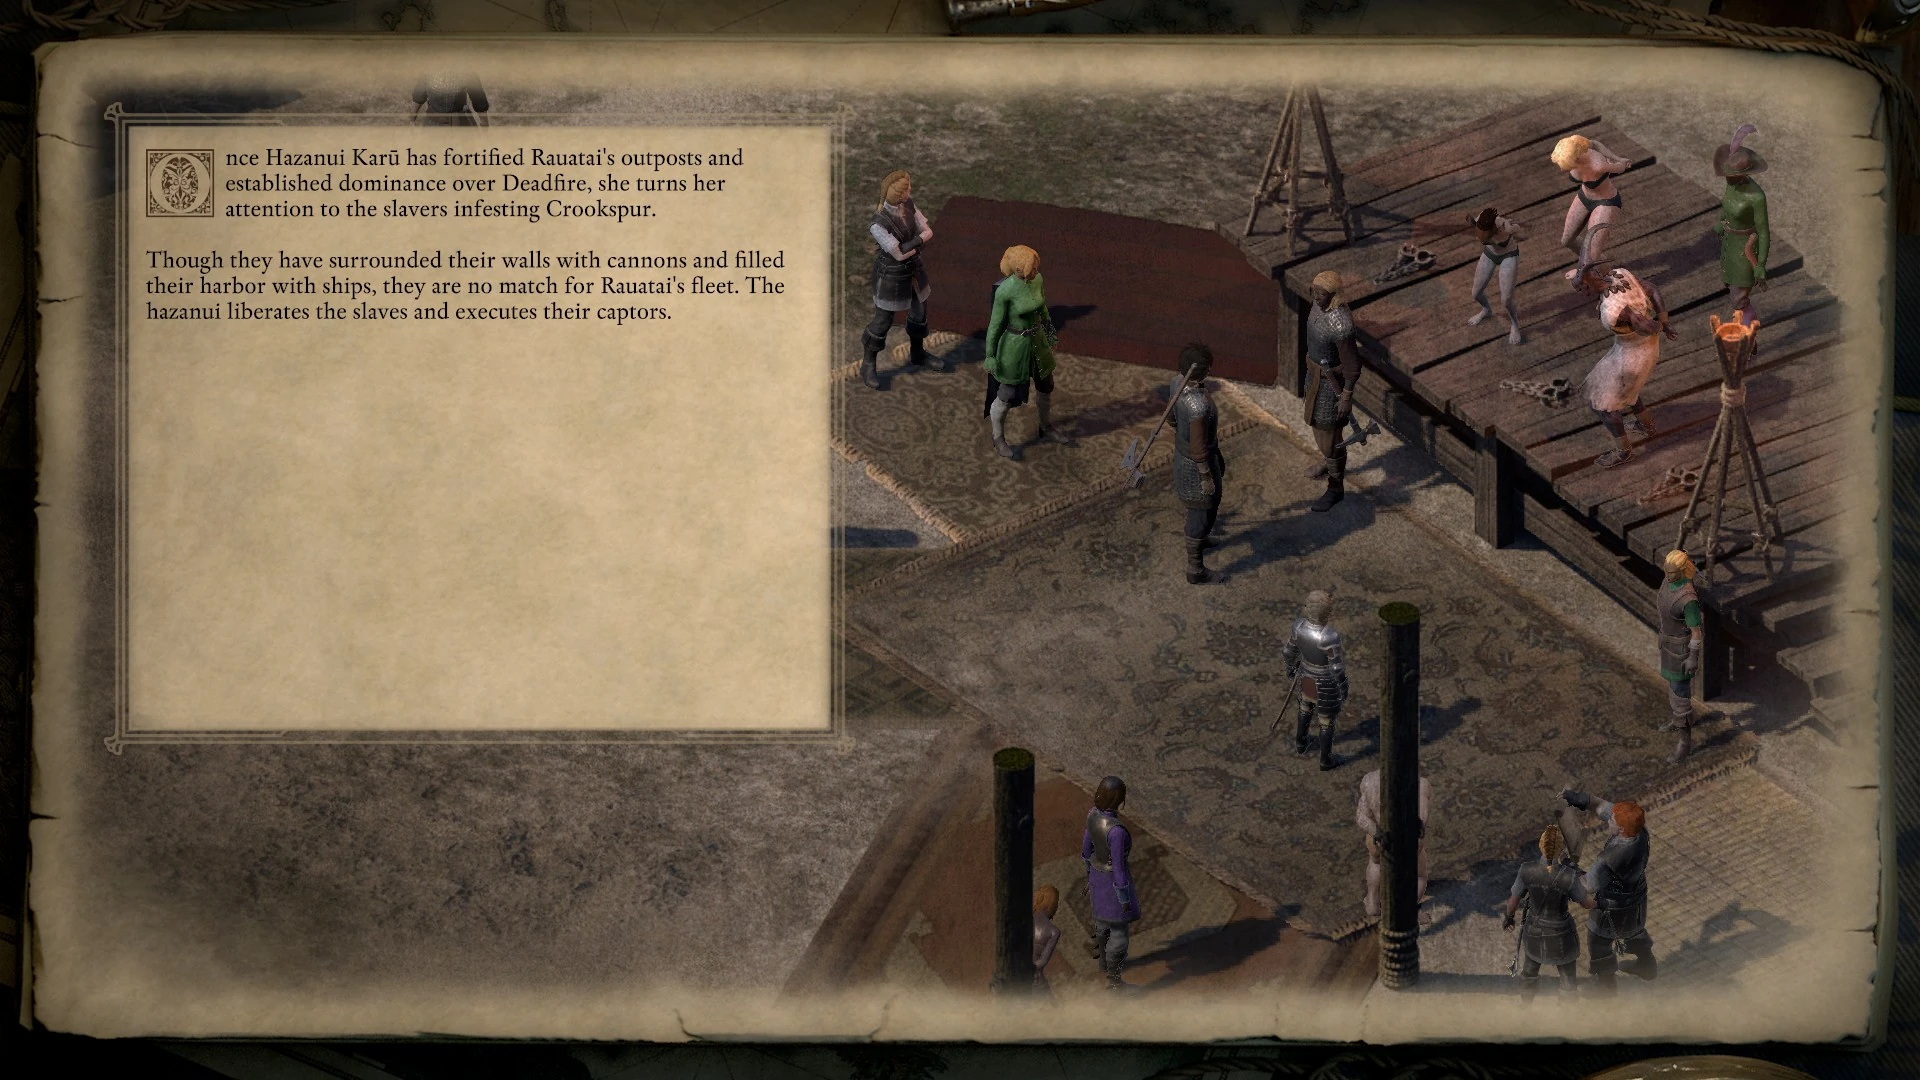
| Royal Deadfire Company controls Ukaizo, slavers still active | Once Hazanui Karū has fortified Rauatai's outposts and established dominance over Deadfire, she turns her attention to the slavers infesting Crookspur. Though they have surrounded their walls with cannons and filled their harbor with ships, they are no match for Rauatai's fleet. The hazanui liberates the slaves and executes their captors. |
|
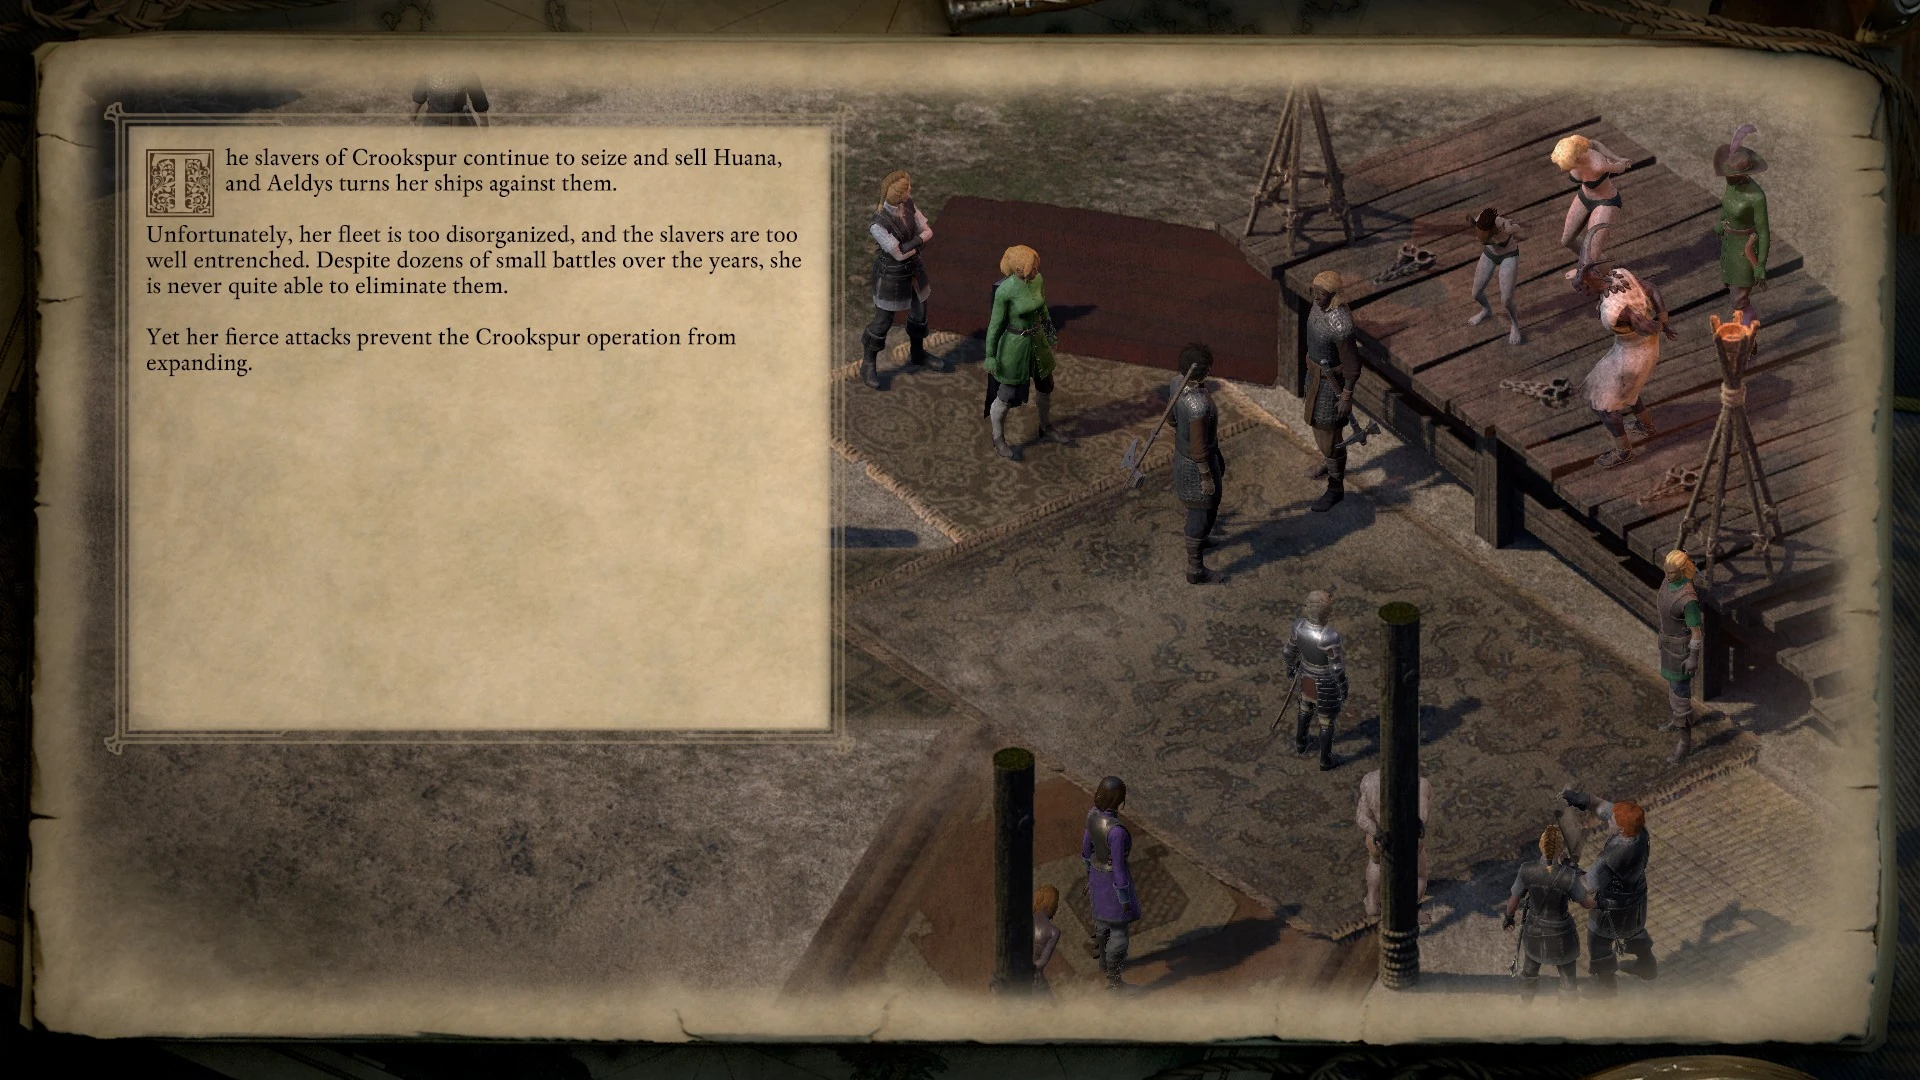
| Príncipi sen Patrena led by Aeldys controls Ukaizo, slavers still active | The slavers of Crookspur continue to seize and sell Huana, and Aeldys turns her ships against them. Unfortunately, her fleet is too disorganized, and the slavers are too well entrenched. Despite dozens of small battles over the years, she is never quite able to eliminate them. Yet her fierce attacks prevent the Crookspur operation from expanding. |
|
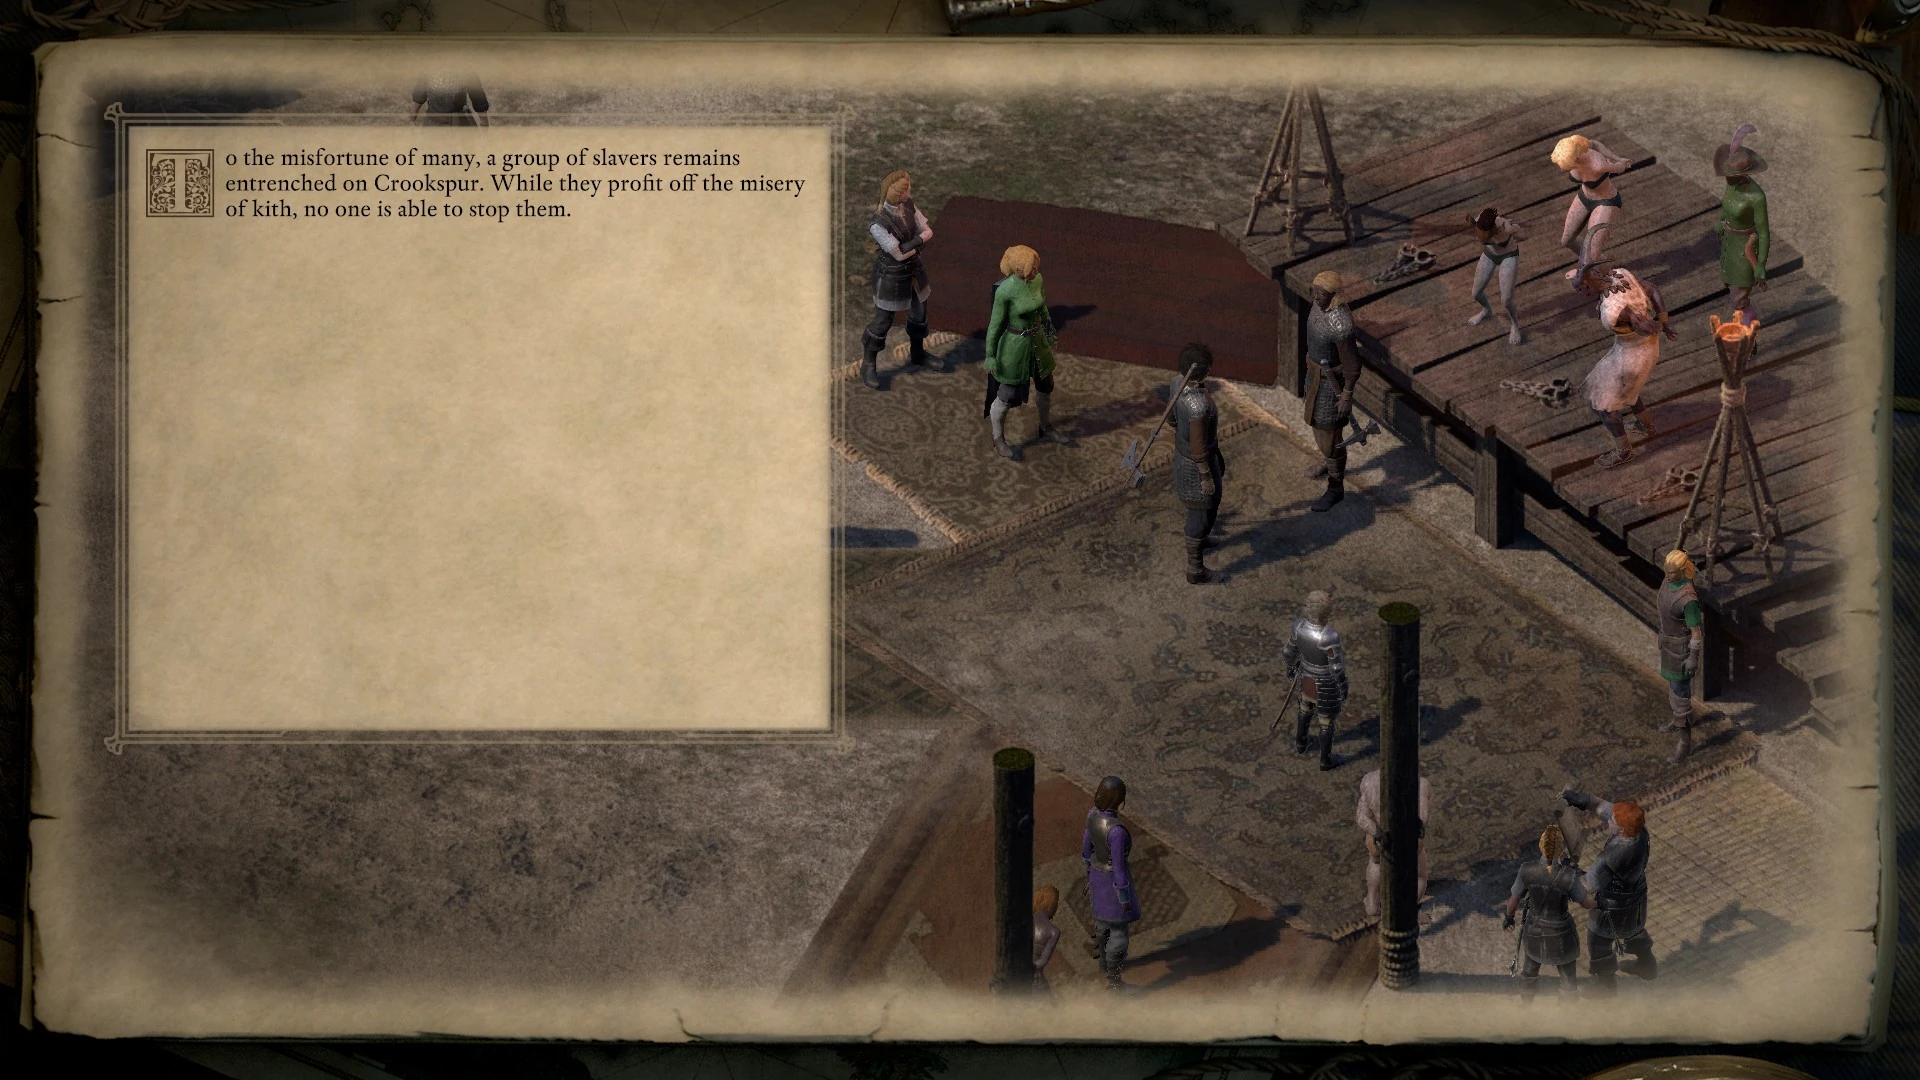
| Slavers still active, Royal Deadfire Company does not control Ukaizo | To the misfortune of many, a group of slavers remains entrenched on Crookspur. While they profit off the misery of kith, no one is able to stop them. |
|
| Slavers still active, Menzzago is alive and promised slaves will be delivered to Splintered Reef regularly, Royal Deadfire Company does not control Ukaizo | Crookspur remains a slaver stronghold, and one whose dark legend only grows. For every so often, a slave ship bears its unfortunate cargo away to a little-trafficked corner of the archipelago where fampyrs and guls are rumored to feast on kith flesh. Such ships return empty, their crew and captains visibly shaken. |
Splintered Reef[ | ]
These slides only appear if you did not kill Menzzago in A Paradise of the Mind, or you didn't recruit Copperhead afterwards.
| Conditions | Outcome | Slides |
|---|---|---|
| Menzzago dead, but you don't recruit Copperhead | Free of Menzzago at last, Copperhead determines to leave Splintered Reef He and several fellow vessels cobble together a seaworthy ship from the wreckage of their island and set sail for brighter horizons. |

|
| Menzzago alive, a deal was made with the undead, Royal Deadfire Company controls Ukaizo | With Ukaizo secure and the slavers gone, Rauatai wastes no time in moving against Menzzago and his guls. Despite your arrangement, the hazanui places no stock in the promises of a fampyr. The legendary Ruquapa bombard Splintered Reef until it is little more than foam and flotsam. |
|
| Menzzago alive, a deal was made to provide the undead with luminous adra, Royal Deadfire Company does not control Ukaizo | Sated by luminous adra and left in peace, Menzzago and his guls grow powerful. Though their hunger for kith wanes, passing ships give Splintered Reef a wide berth. |
|
| Menzzago alive, no deal made with the undead | Ships continue to disappear at the southeastern fringe of the archipelago, and stories circulate of a colony of fampyrs and guls preying on their crews. |
|
| Menzzago alive, no deal made with the undead, Royal Deadfire Company controls Ukaizo | The hazanui soon sends the Ruqapa, who end the horrors of Splintered Reef. |
|
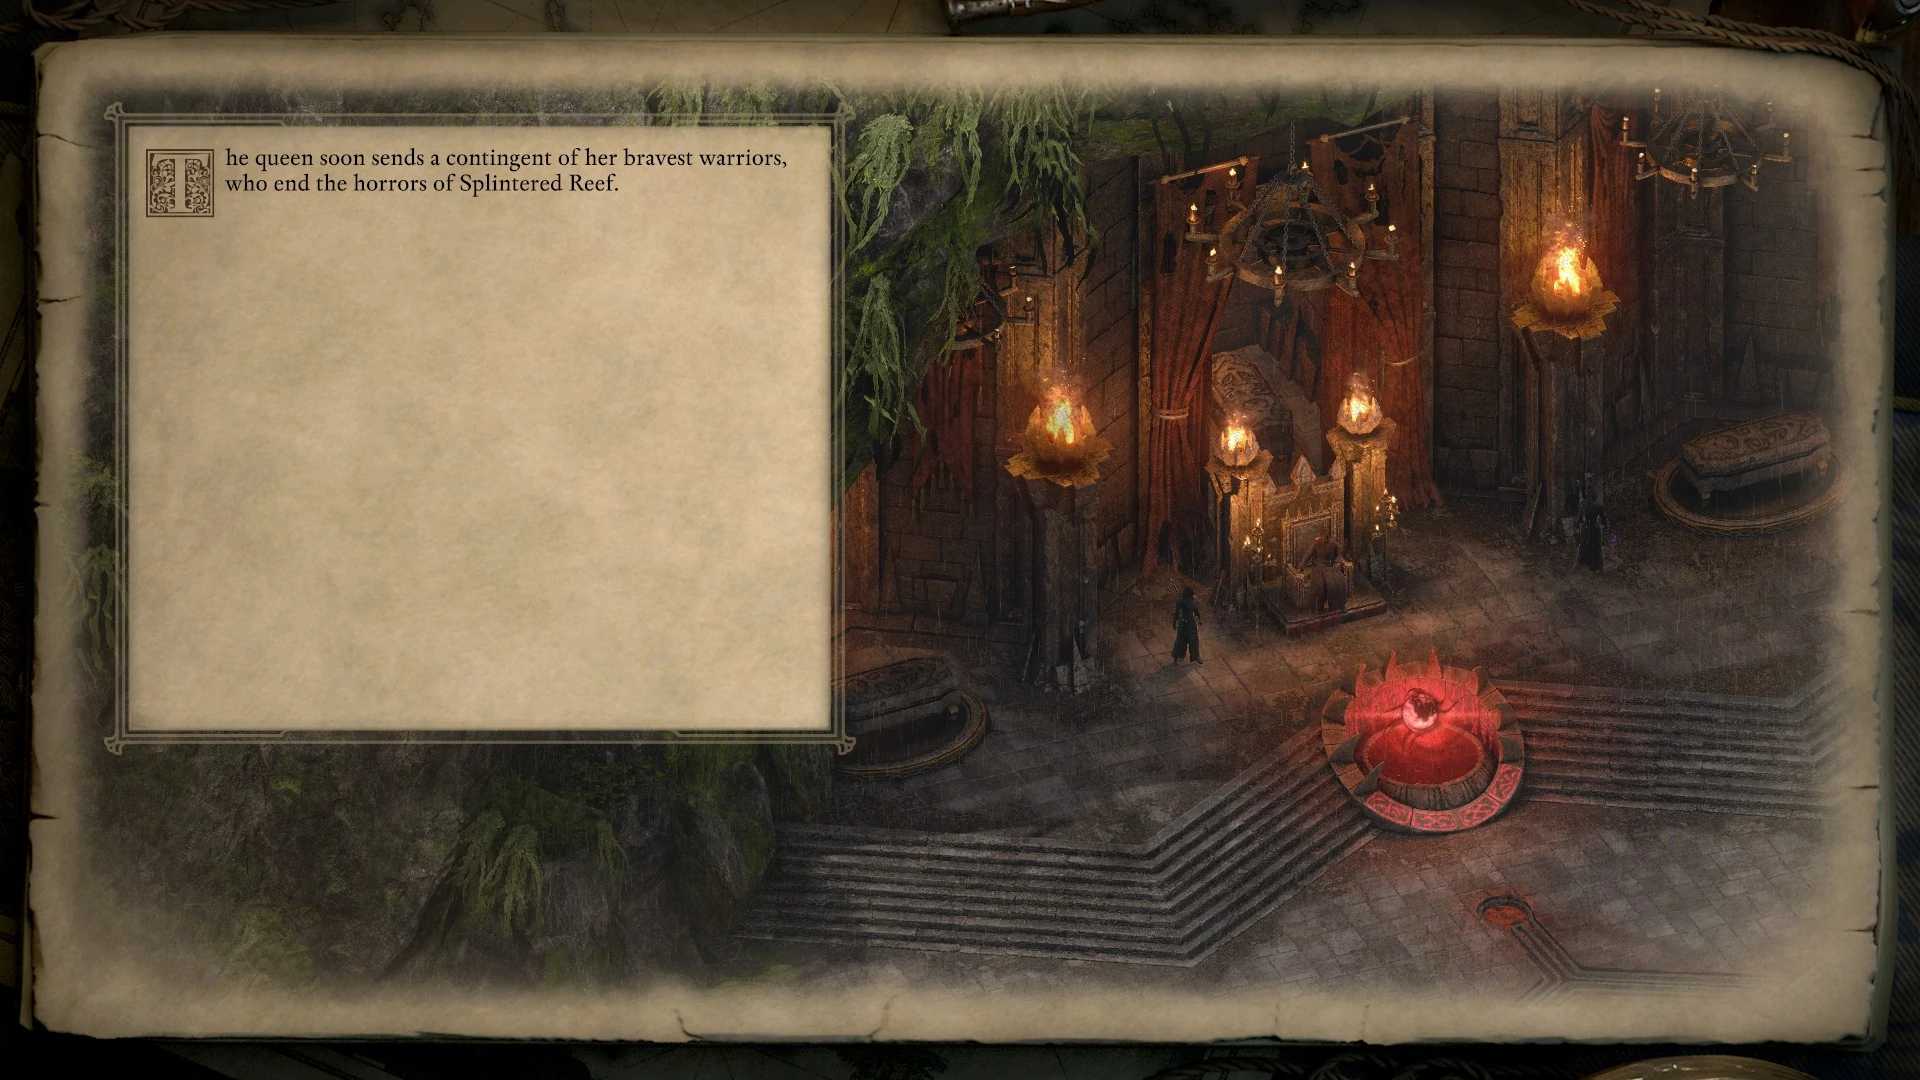
| Menzzago alive, no deal made with the undead, Huana control Ukaizo | The queen soon sends a contingent of her bravest warriors, who end the horrors of Splintered Reef. |
|
Companions[ | ]
| Conditions | Outcome | Slides |
|---|---|---|
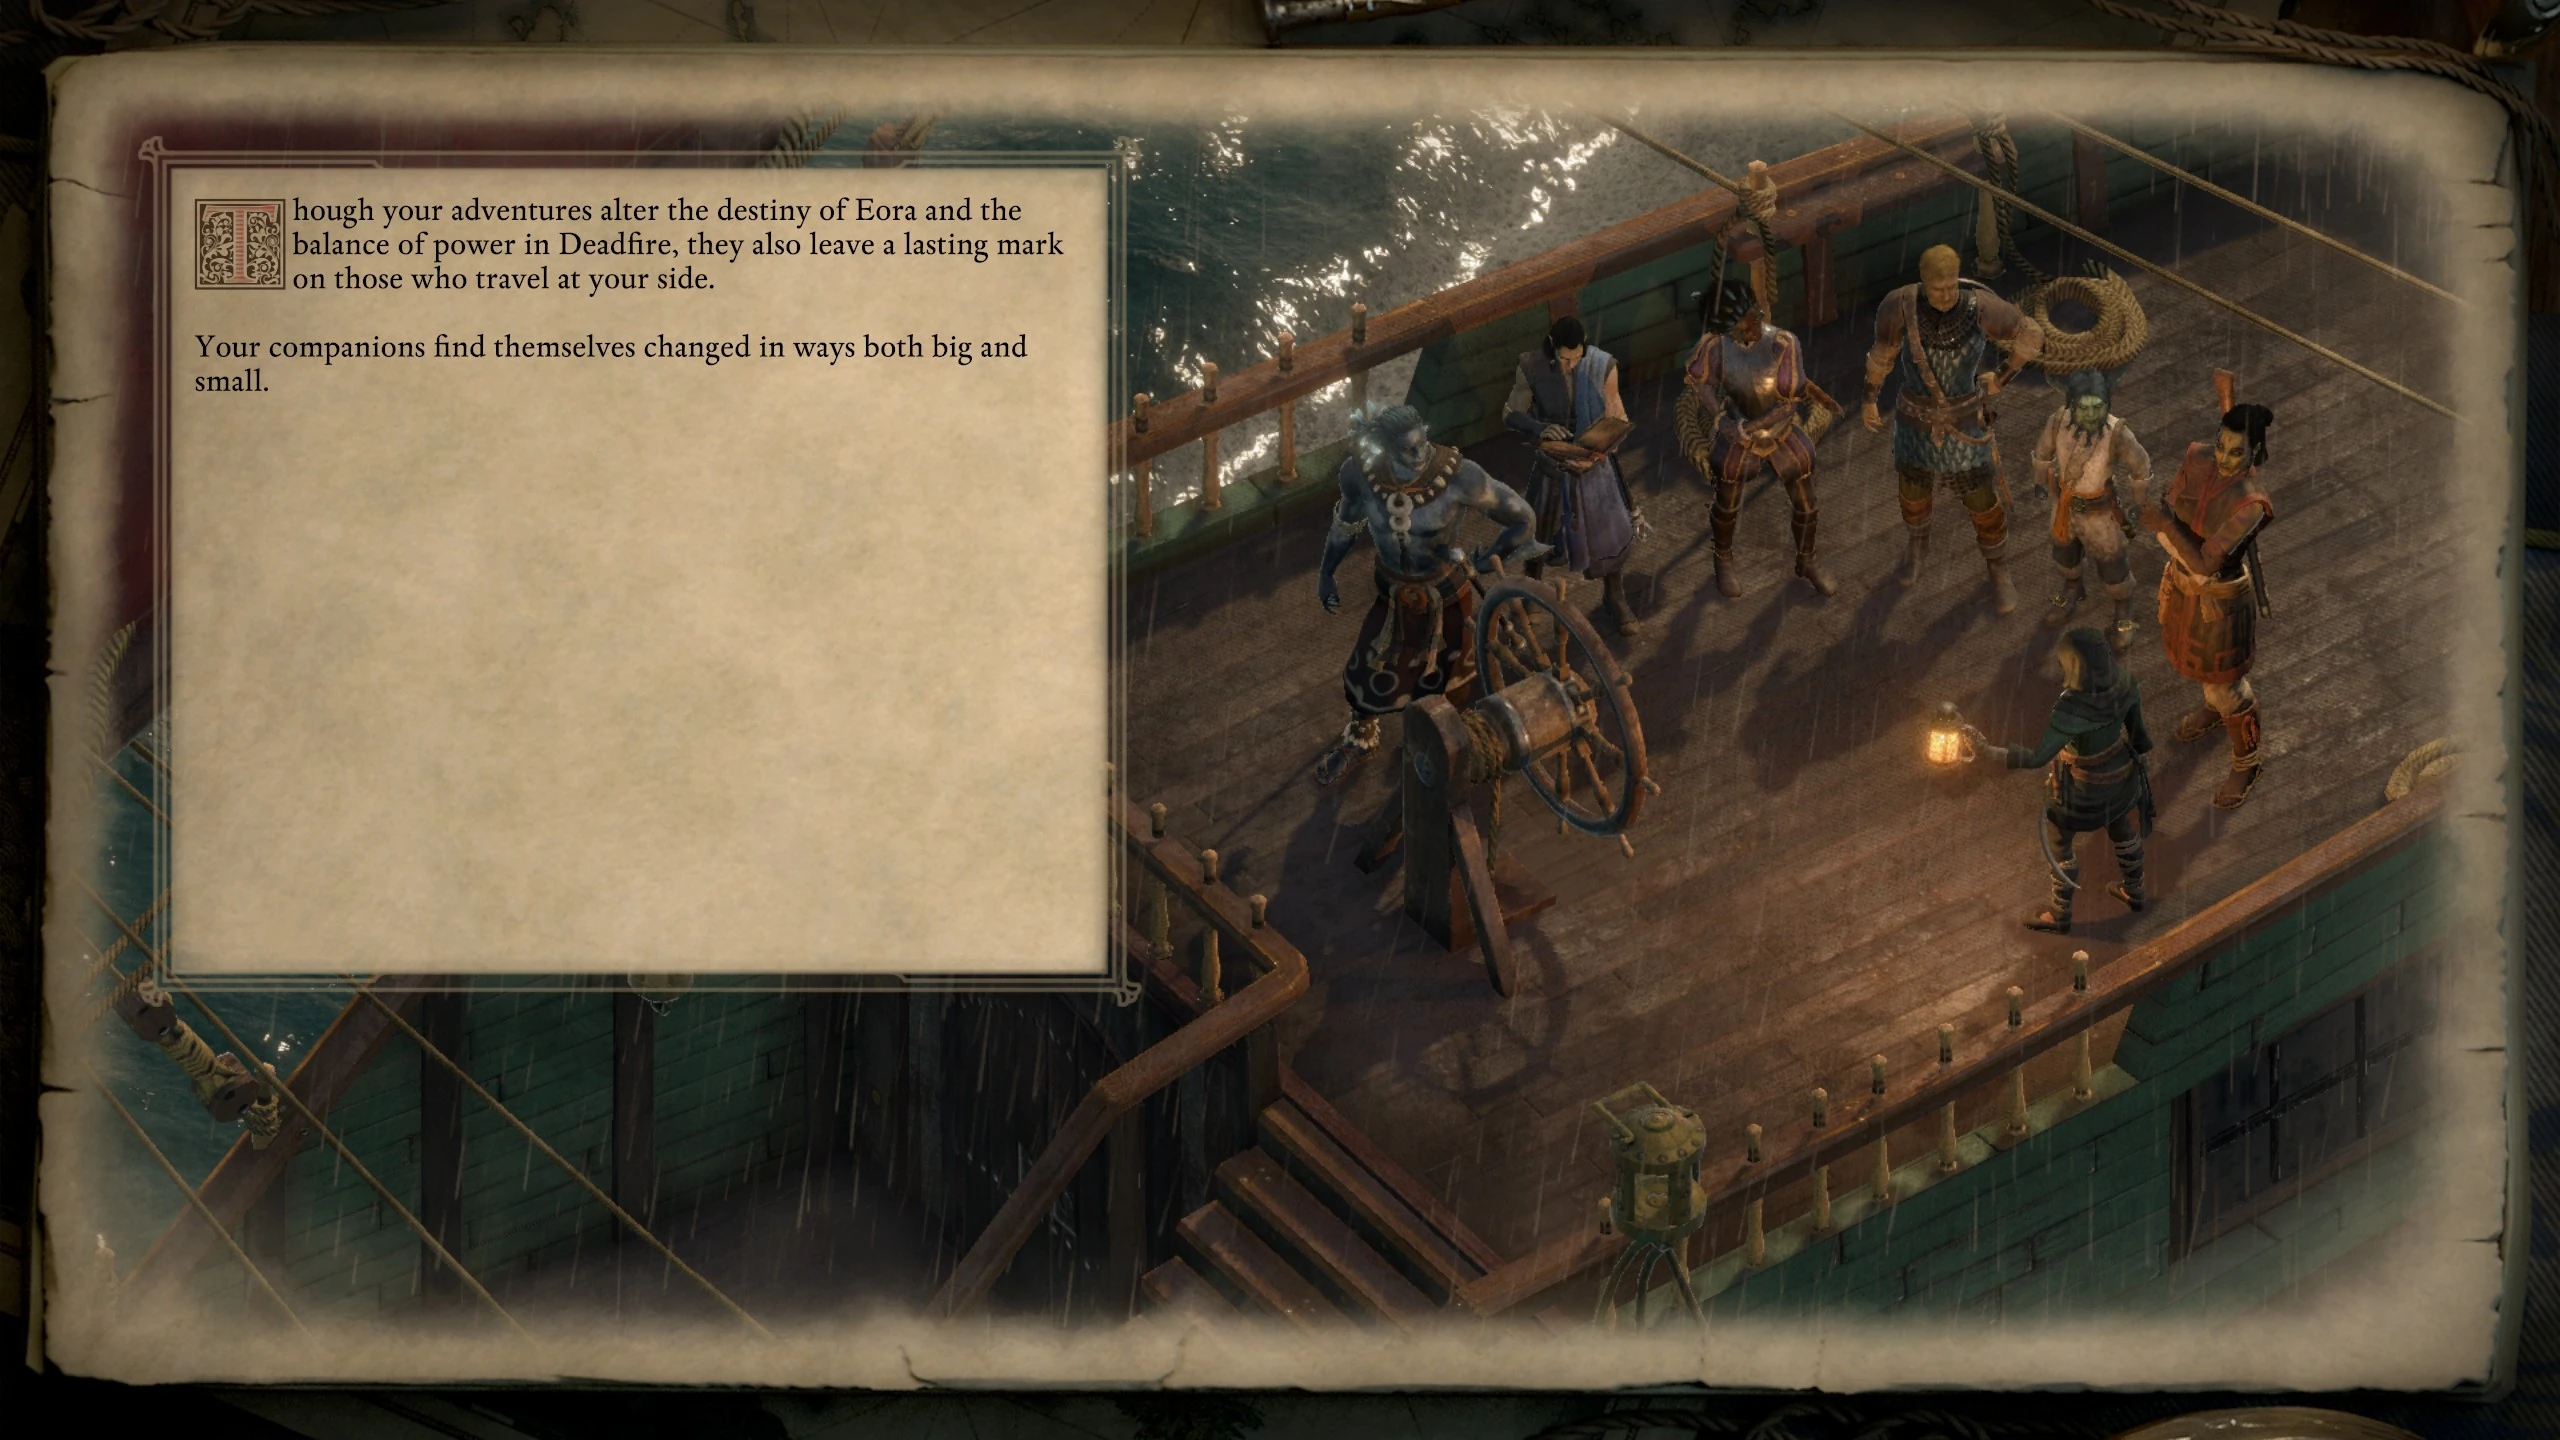
| Recruit companions | Though your adventures alter the destiny of Eora and the balance of power in Deadfire, they also leave a lasting mark on those who travel at your side. Your companions find themselves changed in ways both big and small. |
|
Edér[ | ]
Edér must be alive and recruited for a slide to show here. Only one slide is shown, based on which condition is met first from this list.
| Conditions | Outcome | Slides |
|---|---|---|
| Edér's faith is renewed, Bearn dies during The Lighted Path. | Edér stays in your company, awaiting what the gods will do next.
In the days sailing back from Ukaizo, Edér keeps mostly to himself, reflecting upon the new, fragile existence his god has forced upon the world. He decides that if he knows one thing about the gods, it is that they are already plotting, and greater calamities will certainly follow. Ultimately he chooses to remain with you on the Defiant, knowing if any mortal is to have the final word in a conflict with the gods, it will be the Watcher of Caed Nua. |

|
| Edér's faith is not renewed, Bearn dies during The Lighted Path. | Edér looses his faith, but stays in your company, awaiting what will come next.
In the days sailing back from Ukaizo, Edér finds himself disillusioned with all gods, his own above all. Where the gods have touched Deadfire, he sees only destruction, loss, and emptiness. He casts off all symbols of Eothas, and even begins refusing to use his name. Ultimately, he chooses to remain with you on the Defiant, knowing if any mortal is to have the final word in a conflict with the gods, it will be the Watcher of Caed Nua. |

|
| Edér's faith is not renewed, The Watcher has a very negative relationship with him. | Edér returns to the Dyrwood and works to un-do the damage Eothas caused.
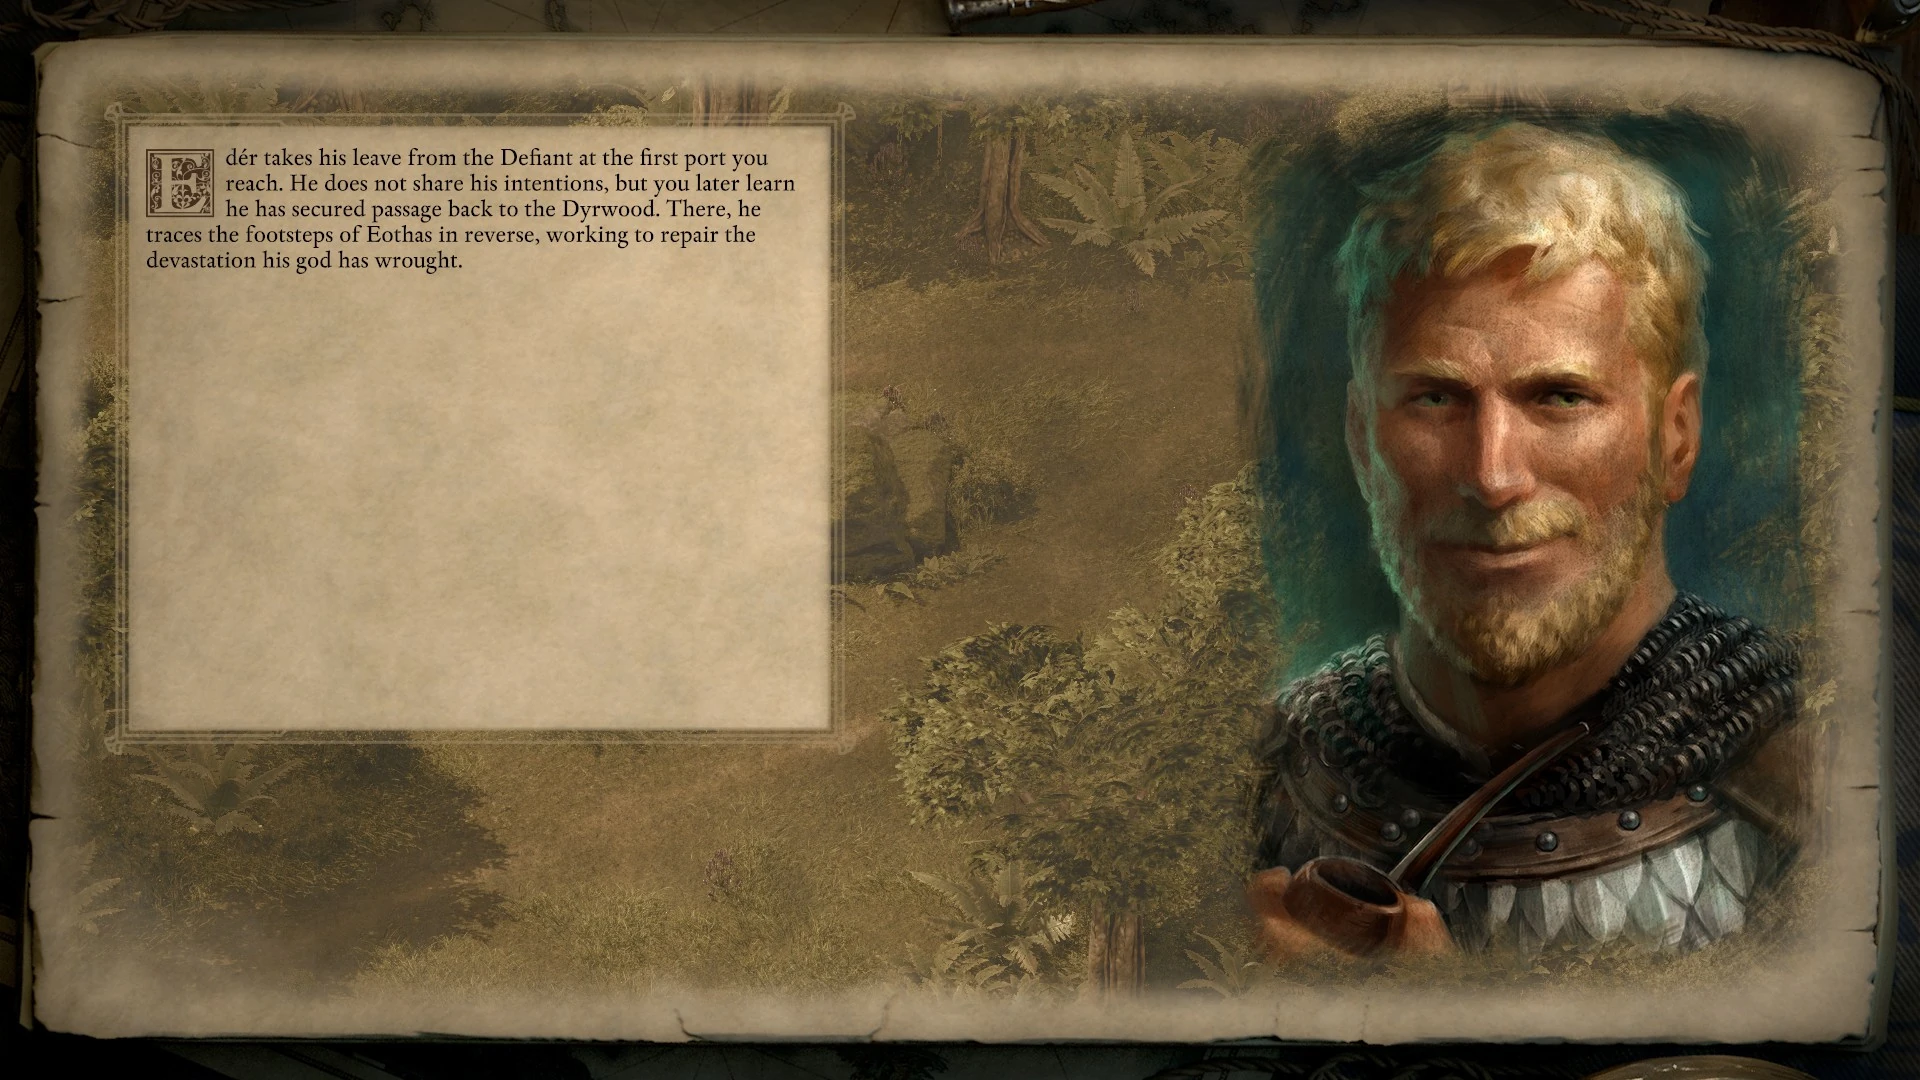
Edér takes his leave from the Defiant at the first port you reach. He does not share his intentions, but you later learn he has secured passage back to the Dyrwood. There, he traces the footsteps of Eothas in reverse, working to repair the devastation his god has wrought. |
|
| Edér's faith is renewed, The Watcher has a very negative or negative relationship with him. | Edér returns to the Dyrwood and works to inspire faith in other Eothasians.
Edér takes his leave from the Defiant at the first port you reach. He does not share his intentions, but you later learn he has secured passage back to the Dyrwood. There he brings a message to the Eothasian faithful, telling them that Eothas has returned, and that their faith in their god has not been misplaced. |

|
| Edér's faith is renewed, Bearn never drinks the poison during The Lighted Path. | Edér and Bearn work to increase Eothas' following in the Deadfire.
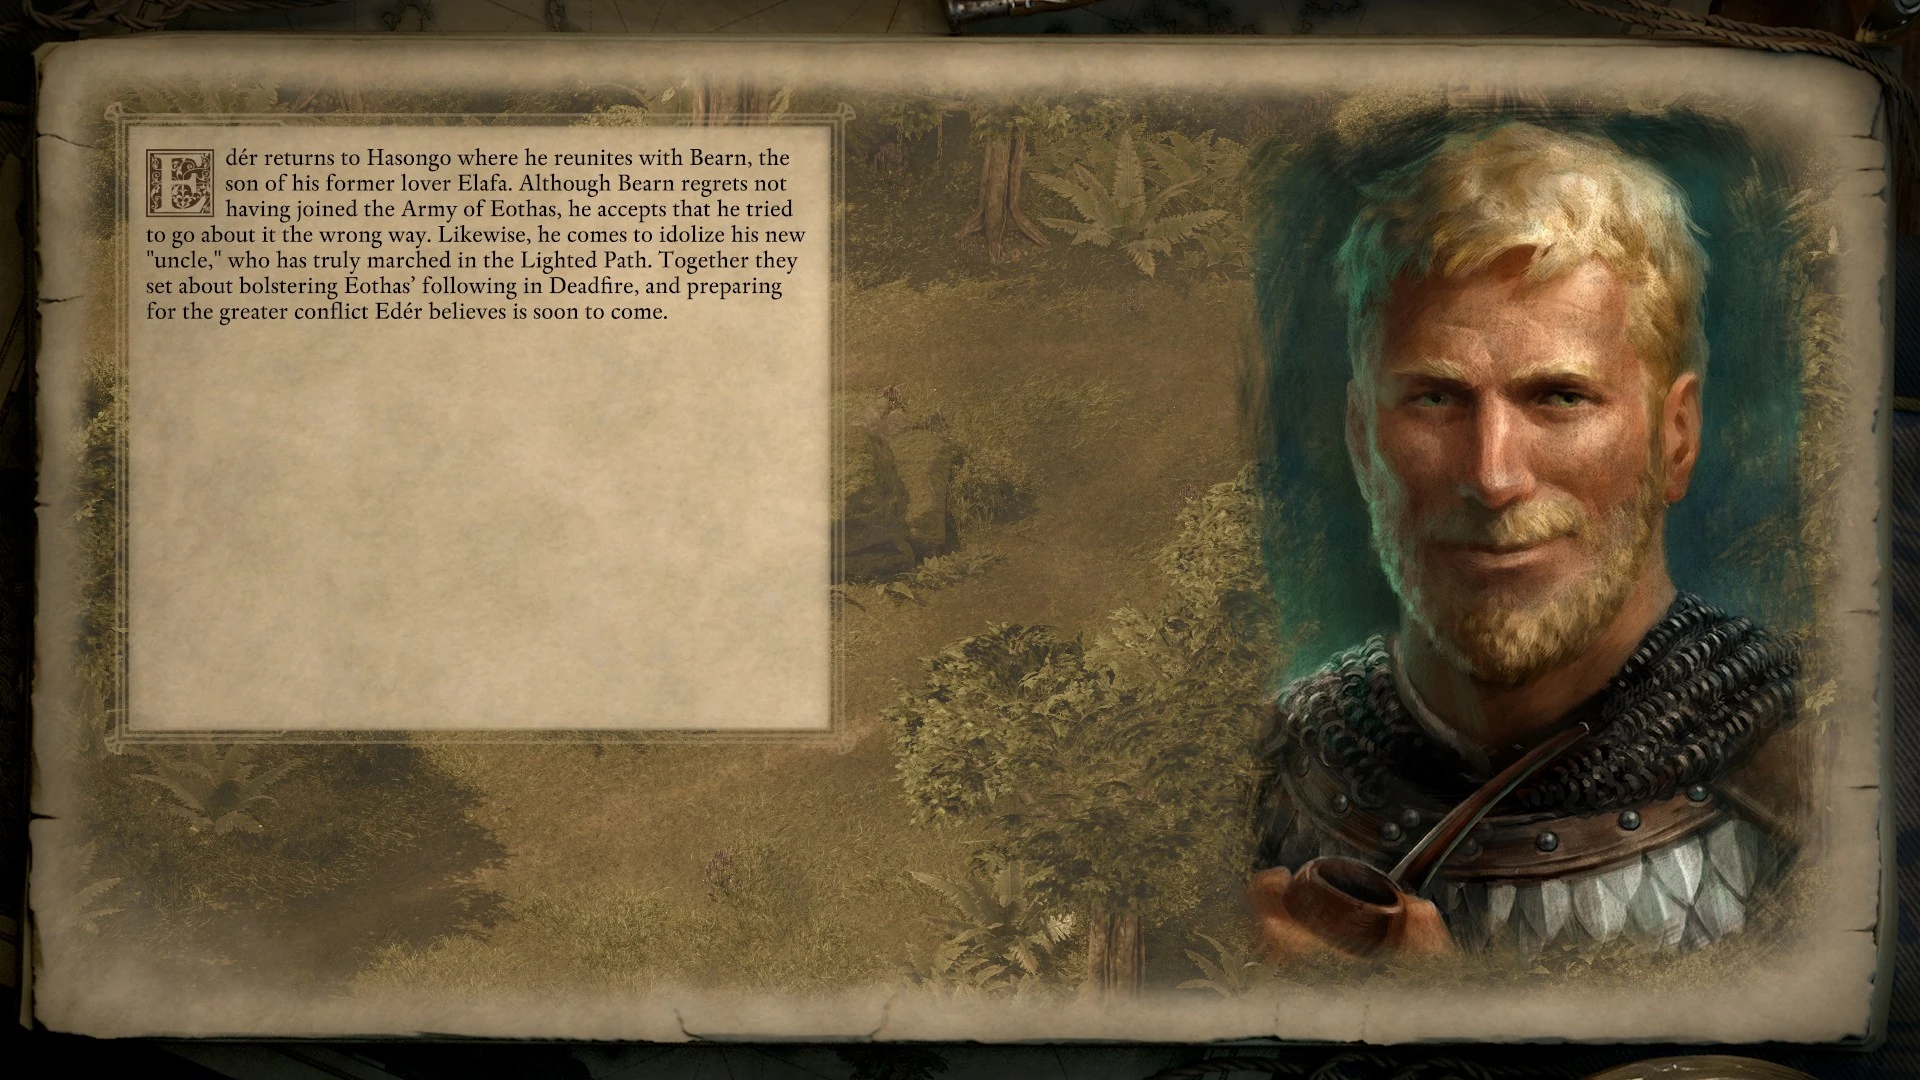
Edér returns to Hasongo where he reunites with Bearn, the son of his former lover Elafa. Although Bearn regrets not having joined the Army of Eothas, he accepts that he tried to go about it the wrong way. Likewise, he comes to idolize his new "uncle," who has truly marched in the Lighted Path. Together they set about bolstering Eothas’ following in Deadfire, and preparing for the greater conflict Edér believes is soon to come. |
|
| Edér's faith is renewed, Bearn drinks the poison during The Lighted Path, but is revived. | Edér tries to guide Bearn, but Bearn spurns him. Edér returns to your company.
Edér returns to Hasongo where he reunites with Bearn, the son of his former lover Elafa. However, the visit does not go as planned. Distraught upon learning that he has truly missed the chance to help Eothas in his greatest moment, Bearn spurns Edér’s offer of guidance. He disappears from Hasongo soon after, leaving Edér alone there with only memories of the boy’s mother for company. Eventually, Edér finds his way back to rejoin you on the Defiant. |

|
| Edér's faith is not renewed, Bearn lived during The Lighted Path. | Edér and Bearn work to repair the damage done to the Deadfire.
Edér returns to Hasongo where he reunites with Bearn, the son of his former lover Elafa. The boy takes heart in Edér’s account that Eothas and all the other gods were false, petty, and unworthy of the love of kith. Realizing how close he came to dying for this cause, Bearn finds renewed purpose in working alongside his "uncle" to repair the many scars left upon Deadfire by the gods. Under Edér’s guidance, Bearn grows into the kind of irreverent, stubborn hothead that would have made his mother proud, and Edér visits her gravesite often to tell her so. |

|
Xoti[ | ]
Xoti must be alive and recruited for this section to be shown.
If Xoti has a notable relationship, the slide discussing it will come up first, expect in the case of an active relationship with the Watcher, which will apear after Xoti's normal ending slides. The relationship slides are as follows.
| Conditions | Outcome | Slides |
|---|---|---|
| Xoti is in a relationship with the Watcher. | Though the two of you no longer travel together, Xoti holds fast to the memory of you in her heart, remaining your fierce and doting girlfriend - faithful even in her absence. You receive a missive for every day apart, though they often arrive in a single bundle some weeks or months past. In them, she writes of how she misses you, how you are like a fire that burns inside her, how one day surely you will be united again. Until then, she prays for your safety as she continues to labor in service to Gaun. |
 |
| Xoti was in a relationship with the Watcher, but they broke up. | After you divest Xoti of her virtue, she does not take the break up well. On several different nights, you have to turn her away when she tries to follow you into your captain's quarters. |
 |
| Xoti is in a relationship with Maia. | It's hard not to notice how Xoti follows Maia everywhere she goes. The two seem nigh inseperable and can often be found talking, laughing, fishing and target practicing, or sharing drinks and kisses before sneaking belowdecks for some privacy. |
 |
| Xoti was in a relationship with Maia, but they broke up. | After Xoti and Maia's short-lived romance flames out, the priestess sulks about the ship, looking listless, her lantern light burning low. But after only a couple of weeks, she picks herself back up again, vowing to focus single-mindedly on her duty to Gaun. |
 |
| Edér and Xoti become friends.
See Xoti's relationships section. |
Xoti is not a priestess who understands the meaning of subtlety. As such, she makes her girlish crush on Edér painfully obvious from the moment she first sets eyes on the strapping fighter. Early in your travels, Edér appears discomforted by her persistent flirting. He often grimaces when she sidles up to him, and he takes endless pains to keep their conversations terse and to the point. But after a little smoothing on your part to nudge them in the right direction, Edér makes an effort to view Xoti with an open mind, and Xoti begins teasing the veteran fighter in a more companionable and less amorous manner. After saving each other's hides a couple times and sharing more than a few laughs, the two form an easy and, you suspect, life-long friendship. |
 |
| Edér and Xoti don't become friends. | Xoti is not a priestess who understands the meaning of subtlety. As such, she makes her girlish crush on Edér painfully obvious from the moment she first sets eyes on the strapping fighter. But as you all travel, Edér grows increasingly uncomfortable with her attempts to engender his affection, until he finally takes her aside and sets her straight. He's not interested in a sheltered, overzealous little girl, he explains in so many words. After that, Xoti turns a cold shoulder to him, sometimes "forgetting" to heal him in the chaos of battle. Or so she claims. |
 |
Xoti's normal ending slide is then displayed, which is based on how her personal quest, The Lantern of Gaun, is completed.
| Conditions | Outcome | Slides |
|---|---|---|
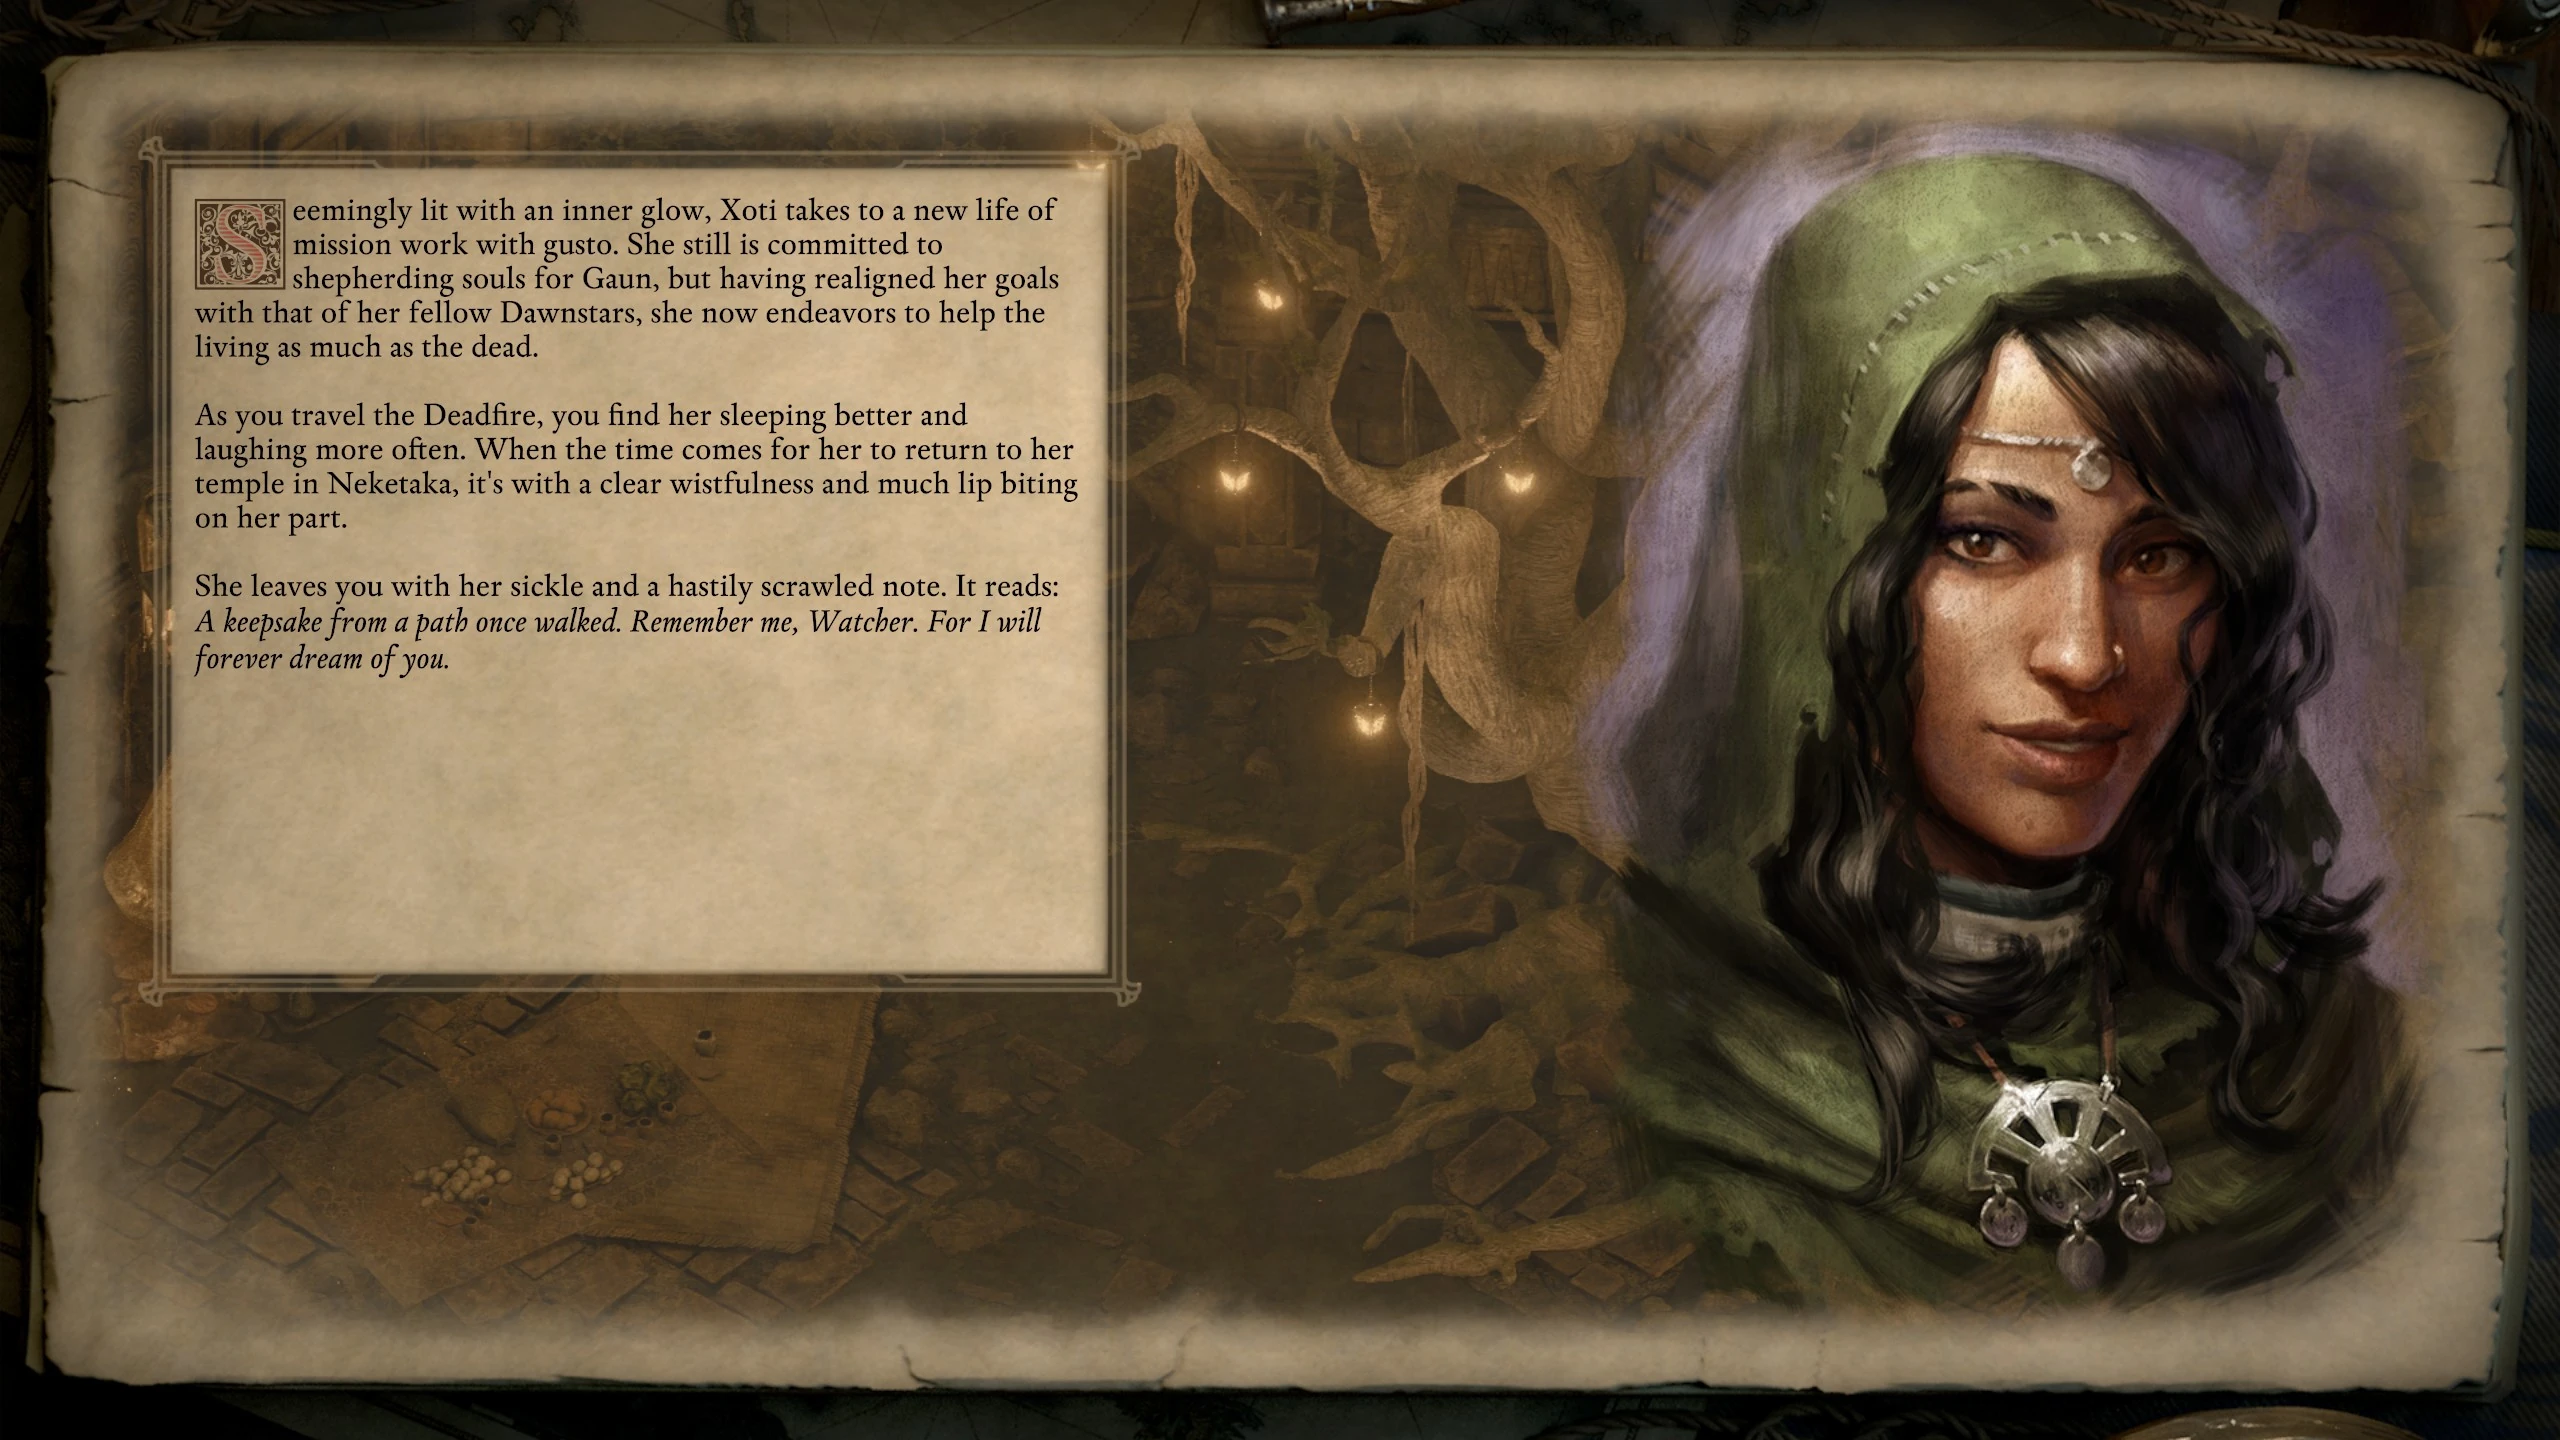
| Xoti follows the light path and cleanses the souls. | Xoti becomes aligned with the Dawnstars and helps the living as much as the dead.
Seemingly lit with an inner glow, Xoti takes to a new life of mission work with gusto. She still is committed to shepherding souls for Gaun, but having realigned her goals with that of her fellow Dawnstars, she now endeavors to help the living as much as the dead. As you travel the Deadfire, you find her sleeping better and laughing more often. When the time comes for her to return to her temple in Neketaka, it's with a clear wistfulness and much lip biting on her part. She leaves you with her sickle and a hastily scrawled note. It reads: "A keepsake from a path once walked. Remember me, Watcher. For I will forever dream of you." |
 |
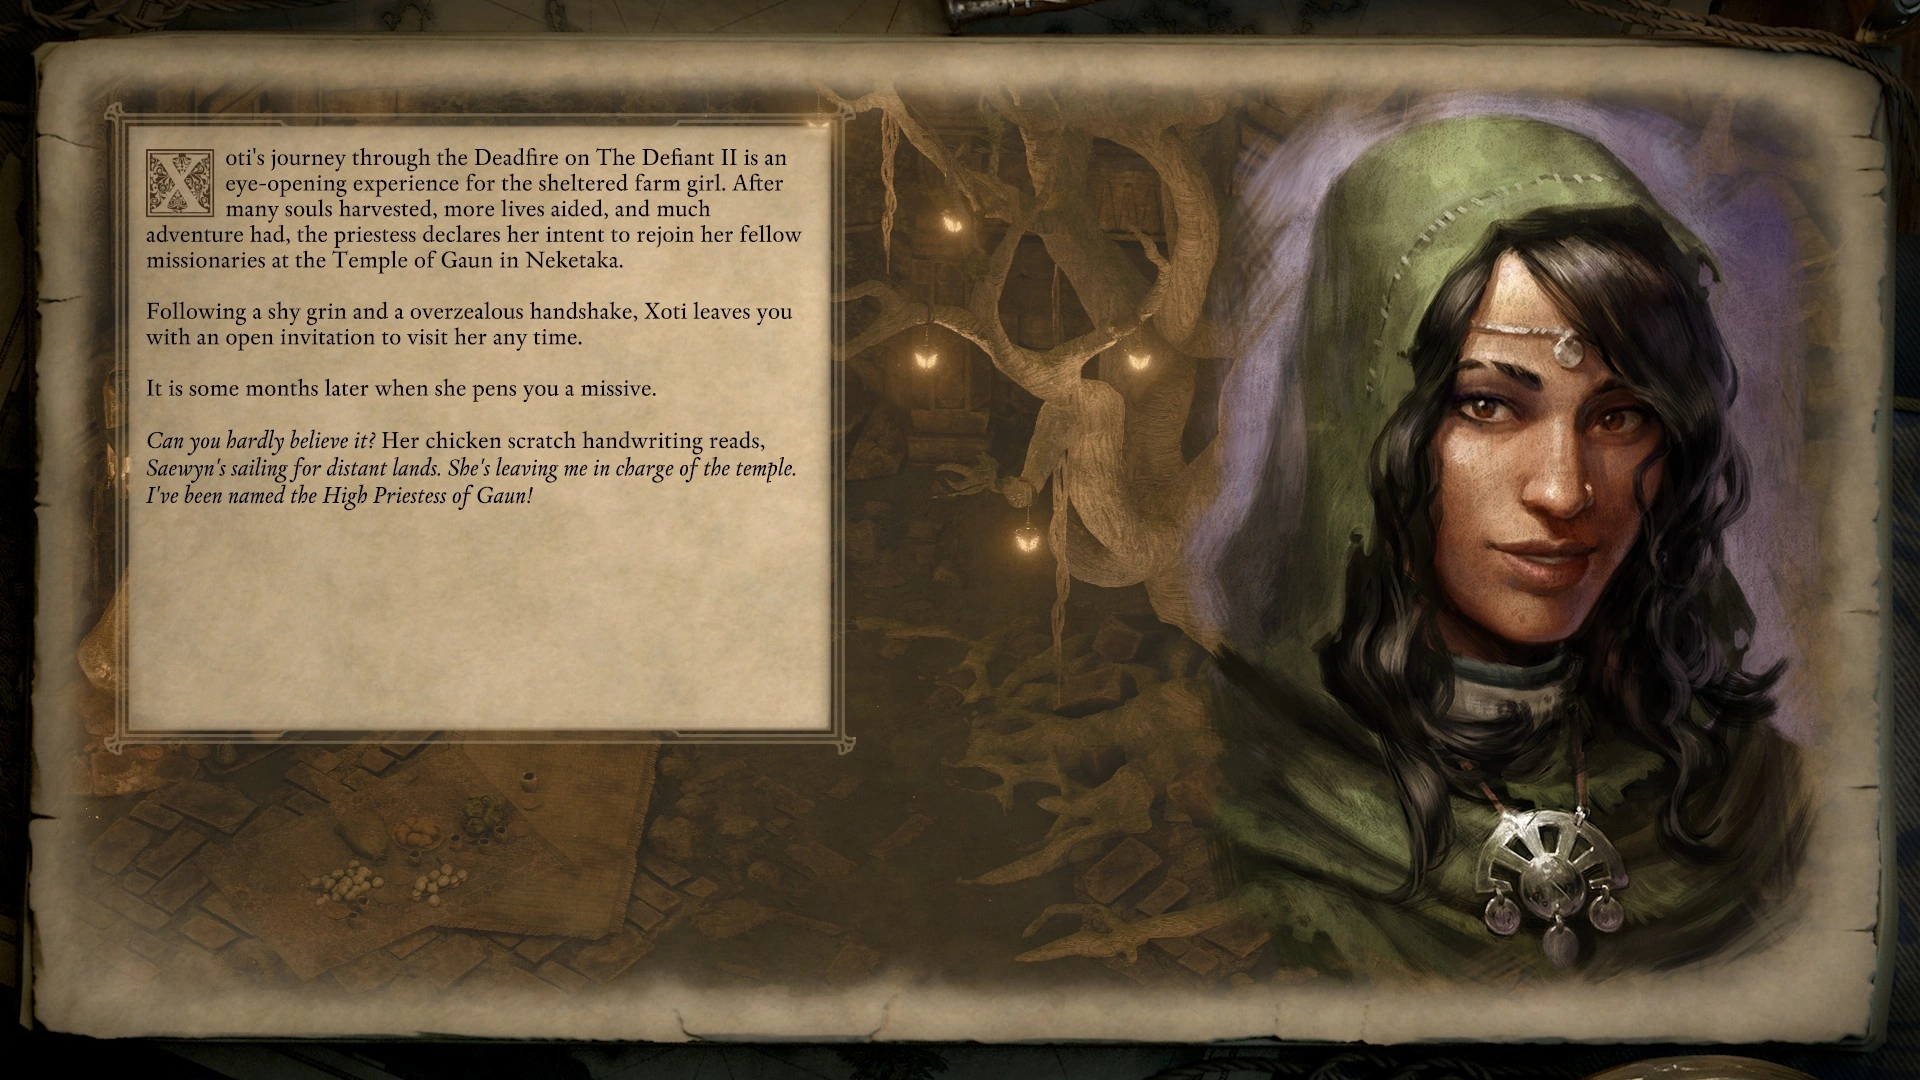
| Never complete her quest. | Xoti replaces Saewyn as High Priestess of Gaun.
Xoti's journey through the Deadfire on The Defiant is an eye-opening experience for the sheltered farm girl. After many souls harvested, more lives aided, and much adventure had, the priestess declares her intent to rejoin her fellow missionaries at the Temple of Gaun in Neketaka. Following a shy grin and a overzealous handshake, Xoti leaves you with an open invitation to visit her any time. It is some months later when she pens you a missive. "Can you hardly believe it?" Her chicken scratch handwriting reads, "Saewyn's sailing for distant lands. She's leaving me in charge of the temple. I've been named the High Priestess of Gaun!" |
 |
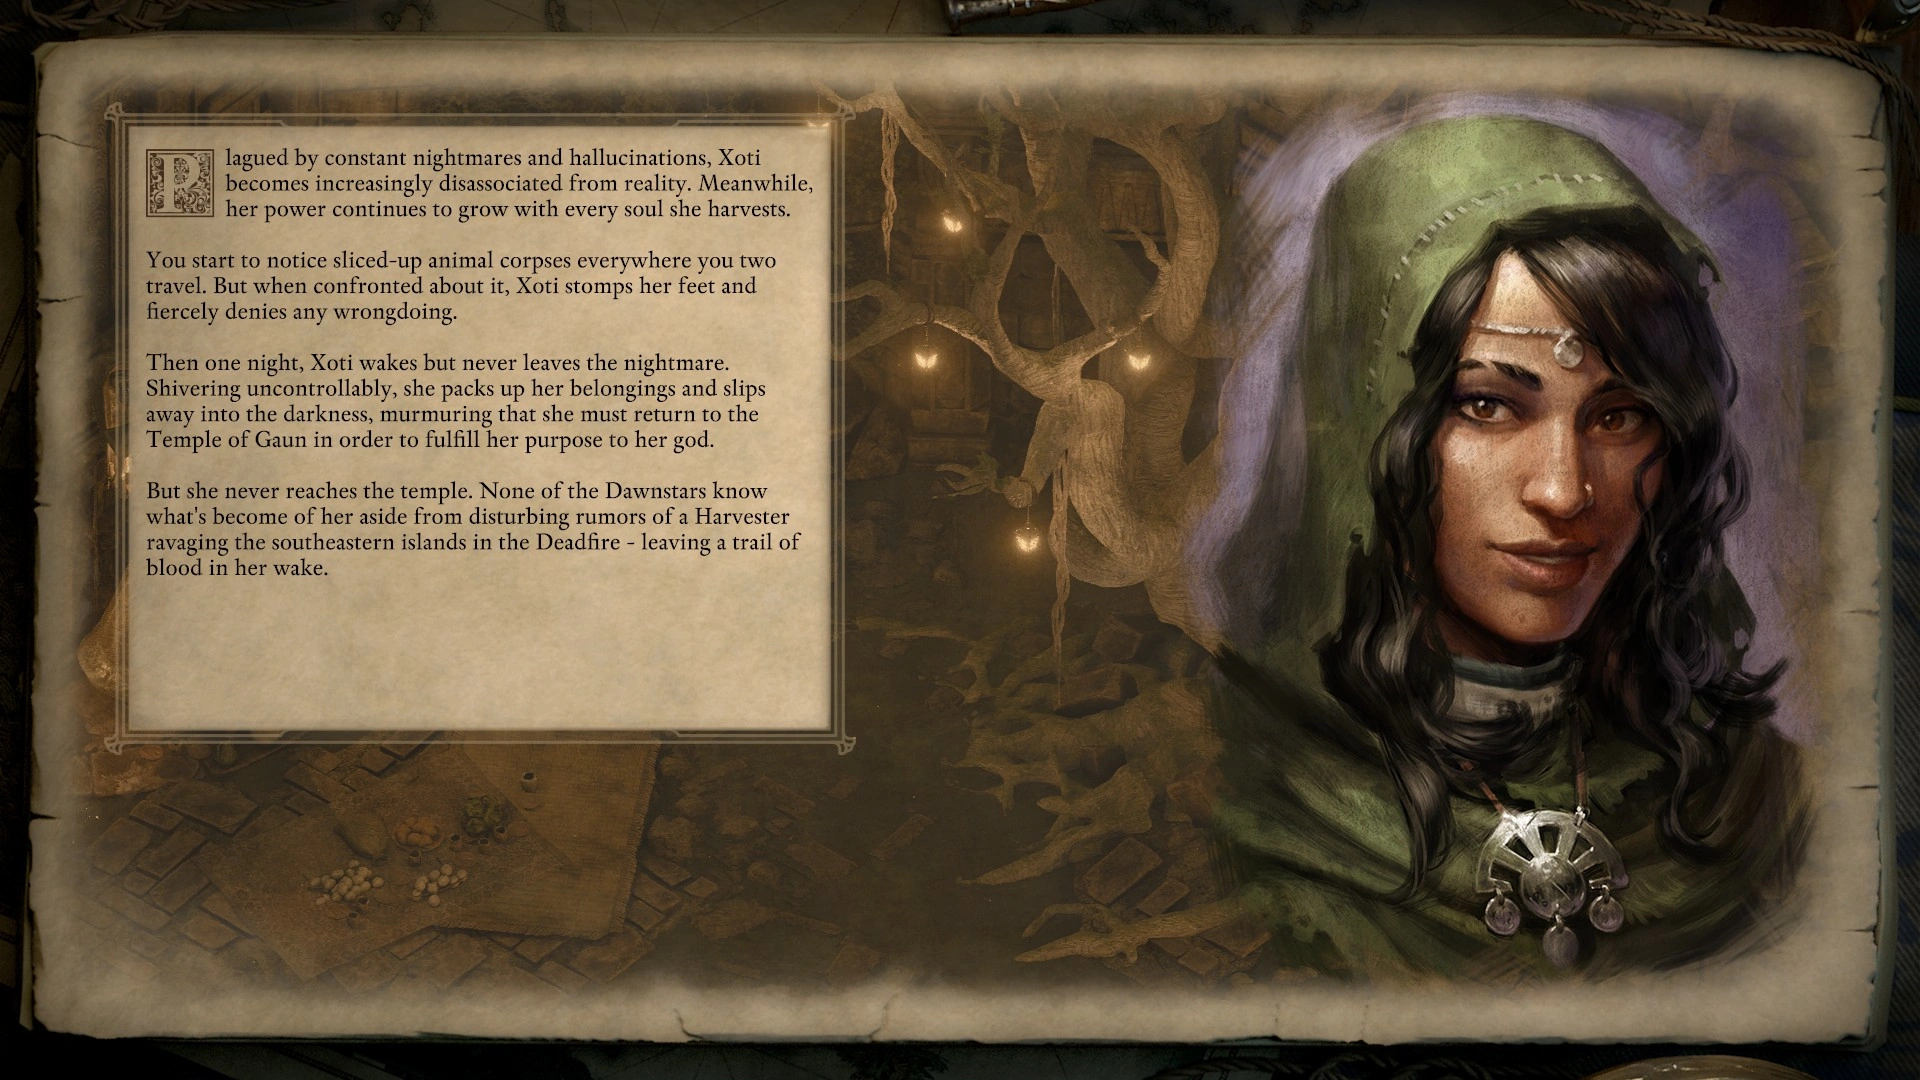
| Xoti follows the dark path and keeps the souls. | Xoti gives into her nightmares and reaps the living.
Plagued by constant nightmares and hallucinations, Xoti becomes increasingly disassociated from reality. Meanwhile, her power continues to grow with every soul she harvests. You start to notice sliced-up animal corpses everywhere you two travel. But when confronted about it, Xoti stomps her feet and fiercely denies any wrongdoing. Then one night, Xoti wakes but never leaves the nightmare. Shivering uncontrollably, she packs up her belongings and slips away into the darkness, murmuring that she must return to the Temple of Gaun in order to fulfill her purpose to her god. But she never reaches the temple. None of the Dawnstars know what's become of her aside from disturbing rumors of a Harvester ravaging the southeastern islands in the Deadfire - leaving a trail of blood in her wake. |
 |
Aloth[ | ]
Aloth must be alive for a slide to be shown, however he still gets an ending slide even if he was not recruited, as long as he was seen by the Watcher.
| Conditions | Outcome | Slides |
|---|---|---|
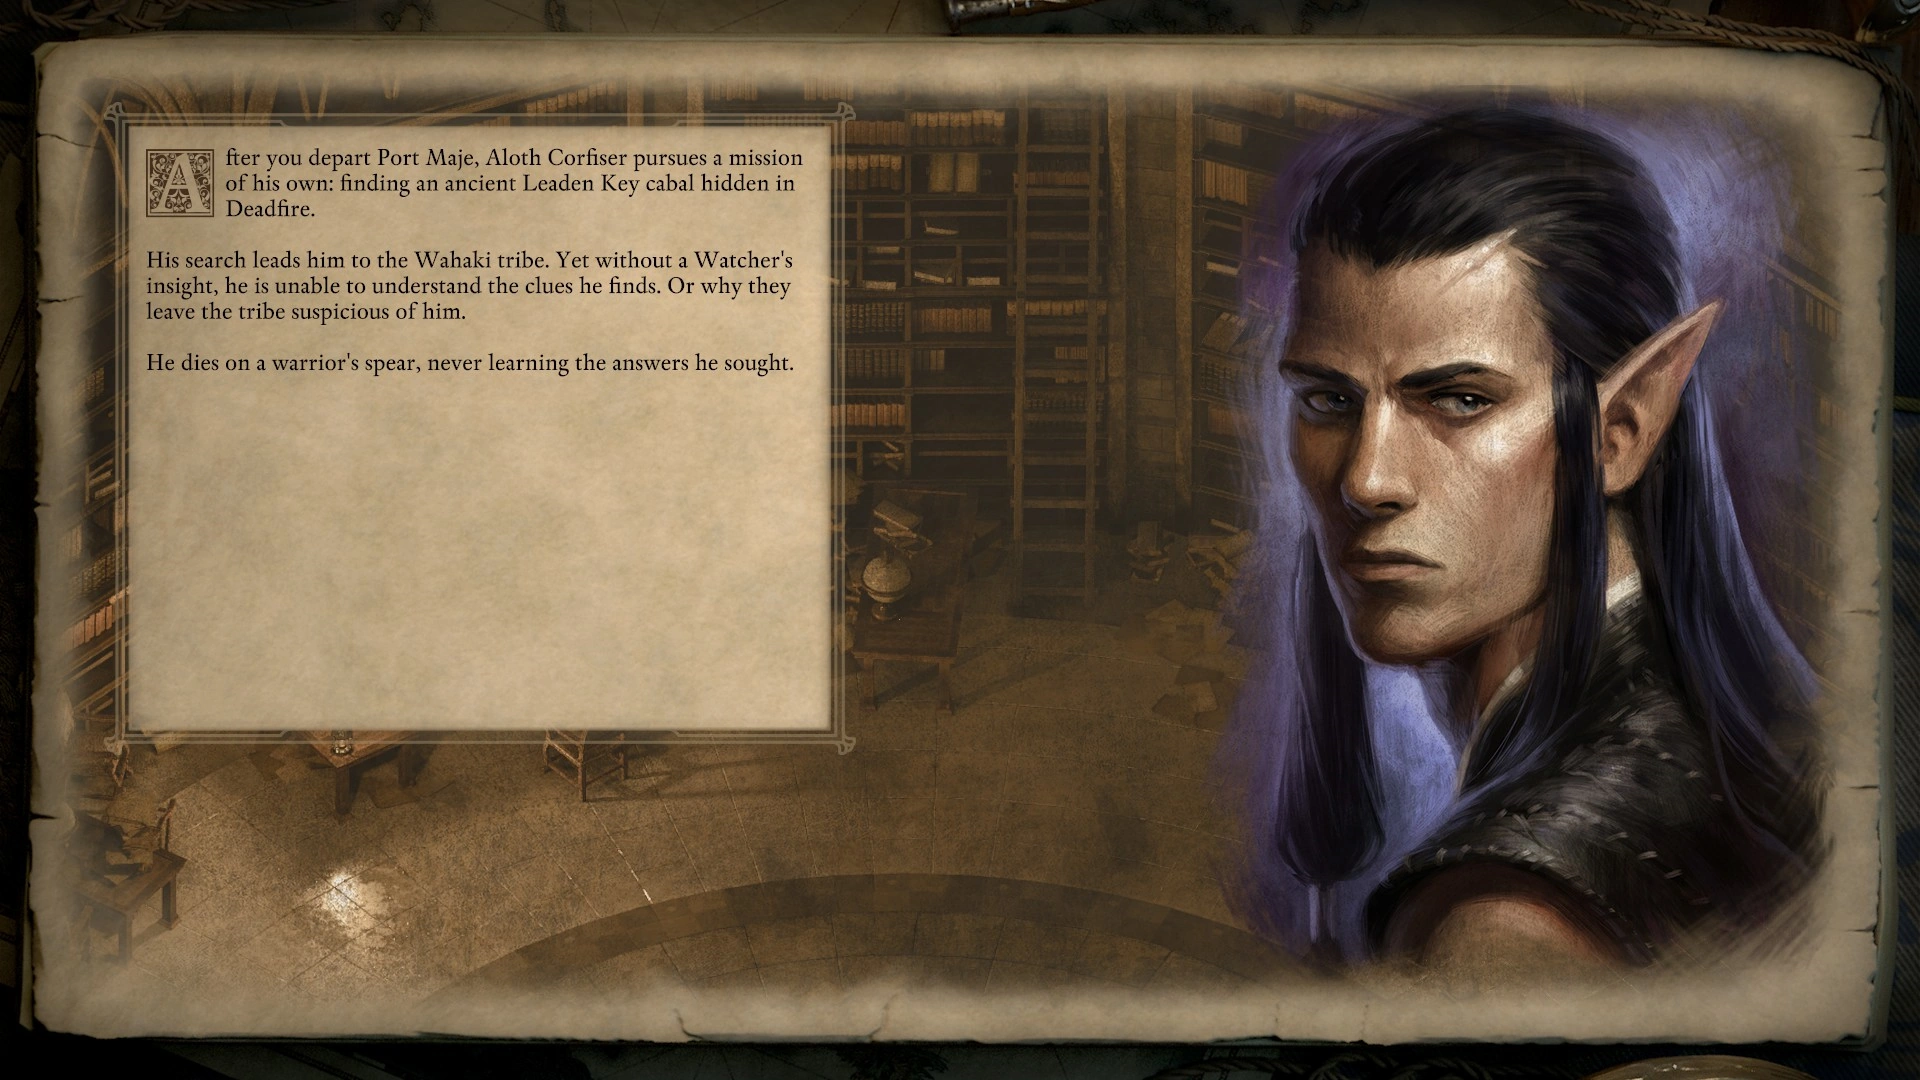
| Aloth seen, but not recruited. | Aloth dies alone on his quest.
After you depart Port Maje, Aloth Corfiser pursues a mission of his own: finding an ancient Leaden Key cabal hidden in Deadfire. His search leads him to the Wahaki tribe. Yet without a Watcher's insight, he is unable to understand the clues he finds. Or why they leave the tribe suspicious of him. He dies on a warrior's spear, never learning the answers he sought. |
 |
| Aloth is the Grandmaster of the Leaden Key, feels absolved and stays true to his duties. | Aloth returns to his duty as Grandmaster of the Leaden Key.
Aloth renews his commitment to transforming the Leaden Key from a tool of secrecy and oppression into a watchdog organization. With the Wheel broken, he reasons the world will need wise and responsible leadership more than ever. It is a lofty goal, and one he does not expect to finish in his lifetime. But if there's one thing he's learned from the Watcher, it's that a single person can change the world. |
 |
| Aloth is dismantling the Leaden Key, feels absolved and stays true to his duties. | Aloth returns to his duty of dismantling the Leaden Key.
Aloth renews his commitment to destroying the Leaden Key. With the Wheel broken, loosening the gods' stranglehold on kith is more urgent than ever. It is a lofty goal, and one he does not expect to finish in his lifetime. But if there's one thing he's learned from the Watcher, it's that a single person can change the world. |
 |
| Aloth feels he's responsible for the consequences of his work... | Aloth doesn't continue his work...
If Aloth has learned one thing from your adventures, it is that the forces shaping the world are vaster and more complex than he had ever imagined. And they are far beyond anyone's power to control. |
 |
| ...as Grandmaster. | ...and was Grandmaster of the Leaden Key.
Thus, it is with great relief that he sheds Thaos' mantle. The Leaden Key will become what kith need of it in time. Assuming they have need of it at all. |
 |
| ...and he was dismantling the Leaden Key. | ...and was dismantling the Leaden Key.
Thus, it is with great relief that he abandons his labors against the Leaden Key. Without Thaos at the helm, it will crumble in its own time. The best he can do is stand back and allow it to happen. |
 |
Additionally, if Aloth is in a relationship with the Watcher, an extra slide will appear.
| Conditions | Outcome | Slide |
|---|---|---|
| Aloth and the Watcher are in a relationship, but he resumes his duties. | Aloth parts ways with the Watcher.
His one regret is having to leave the Watcher he has come to love. He bids you a fond and affectionate farewell, hoping your paths converge again one day. |
 |
| Aloth and the Watcher are in a relationship and he no longer resumes his duties. | Aloth stays with the Watcher.
Happily, his decision allows him to journey alongside the Watcher he has come to love. He does not know what the future holds for them - or, indeed, for the world. Whatever it is, they shall face it as they have faced all their greatest trials: together. |
 |
Serafen[ | ]
Serafen must be alive for a slide to be shown.
Firstly, Serafen can leave on negative terms or you can get rid of him. These slides will prevent any further slides showing up for Serafen.
| Conditions | Outcome | Slides |
|---|---|---|
| The Watcher sold Serafen to slavers. | Your trials in the Deadfire end without crossing Serafen's path a second time, and you never hear whether the slavers you sold him to at Bleakrock Shrine ever catch him. Regardless, he likely wants little to do with you. Yet every once in a while you catch a hint of cobalt blue out of the corner of your eye, and you wonder whether the orlan pirate is as finished with you as you are with him. |

|
| Serafen leaves the party from low reputation, taking an opposing faction to Ukazio, or siding with the Slavers. | Your trials in the Deadfire end without crossing Serafen's path a second time. Having driven him from your company, you doubt the foul-mouthed little pirate wants anything further to do with you. |

|
If you haven't driven Serafen from your party, the slides that show up first deal with the fate of Remaro at the end of A Sorcerer and a Gentleman.
| Conditions | Outcome | Slides |
|---|---|---|
| Let Remaro go free. | You let Remaro go, and the former pirate ostensibly set sail for the trade lanes of the Eastern Reach, the Aedyr Empire, Old Vailia, and the Republics. For the remainder of your time together, Serafen seems - if not exactly happy - at least contented with the outcome of your confrontation with his former mentor at Sayuka. |

|
| Killed Remaro. | Remaro, mutineer and traitor, bled out at your feet. During the remainder of your time together, you occasionally catch Serafen watching you, the expression in his green eyes contemplative. Though his gaze is largely inscrutable, it's far from friendly. |

|
Finally, a slide shows Serafen departing the party.
| Conditions | Outcome | Slides |
|---|---|---|
| You let Remaro go, but confronted him about slavery first.
Requires having started Of Like Minds or A Shrewd Proposition. |
Serafen becomes a pirate captain.
And yet, when the two of you part, Serafen seems emboldened, invigorated by a new sense of purpose. He buys you a drink, toasts to the Deadfire, says let's see if we can't make something worth a shit out of what's left of these Príncipi swabs, and sets sail the next morning. In the years to follow, rumors occasionally reach you of the blue orlan pirate of the Deadfire, a privateer captain as keen to free slaves or fight foreign influence as he is to plunder and pillage. |
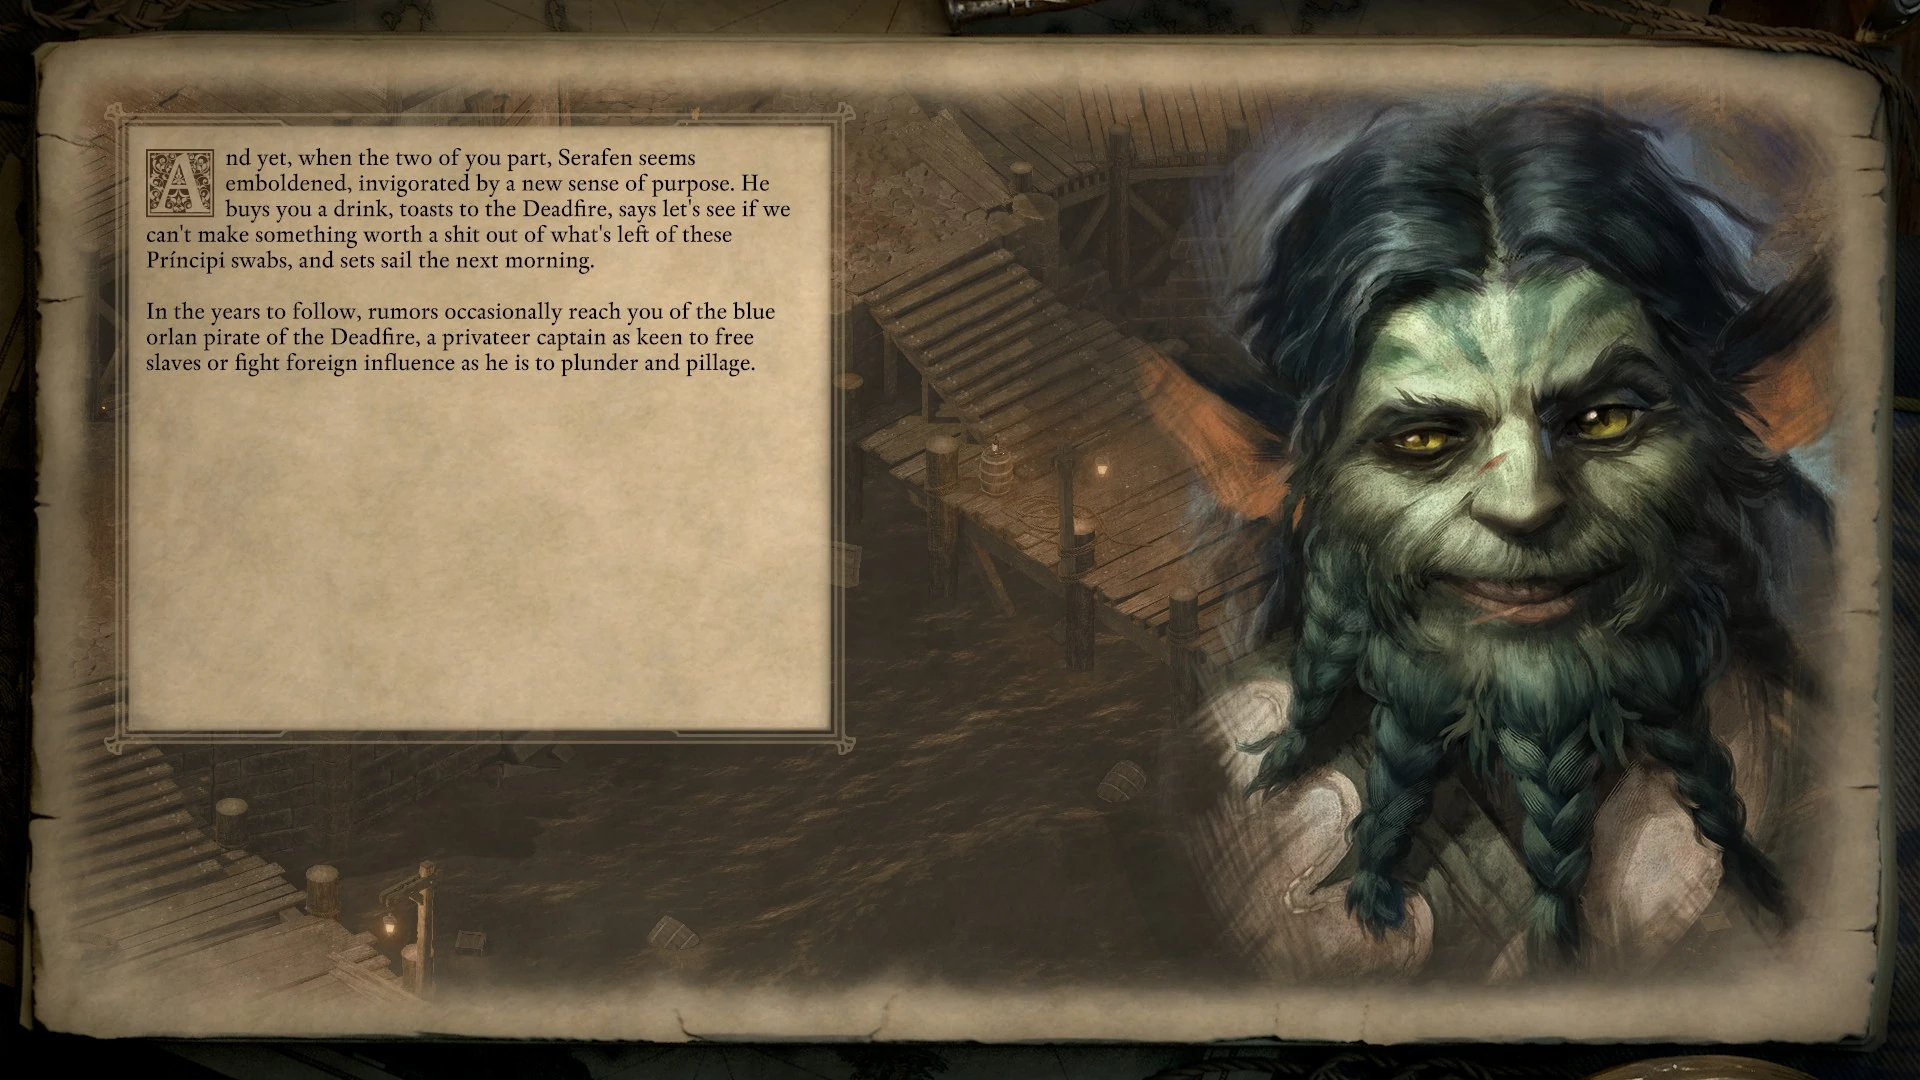
|
| You let Remaro go, but didn't confront him about slavery. | Serafen continues as a pirate, without direction or connections.
When he leaves, he does so with little fanfare. Nothing but a roughly-scrawled note slipped under your door: Be seeing you, cap. You hear of Serafen, from time to time, in rumors and sea tales. He prowls the Deadfire, a brutally efficient killer, never long for any ship and never close to any crew. |

|
| You let Remaro go, confronted him about slavery, and cheered up Serafen afterwards with a clever response. | Serafen captains a new ship dedicated to hunting slavers.
After your encounter with Eothas, the pirate drifts into quiet contemplation. As you sail into your next port, he meets you at the ship's rail. He'll be leaving the gods to you going forward, he tells you, and saving his bullets for those like to die from them. Serafen parts company with you not long after. Occasionally, in the years that pass, you hear tale of his ship, the Taste of Freedom, and its violent exploits against any and all who would purchase or purvey kith. |
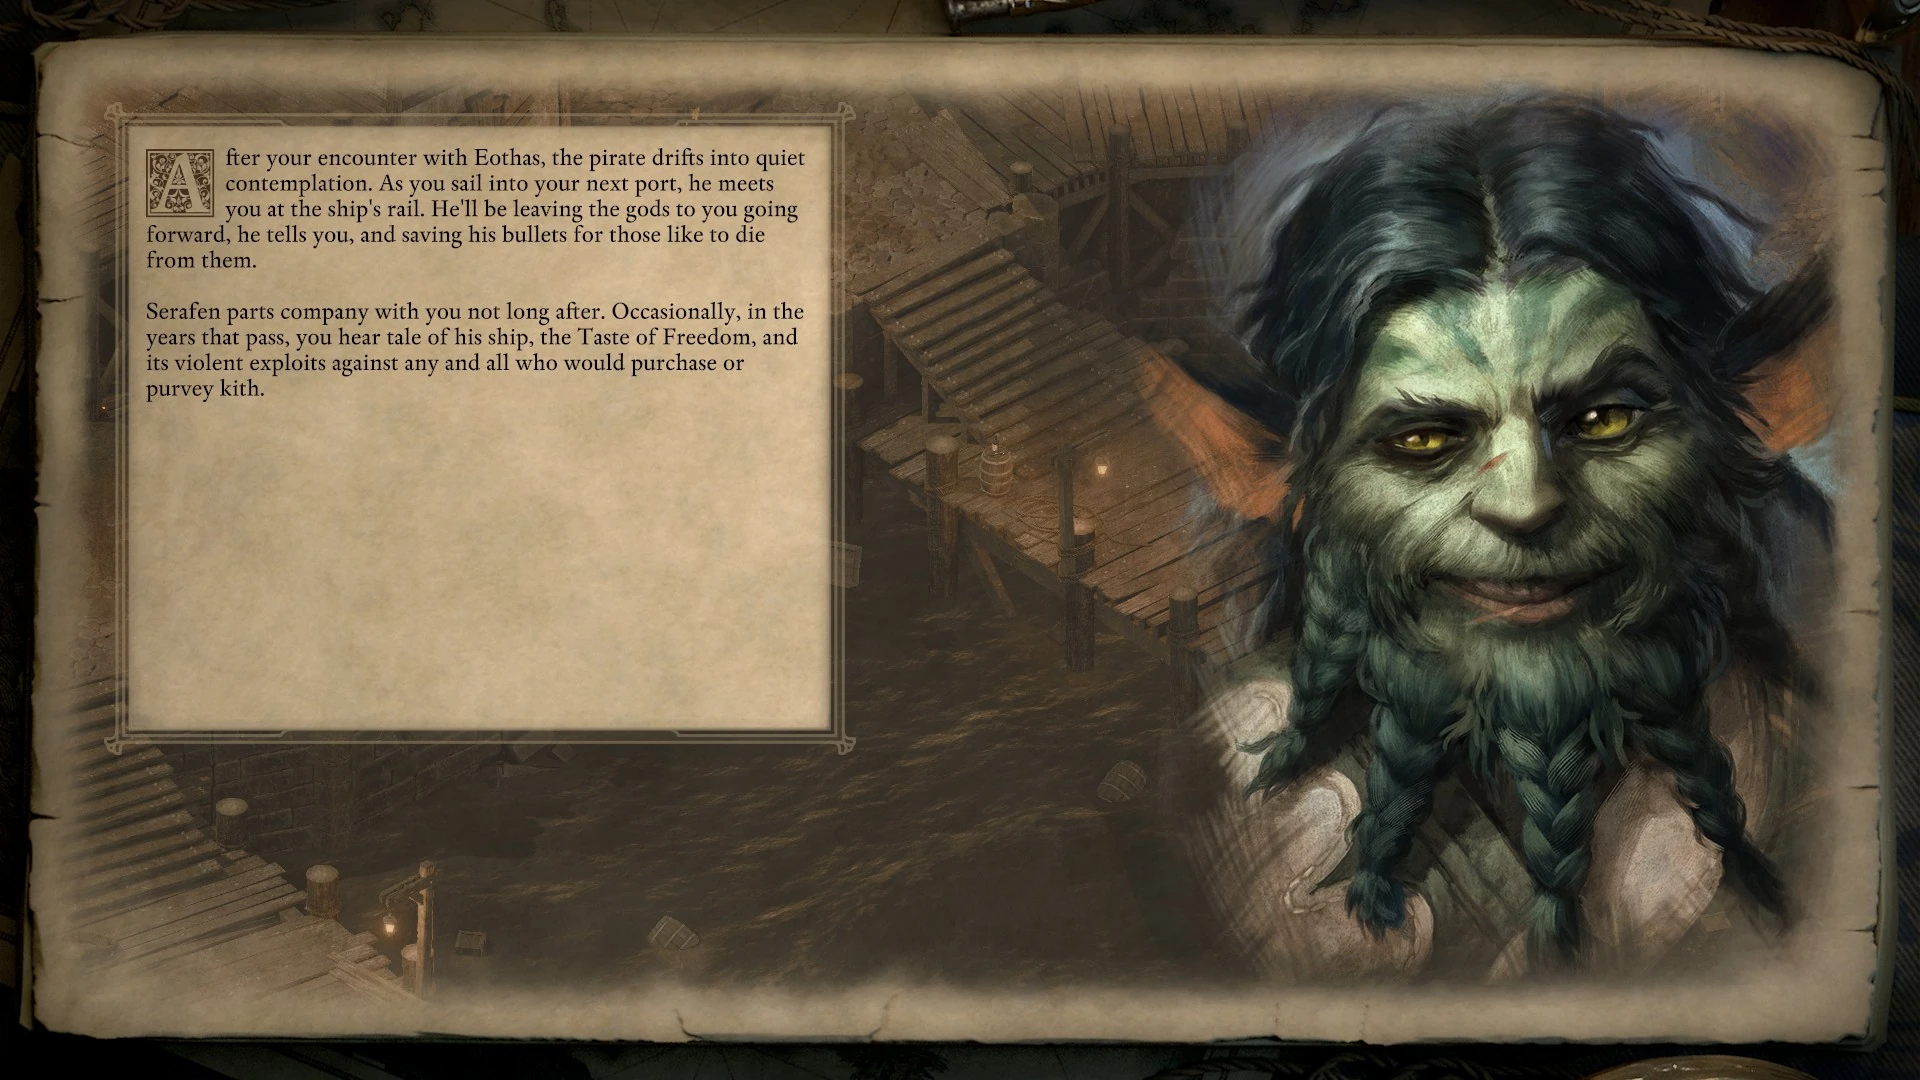
|
| You let Remaro go and spoke to Serafen afterwards, but gave him a cruel response. | Serafen turns to rum and drifts from tavern to tavern.
After your encounter with Eothas, he opens a bottle of rum to celebrate your survival. He uncorks a second shortly thereafter. By the time Serafen leaves you at Neketaka, you haven't seen him sober in weeks. The orlan drifts out of your life as inscrutably as he drifted into it, and what little you hear of him in the years that follow suggests he's come to find himself more comfortable in taverns and taprooms than in galleys and galleons. |

|
| Don't complete A Sorcerer and a Gentleman, or deal with Remaro without Serafen in the party. | Serafen leaves without resolution.
Serafen seems little impacted by your journey. Always knew the gods were larger than me, he tells you, on the evening he decides to part from your company. He's too long put aside those he cares most for, he confesses over a bottle of rum, and he's got leagues to sail to make it right. The following morning, he's gone, leaving only a crude stick figure rendering of Eothas scrawled into the hull to mark his passage. |

|
Pallegina[ | ]
Pallegina must be alive and have been recruited for slides to be displayed about her.
| Conditions | Outcome | Slides |
|---|---|---|
| Side with the Huana, Royal Deadfire Company, or the Príncipi. | Pallegina is lauded for her loyalty and becomes the head of a household guard.
After reporting back to her superiors for the Watcher's actions against the Vailian Trading Company, Pallegina is rewarded with reassignment home, to the Vailian Republics. She spends the next several years as the head of the household guard for the duc of Ancenze. In this role, she is often lauded for her courage and loyalty. Even with all of the praise, there are still times when she cannot help but feel she could have had more influence on what transpired in the Deadfire. |

|
| Vailian Trading Company controls Ukaizo... | Pallegina is honored by the ducs and brings change to the Frermàs mes Canc Suolias...
For assisting the Watcher in securing Ukaizo for the Vailian Trading Company, Pallegina is honored in a ceremony at Biageppe attended by all five of the ducs bels. Duc Remasi is so overjoyed by his good fortune that he offers Pallegina a boon. She immediately takes the duc up on his offer by requesting that the ducal charter of the Frermàs mes Canc Suolias be amended to allow the admission of women. Soberly, the duc accepts, much to his chagrin. The following spring, the brotherhood admits its first five girl cadets. |
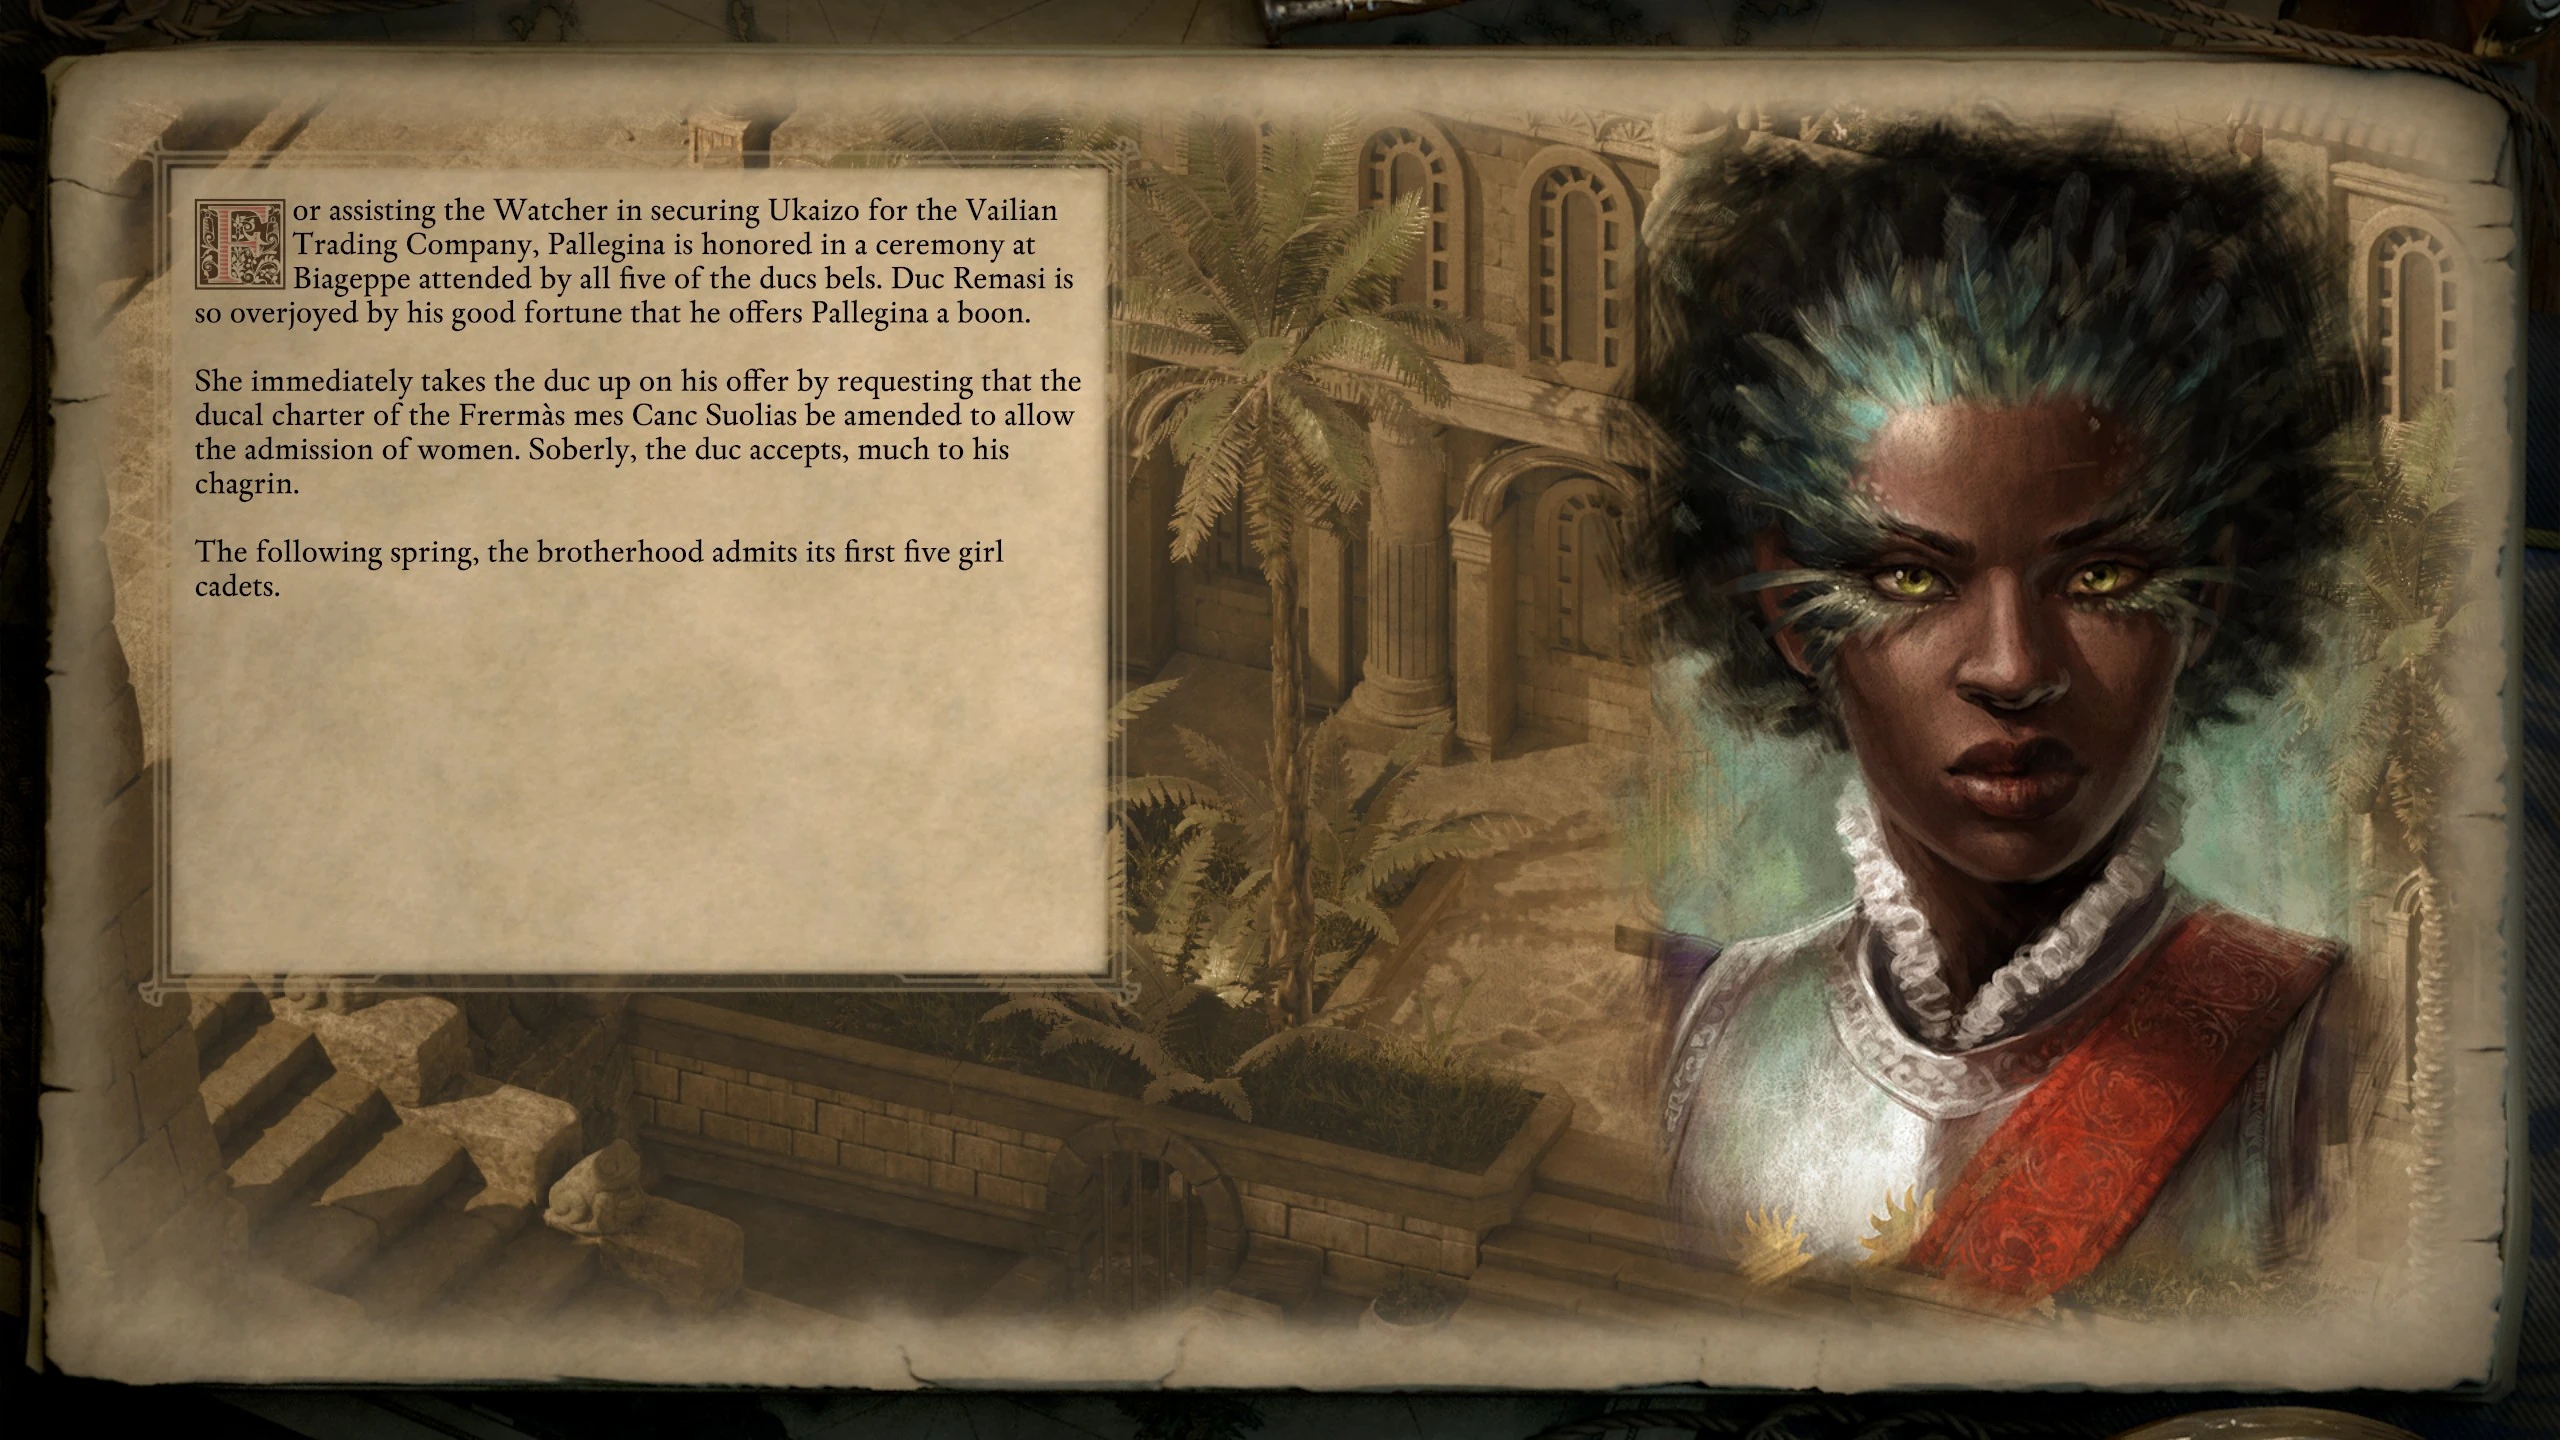
|
| ...and Pallegina has a reputation of 2 with the Watcher. | ...and stays close friends with the Watcher.
Following her triumphant return to the Republics, Pallegina is assigned to be the personal guard of the Ducess Spirento. She excels in this role, and is favored by the ducess above all other members of the brotherhood. She finds time to write to her camerata often, telling you of the great advances in animancy and arts the Republics continue to make at home, in the Deadfire, and beyond. |

|
| ...and Pallegina has a reputation of 1 or below with the Watcher. | ...and becomes close friends with the Ducess Spirento.
Following her triumphant return to the Republics, Pallegina is assigned to be the personal guard of the Ducess Spirento. She excels in this role, and is favored by the ducess above all other members of the brotherhood. Their close relationship causes friction with the ducess' husband, the Canta Miraba. His impotent annoyance becomes the subject of courtly gossip and the inspiration for a well-received farce staged at the biggest theatre in Ozia. |

|
| Huana control Ukaizo, Director Castol not voted out during A Vote of No Confidence, and the Vailian Trading Company are not the biggest rivals.
See talk page. |
Director Castol protects Pallegina from the fallout and she stays in the Deadfire.
For assisting the Watcher with the Huana conquest of Ukaizo, Pallegina is immediately dismissed from the brotherhood, but the ducs stop short of banishing her from the Republics. Director Castol intercedes on her behalf, pleading with the ducs for her assistance with his ongoing work in the Deadfire. Reluctantly, the ducs readmit Pallegina to the Frermàs mes Canc Suolias. She remains Director Castol's only official support from the ducs in the region. |

|
| Huana control Ukaizo, Director Alvari takes over during A Vote of No Confidence, and the Vailian Trading Company are not the biggest rivals.
See talk page. |
Pallegina is kicked from the brotherhood, takes a ship to Defiance Bay and is never seen again.
For assisting the Watcher with the Huana conquest of Ukaizo, Pallegina is immediately dismissed from the brotherhood. With no friends left among the Vailian Trading Company, Pallegina is banished from the Republics. Seen as a Vailian by the Huana and an outcast by her own people, she finds the Deadfire cold and unwelcoming. Spirit broken, she eventually boards a ship bound for Defiance Bay and is not heard from again. |
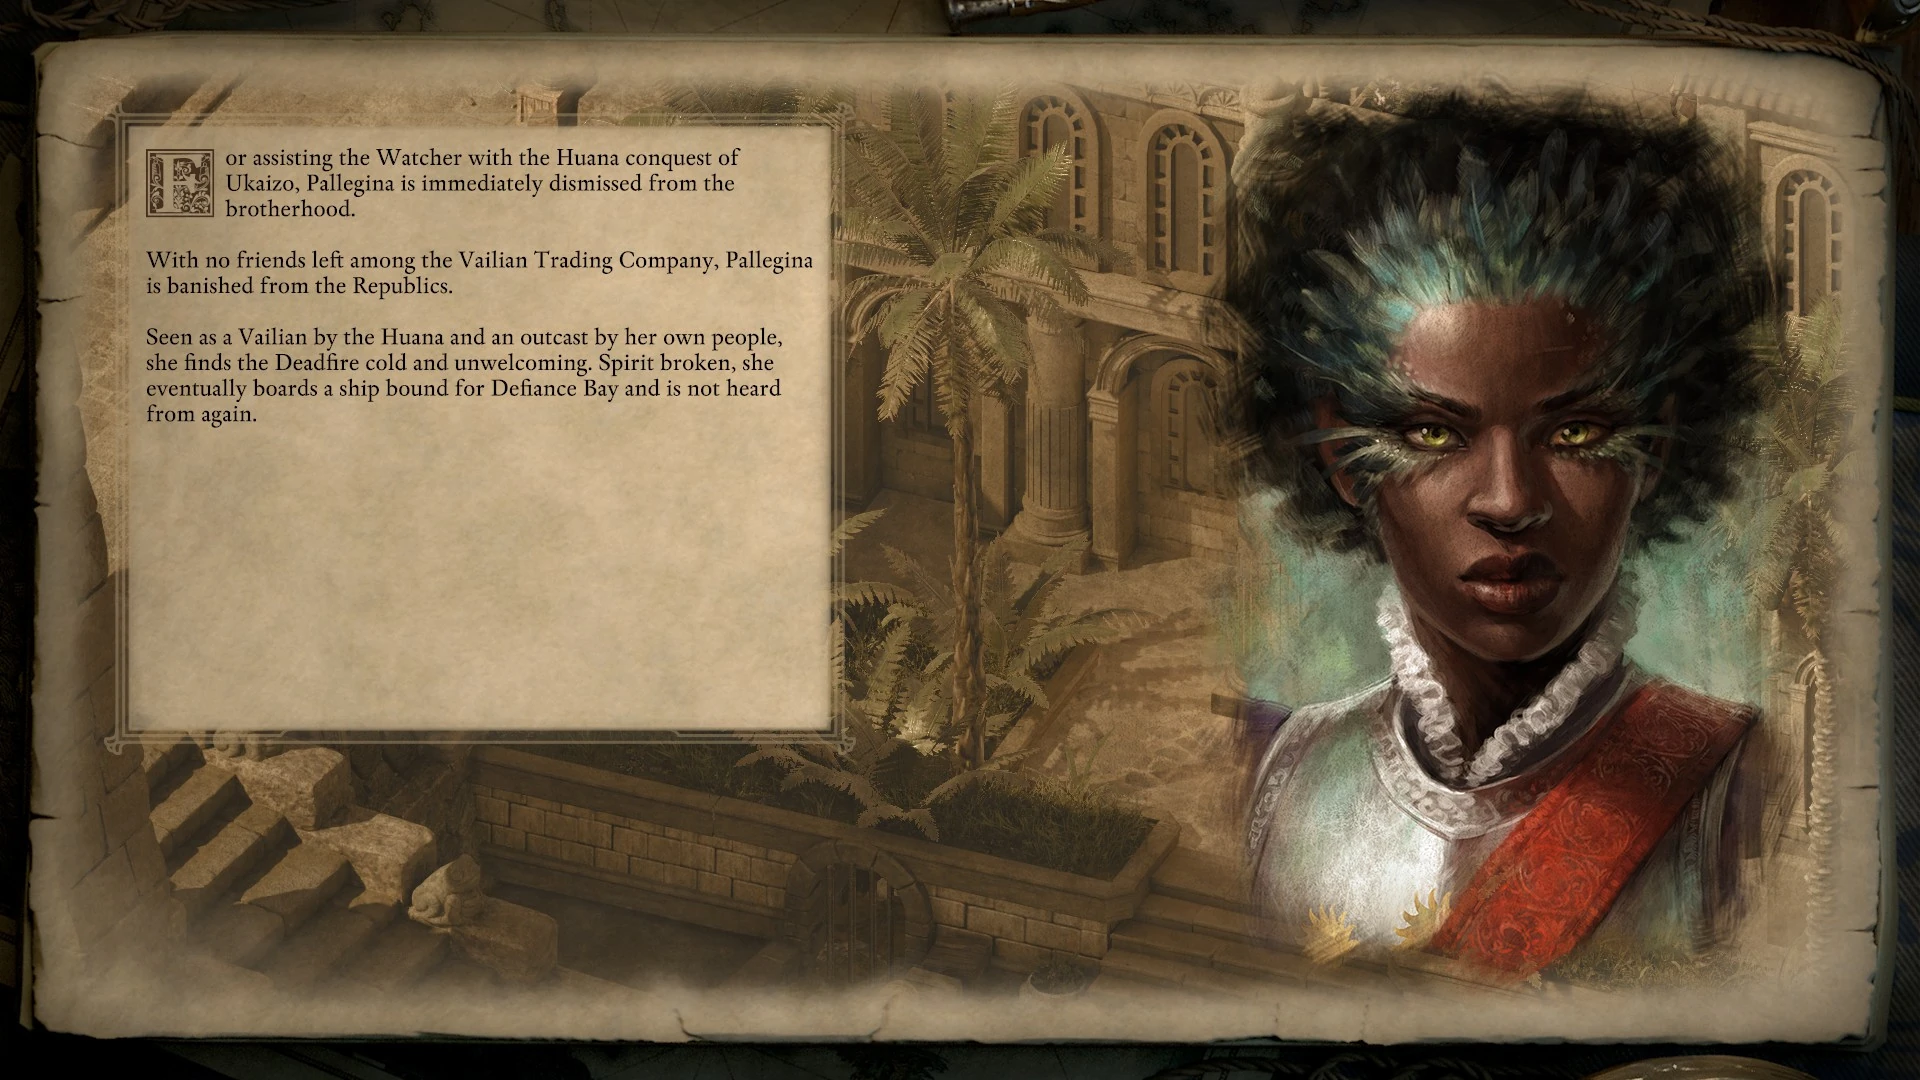
|
| Príncipi sen Patrena led by Furrante controls Ukaizo, Vailian Trading Company not rival of Príncipi.
See talk page. |
Pallegina is initially banished, but later readmitted to the brotherhood.
The Vailian Trading Company is initially furious with Pallegina for her support of the Watcher during the Príncipi conquest of Ukaizo. They make a show of banishing her from the order for a time, but they quickly realize that Captain Furrante has no intention of pushing the Company from the Deadfire. Within a few months, she is readmitted to the brotherhood, though the ducs ensure she spends a year performing the most onerous assignments available. |

|
| Príncipi sen Patrena led by Aeldys controls Ukaizo, Vailian Trading Company not rival of Príncipi.
See talk page. |
Pallegina is assigned a dangerous duty protecting a vulnerable ship and is lost at sea.
The Vailian Trading Company is furious with Pallegina for her support of the Watcher during the Príncipi conquest of Ukaizo. Their fury intensifies when Aeldys' pirates triple their attacks on all merchant ships in the Deadfire. Instead of removing Pallegina from the brotherhood, the ducs assign her to guard the most vulnerable ships in the Company fleet. Five months into her assignment, Pallegina goes down with the Vengiatta men Aimora. Her body is never found. |

|
| No Faction controls Ukaizo, Vailian Trading Company is not the biggest rival. | Pallegina is initially in trouble, but later forgiven and reassigned to the Valian Republics.
The Vailian Trading Company is initially furious when they learn that Pallegina had assisted the Watcher in claiming Ukaizo. In the chaotic aftermath, the Company takes a more nuanced view of Pallegina's actions. The turmoil in the region allows the well-organized Company to seize a number of valuable assets from their competitors. Though Pallegina is not rewarded for her actions, nor is she punished. The ducs and songretta agree to "forget" her support of the Watcher. She is quietly reassigned to duty in the Vailian Republics, an order she gladly obeys. |
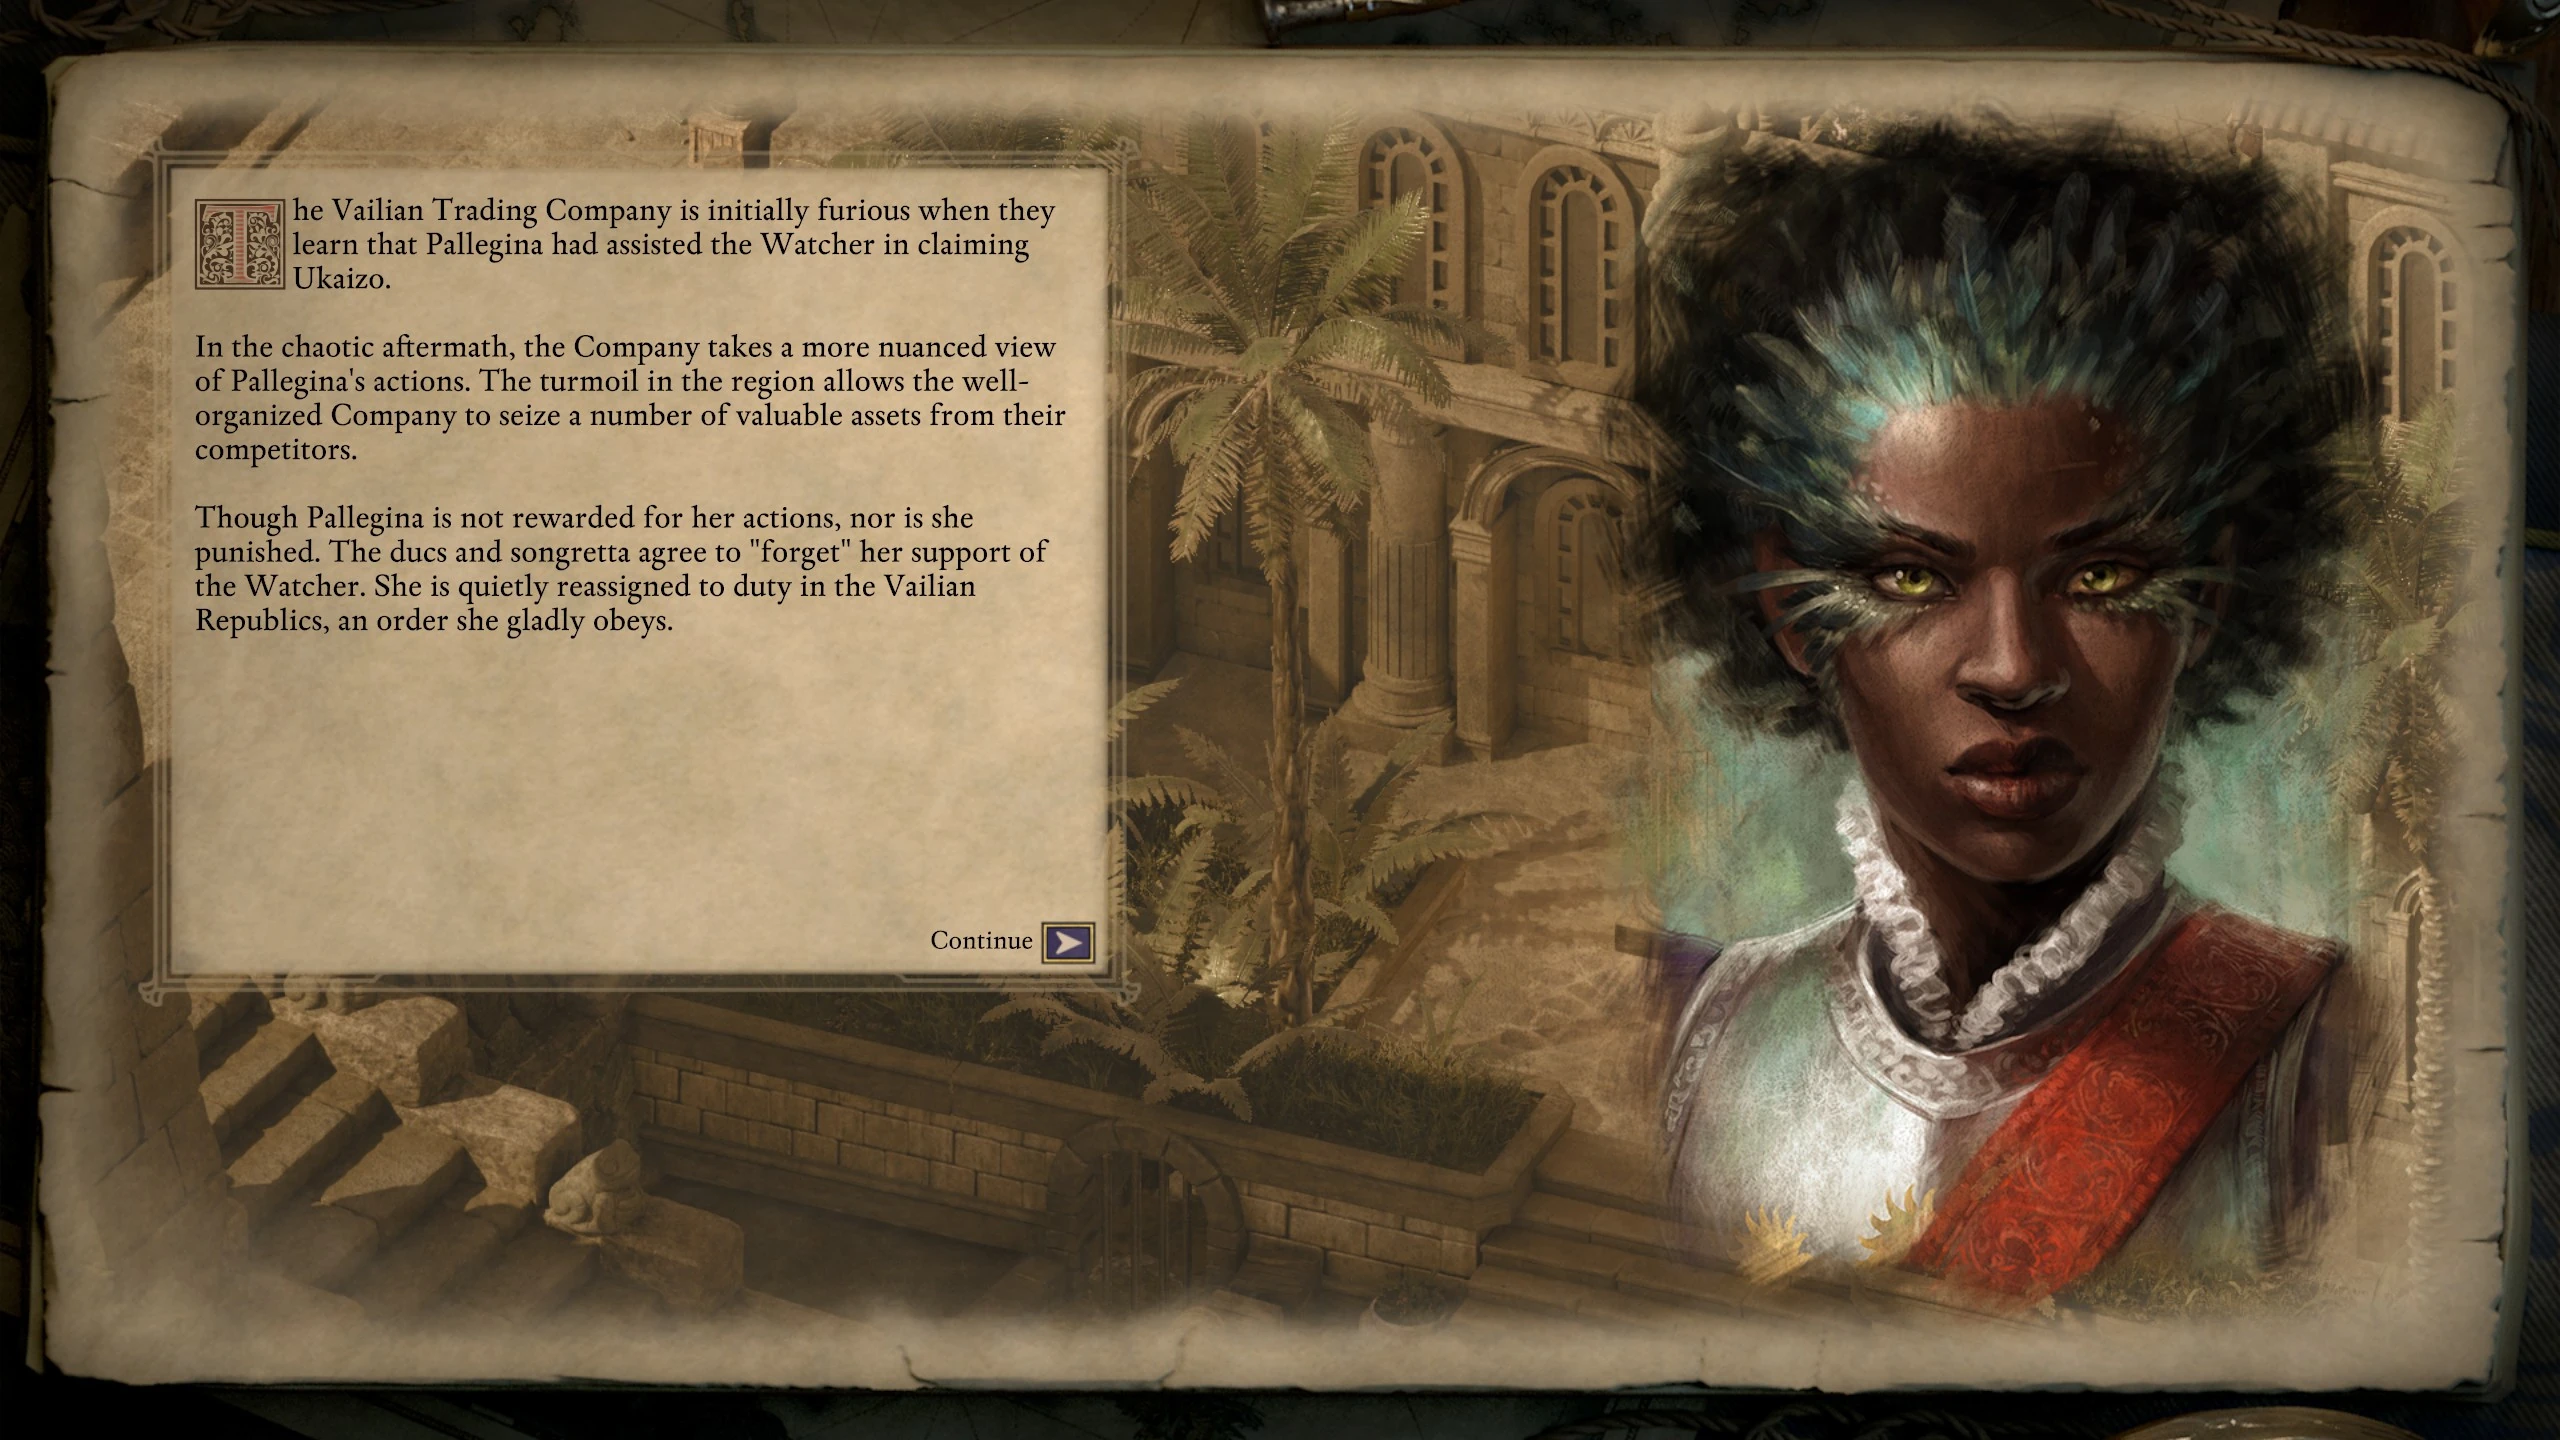
|
Additionally, after the above slide, there will be another slide covering the result of her personal quest, unless she left the party before the end of the game.
| Conditions | Outcome | Slides |
|---|---|---|
| Giacolo was saved during The Man of Chimes. | Pallegina renews her friendship with Giacolo.
Pallegina renews her relationship with Giacolo, corresponding with him regularly and even meeting with the old animancer once or twice a year. Though she does not understand the intricate details of his research, she reads his letters and responds with great enthusiasm. Her brothers and even the ducs themselves note that Pallegina's demeanor is always warmer on the days when she receives a letter. Rumors even spread that some of the brothers have seen her smile. |

|
| Giacolo died. | Pallegina is heartbroken.
Despite her good fortunes in the Deadfire, Pallegina mourns the loss of Giacolo for years. She cursed herself for not finding her friend sooner, for not protecting him from Captain Tatzatl and his crew. On a few lonely nights, Pallegina composes letters to the Watcher, asking what more they could have done to save him. They are never sent. |

|
| The Man of Chimes never completed. | Although she had made it through her second adventure with the Watcher, Pallegina regrets that she never found her childhood friend, Giacolo. She searches far and wide, across the Deadfire and beyond, but never finds him. |
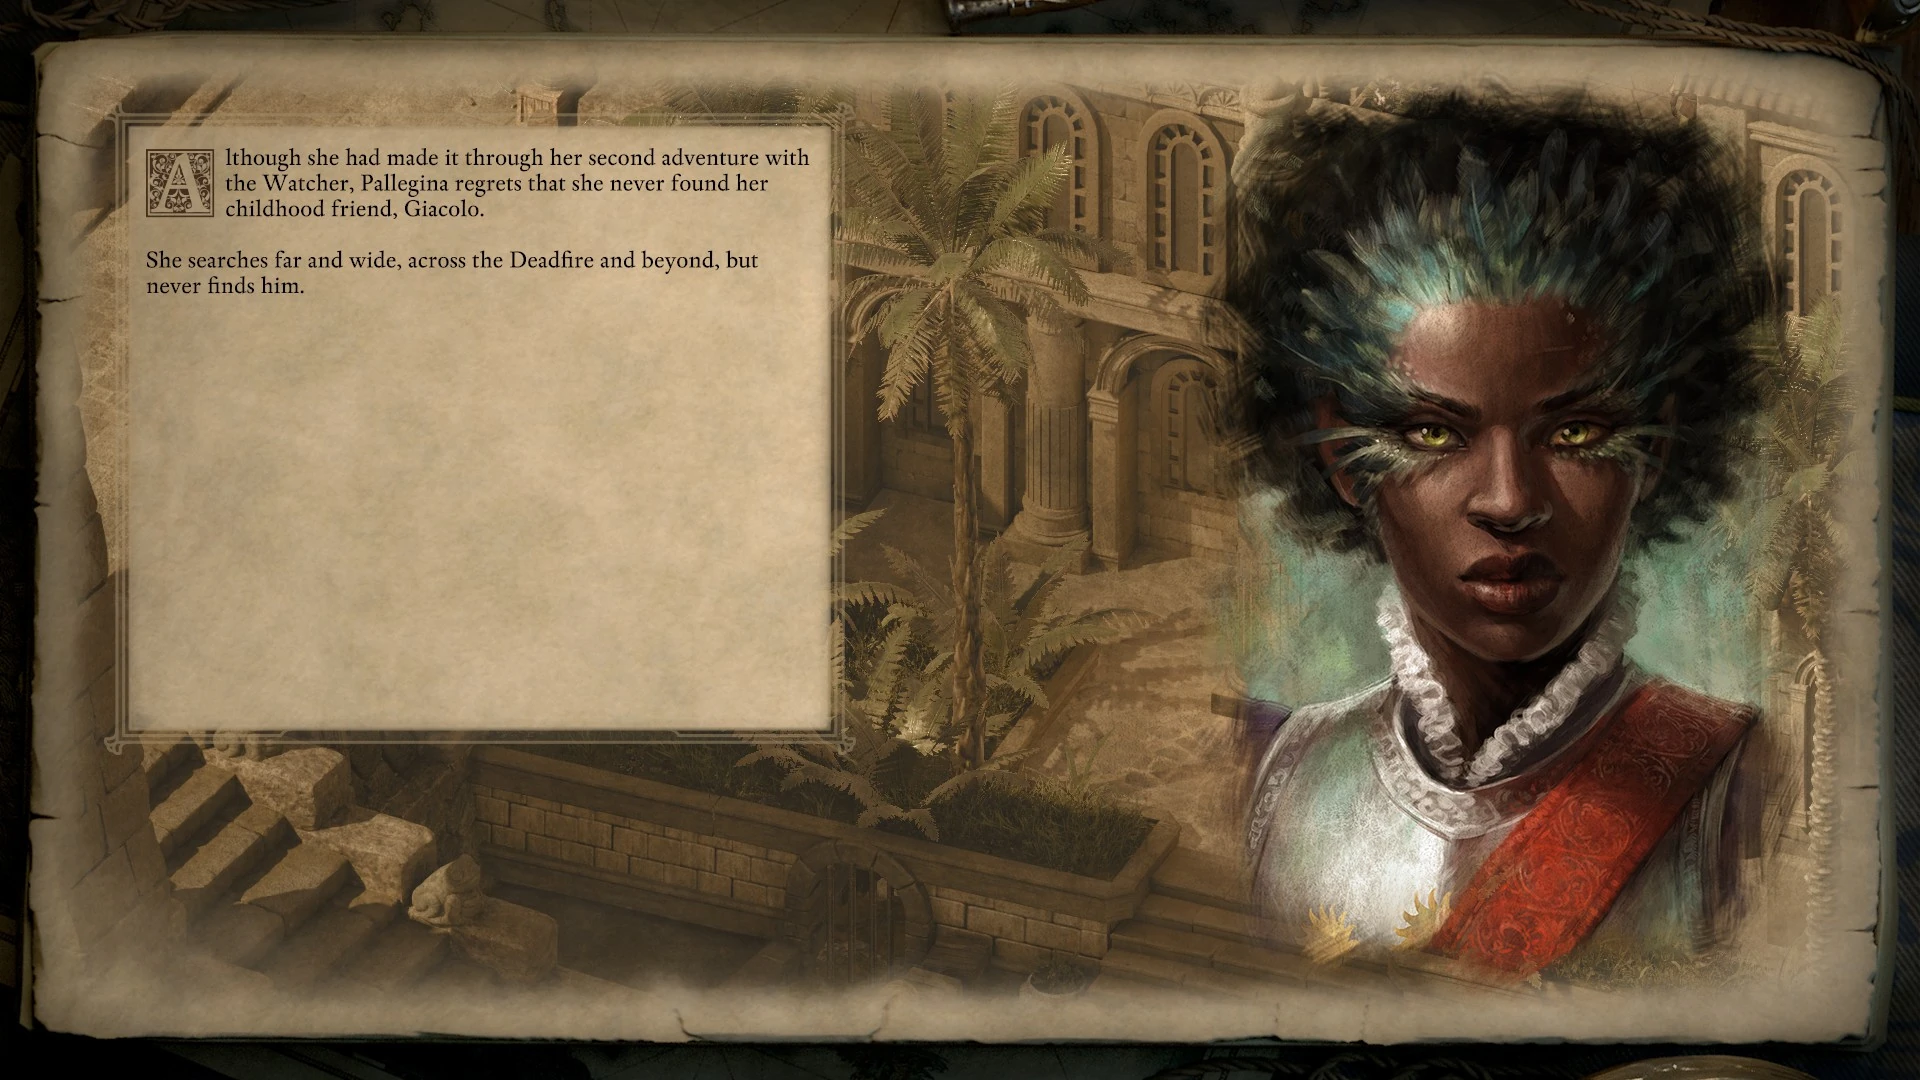
|
Maia[ | ]
Maia Rua must be alive and have been recruited to show any slides.
| Conditions | Outcome | Slides |
|---|---|---|
| Maia convinced to speak out against Rauatai's underhanded tactics during various conversations and she wasn't discharged from the navy.
She needs a positive score. |
Maia resumes her duties in the navy, but becomes a voice of change against their tactics.
Time away from the navy gives Maia Rua some perspective on how Rauatai conducted the Deadfire occupation. No sooner does she return to active duty than she voices her frustrations over some of the more underhanded tactics she witnessed - and carried out - in the name of the homeland. Her voice carries all the way to the ranga nui, who reminds his admirals that battles are won by superior tactics, but war is a battle of precedent - and winning is not always a victory. The people listen. |

|
| Maia doesn't think Rauatai's tactics are harmful and she wasn't discharged from the navy.
She needs a negative score. |
Maia satisfied with resuming her regular duties in the navy.
Pleased with the navy's conduct throughout the Deadfire campaign, Maia returns to active duty. She can find a free drink and a sharp salute anywhere she goes in Rauataian territory. In recognition of her performance, the navy attemps to give Maia less strenuous work. She flatly refuses - throwing herself into the fray whenever she can. Her rifle never has time to cool. |

|
| Align with a faction other than the RDC and convince Maia to stay in your company during Sabotage at the Brass Citadel, Taking Out the Traders or A Dance with Death. | Maia is dishonorably discharged, maligned and leaves your company.
Turning her back on the hierarchy that brought her to the Deadfire earns Maia Rua a dishonorable discharge from Rauatai's navy. The homeland attempts to stem further rebellion with a campaign of propaganda, smearing her name wherever ships make port. Maia is numb to all of this. Her pain is self-imposed. It isn't long before she leaves your company with little fanfare, going her own way in the world. |

|
Then there is a slide if her personal quest is completed.
| Conditions | Outcome | Slides |
|---|---|---|
| Maia's missives to Harama and Tuaha both delivered successfully during The Courier's Calling. | Both targets are assassinated and Maia receives little open recognition for it.
Though Maia's covert assignment in the Deadfire is considered a success, few claim knowledge of it or openly congratulate her. She receives no praise beyond knowing glances or the occasional raised tankard from her countrymen. She never responds. |
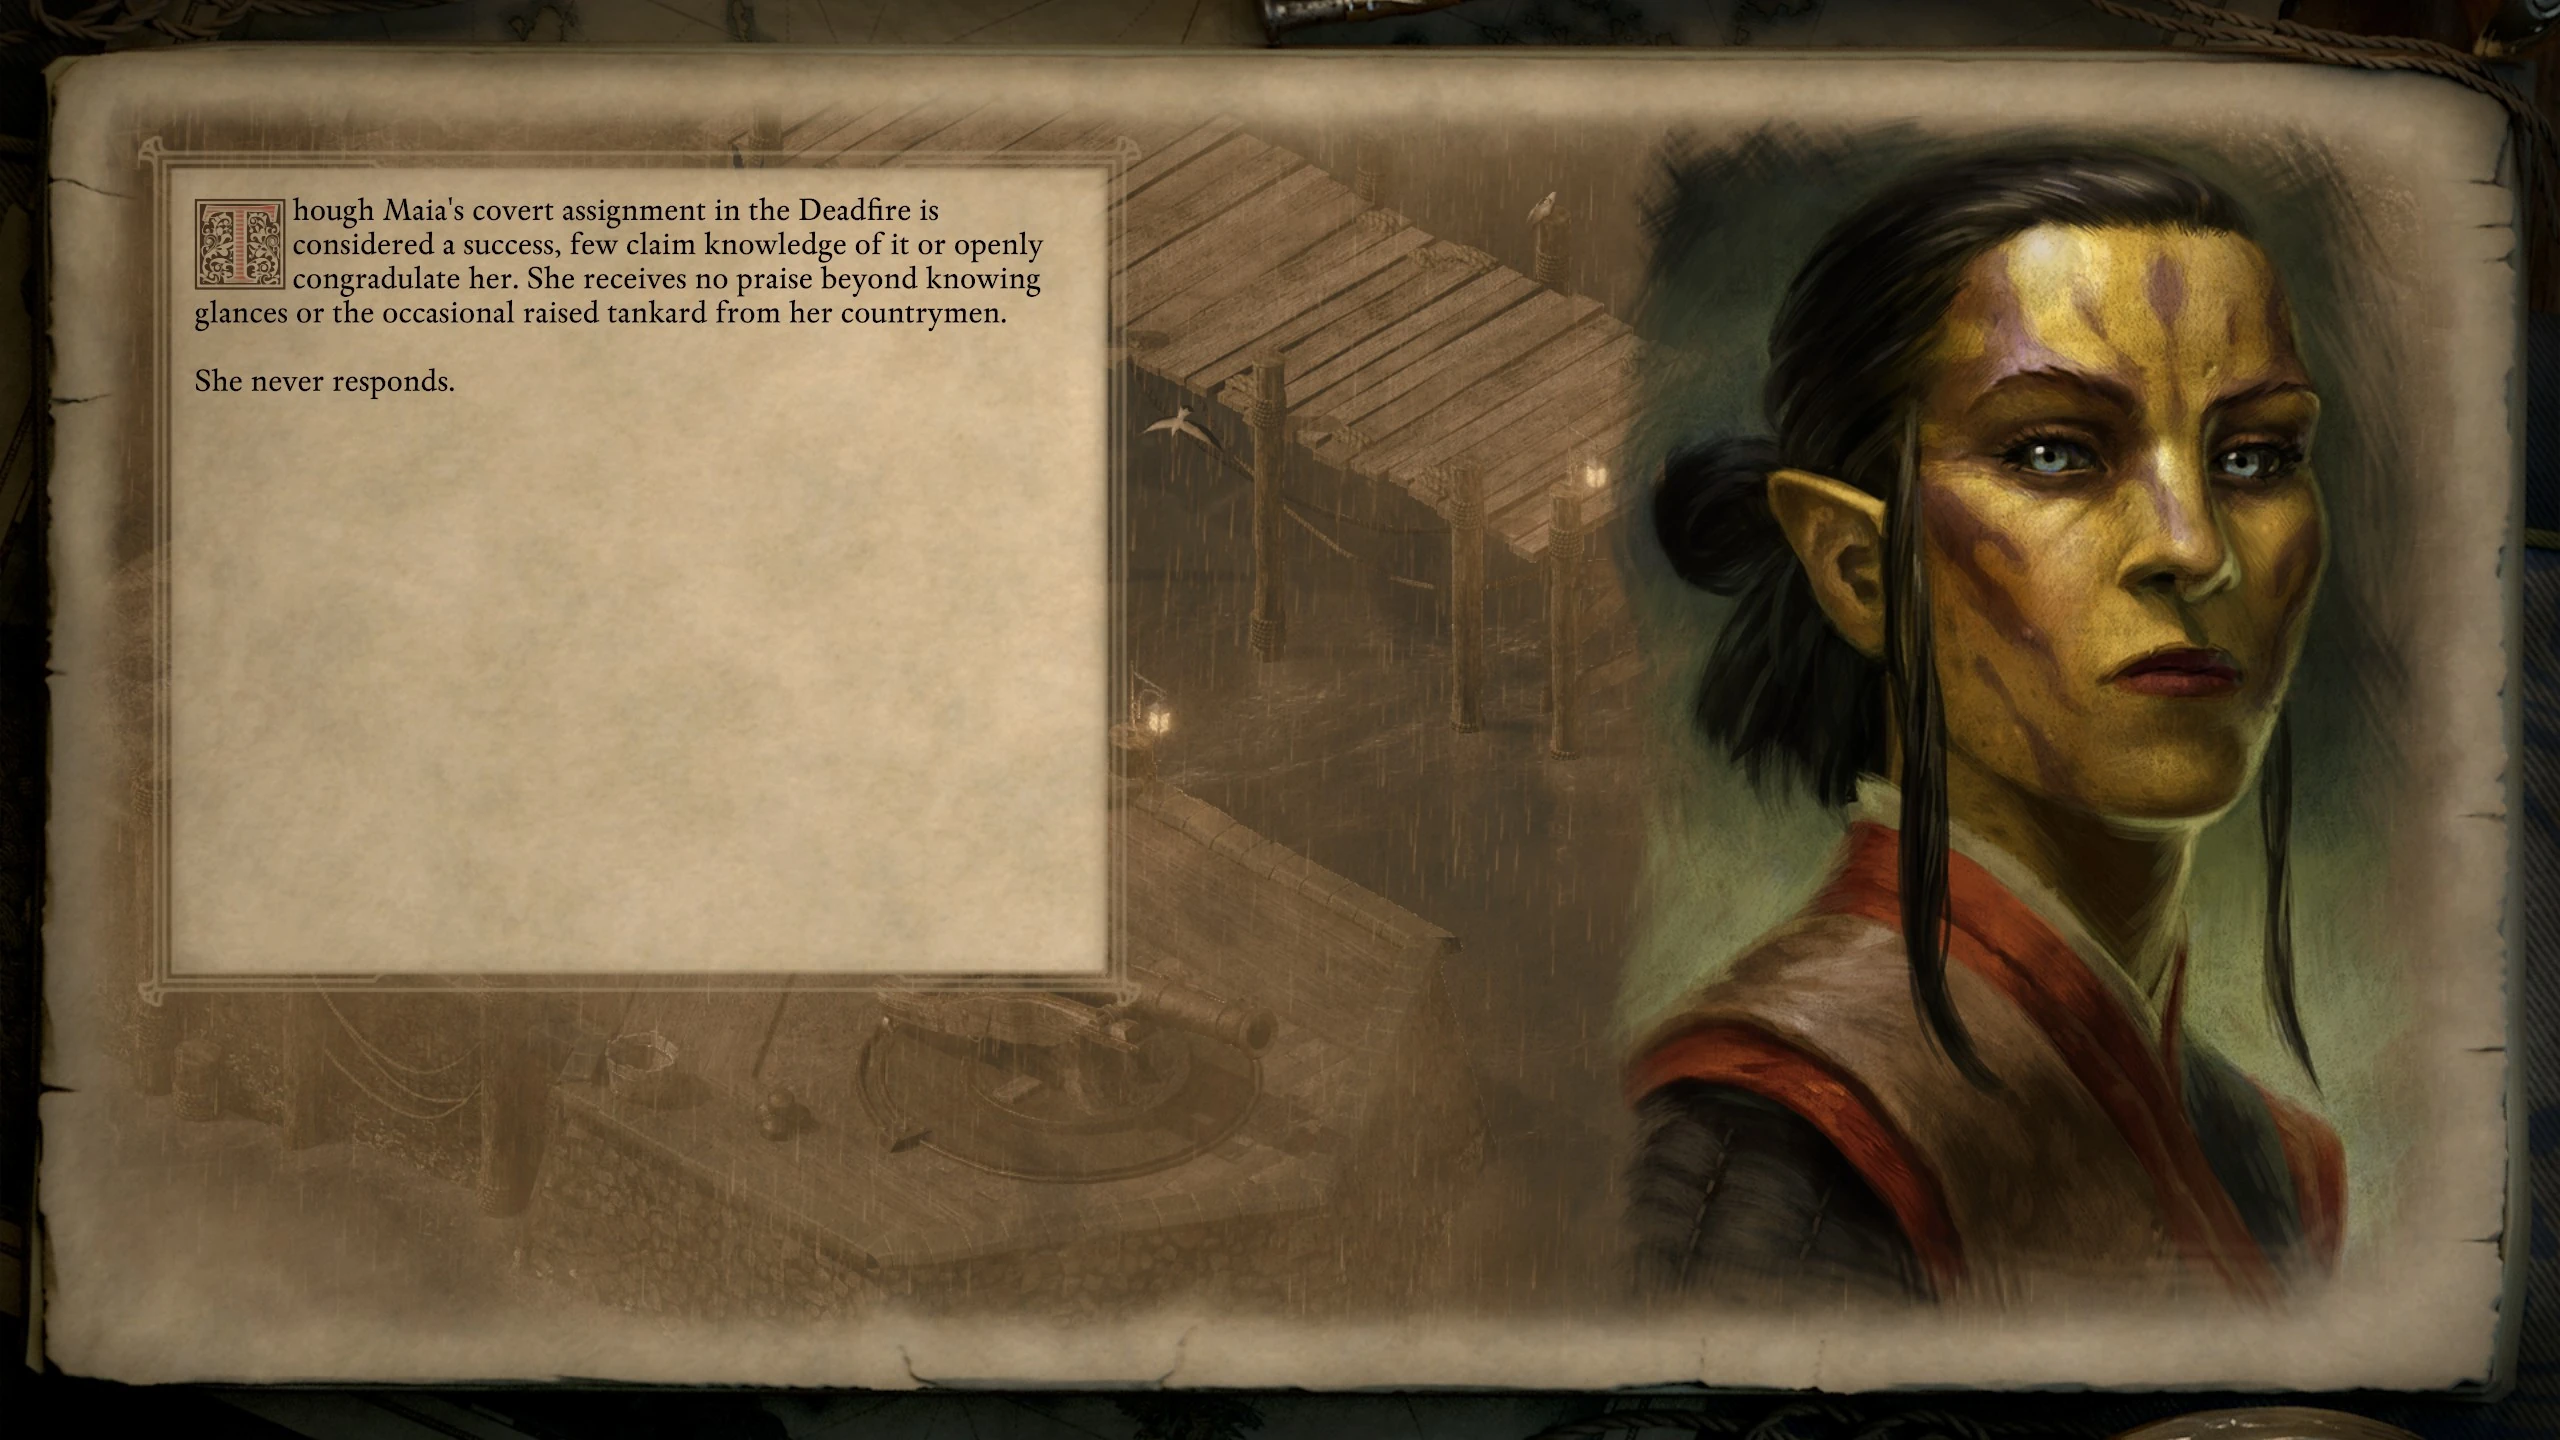
|
There is also an additional slide to do with faction control if applicable.
| Conditions | Outcome | Slides |
|---|---|---|
| Royal Deadfire Company controls Ukaizo, Maia was not discharged from Rauatai's navy. | Maia becomes a Rauatai hero and brings honor to her family.
Maia's part in the conquest of Ukaizo brings fame and fortune to the Rua family. Officers salute her in passing and a row of medals decorate the breast of her uniform. Her parents and siblings are paraded between the great houses of Rauatai for nightly dinners and celebrations. She has a hero's welcome in her future. |

|
If Maia is involved in a notable romance with a companion or the Watcher, it appears here.
| Conditions | Outcome | Slides |
|---|---|---|
| Maia was in a relationship with the Watcher before leaving Rauatai's navy. | She acts withdrawn in your presence, haunted by her choices. The bond that you once shared all but dissolves in silence. |

|
| Maia is in a relationship with the Watcher, and is still in the navy. | Though she has a lot on her mind, she still makes time to visit - even if it's just to share a few pleasant words and a subtle wink. You don't often travel together, but it's clear that what you built in your time as shipmates is alive and well. |
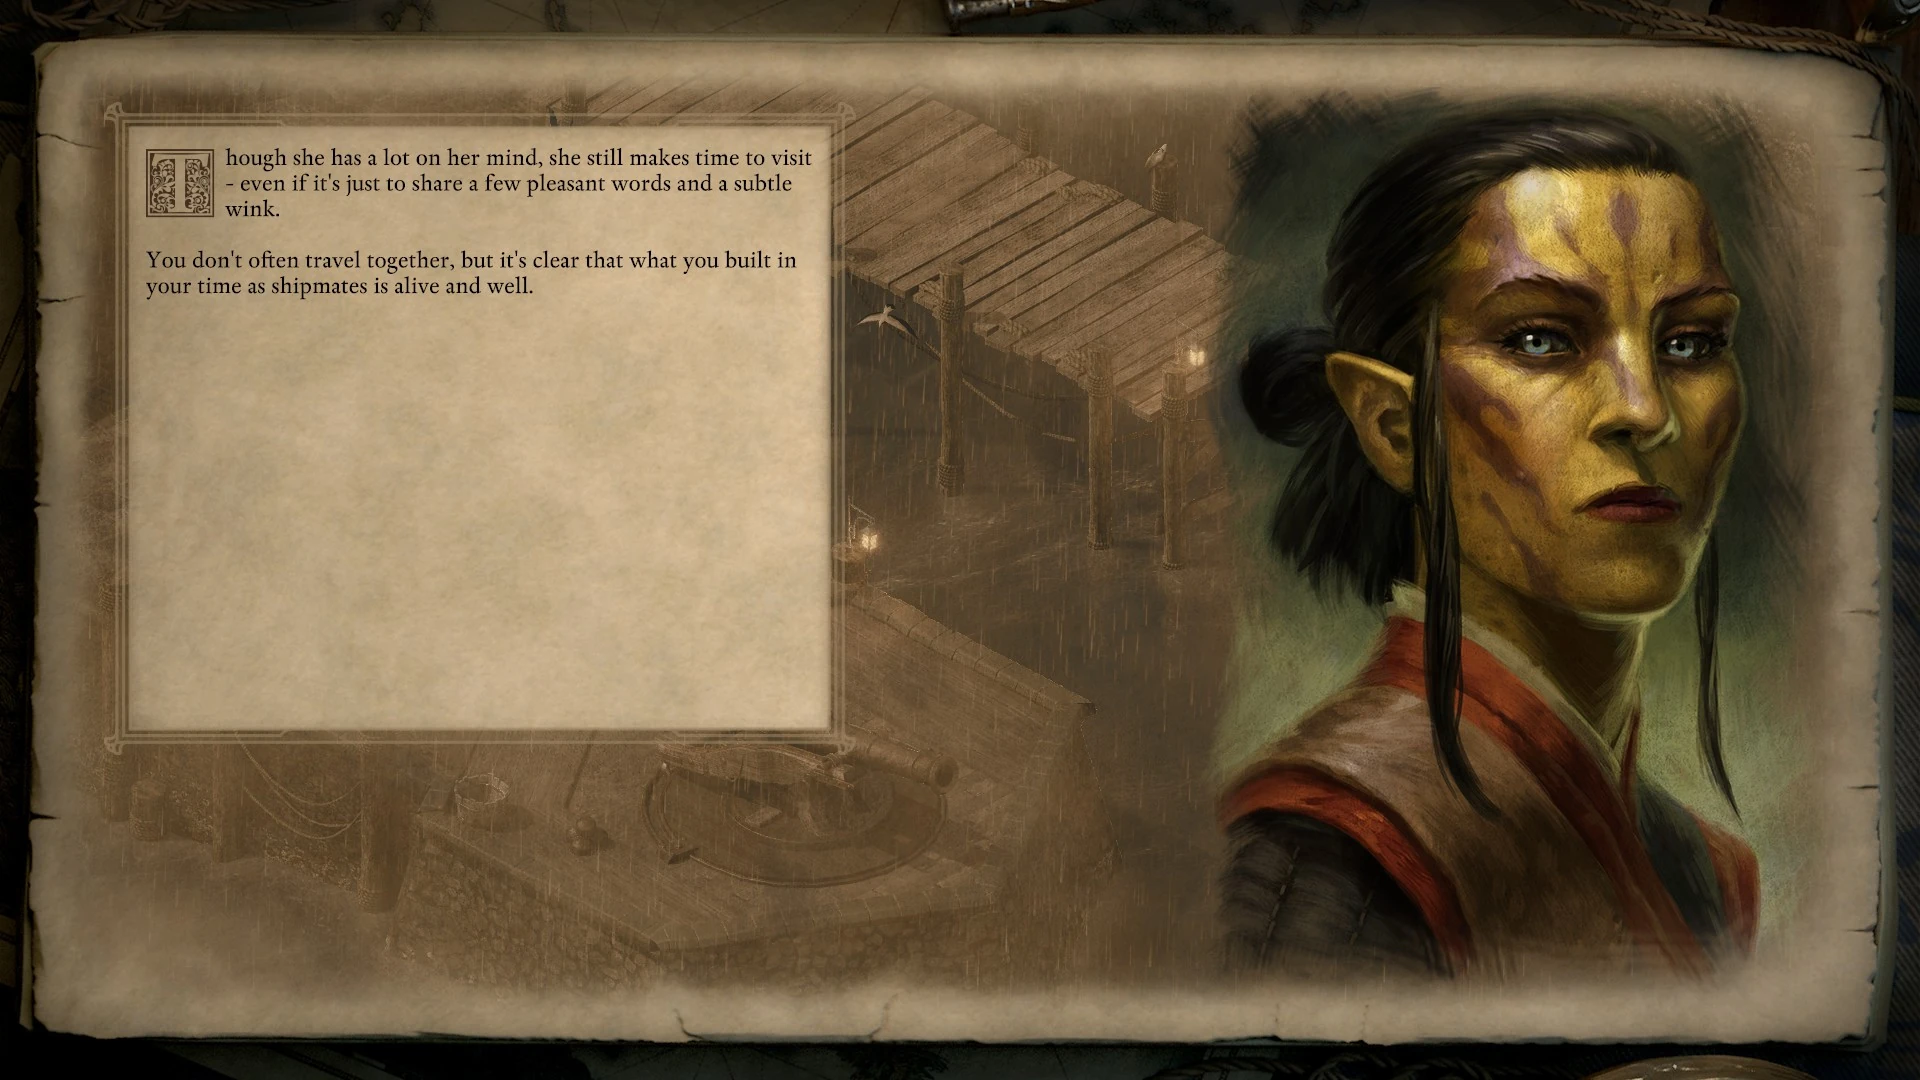
|
| A relationship started between the Watcher and Maia, but it did not reach its conclusion before the end of the game | There's never enough free time to explore your mutual connection. Something about your bond feels unfinished, but as your paths diverge you start running out of reasons to see each other. In your presence she's always armed with a pleasant smile and lots of questions. Her embrace is full of warmth. If there isn't time now, someday there might be. |

|
| Maia is in a relationship with Xoti.
See Maia's relationships section. |
Whenever you come across Maia, Xoti is never far off. The two of them spend every available hour sharing stories over drinks, dangling their feet over docks, or exploring strange temples by the light of Xoti's lantern. They're good for each other, and they both seem to know it. |

|
| Maia was in a relationship with Xoti, but they later broke up. | She and Xoti don't see much of each other, and when they cross paths they quickly run out of things to say. Their agreement to set aside what they once tried to build together is largely unspoken. |

|
Finally, if Kana Rua was recruited in the first game, an extra slide is shown depending on his fate.
| Conditions | Outcome | Slides |
|---|---|---|
| Kana Rua was recruited in Pillars of Eternity 1, and survived. | She looks forward to seeing her brother again. So does Ishiza. |

|
| Kana Rua was recruited in Pillars of Eternity 1, but died. | She misses her brother, but some wounds are not meant to heal. Even Ishiza feels his absence. |
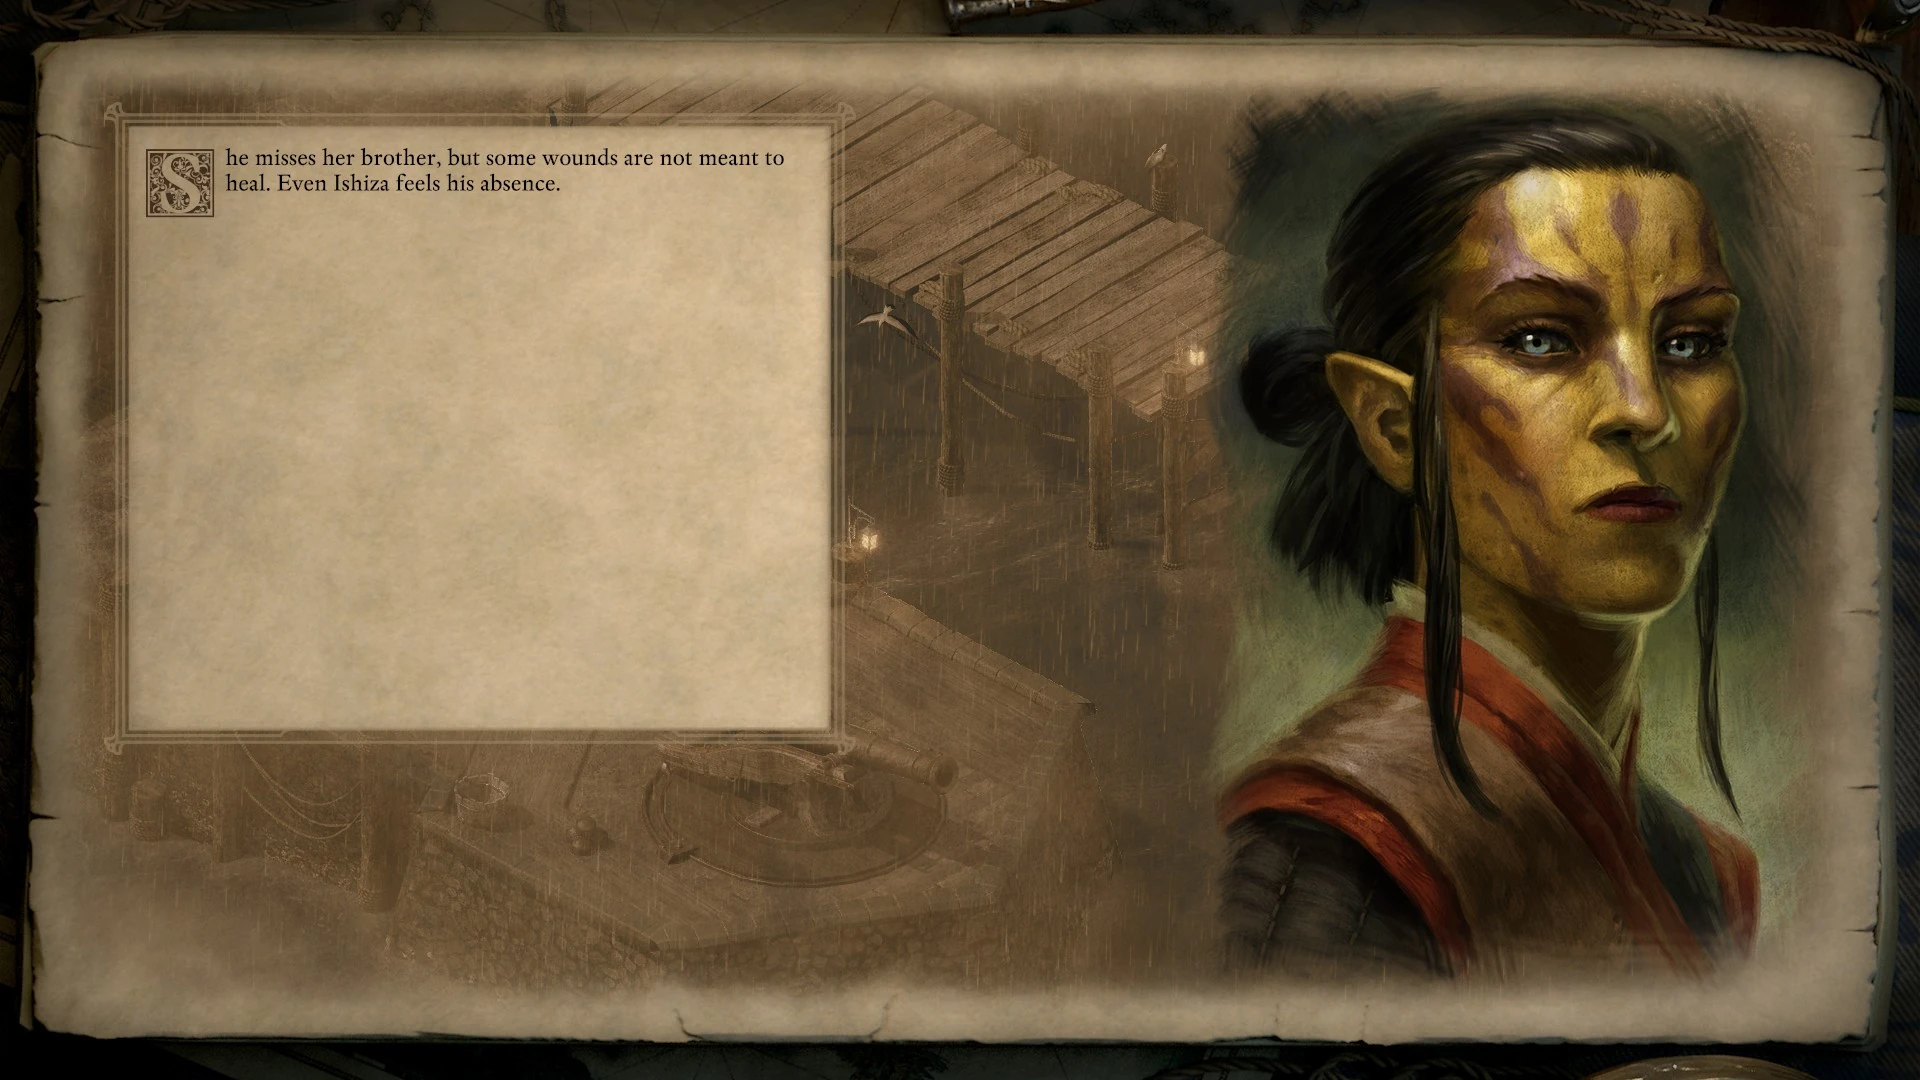
|
Tekēhu[ | ]
Tekēhu must be recruited and alive for these slides to appear. The first slide that appears shows Tekēhu's status.
| Conditions | Outcome | Slides |
|---|---|---|
| Tekēhu convinced to guide the Huana into the future, secrets of Watershaping revealed to him.
See Tekēhu's endings section. |
Tekēhu reshapes the Deadfire and unites the Huana through their traditions.
Tekēhu never intended to grasp at the destiny his coming foretold, but he finds himself doing just that. He sails from island to island as an emissary from the gods to the Huana people. The tribes welcome his message and use it to bridge their traditions across the archipelago. Huana unity has never been stronger. With Ngati's covenant firmly in mind, Tekēhu feels confident enough to reshape the very Deadfire. |

|
| Tekēhu convinced to guide the Huana into the future, secrets of Watershaping not revealed to him. | Tekēhu inspires the Huana and spreads teachings of unity away from traditions.
The discovery of Ukaizo doesn't bring Tekēhu the answers that he sought, but this proves only a minor setback. Merely knowing that Ngati's chosen landed on the island ignites something in the Huana tribes - a fervent desire to recover the past and let history illuminate the way forward. Tekēhu rides this momentum, leading by example and teaching his people to rely on each other instead of on omens. His message is an upheaval of norms, but it's as embraced and beloved as he is. |
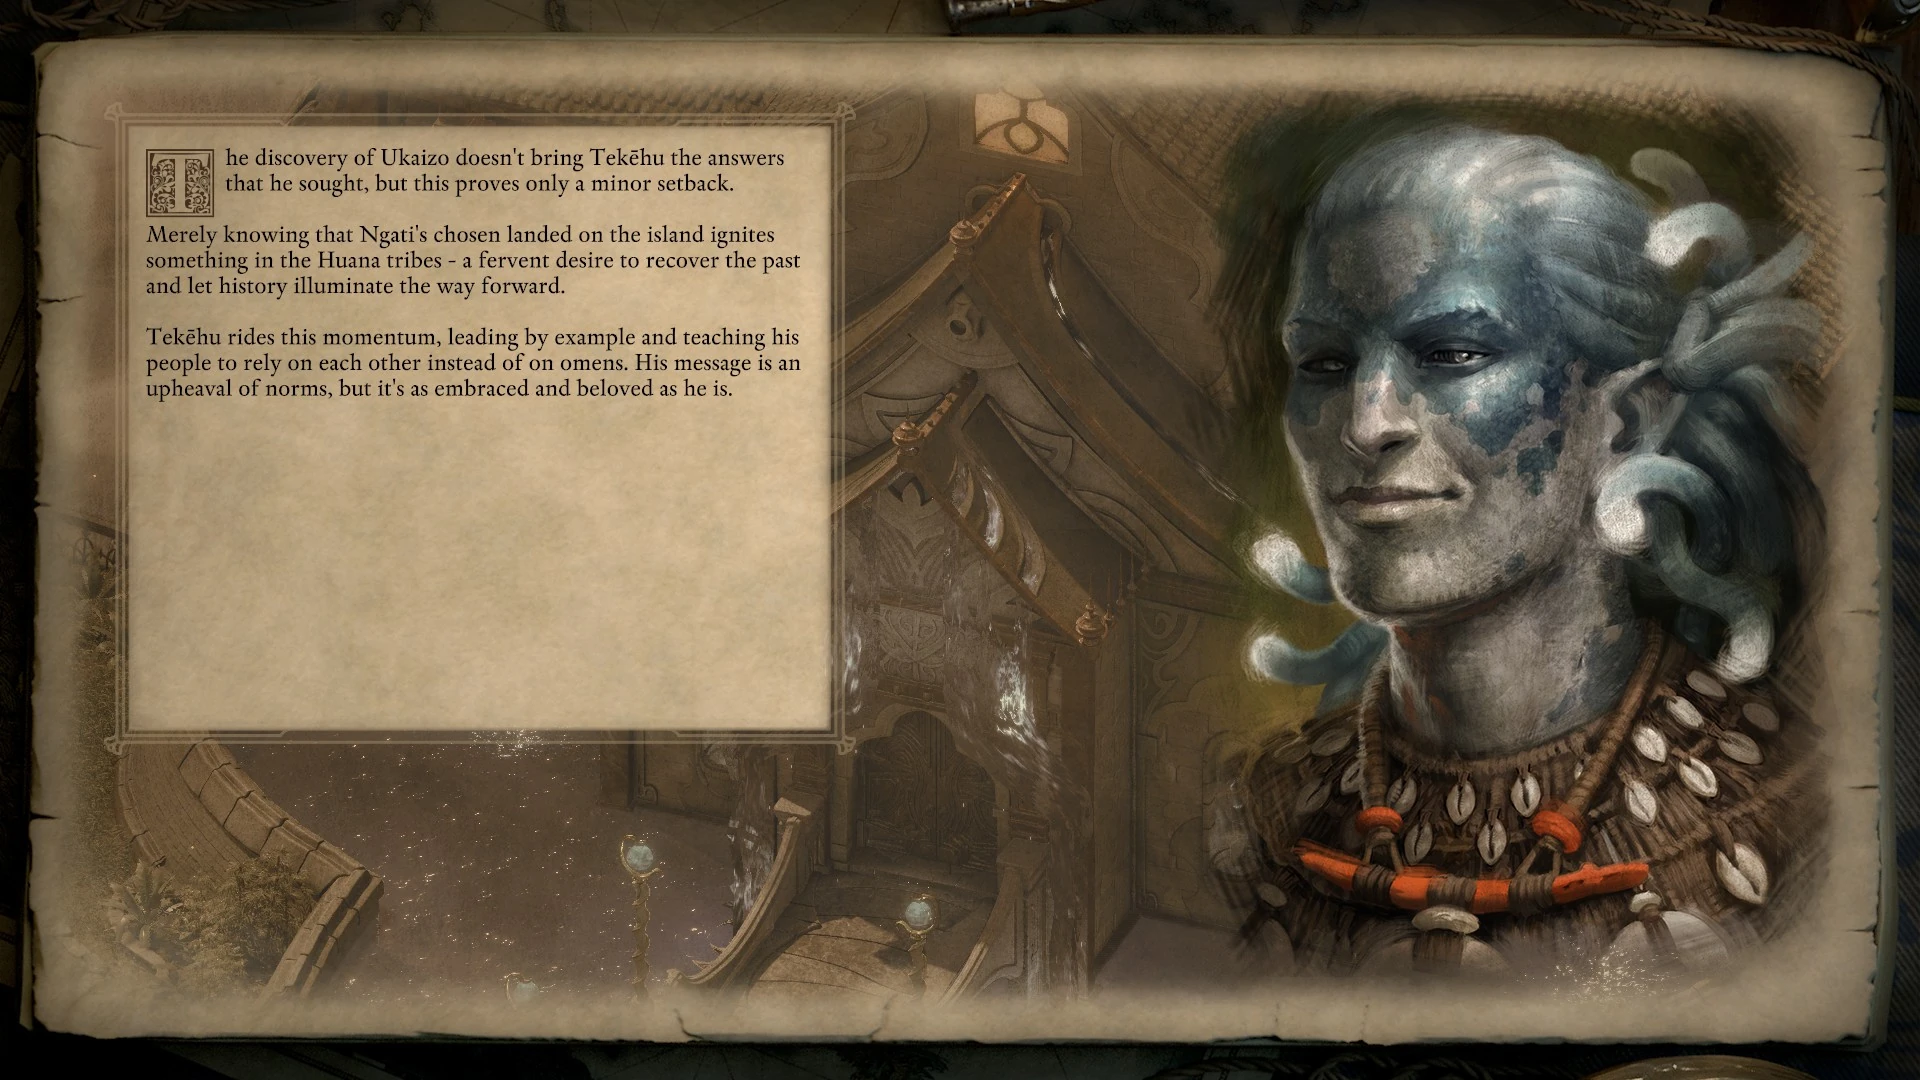
|
| Tekēhu convinced that he doesn't have to guide his people, secrets of Watershaping revealed to him. | The Huana turn away from their traditions for unity. Tekēhu grows distant and creates widely celebrated watershaping art.
Tekēhu distances himself from the problems of the Deadfire, giving the tribes a reprieve from godlike omens. Ngati's silence speaks volumes. The Huana grow to rely on each other, paving a new way forward divorced from their traditions. Soon after his departure from Neketaka, sailors report of mountainous water sculptures rising from the open sea - entrancing and salacious. These works are celebrated everywhere from the brothel to the palace, though the identity of the artist remains an open question. |

|
| Tekēhu convinced that he doesn't have to guide his people, secrets of Watershaping not revealed to him. | The Huana turn away from their traditions for unity. Tekēhu grows distant and creates "quaint" watershaping art.
Tekēhu distances himself from the problems of the Deadfire, giving the tribes a reprieve from godlike omens. Ngati's silence speaks volumes. The Huana grow to rely on each other, paving a new way forward divorced from their traditions. Soon after he departs Neketaka, distant tribes report of unusual and salacious water sculptures appearing on their shores. These quaint visitations are widely celebrated, the identity of the artist ever an open question. |

|
The next slide that may possibly appear deals with Tekēhu's relation to the Watershapers Guild, if any. It is likely none of these will apply unless you didn't complete the guild's quests, as it is instead covered by the guild's specific slides as seen above.
| Conditions | Outcome | Slides |
|---|---|---|
| Tekēhu convinced to guide the Huana into the future, The Shadow Under Neketaka not completed. | Tekēhu slowly guides the guild towards their origin.
Armed with new resolve, Tekēhu ushers the Watershapers Guild toward the traditions of the forgotten past. Ngati's gift slowly begins to resemble something closer to its ancestral form. The work is slow but determined. |
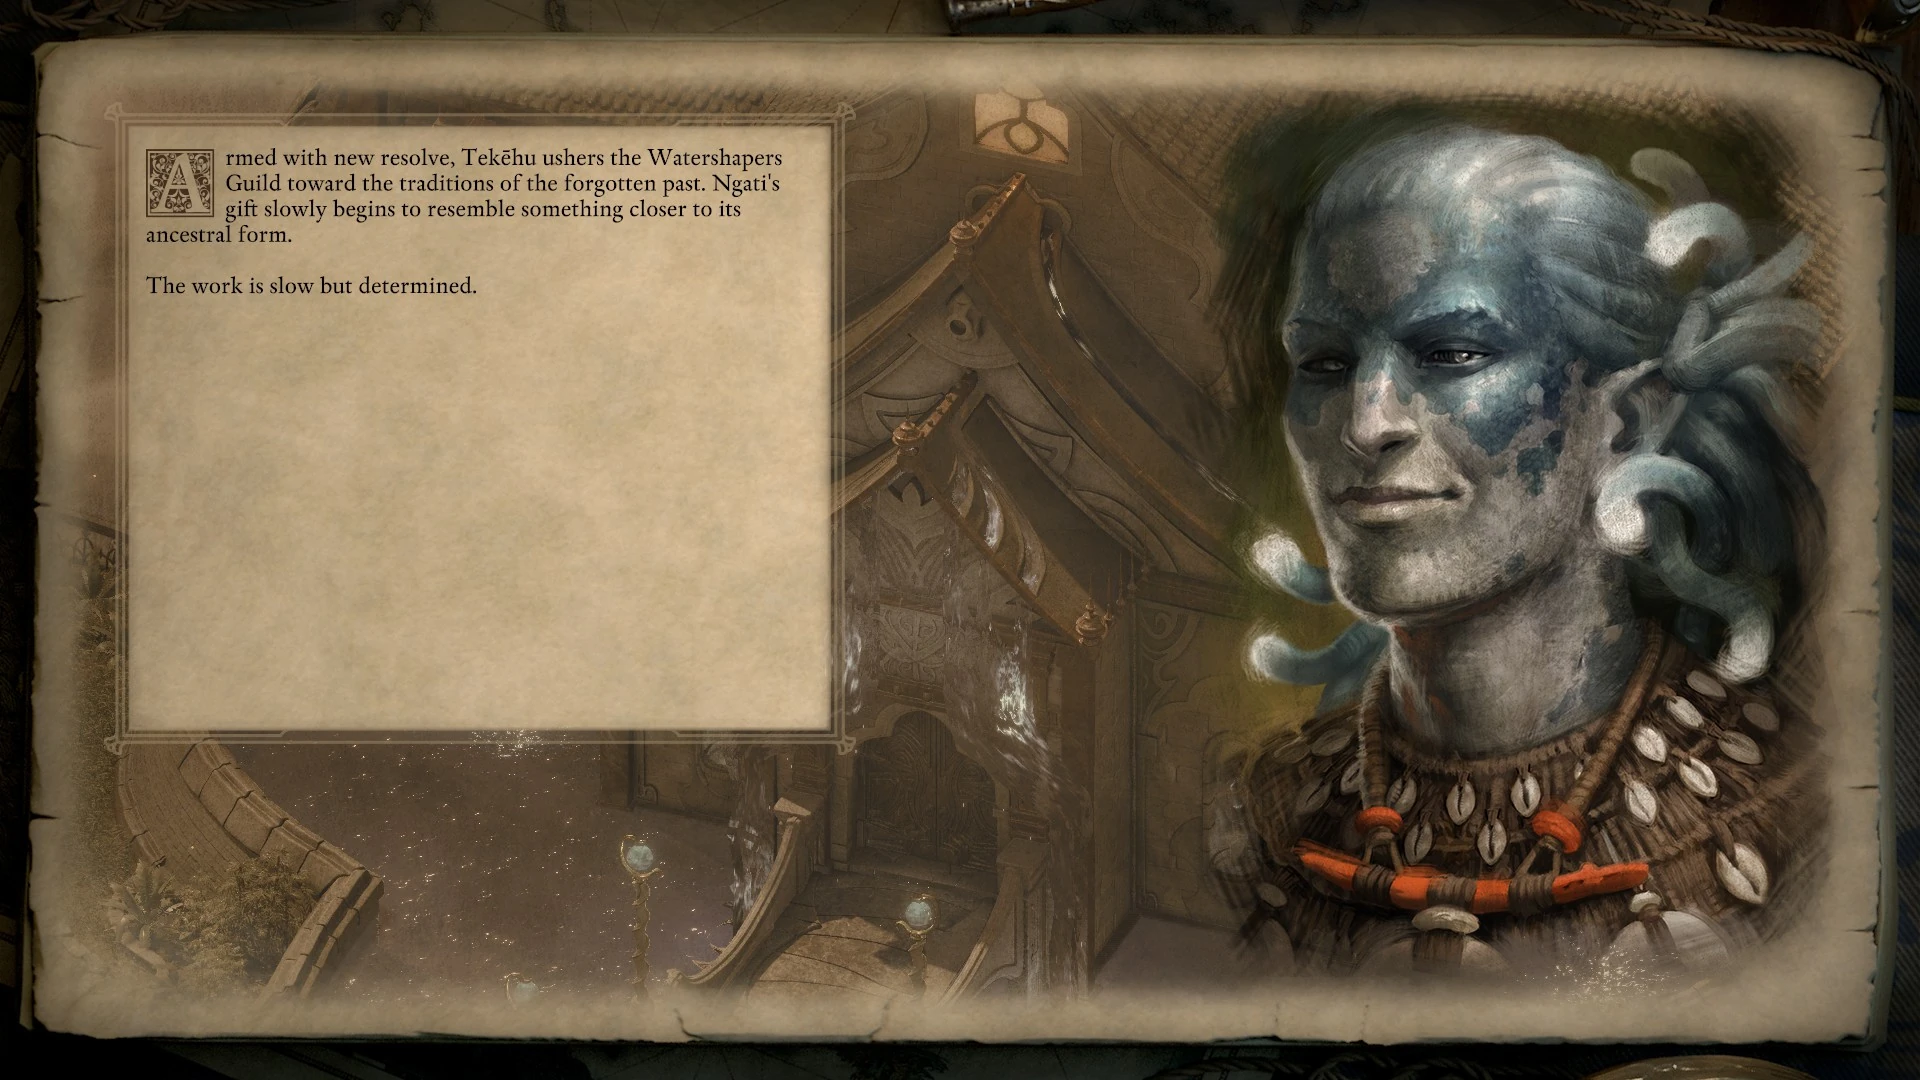
|
| Tekēhu convinced to guide the Huana into the future, Watershapers Guild was massacred by the Watcher. | Tekēhu attempts to restore the guild, but struggles.
After the massacre of the watershapers, Tekēhu attempts to restore the guild to its former strength. His example attracts new recruits, but he struggles to teach his acolytes that which comes from instinct. |

|
| Tekēhu convinced that he doesn't have to guide his people, The Shadow Under Neketaka not completed. | The guild continues on just fine without Tekēhu.
Without Tekēhu, the Watershapers Guild learns to grow and prosper on its own. The established forms and philosophies of watershaping evolve over time. The pace is slow and uncoordinated, but hopeful. |

|
| Tekēhu convinced that he doesn't have to guide his people, Watershapers Guild was massacred by the Watcher. | The guild falls into permanent decline and the art diminishes.
Without Tekēhu to wrest it back from the precipice, the Watershapers Guild falls into permanent decline. Most of the surviving guildmembers don't know the ancestral art well enough to pass on their knowledge to the next generation. The art doesn't vanish entirely, but its significance diminishes. |

|
Tekēhu's final ending slide is determined by his relationship with the Watcher.
| Conditions | Outcome | Slides |
|---|---|---|
| Tekēhu is in a relationship with the Watcher. | As your paths diverge, Tekēhu leaves you with a protracted and energetic farewell. He has work to do in the Deadfire, but his heart - and, he insists, the rest of him - is yours. You make promises to see each other again on different shores. |

|
| Tekēhu started a relationship with the Watcher, but did not get to complete it before the end of the game. | As your paths diverge, Tekēhu expresses remorse that you did not have more time to explore your connection. The future is uncertain, but the embrace you share at parting is full of promise. |

|
| Tekēhu and the Watcher were previously in a relationship, but broke up later or Tekēhu was not in a relationship with the Watcher and their relationship is positive. | Your farewell is short and cordial. Nothing further needs to be said and you wish each other well. Tekēhu does not look back. The sea feels restless in his absence. |
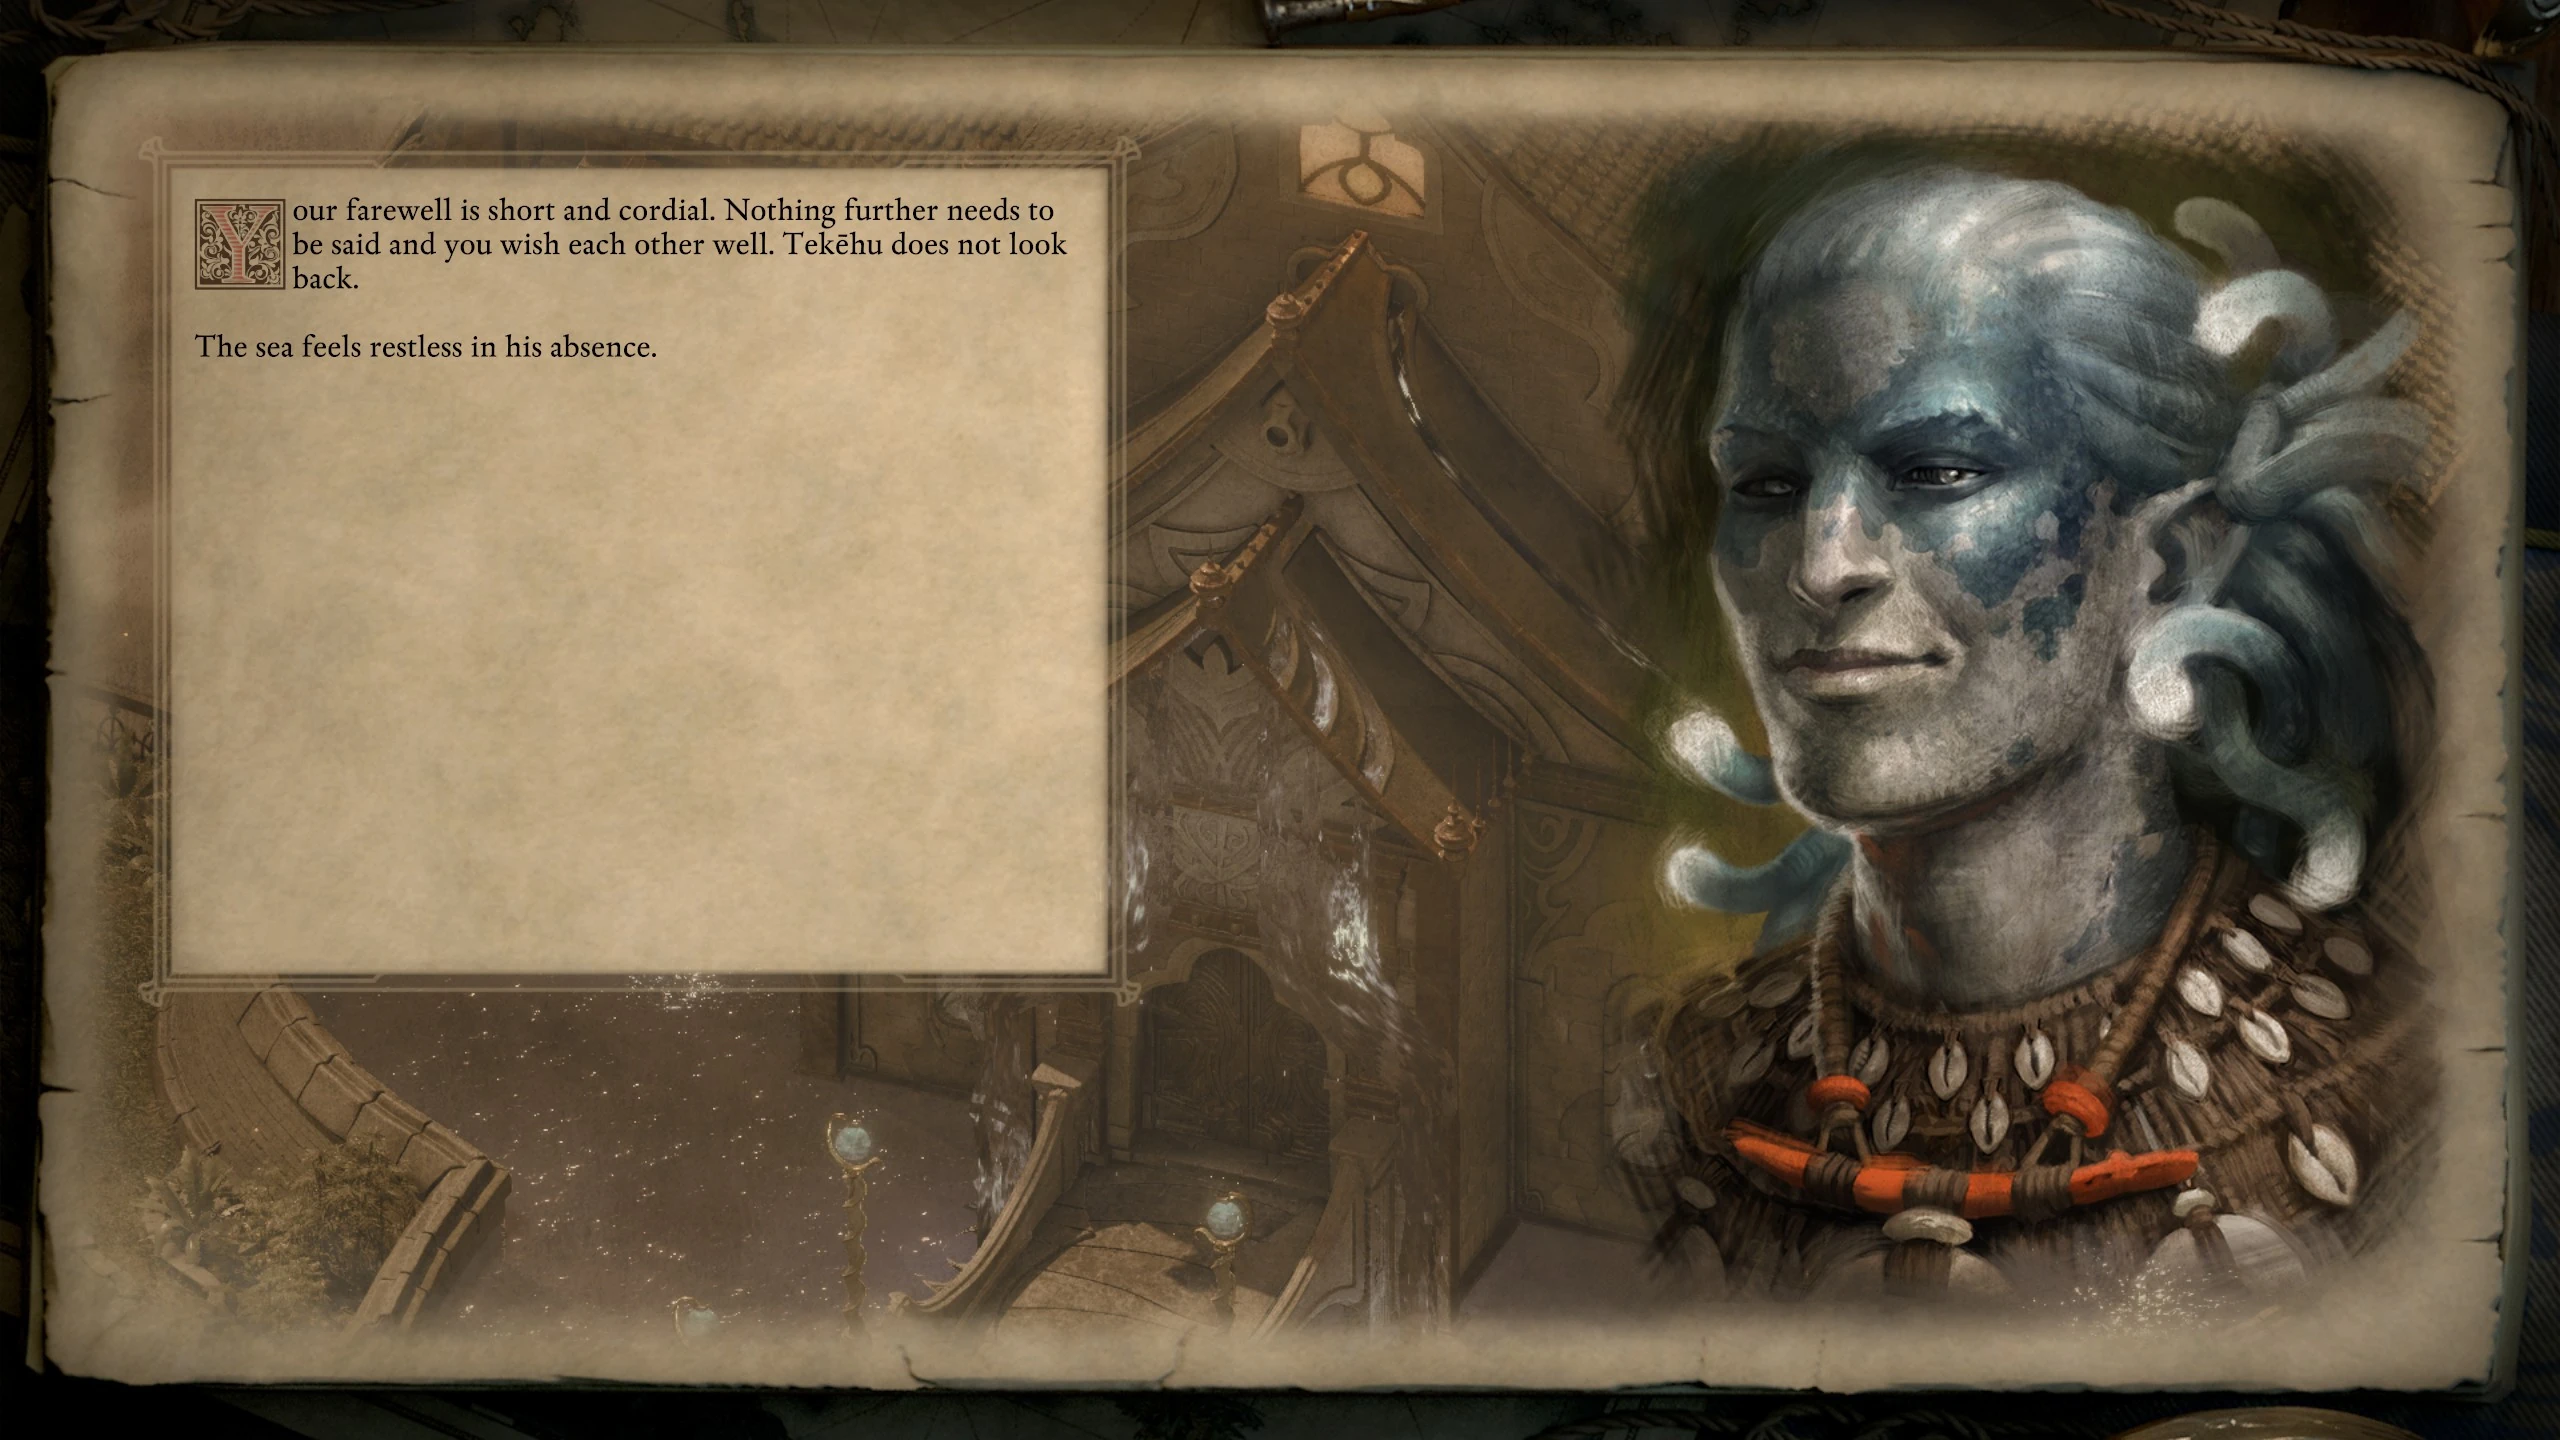
|
| Tekēhu was not in a relationship with the Watcher and the relationship is negative. | He bids you farewell, suggesting that you seek your next adventure in a brothel or tavern where consequences begin and end at the front door. He sounds eager to leave old conflicts in the past. |

|
The Watcher[ | ]
The final slides show the fate of your own character, The Watcher.
| Conditions | Outcome | Slides |
|---|---|---|
| Ukaizo is not controlled by an Aeldys-led Príncipi. | The storms of Ondra's Mortar are calmed and the way east lies open.
Your pursuit of Eothas and your journey to Ukaizo signal the end of forces that have shaped the lives of kith and the course of nations. The cycle of reincarnation has been broken. The storms of Ondra's Mortar have calmed. Yet each ending promises a new beginning. As the sun rises over Ukaizo, kith turn their gaze eastward, wondering at what lies beyond. And at the world they will fashion for themselves. |
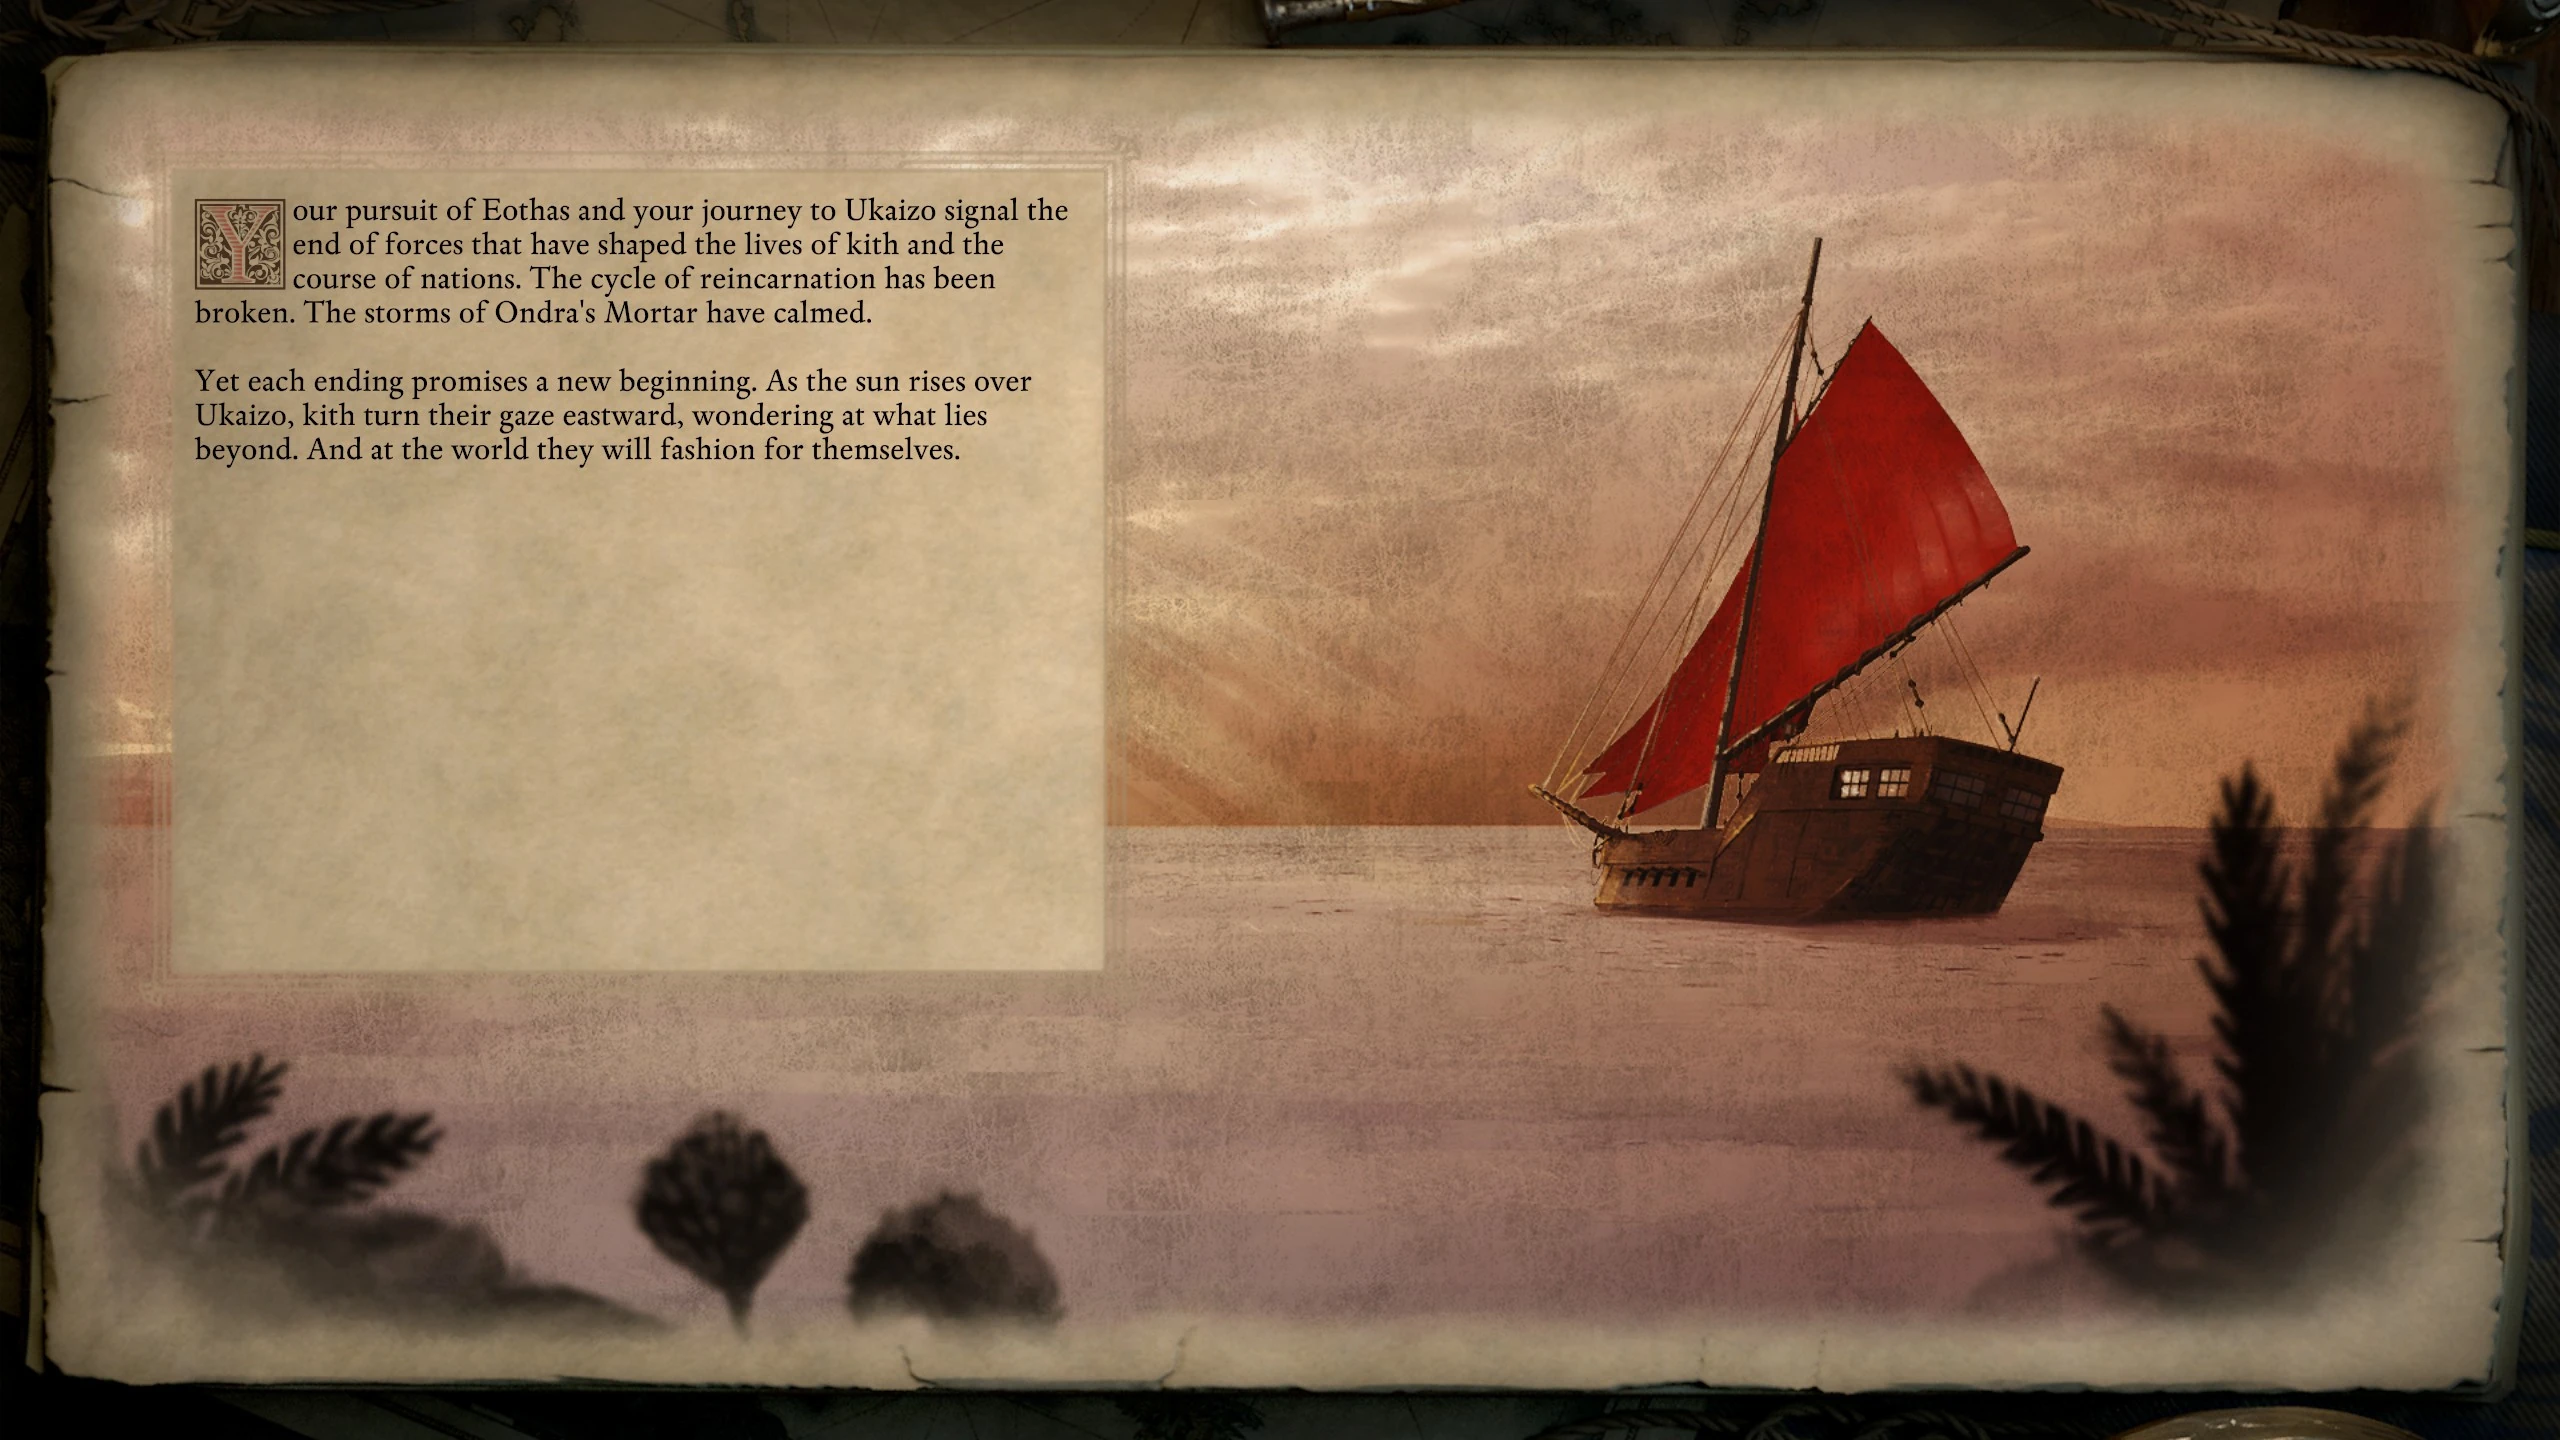
|
| The Príncipi sen Patrena, led by Aeldys, controls Ukaizo. | The way east remains blocked.
Great changes are at work in Deadfire and the world beyond, but the storms of Ondra's Mortar rage on. Whatever salvation kith achieve will be hard-won, but it will be the deliverance of their own choosing. |
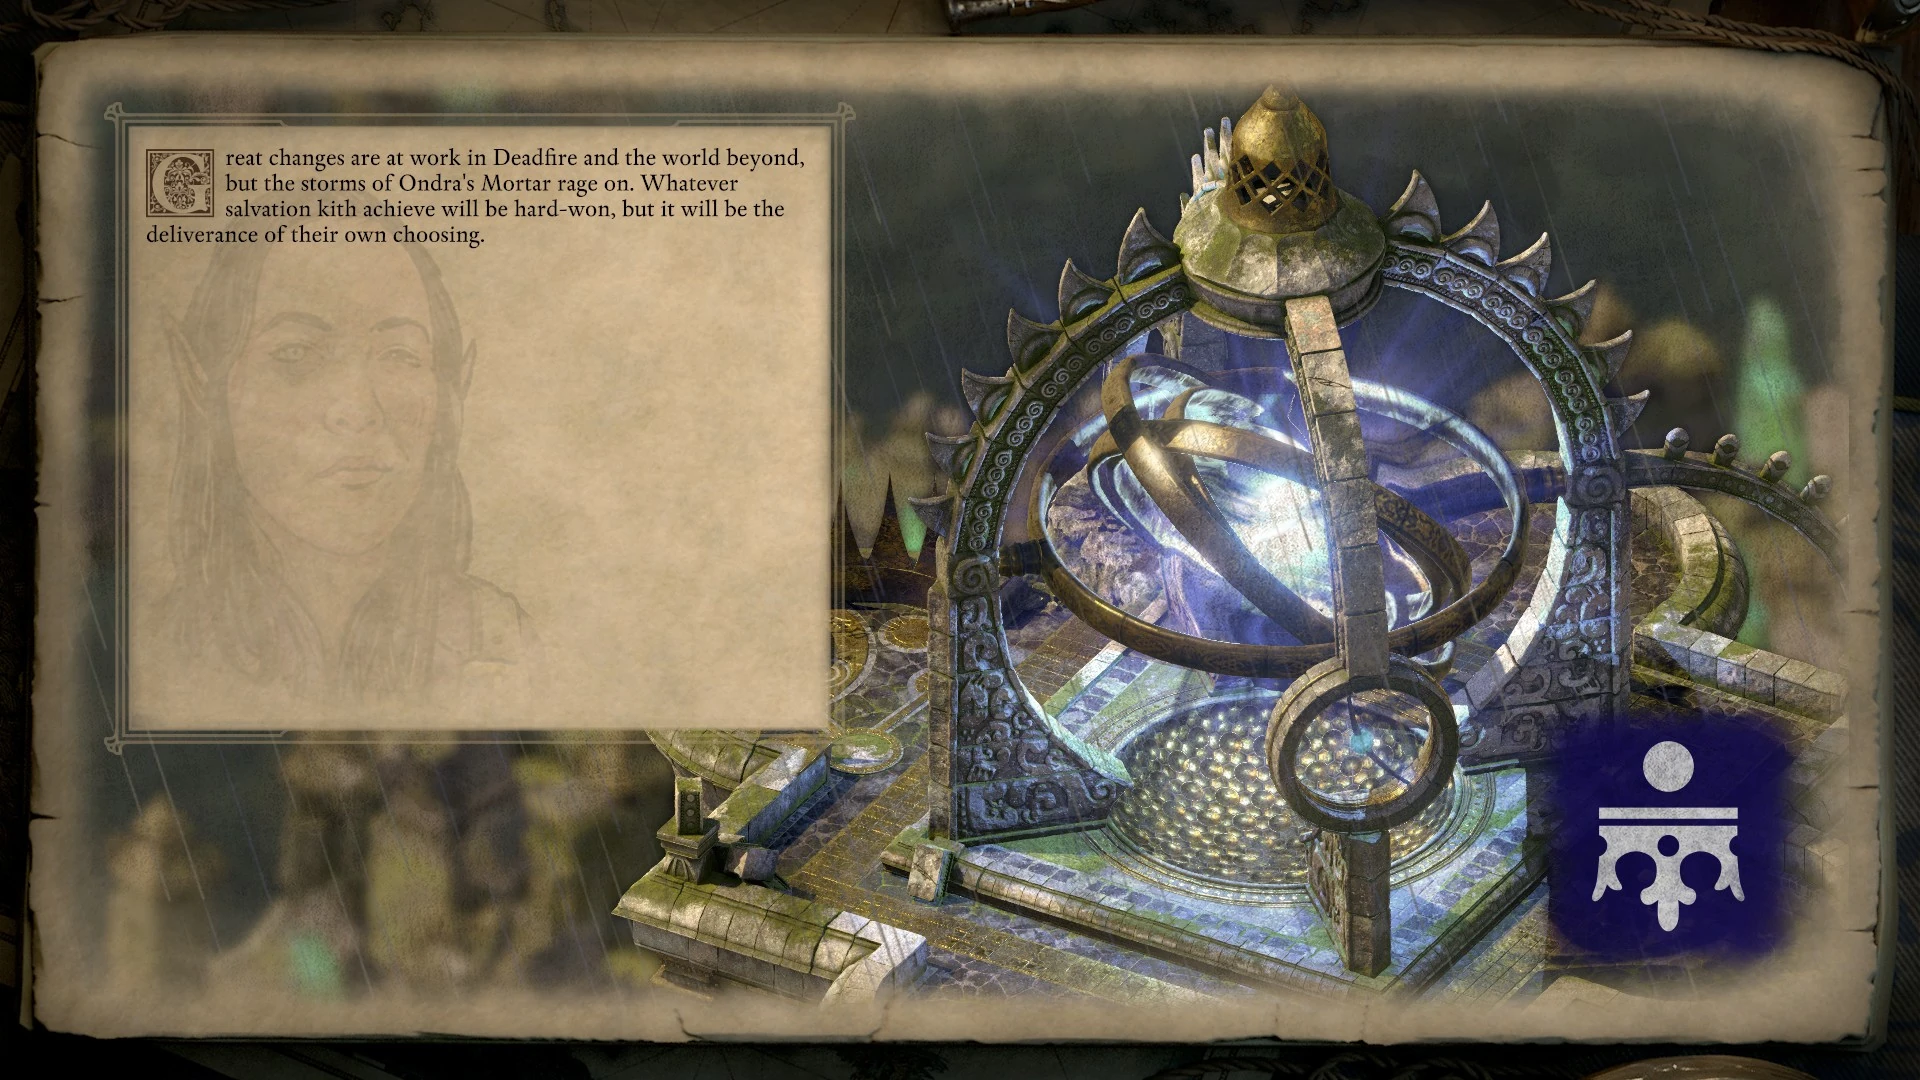
|
| Always applies. | The Watcher returns home.
As the Watcher of Caed Nua and the former Herald of Berath, you return to your ship and begin the long journey home. You hope for calm weather. |
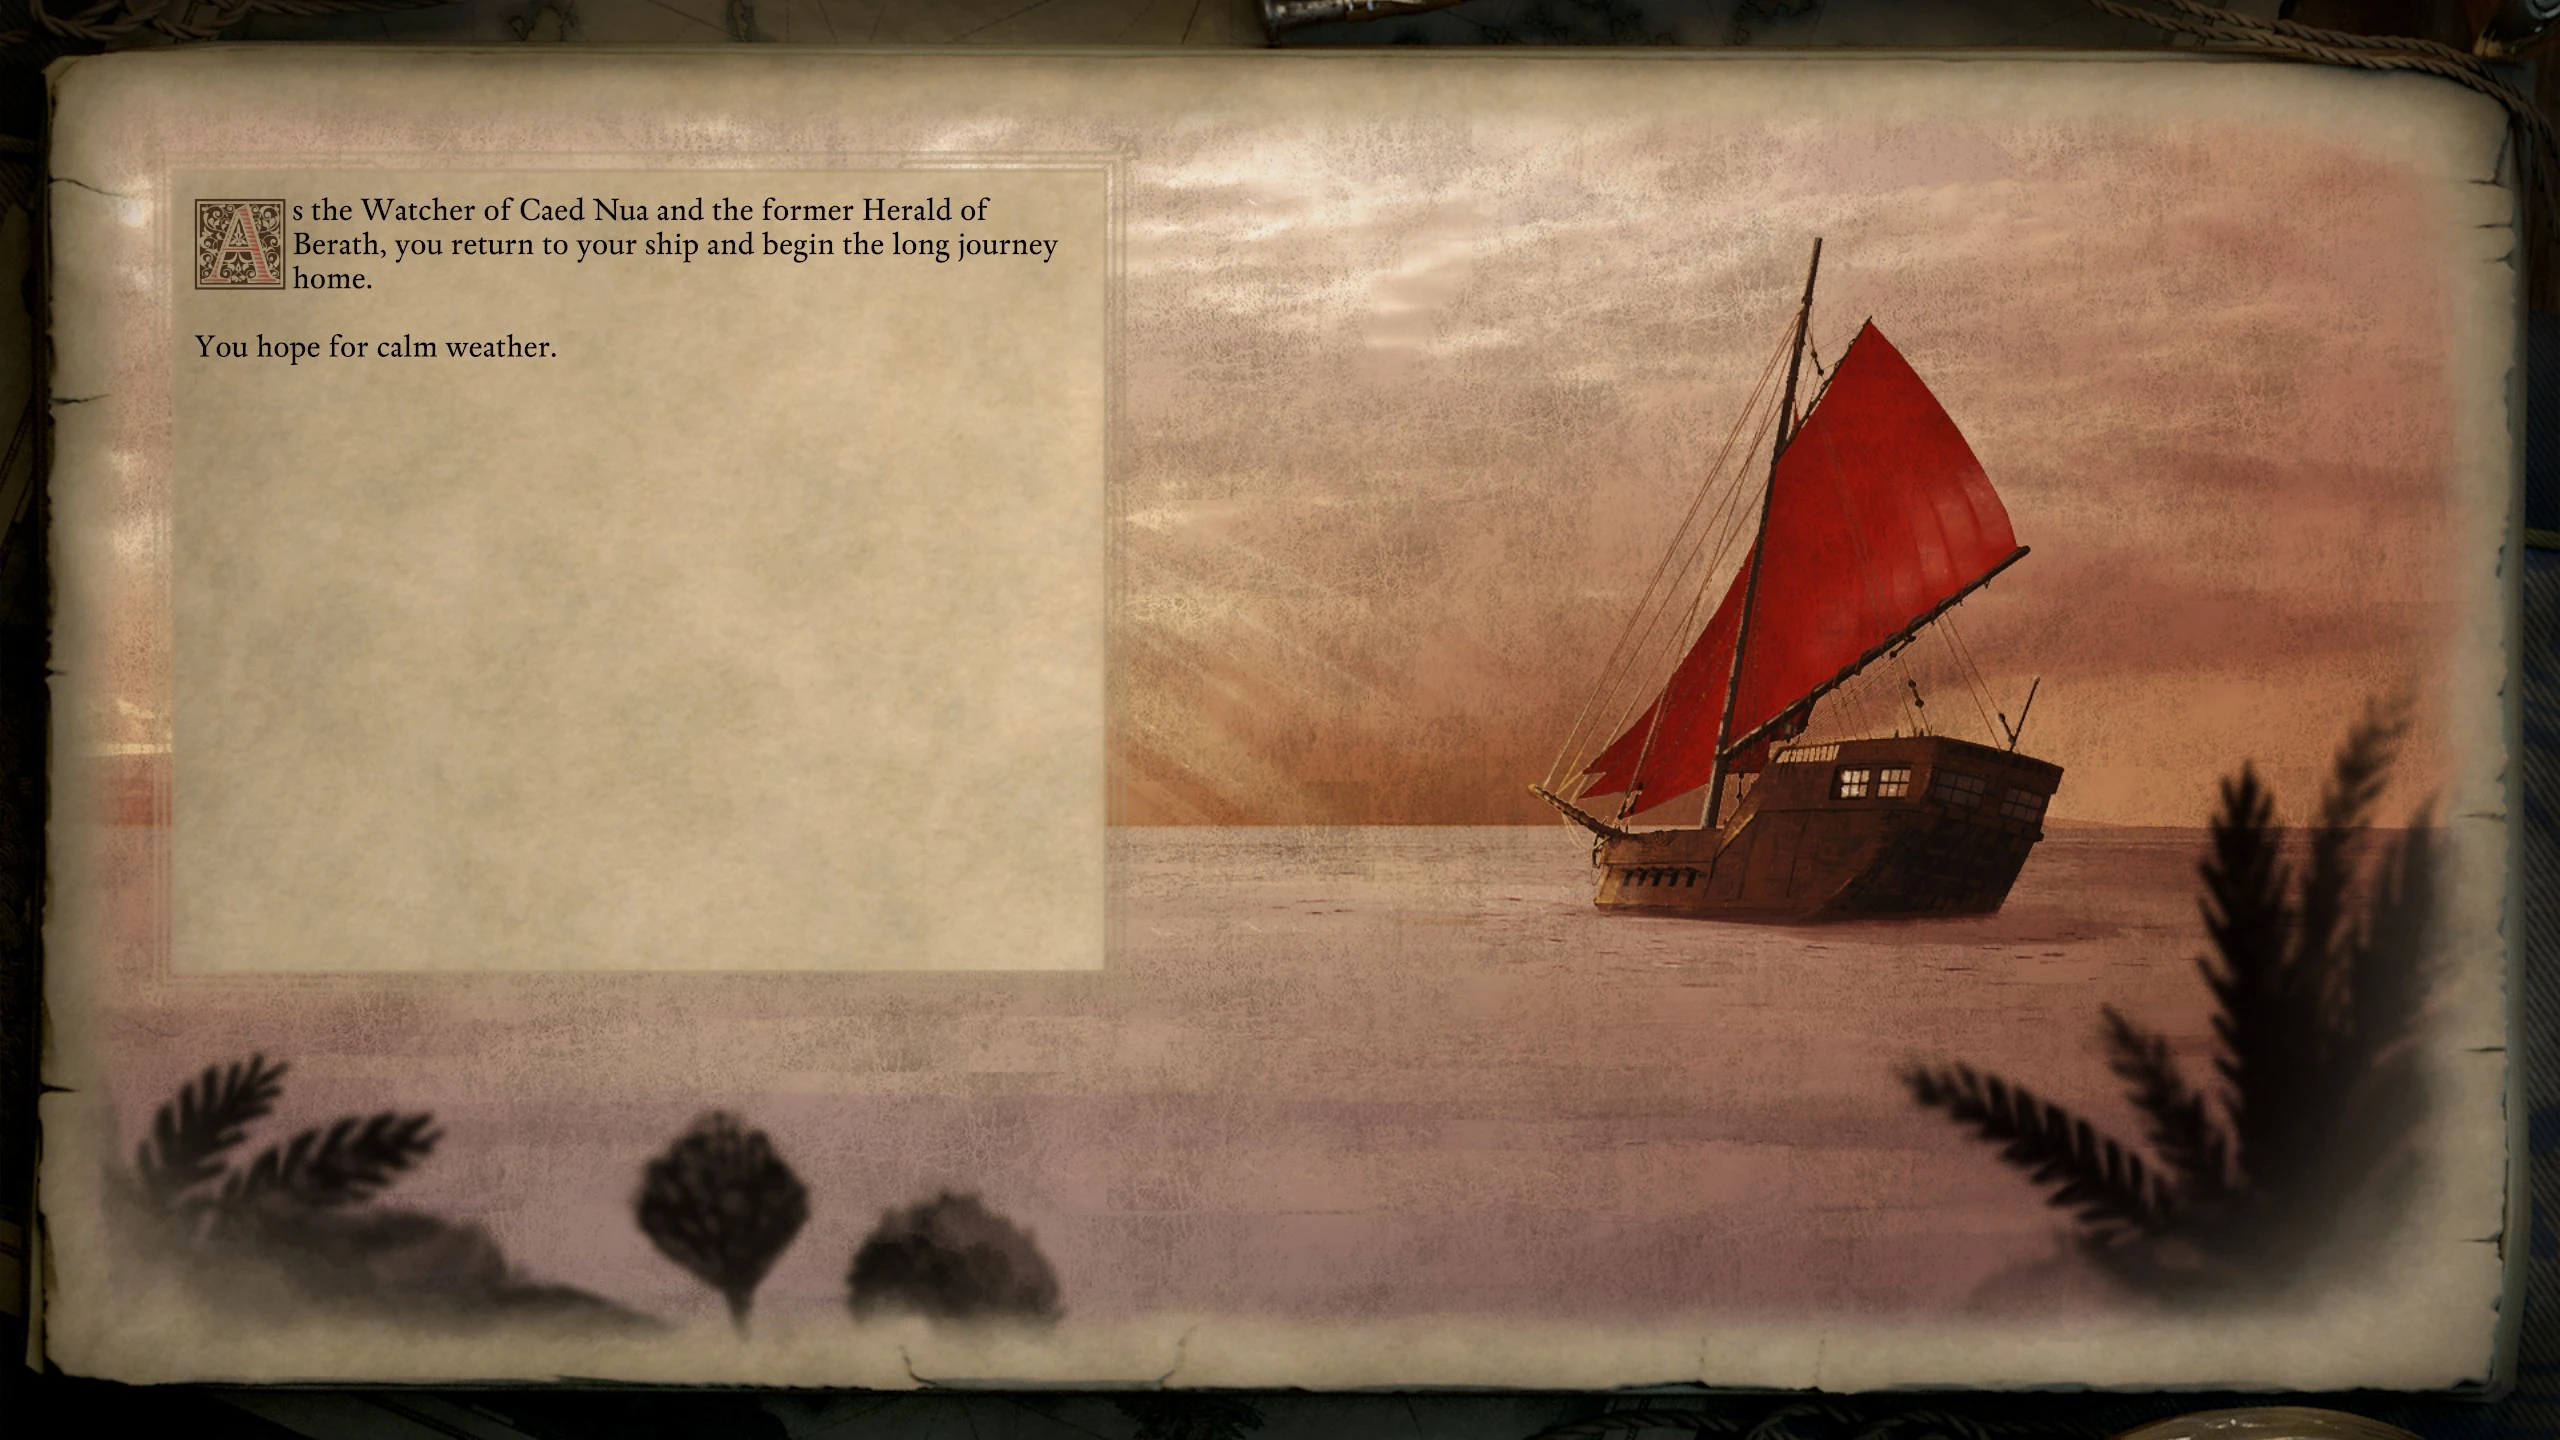
|
Beast of Winter[ | ]
First, what happens to the Dead Floe.
| Conditions | Outcome | Slides |
|---|---|---|
| Don't complete Death's Depthless Dominion. | The Dead Floe and Neriscyrlas' domain spreads.
The Dead Floe, an iceberg in the southern sea, continues to grow unchecked. As the ice spreads, so too do wild tales of a hideous dragon rampaging across the Deadfire. |
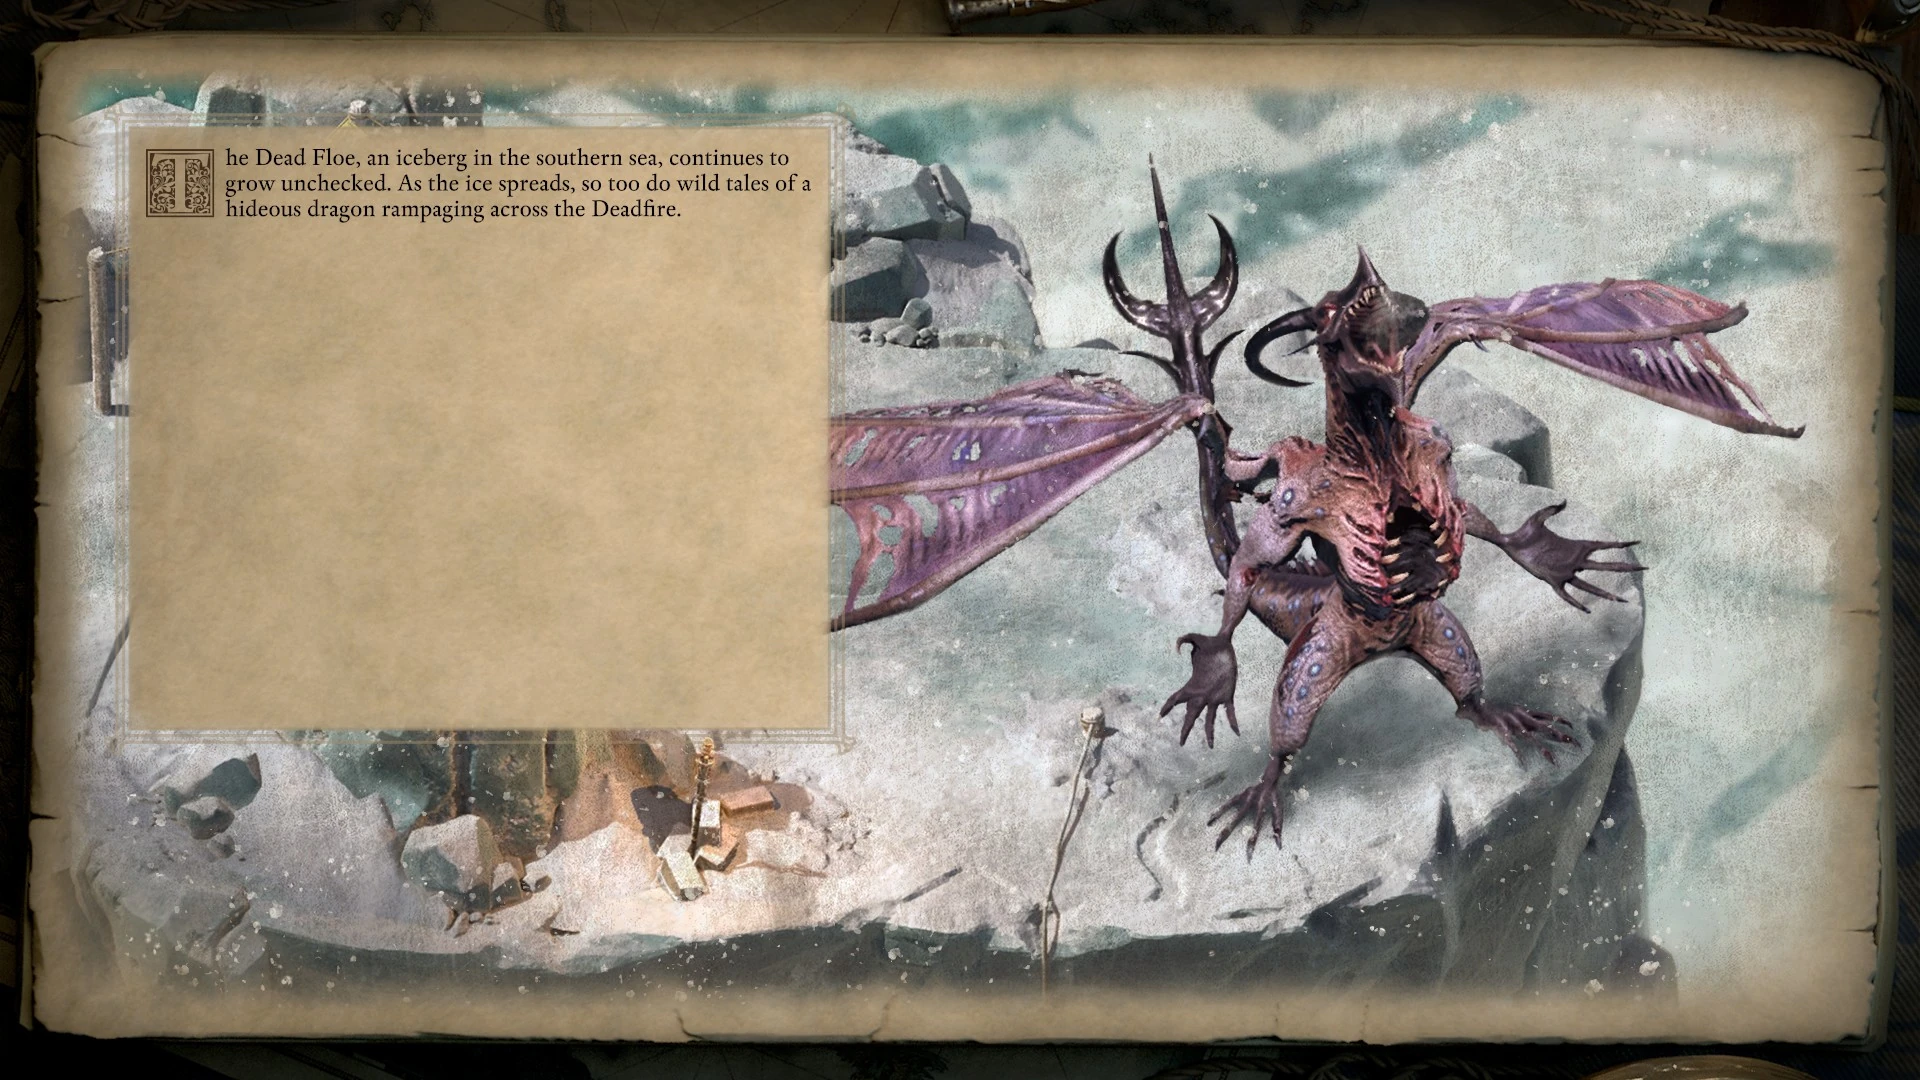
|
| Complete Death's Depthless Dominion. | The Dead Floe melts, exposing the temple.
The dragon Neriscyrlas no longer passes between Eora and the White Void, and the Dead Floe slowly breaks apart, exposing the temple long frozen within. |
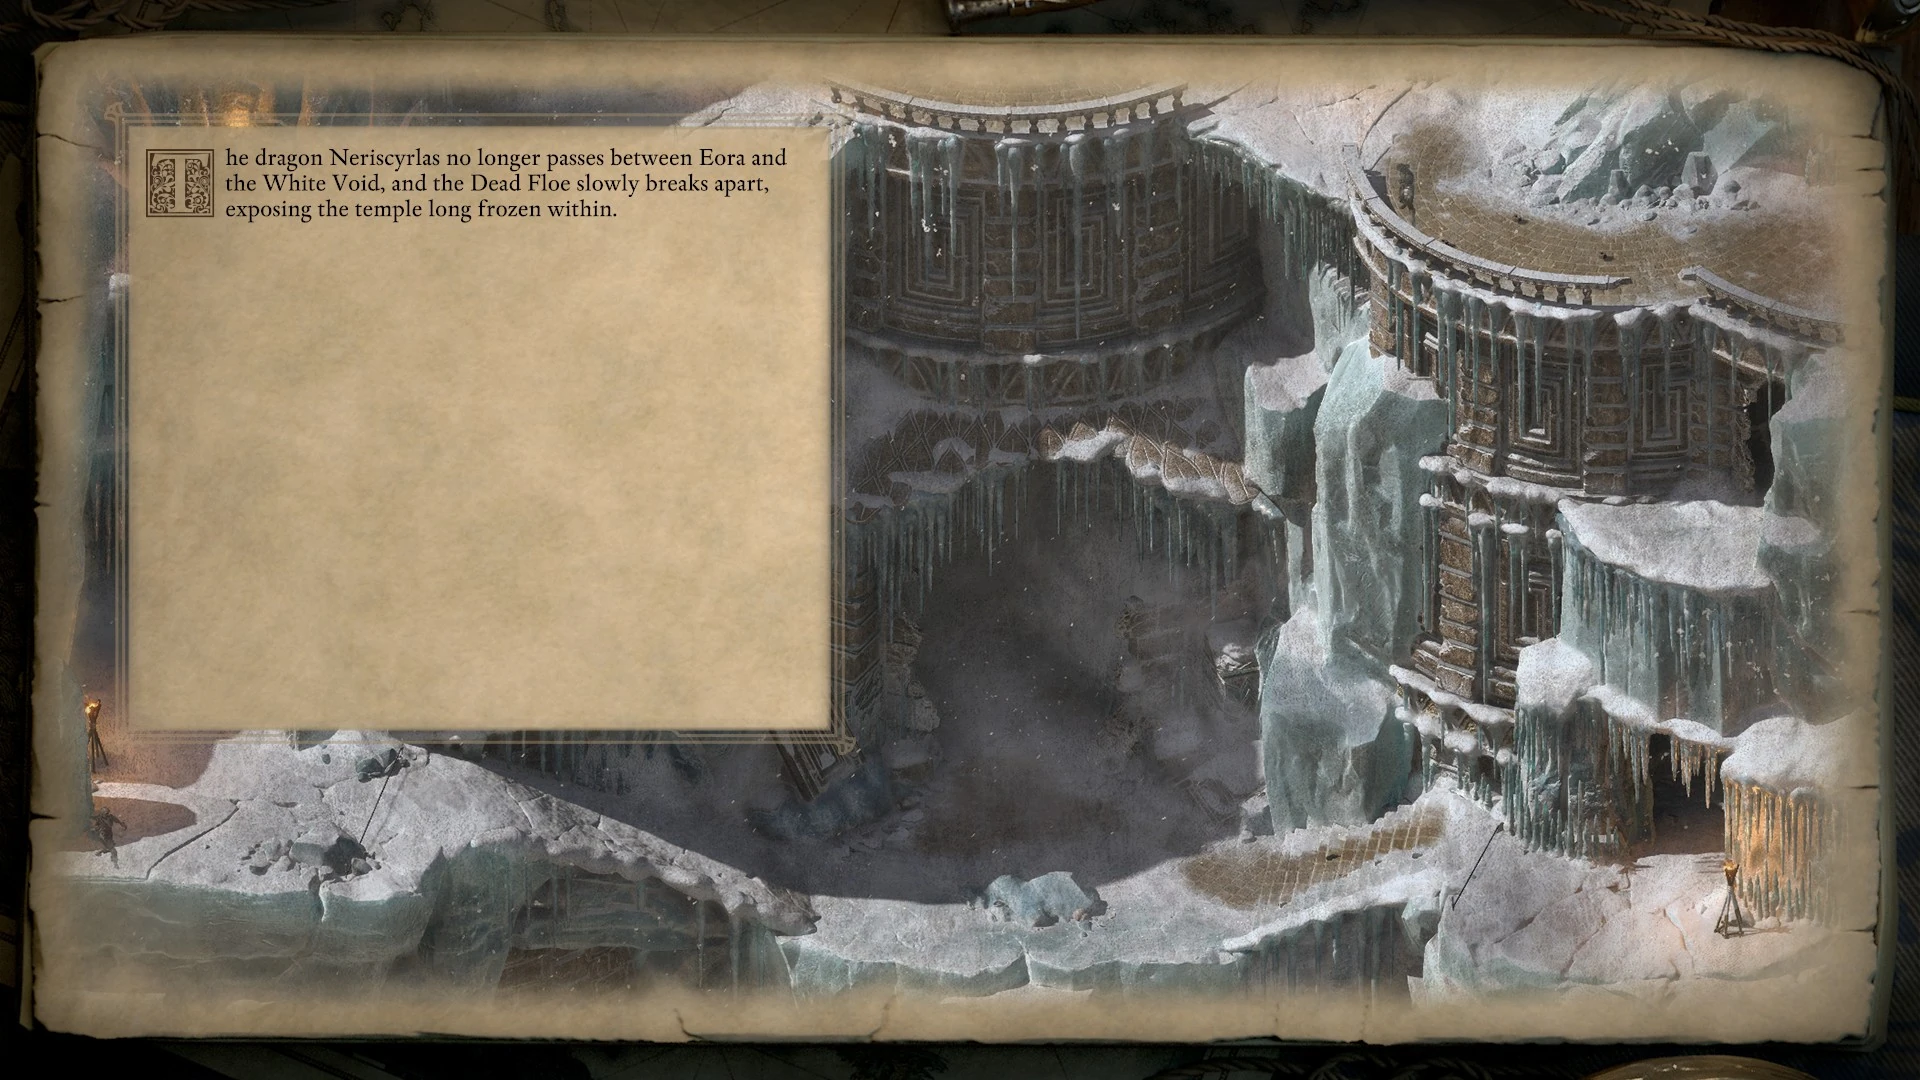
|
What happens to the Harbinger's of Dusk.
| Conditions | Outcome | Slides |
|---|---|---|
| Hafjórn is leader and you tell the Harbingers the portal is open. | The Harbingers stay at the temple and become reclusive.
Under Hafjórn's guidance, the Harbingers of Dusk resettle within Rymrgand's temple, vowing to forever protect it from the defiling touch of outsiders. Over time, the group becomes increasingly reclusive and fanatical, attacking any who dare approach their holy site. |
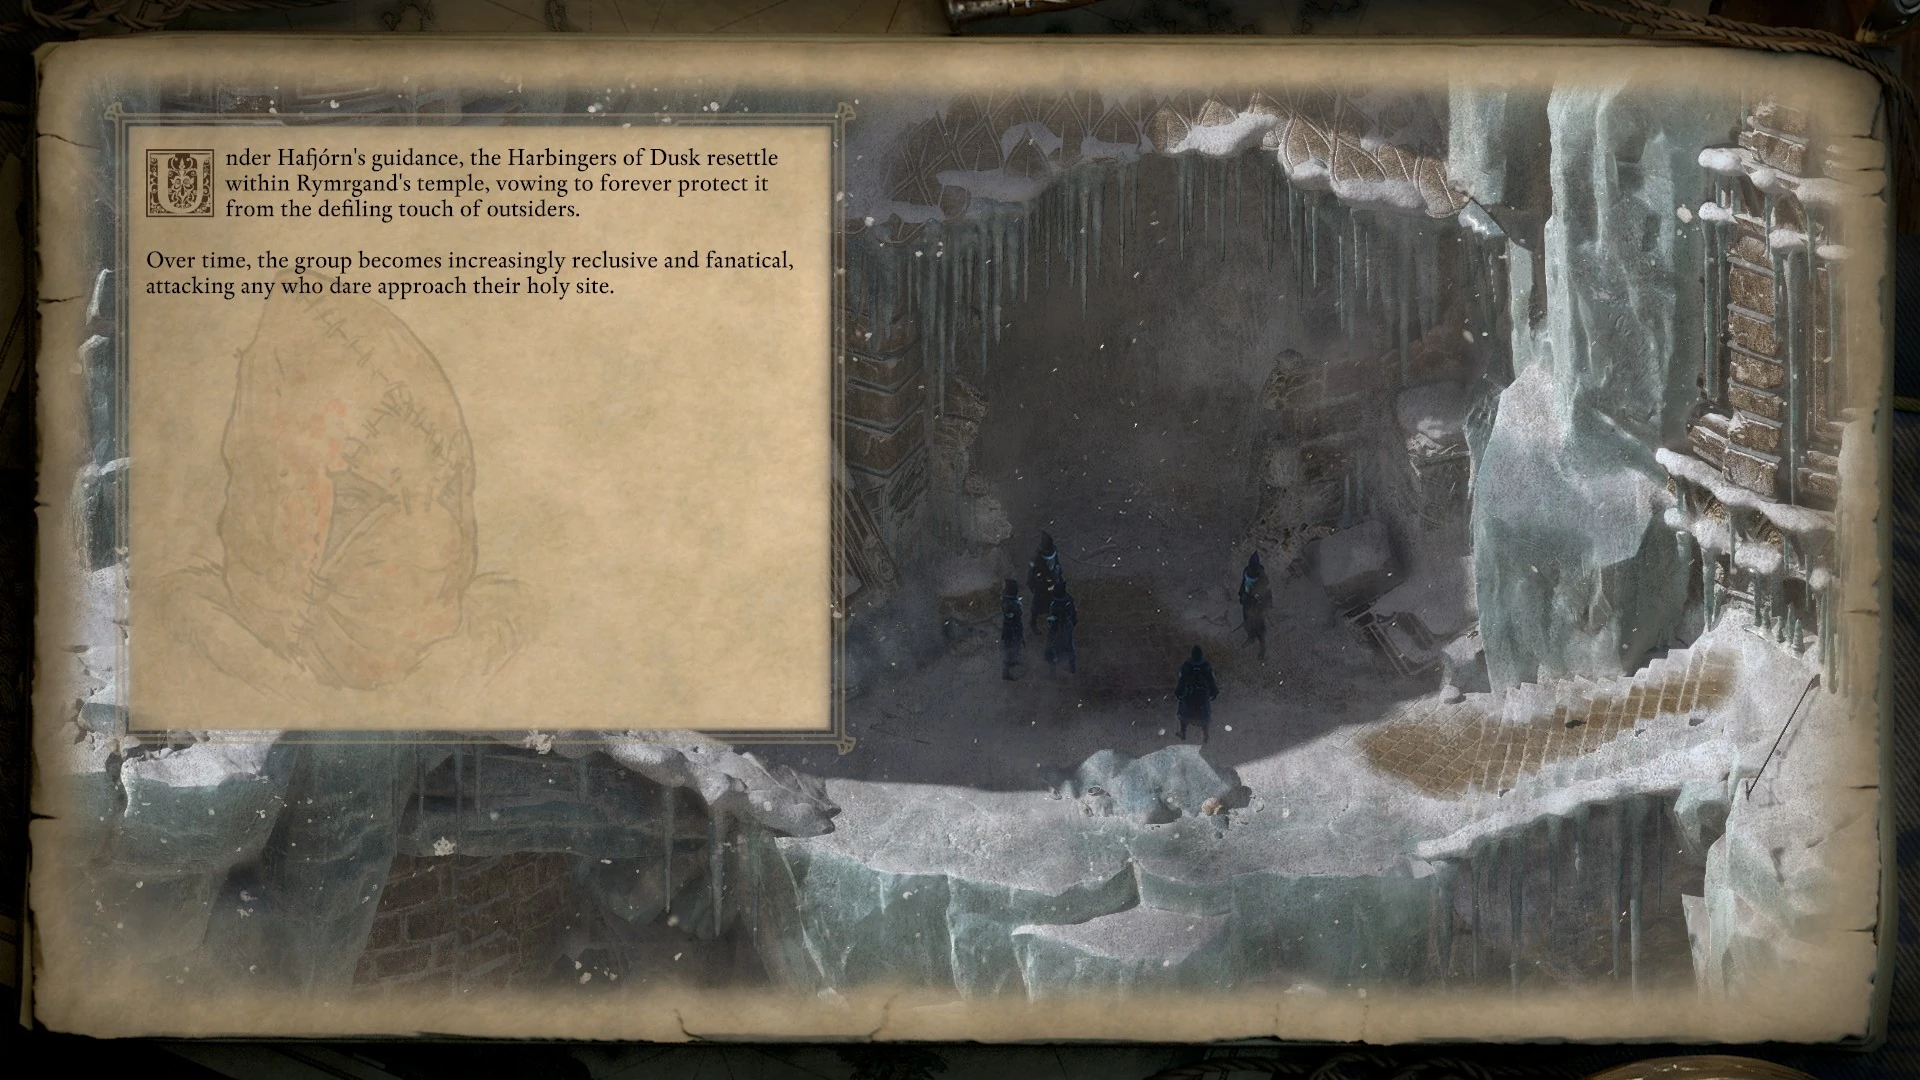
|
| Vatnir is leader, you never recruited him and you tell the Harbingers the portal is open. | The Harbingers stay at the temple and open a prominent port.
The Harbingers of Dusk eventually resettle within and around Rymrgand's temple. Under Vatnir's leadership, the settlement flourishes, becoming a prominent port of call along trading routes to and from the Deadfire. |
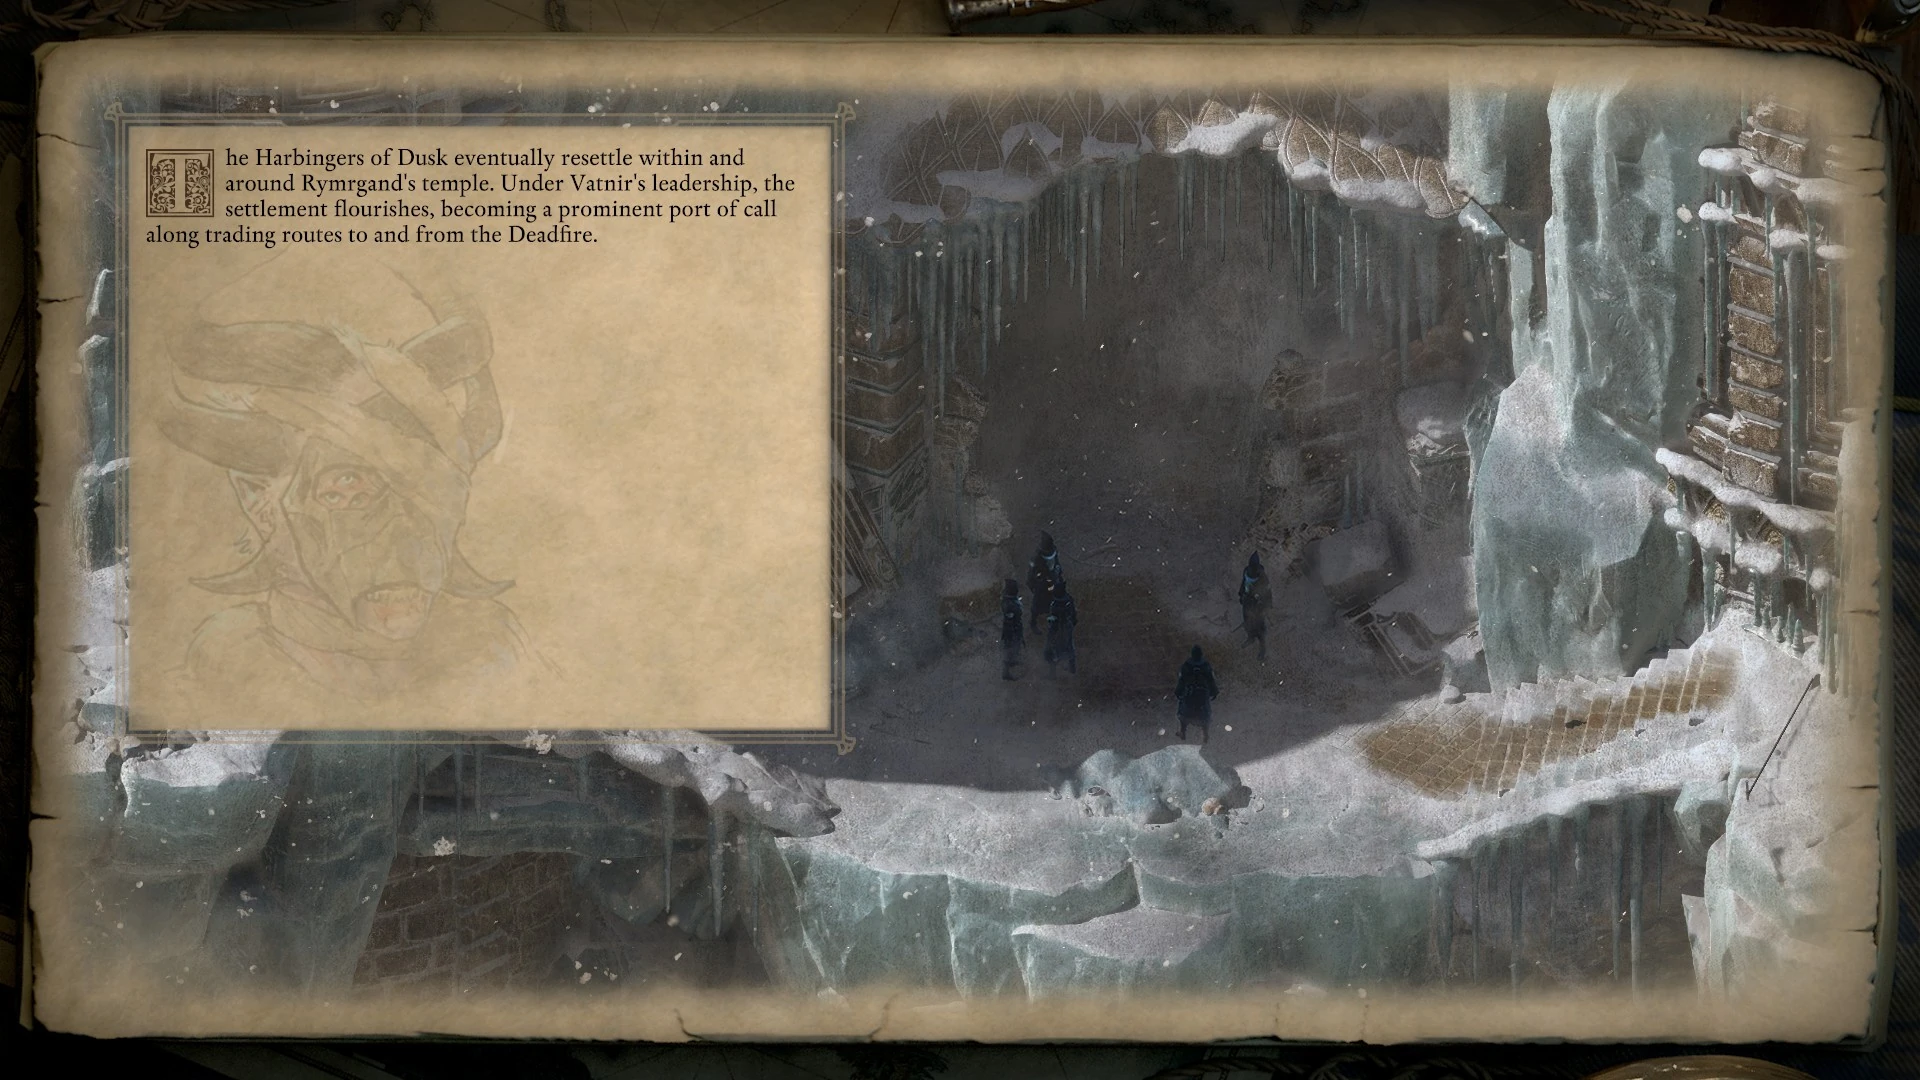
|
| Hafjórn is leader and you tell the Harbingers the portal is closed. | The Harbingers abandon the temple and return to the White that Wends.
Hafjórn leads the remaining Harbingers of Dusk on a return pilgrimage to the White that Wends, and they scatter into the clans and settlements from which they hailed. The temple of Rymrgand falls into disrepair, home only to madmen and monsters. |
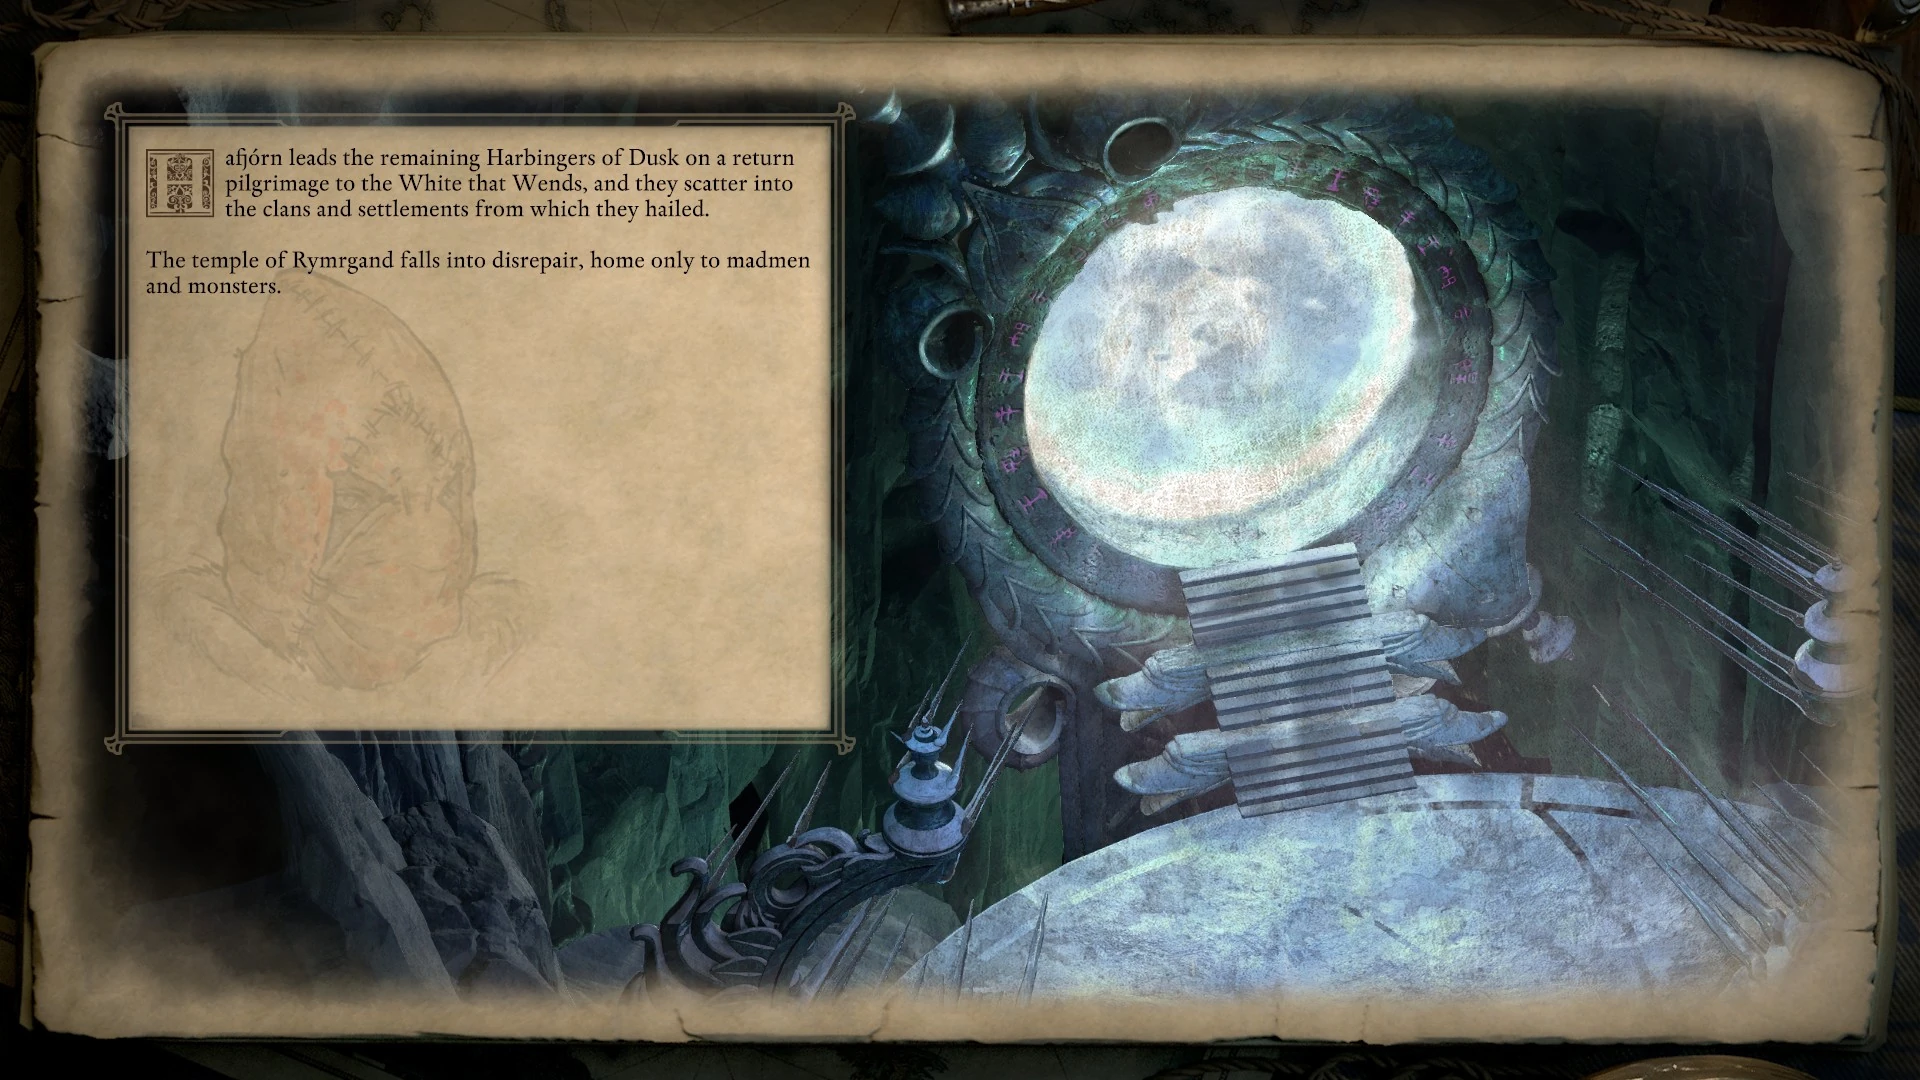
|
| Vatnir is leader, you never recruited him and you tell the Harbingers the portal is closed. | Vatnir falters and is sacrificed. The temple falls into disrepair.
Vatnir tries to hold the Harbingers of Dusk together and, for a time, succeeds. The group resettles within and around the temple, vowing to protect it. Eventually, however, Rymrgand's godlike falters, and his followers sacrifice him to the White Void. The temple of Rymrgand falls into disrepair, home only to madmen and monsters. |

|
| Recruit Vatnir, but kick him out of the party after Death's Depthless Dominion. | Vatnir leaves Harbingers' Watch and becomes a privateer.
Having tested himself against the White Void, Vatnir does not long remain content at Harbingers' Watch. He sets forth into the Deadfire, spreading word of his god while serving in a series of wildly disreputable privateer crews. |
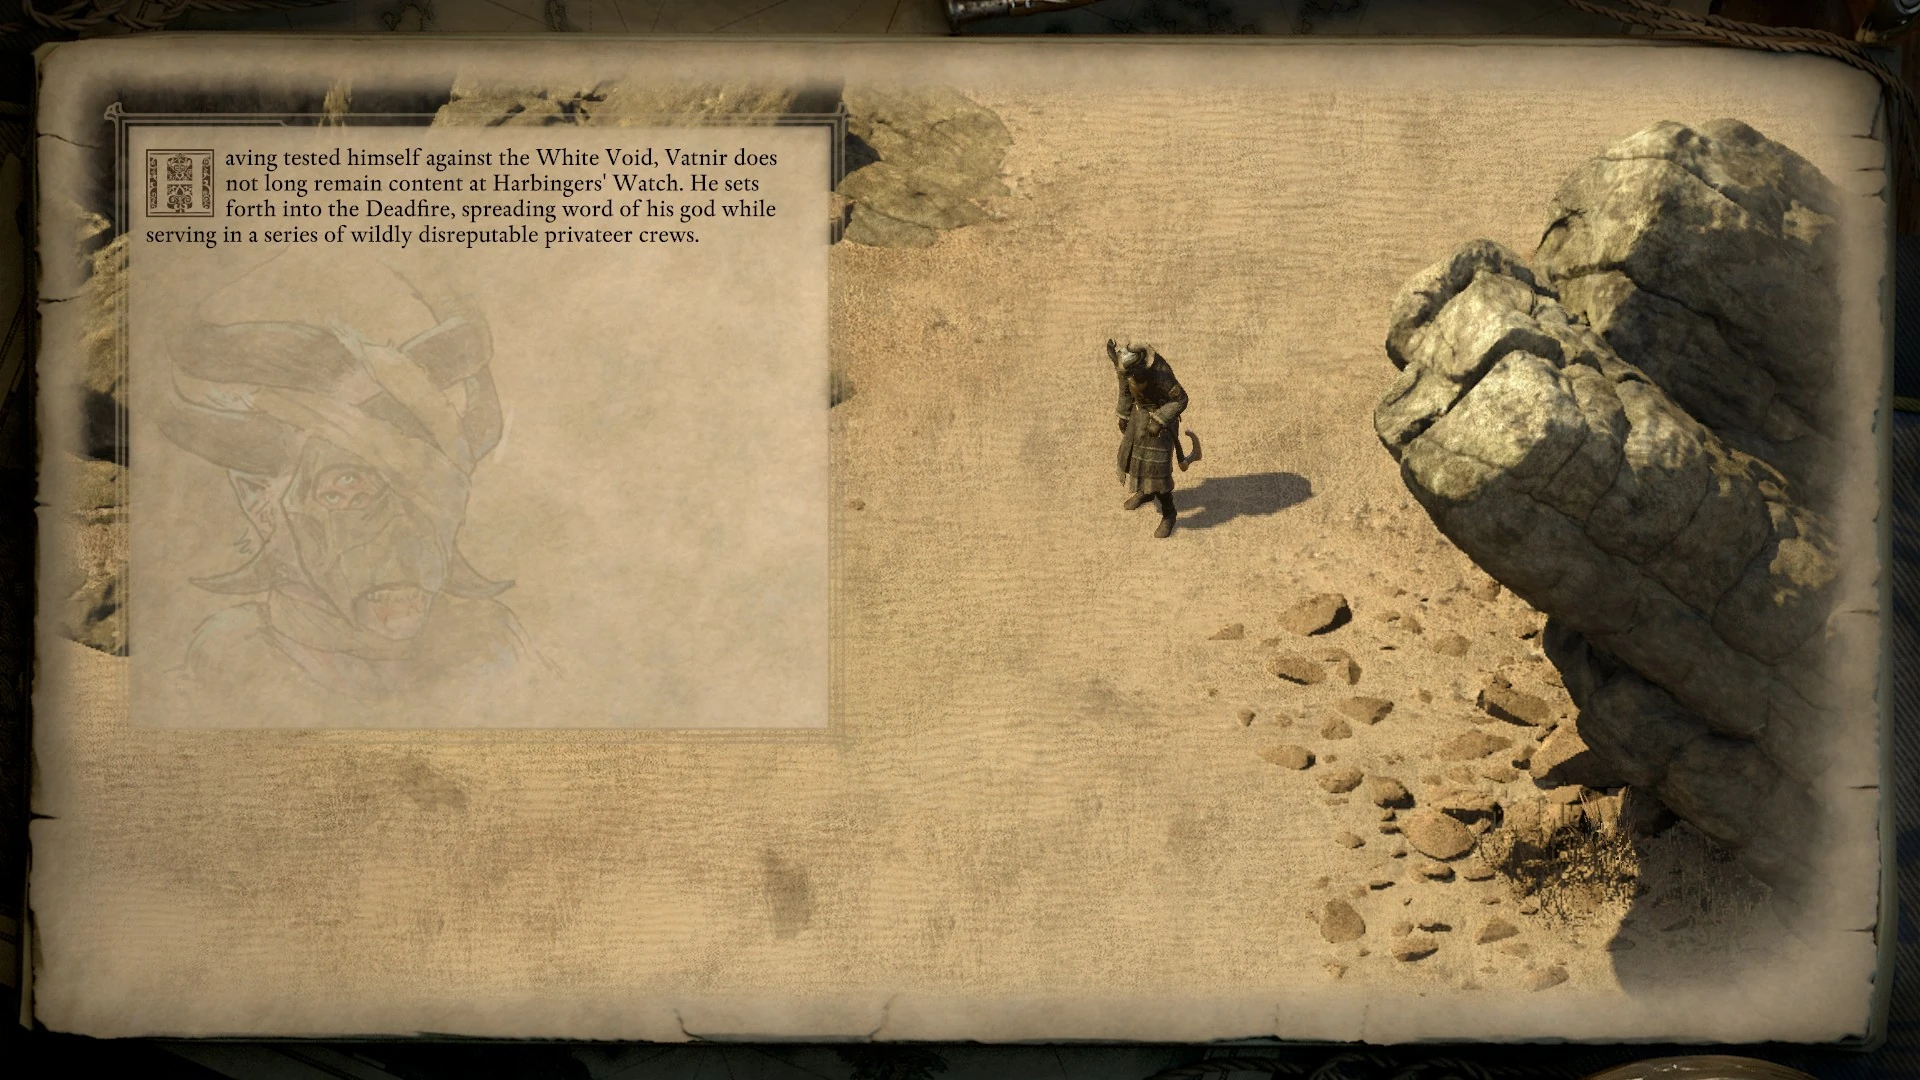
|
How you dealt with the Beast of Winter.
| Conditions | Outcome | Slides |
|---|---|---|
| Don't convince Neriscyrlas to attack the Beast of Winter and agree to be Rymrgand's champion. Requires having obtained Guardian's Plate. | Become Rymrgand's champion.
Having vowed to enact Rymrgand's will as his Duskspeaker, you find the god of decay and disaster a consistent presence in your life. You soon learn that there are innumerable objects, institutions, and people in need of ending, and the Beast of Winter does not hesitate in tasking you with ensuring those conclusions. |
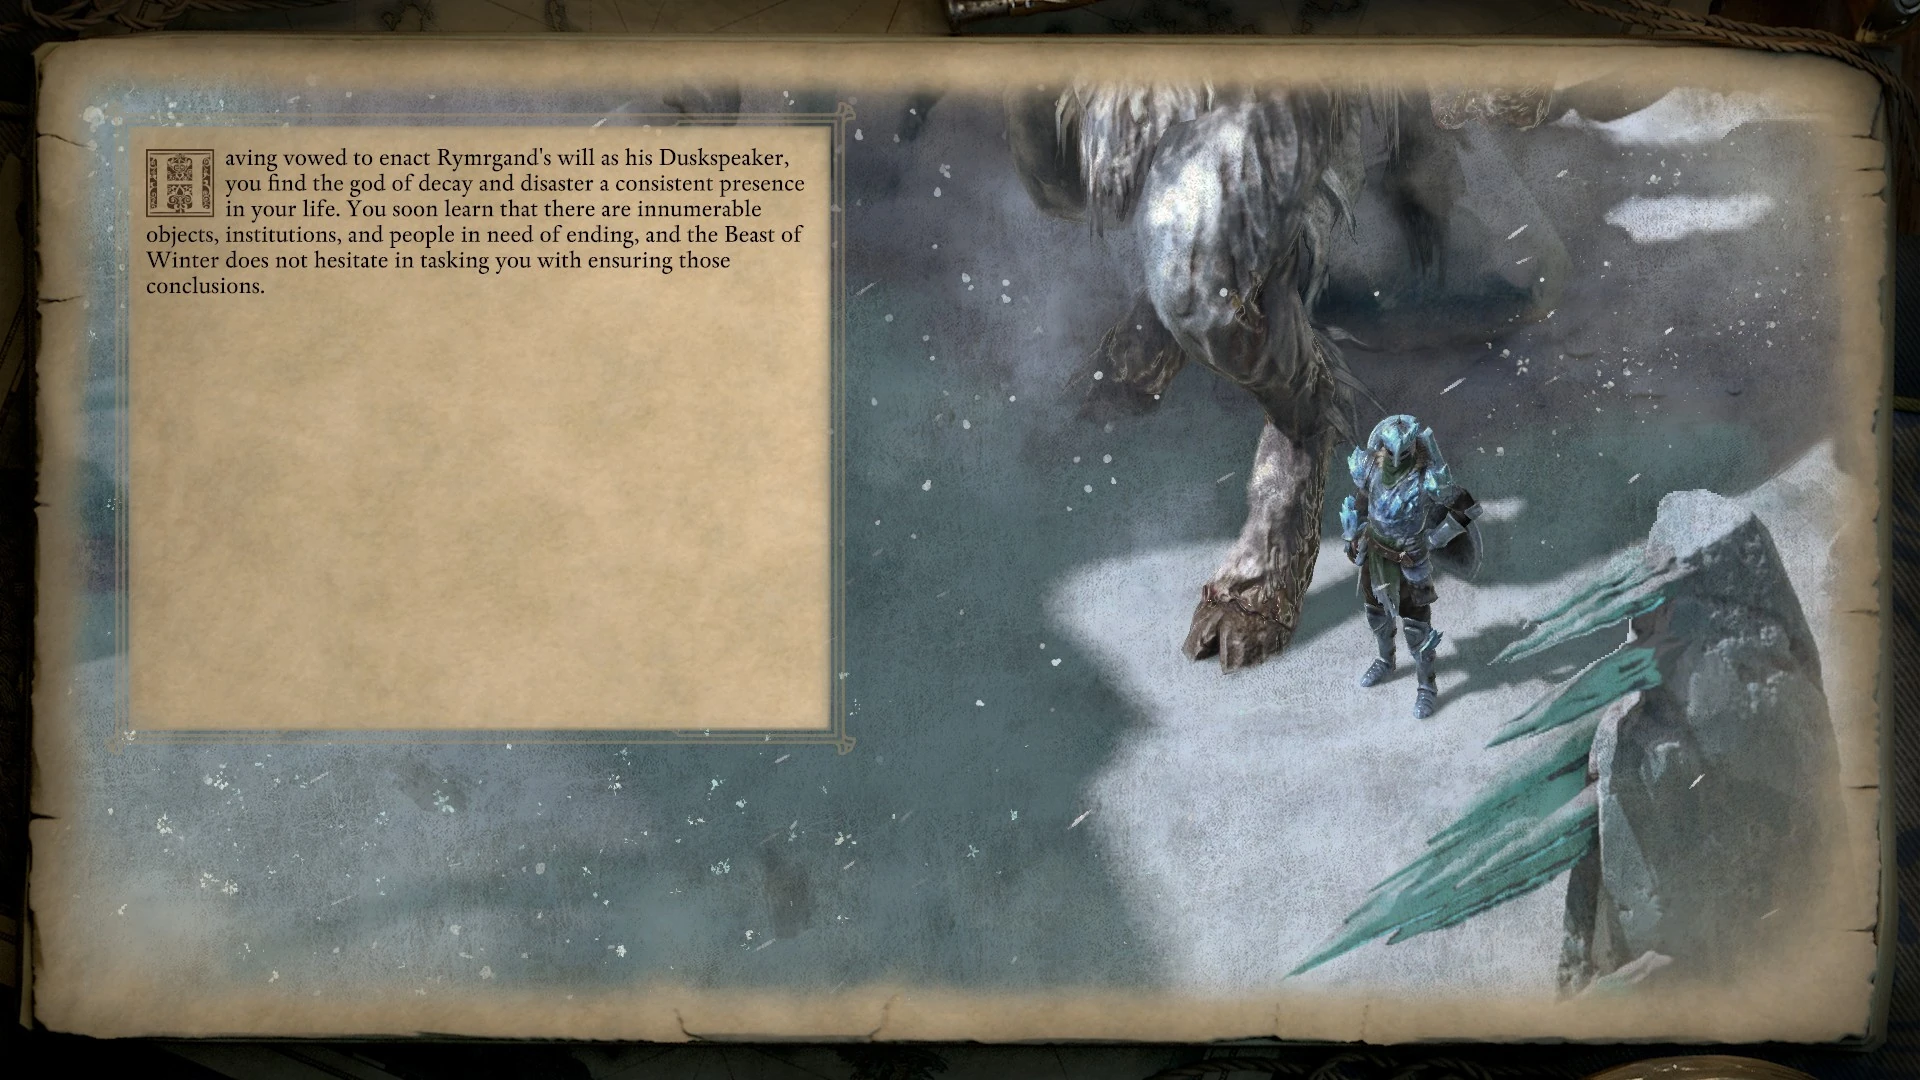
|
| Don't convince Neriscyrlas to attack the Beast of Winter and agree to Rymrgand's bargain to accept his chime. | Promise your soul to Rymrgand and receive his chime.
The chime of Rymrgand continues to pulse coldly within your breast. Though the Beast of Winter rarely intrudes upon you, the chill within your soul promises that you will return to his dominion in the end. |
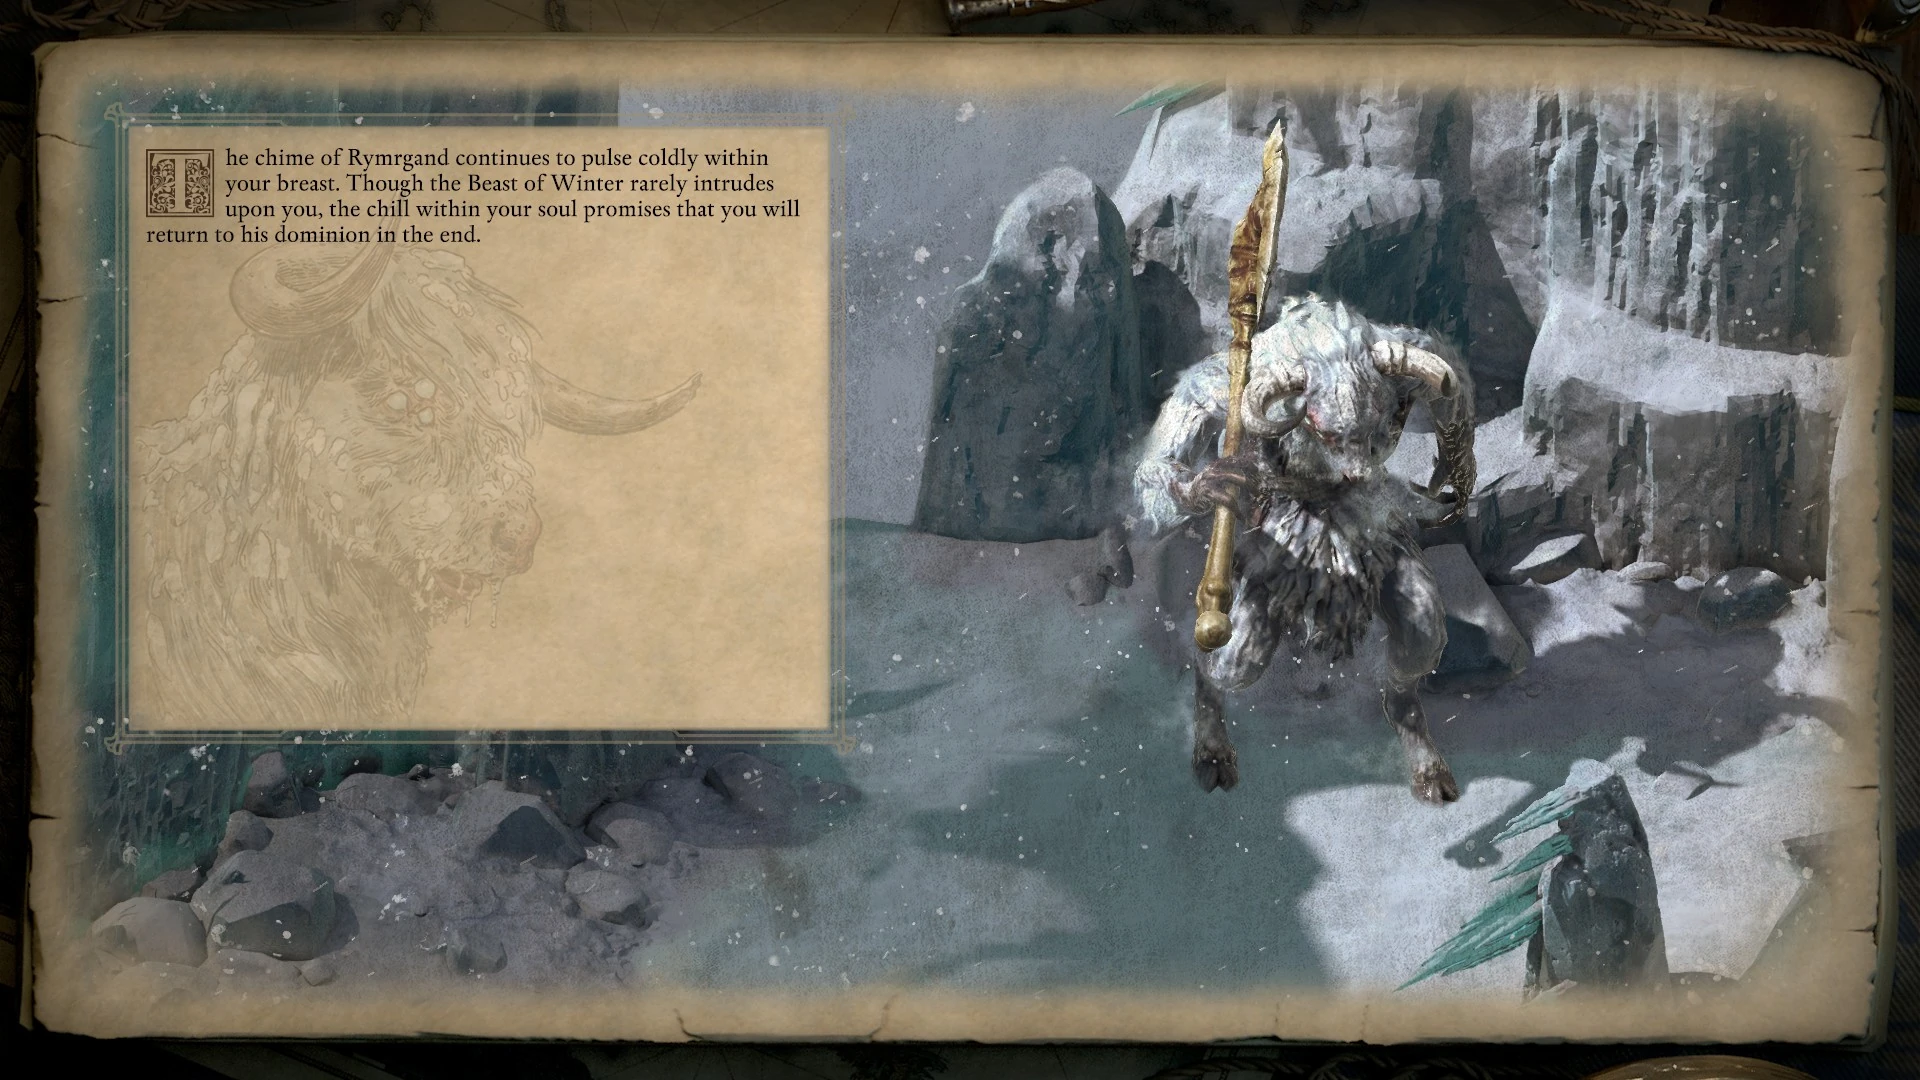
|
| Fight the Beast of Winter and win. | Defeat the Beast of Winter. Perhaps too easily.
In besting the Beast of Winter, you earned the death god's mercy rather than his enmity. The deity remains characteristically unforthcoming about his decision, and you're left to wonder whether in doing battle with him in the White Void you somehow furthered his apocalyptic ambitions. |
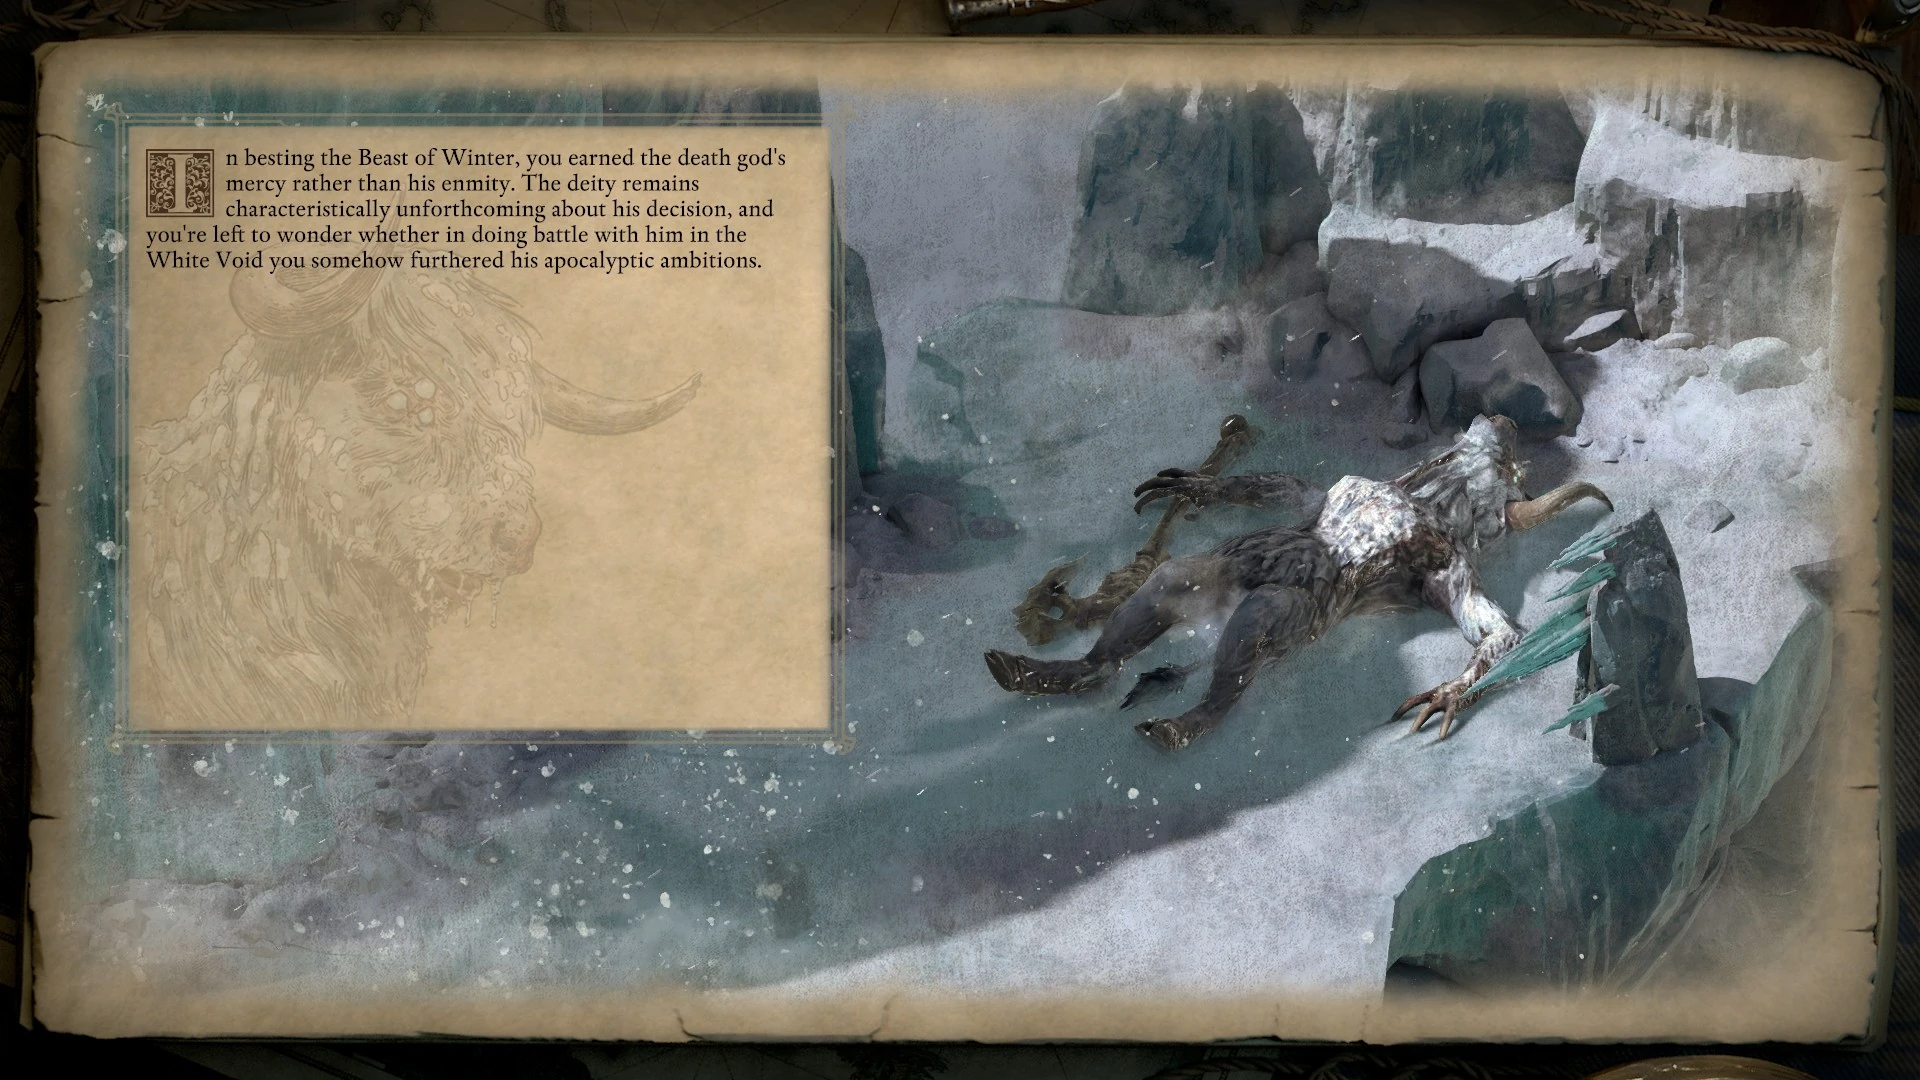
|
| Don't convince Neriscyrlas to attack the Beast of Winter and trade Ydwin for freedom. | Ywdin is sacrificed and forgotten.
You rarely think of Ydwin, the toll you paid to leave the White Void. Her features and expressions, the sound of her voice, and her very name become increasingly difficult to call to mind. Even her contributions to the field of animancy fall into obscurity, relegated to a few moldering tomes tucked away in the darkest recesses of the remotest libraries. |
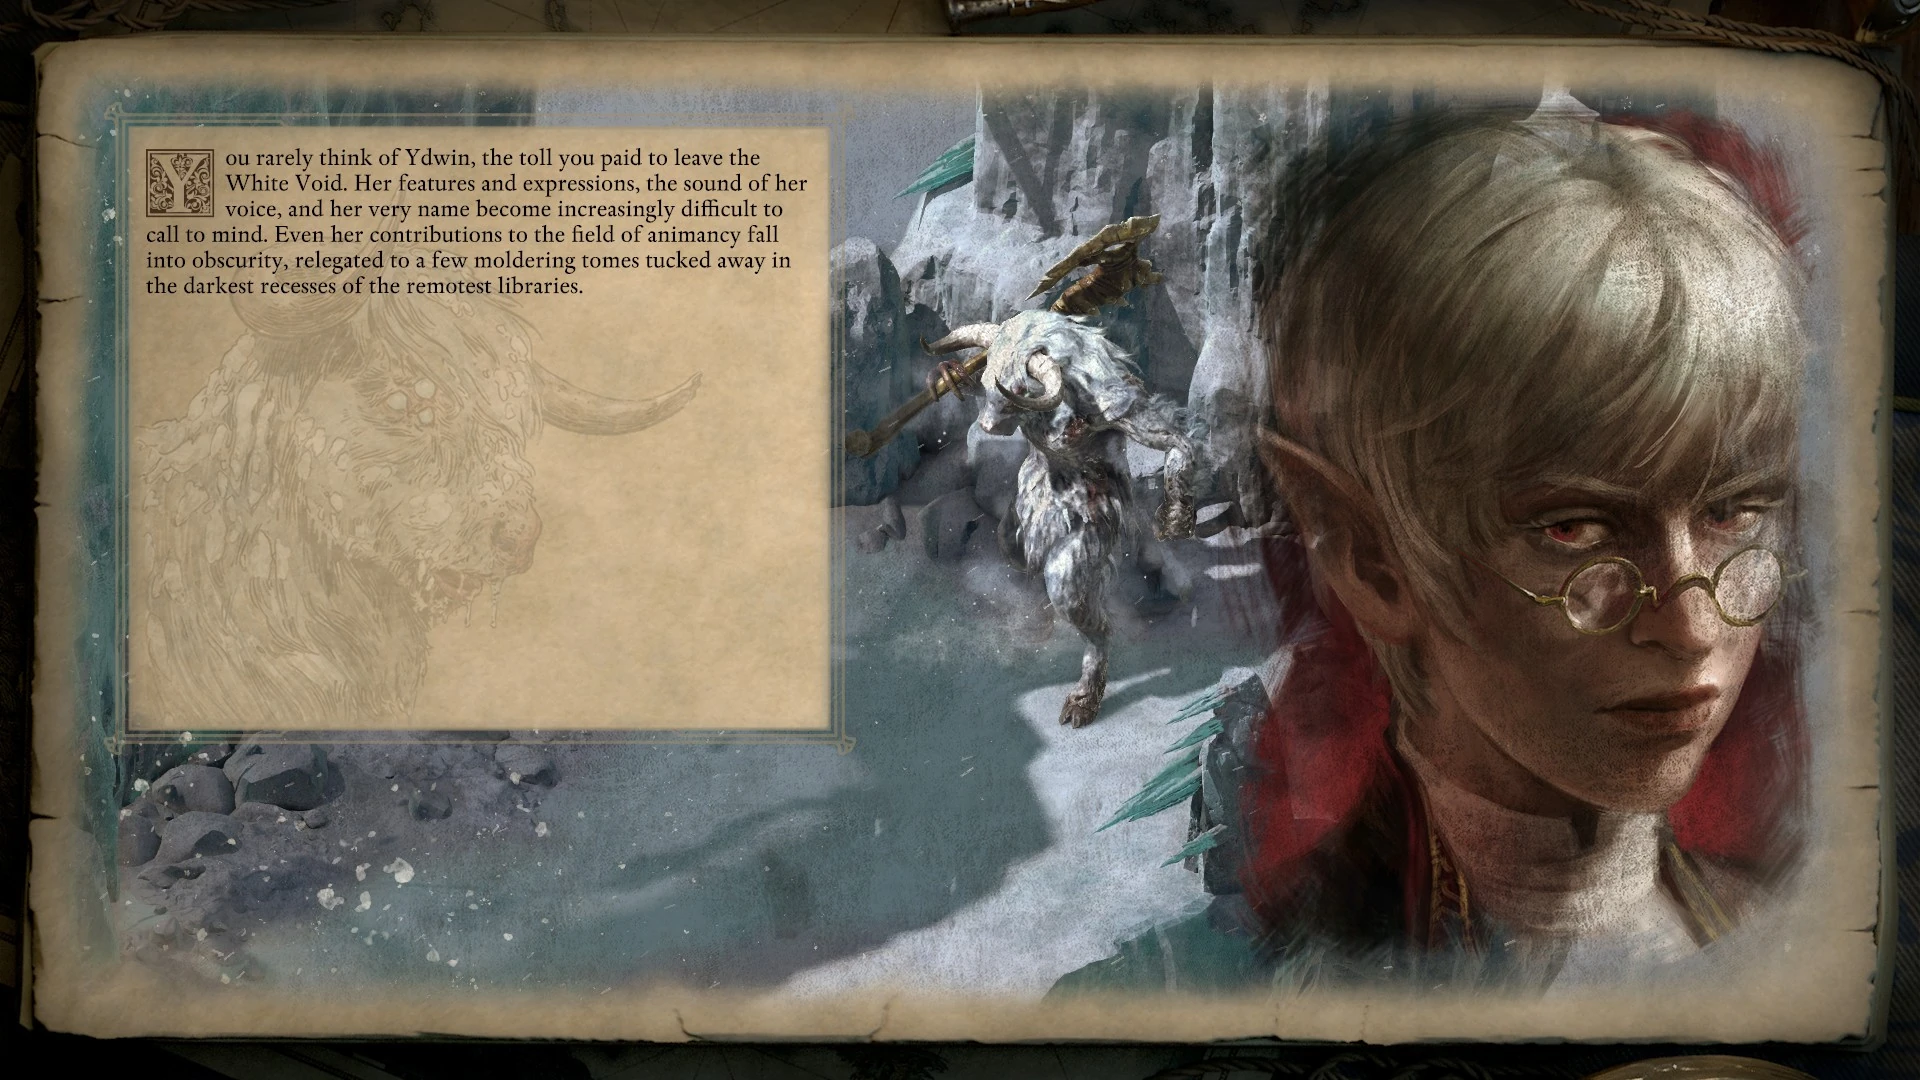
|
| Don't convince Neriscyrlas to attack the Beast of Winter and destroy the souls of King Wingauro o Watūri I, Inquisitor Naxiva ix Kirent, and St. Waidwen. | Rymrgand becomes a troubling presence.
Having convinced the god of decay and disaster of your usefulness, you find your return to the living world plagued by his influence. Though he makes few overt demands of you, you sense Rymrgand's hand in the troubled times that follow. With each faction you foil and enemy you overcome, chaos spreads - and with it, the legend of the Duskspeaker. |
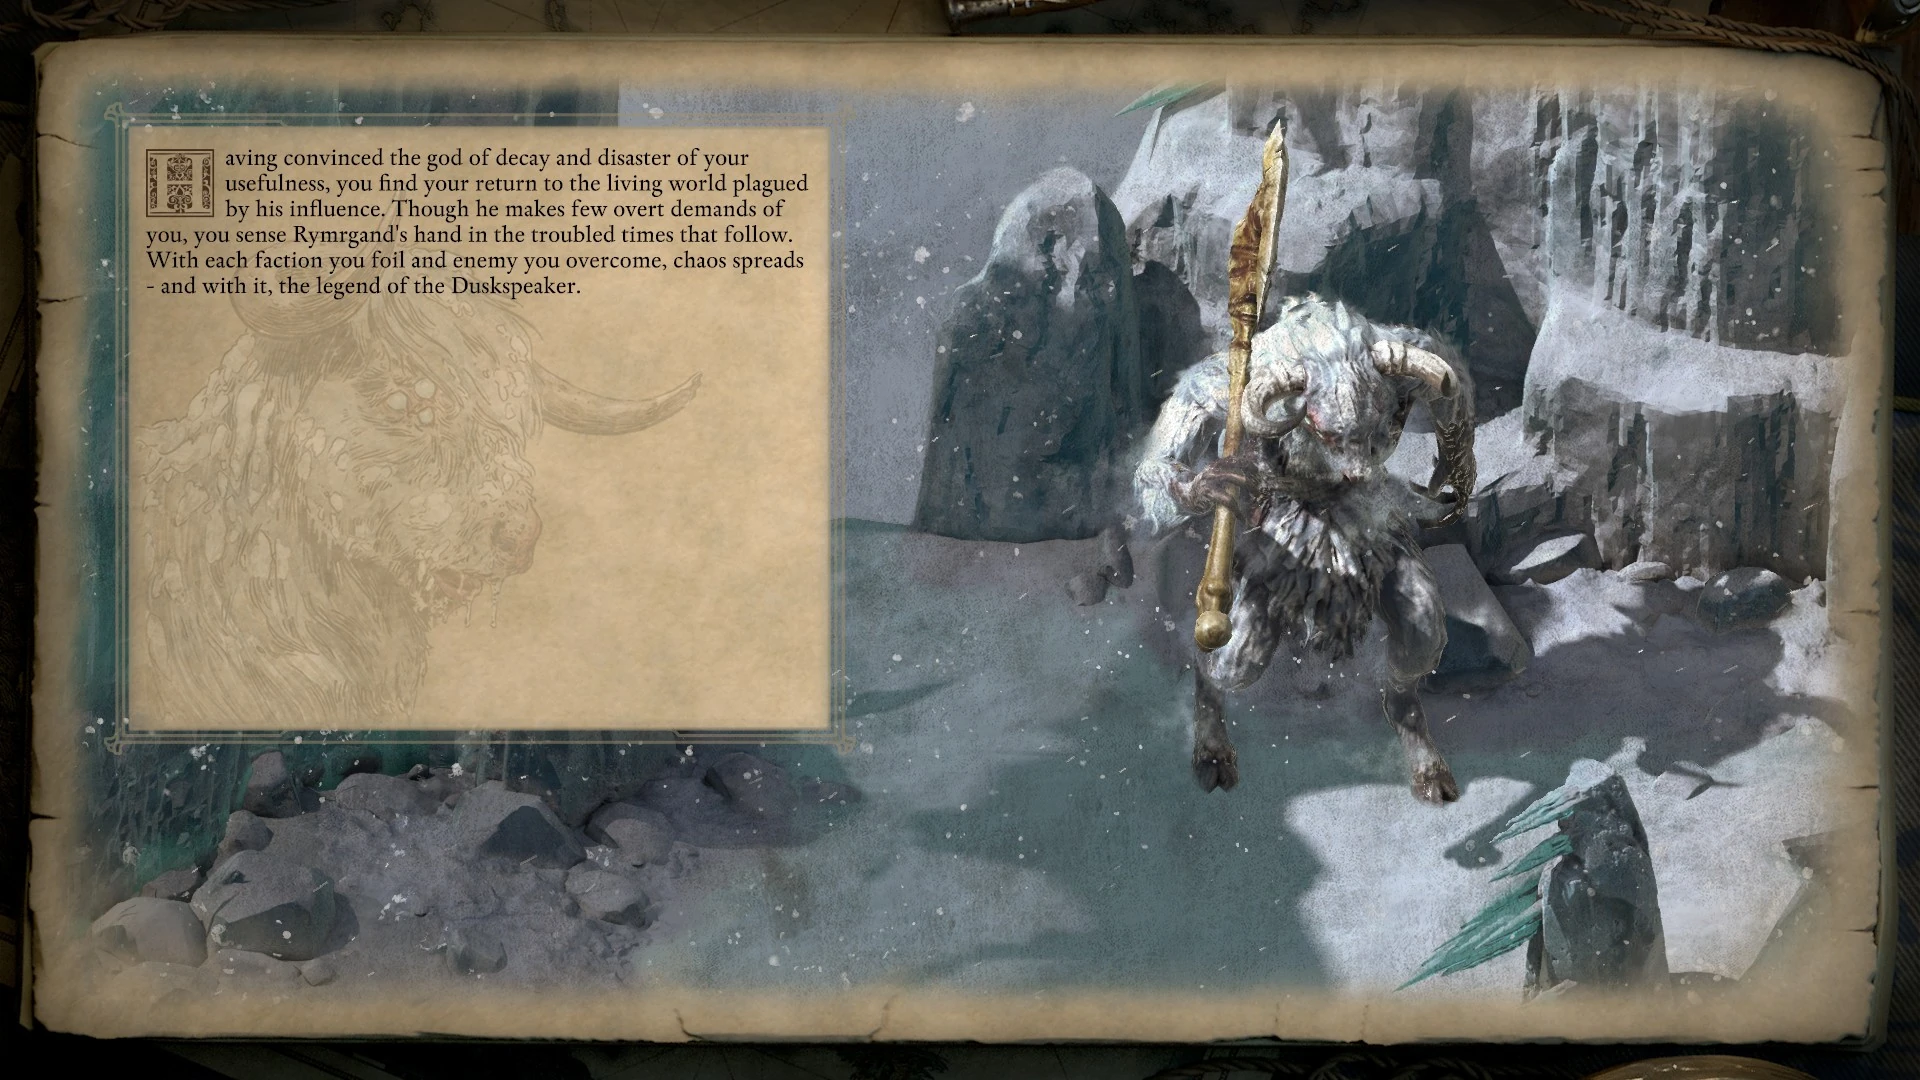
|
| Convinced Neriscyrlas to attack the Beast of Winter, or convience her to retreat into her phylactery and dont give it to Rymrgand to cleanse. | From her phylactery, Neriscyrlas whispers to you still. |
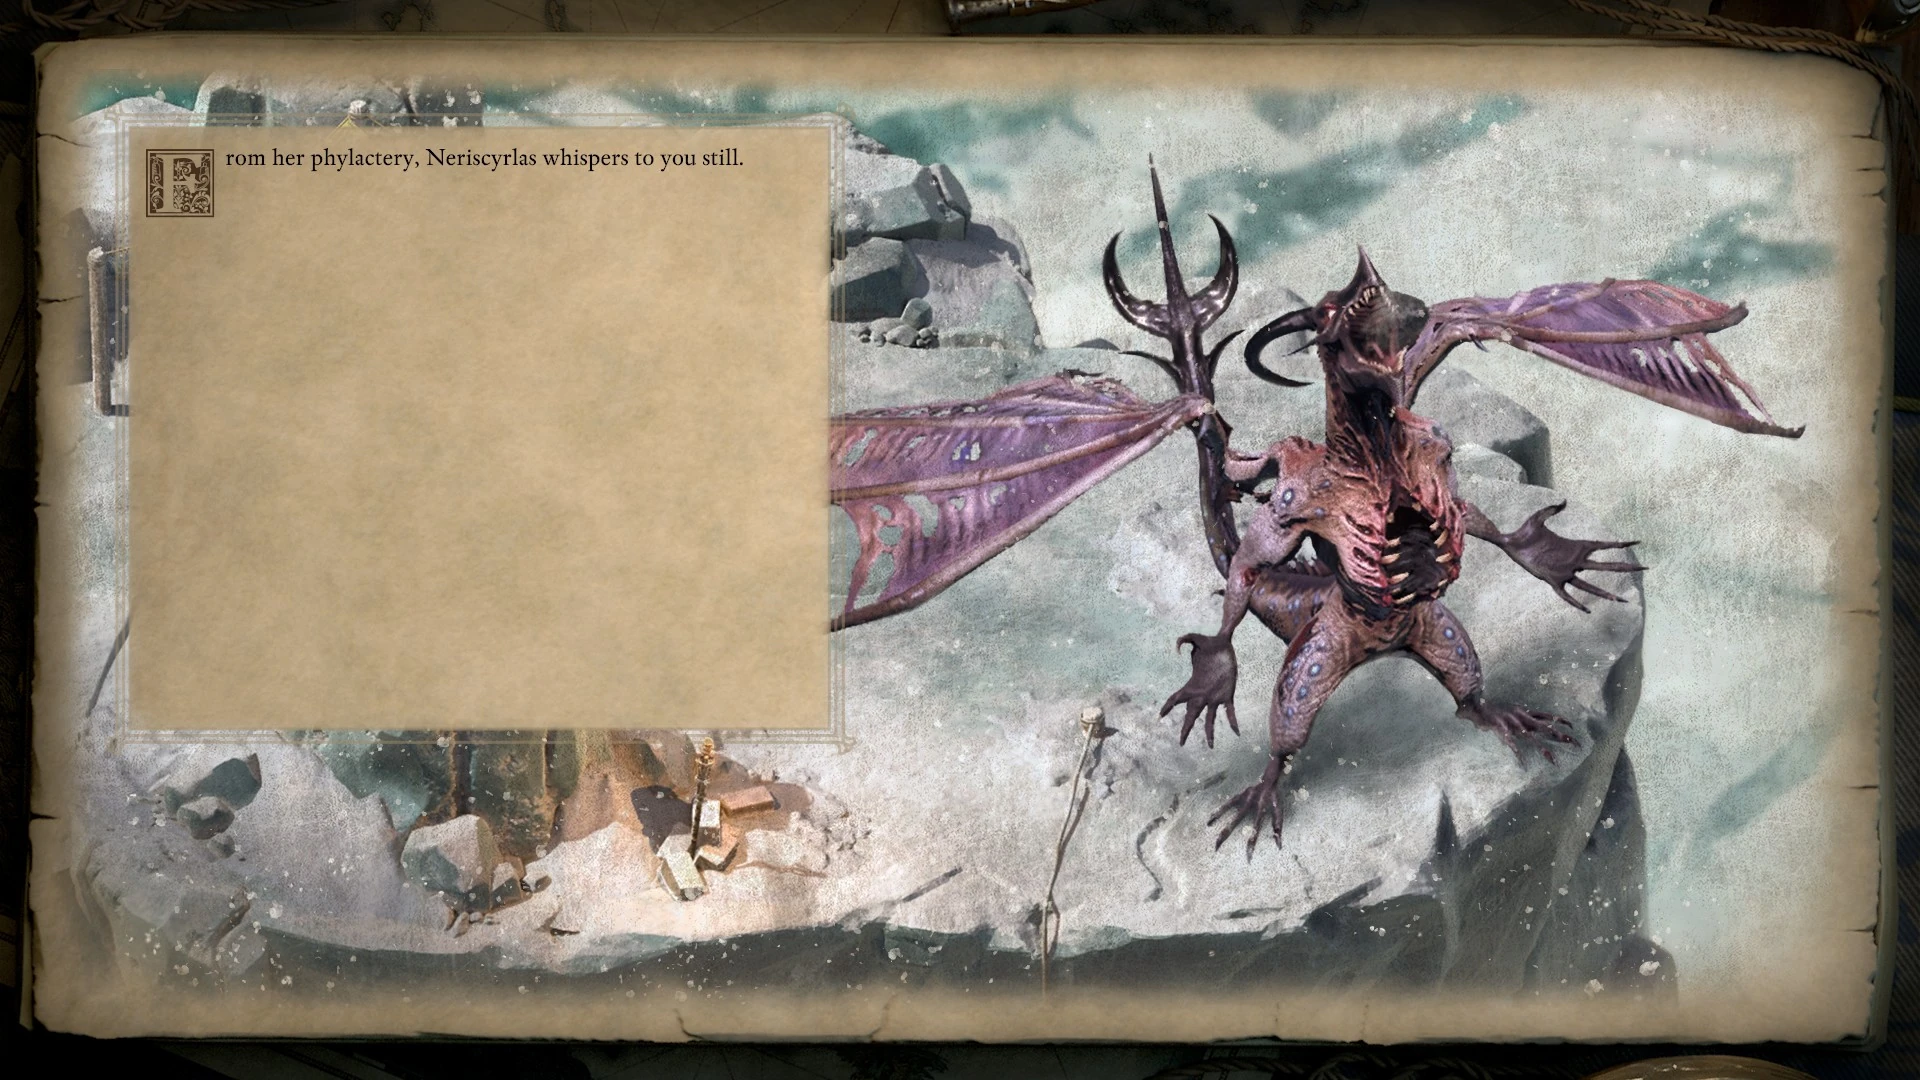
|
Seeker, Slayer, Survivor[ | ]
First, what happens to the island of Kazuwari.
| Conditions | Outcome | Slides |
|---|---|---|
| Repair the adra connection to the Beyond. | Kazuwari grows wilder.
Once repaired, the adra at the primal island of Kazuwari again pulses with the flow of soul essence between the Here and the Beyond. The feral life on the island flourishes, the jungles and veld growing ever wilder and resistant to settlement and exploration alike. |
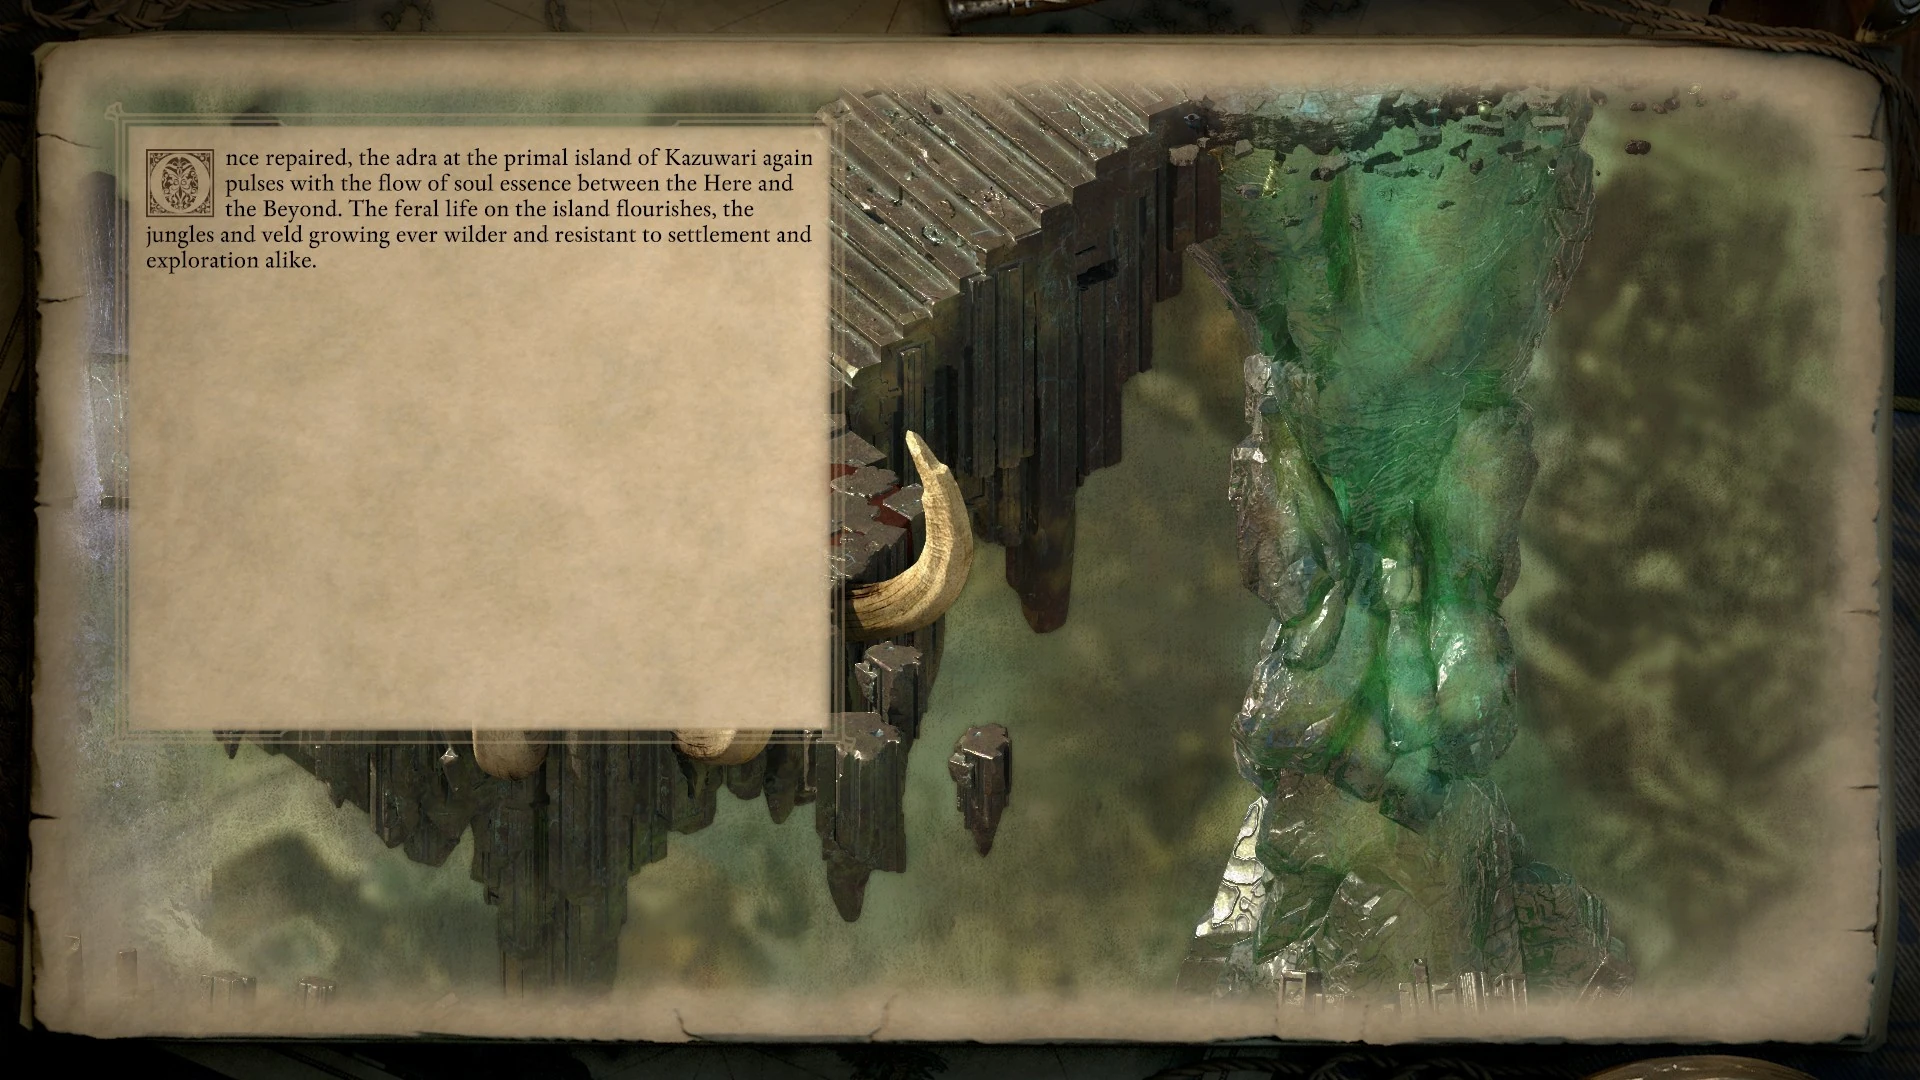
|
| Cut off the adra connection to the Beyond. | Kazuwari slowly dies and Galawain pulls power from his godlike.
"Utterly corrupted by the Tooth of Toamowhai, the adra at the primal island of Kazuwari continues to remain separated from the greater Beyond. As increasingly anguished spirits roam the island in search of essence, blights form with greater frequency. The wildlife suffers and the jungle thins as Kazuwari slowly dies. Weakened by the events at the island, Galawain retreats further from the intrigues of the gods. Rumors spread of his displeasure as those godlikes touched by the Father of Monsters begin dying mysteriously across the whole of Eora. " |
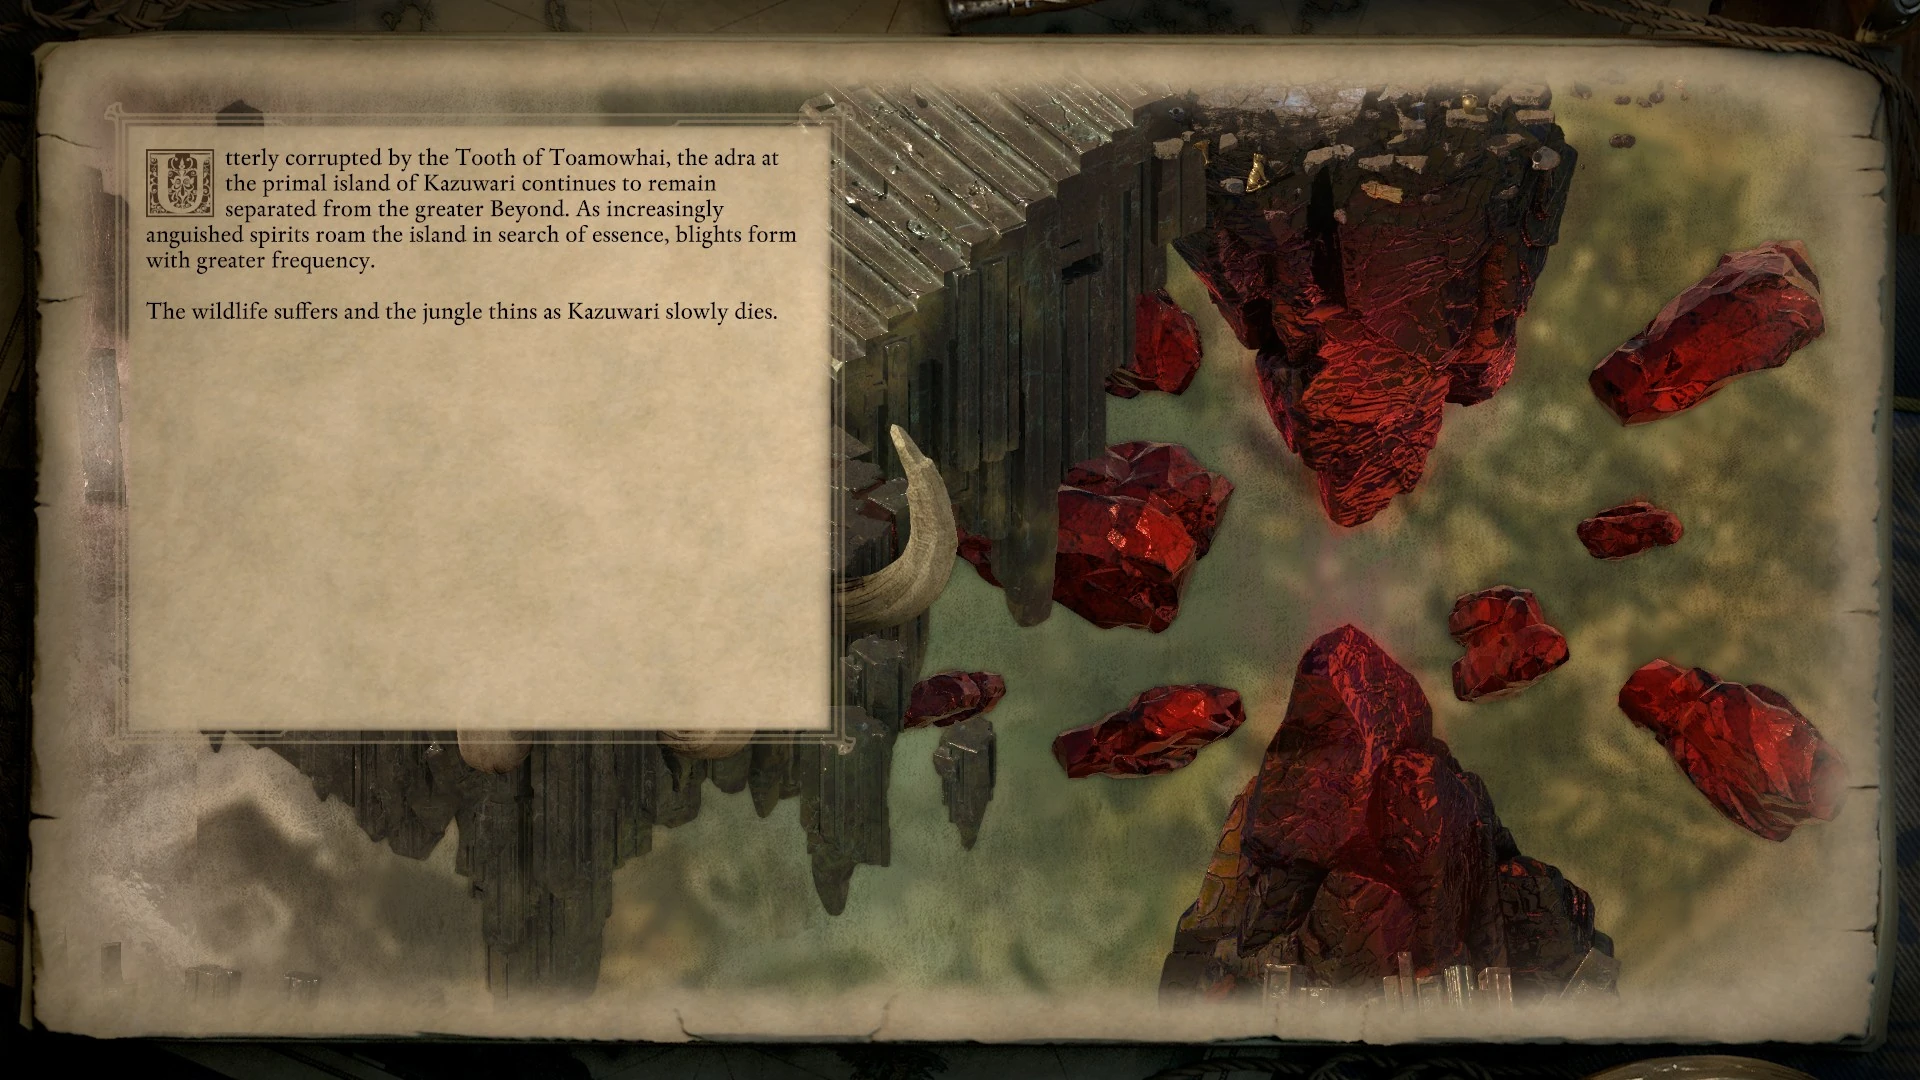 
|
| Don't complete The Hunter Hunted. | "Word spreads of the primal island of Kazuwari, once home to an arena that hosted bloody competitions and fearsome ordeals. Wild tales whisper that the spilled blood attracted a terrible beast of scale and fang that slaughtered those gathered at the island before destroying the great enchanted statue that oversaw the island's trials. Absent its guiding voice, Kazuwari descends into anarchy." |
|
What happens to the Crucible and the Faces of the Hunt.
| Conditions | Outcome | Slides |
|---|---|---|
| Kill Humaire. | The Crucible never recovers from the slaughter of its overseers. Though numerous parties attempt to claim the arena and take advantage of its unusual properties, they never manage to establish more than a transitory system of murder and mayhem before being driven away by Kazuwari itself. |
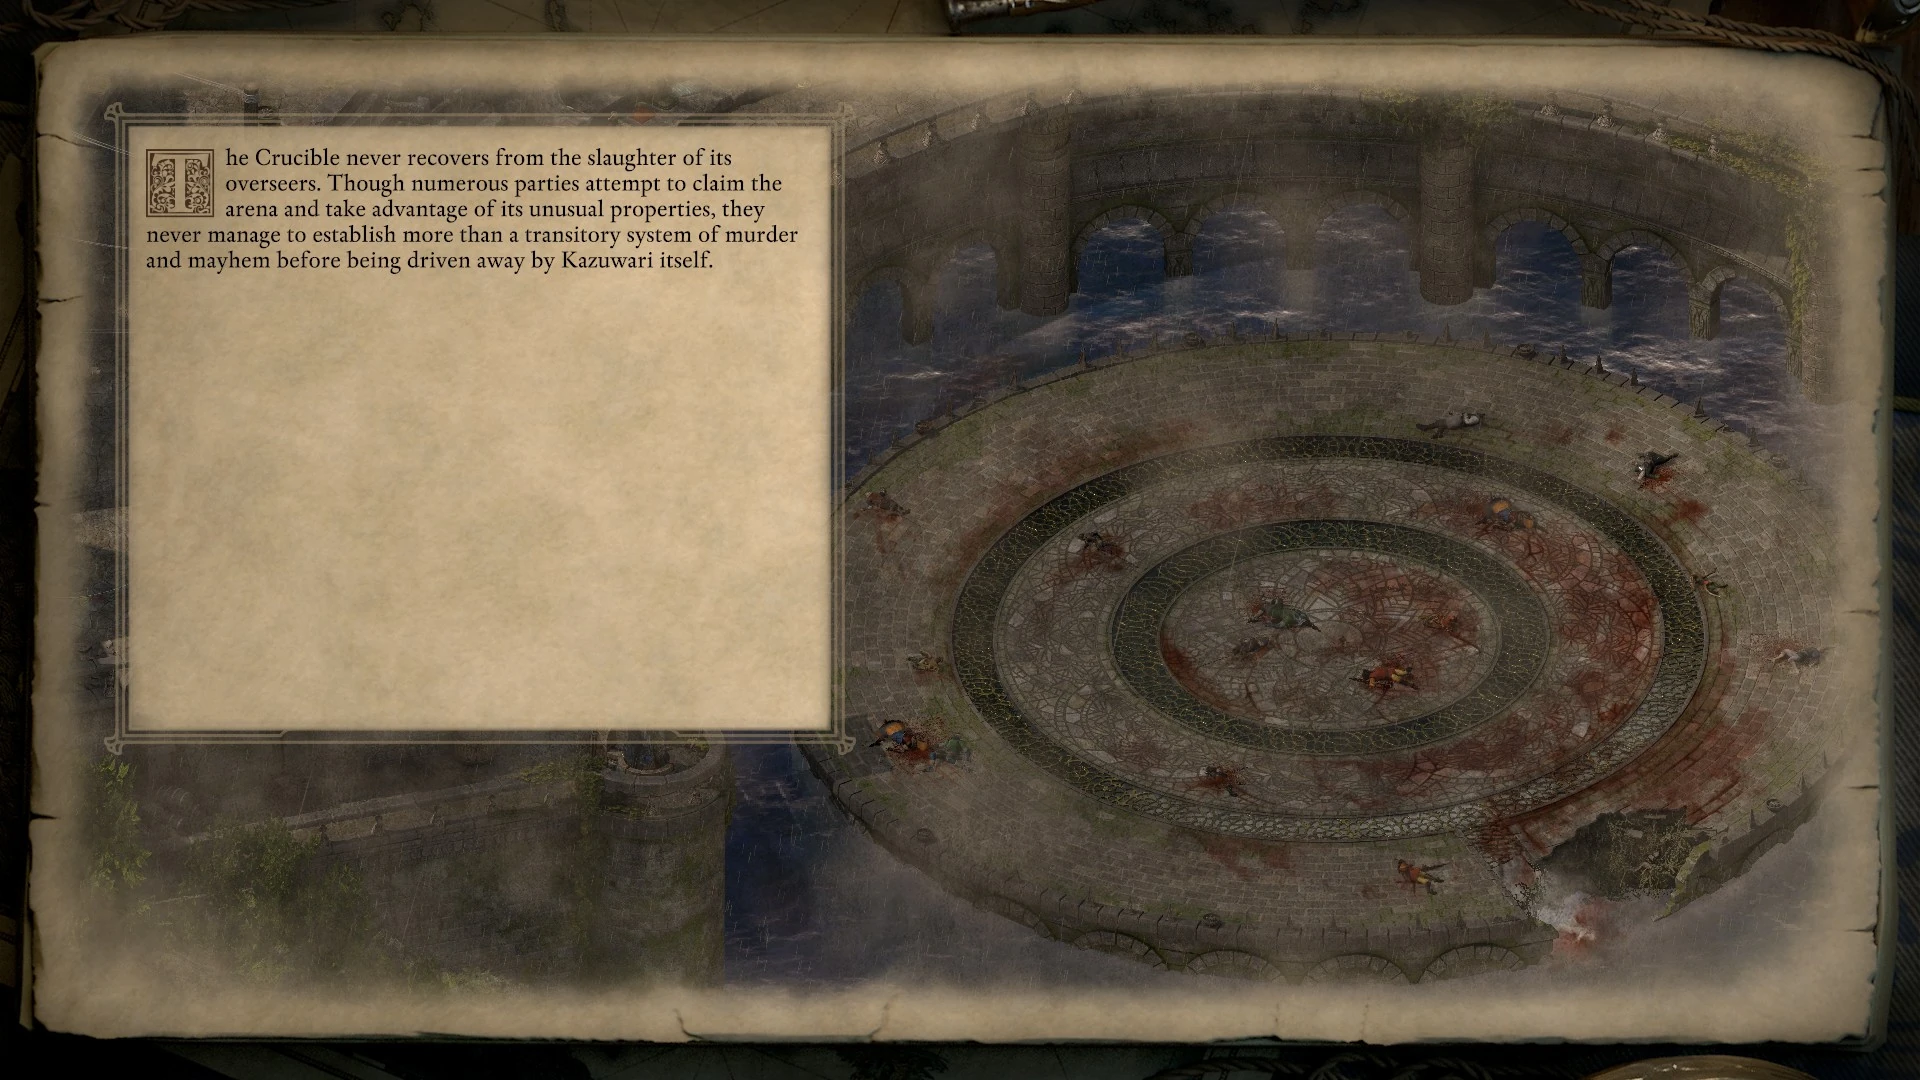
|
| Convince Whehami to continue to serve, or to stand down. | The Faces remain and the Crucible grow deadlier.
The Faces of the Hunt continue to rule the Crucible in Galawain's - or rather Toamowhai's - name. The trials summoned by the statue grow deadlier with each season, until only those rare few willing to brave the gravest of dangers seek out the bloody ordeals of Kazuwari. |

|
| Sacrifice Konstanten to Whehami and repair the adra connection. | Konstanten is influenced by Galwain and the Crucible continues.
Konstanten's first few years as the administrator of the Crucible see the arena flag in popularity. The ordeals seem notably less dangerous - the summoned spirits less hungry for blood. Longtime spectators claim the Faces of the Hunt have gone soft. With time, however, the feral hunger of Galawain influences the dwarf's imprisoned soul, bending him towards summoning ever more vicious and violent threats to turn against the contenders of Kazuwari. The arena's floors flow with blood. |

|
| Sacrifice Konstanten to Whehami and close the adra connection. | Konstanten turns the crucible into a lonely theatre.
For a time, Konstanten's personality seems entirely subsumed into the role of the Faces of the Hunt. However, as Galawain's influence over Kazuwari falls away, the dwarf regains much of his autonomy. As the years pass, he transforms the Crucible from a bloody combat arena into one of the greatest theatres the Deadfire has ever known. Unfortunately, the deadly threats of corrupted Kazuwari ensure that Konstanten's productions play to an audience of one. |

|
| Sacrifice Konstanten to Whehami (adra is either repaired or not). | The Faces turn Konstanten's form into a feral predator.
The corporeal form of Konstanten, now inhabited by the Faces of the Hunt, disappears into the wilds of the Deadfire. He hunts the jungles, deserts, and shorelines, sometimes armed with nothing sharper than his bare hands. Torn between three minds with three disparate philosophies of the hunt, however, the dwarf gradually falls into madness - a feral predator obsessed only with the kill. The once-kindly masseuse becomes feared as one of the archipelago's most merciless foes. |
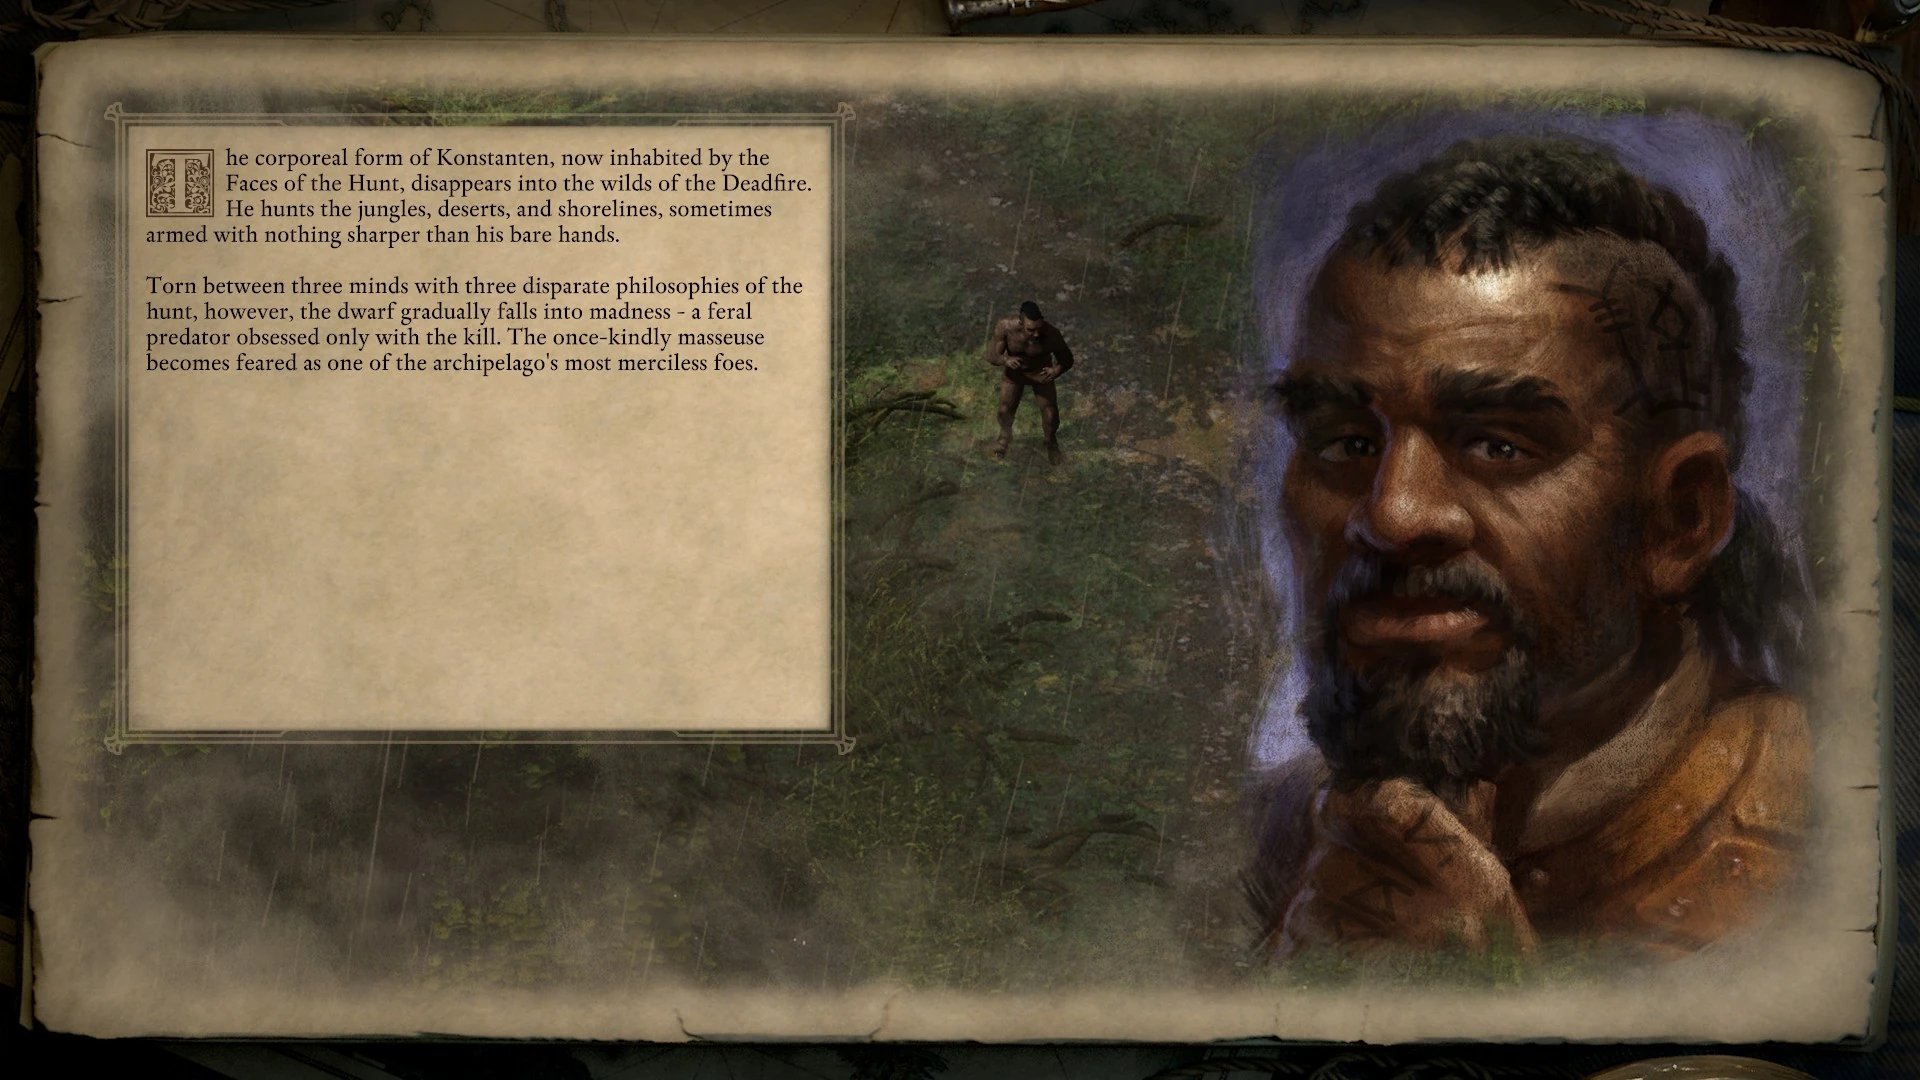
|
| Empower Muātu and sacrifice him to Whehami, repair the adra connection. | Muātu thrives as the Crucible's caretaker.
Muātu quickly adapts to his role as the new soul behind the Faces of the Hunt. A consummate storyteller and imitator deeply loyal to Toamowhai, Muātu summons forth ordeals just dangerous enough to truly challenge those who would seek the bloody wisdom of his sacred trials. He seems bolstered by his new communion with Galawain - as responsible a caretaker for the Crucible as the Lord of the Hunt could ask for. |
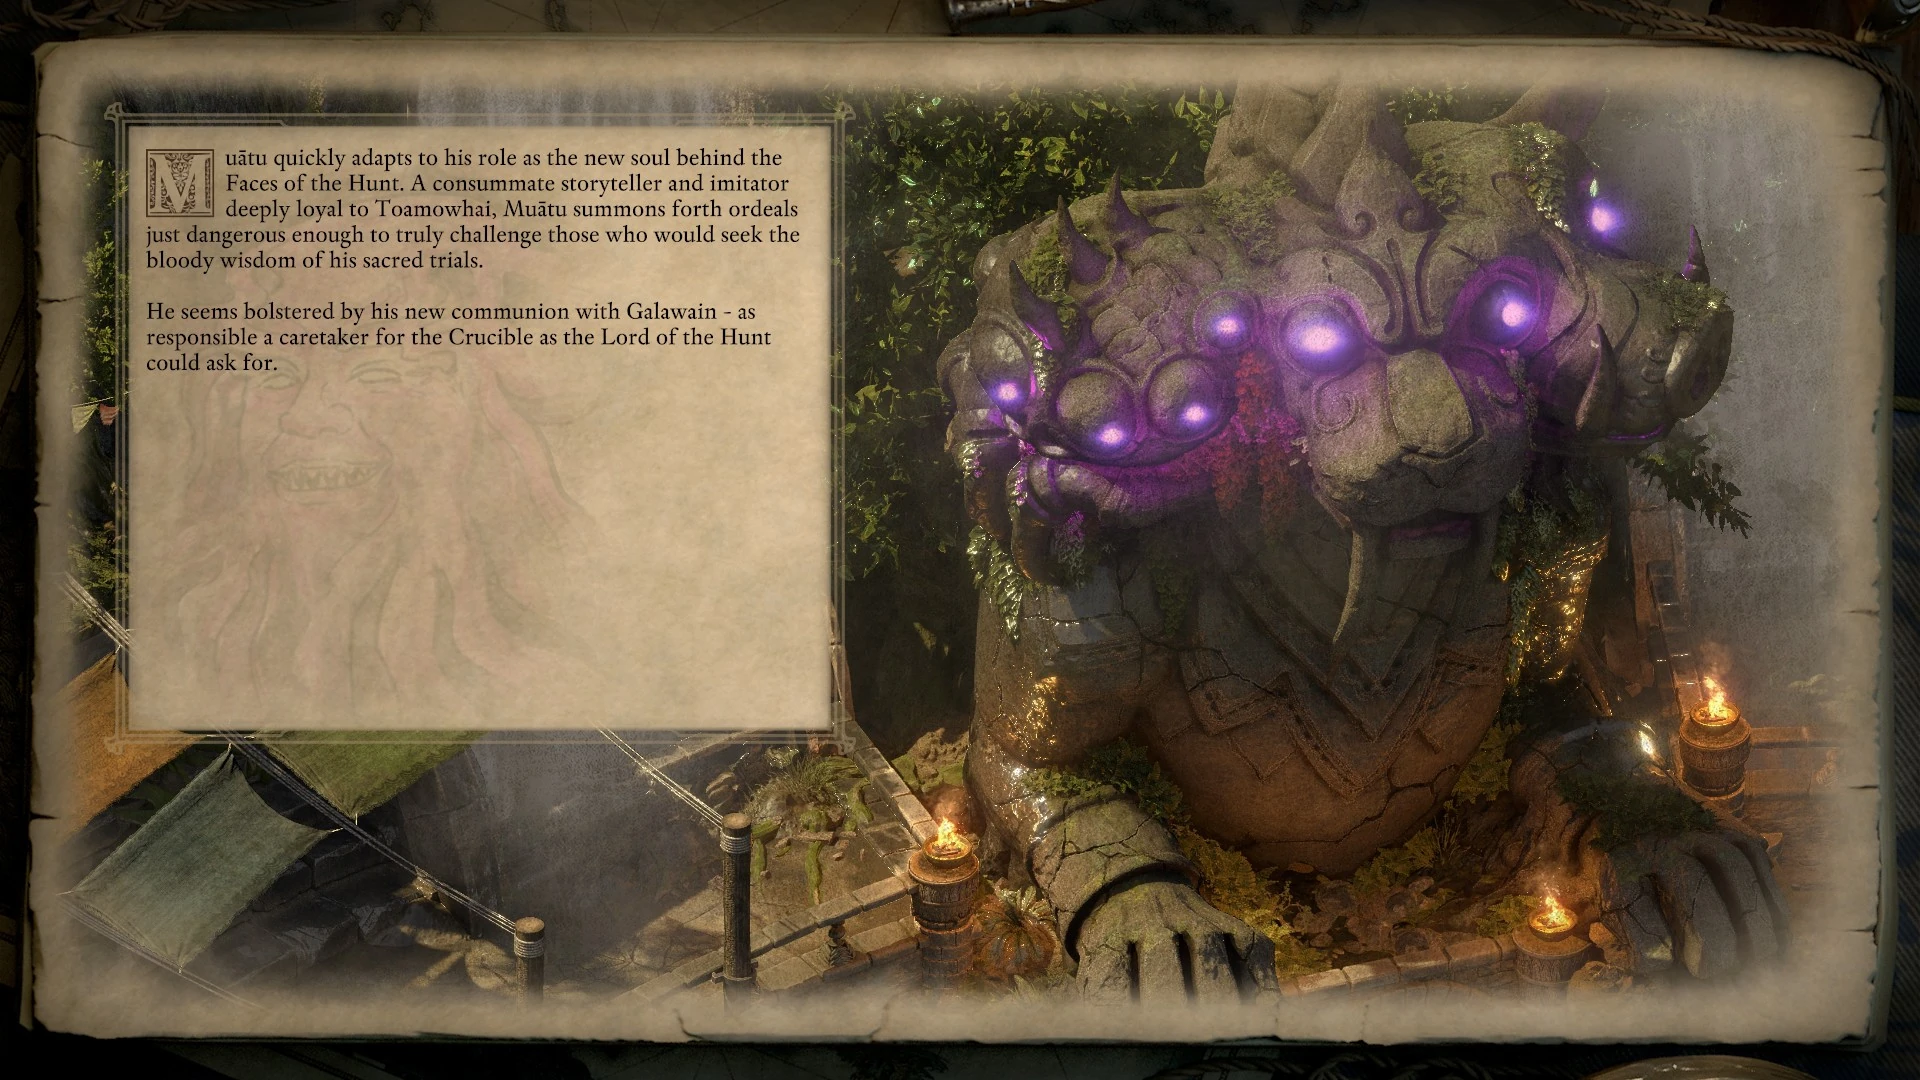
|
| Empower Muātu and sacrifice him to Whehami, close the adra connection. | Muātu falters as the Crucible's caretaker and it ends.
Though Muātu strives to administer the Crucible in his god's name, his lack of connection to the Beyond - and the deity within it - hobbles his efforts. The growing corruption at Kazuwari quickly slides out of his control, and he never manifests a level of influence over the island anything like that enjoyed by his predecessors. Contrary to his wishes, the arena's summoned spirits grow increasingly feral and bloodthirsty, until Muātu eventually refuses to sing any new ordeals into being. For the first time in over a thousand years, the Crucible falls dormant. |

|
| Empower Muātu and sacrifice him to Whehami (adra is either repaired or not). | The Faces turn Muātu's form as into a lethal spirit.
Having claimed the remnant essence of Muātu's ephemeral form, the Faces of the Hunt set themselves to gorging on the ambient essence at Kazuwari. Suckled on Galawain's larder, the spirit grows exponentially, eventually abandoning the island for more engaging prey. Wherever their bleak shadow falls, death follows. Entire villages vanish overnight, leaving only desiccated corpses drained of their lives and souls. The legend of the insatiable entity spreads, and would-be heroes die by the dozen in vain attempts to best it. |
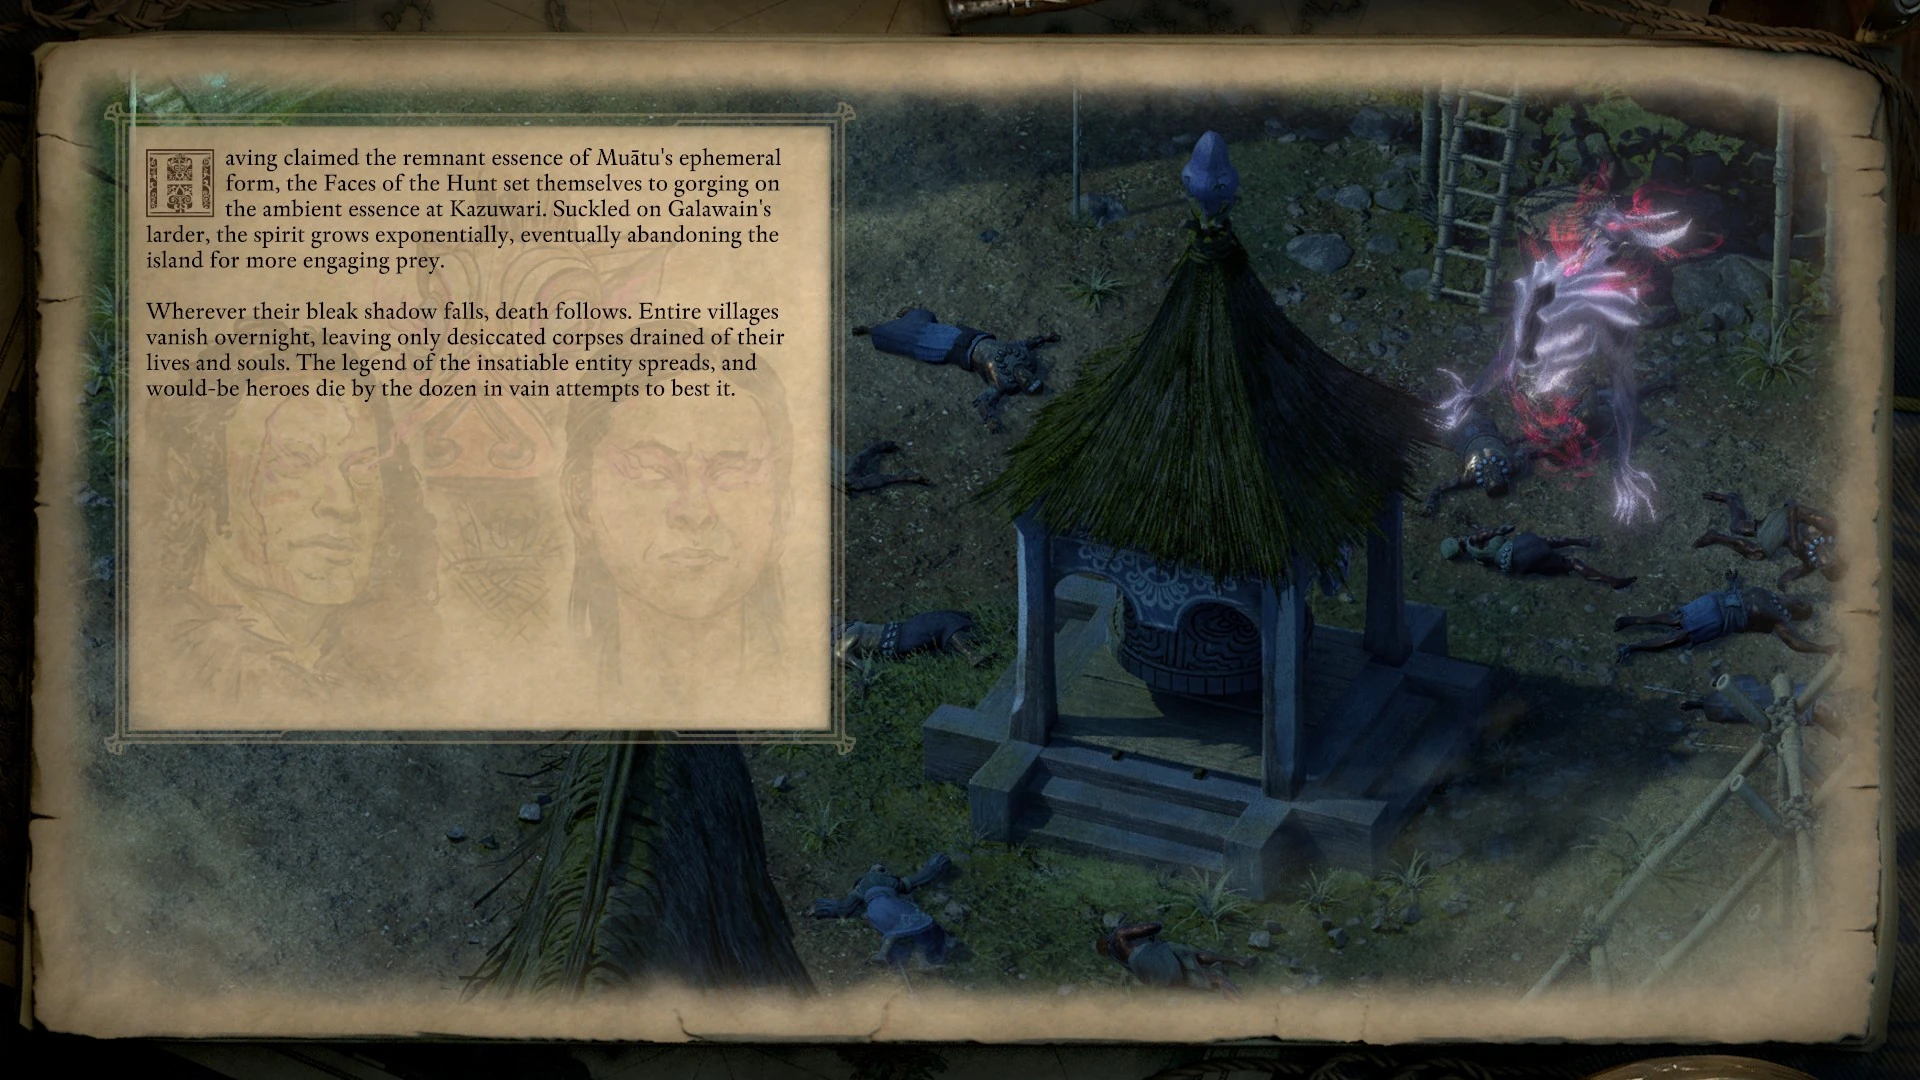
|
| Obtain the Slayer's Claw from The Crucible and convince Whehami to take Porokoa's body. | The Faces turn Porokoa into a legendary sea monster.
The soul of the porokoa makes for a surprisingly competent replacement for Aexica, Erūke, and Whehami as the Faces of the Hunt. The beast's spirit, little more than a fragment of Galawain, perfectly reflects the will of its divine master. The bloody trials continue, and the Crucible survives. The porokoa provides an ideal host for three of the most experienced hunters Eora has ever known. The beast grows inexorably, sacrificing coastal villagers and merchant crews alike to its insatiable hunger. Though numerous groups place bounties on the creature's head, its thick hide deflects every attempt on its life. A legendary sea monster is born. |
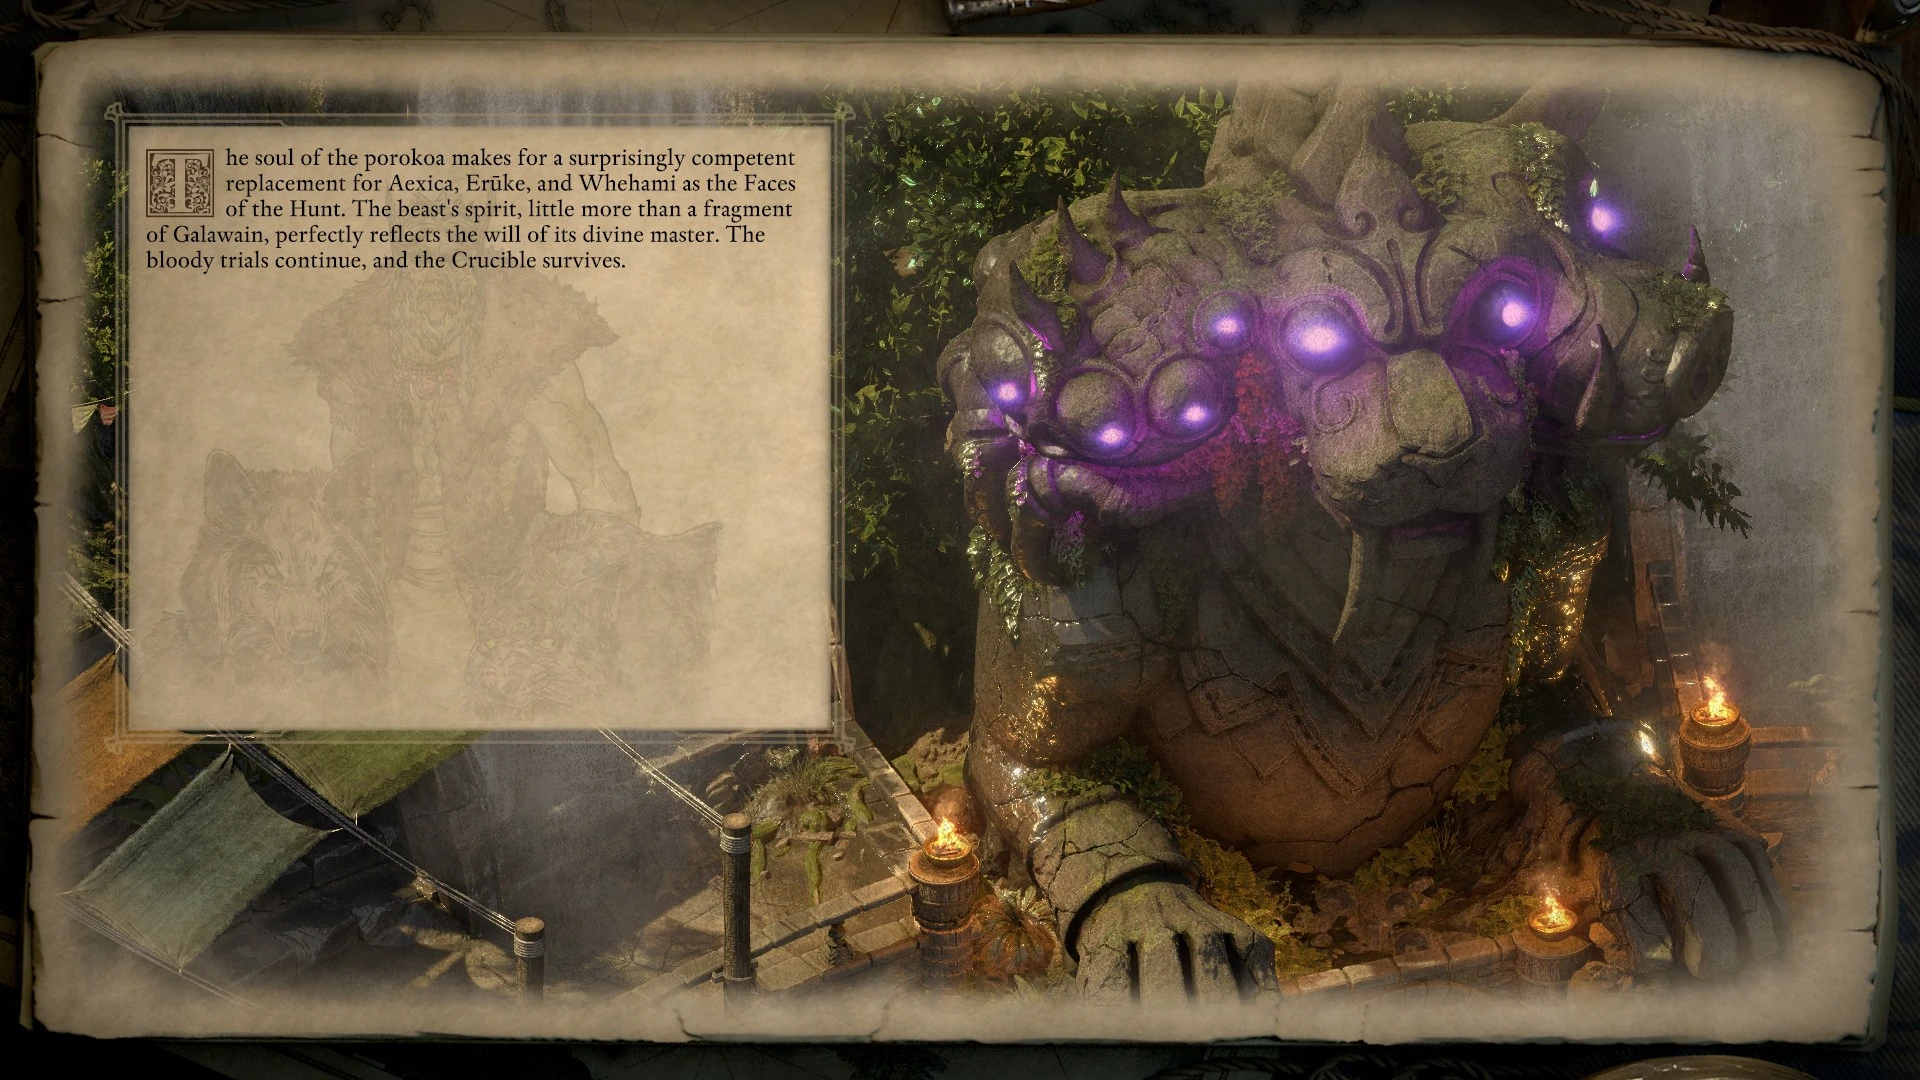 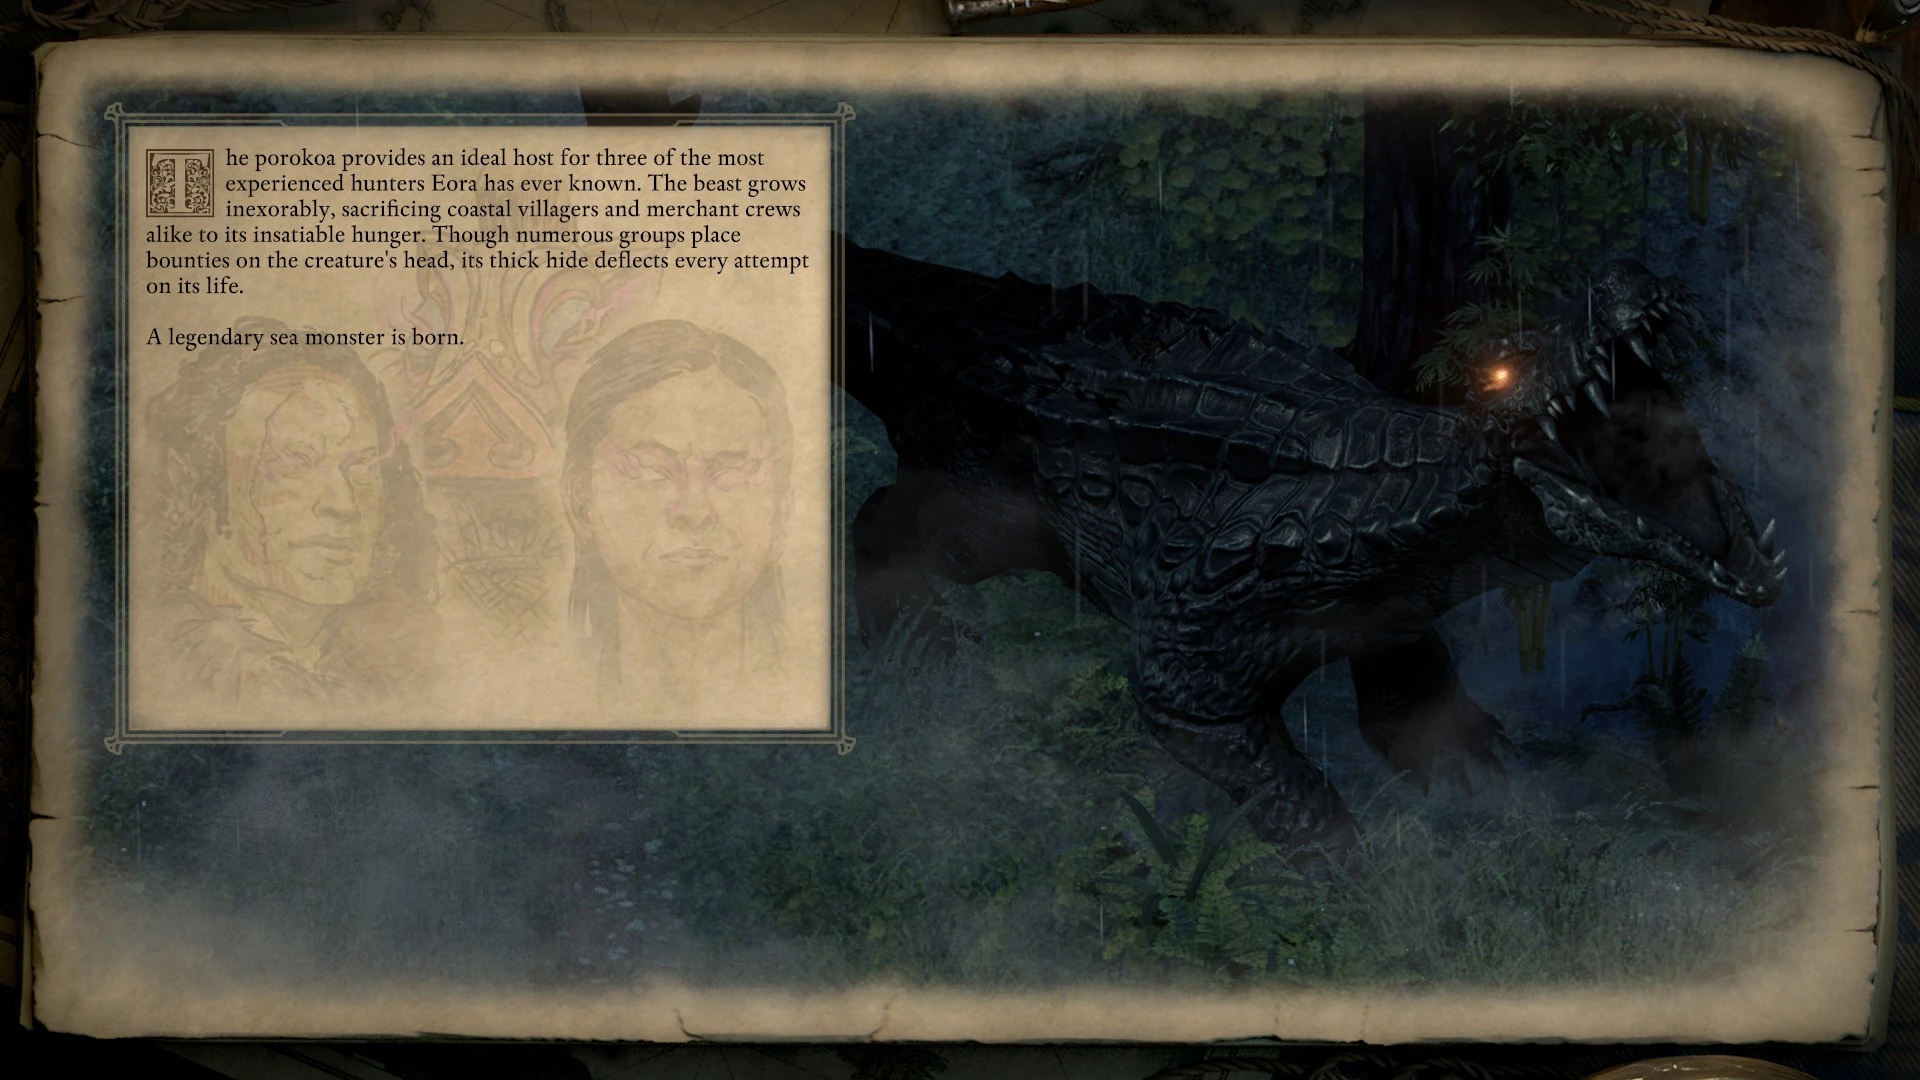
|
| Don't sacrifice Muātu to Whehami. | Muātu returns to the Crucible.
Like the other souls following in your wake, Muātu eventually yearns to move on to the Beyond and the Wheel. Stymied by Eothas' actions, however, he settles on returning to Kazuwari, where he joins the choir of souls that echo throughout the Crucible. |
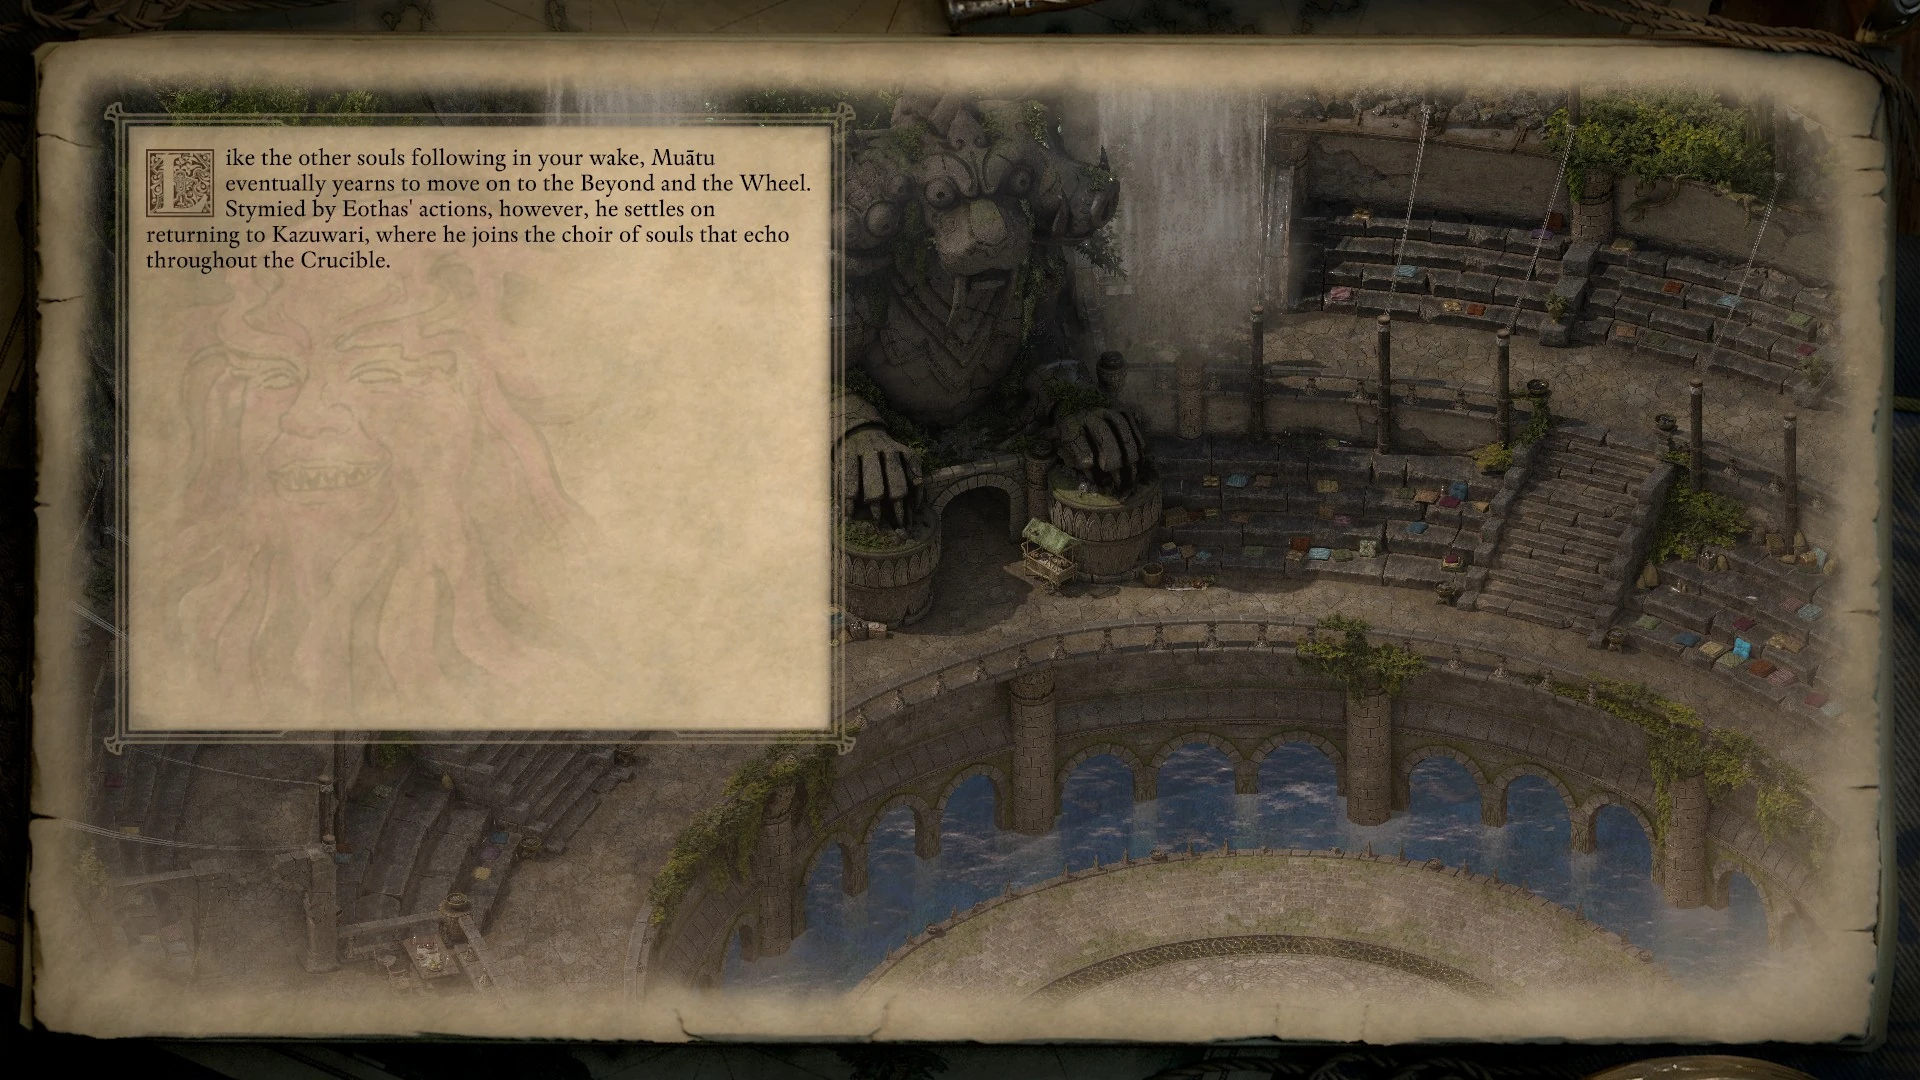
|
The Forgotten Sanctum[ | ]
The Forgotten Sanctum DLC must be installed and completed for these slides to appear. The first slides deal with Wael's body. This is decided during The Inner Mysteries.
| Conditions | Outcome | Slides |
|---|---|---|
| Don't complete The Inner Mysteries. | Wael's body is awakened and disappears.
A vast monstrosity of tentacles and flesh erupts from the Black Isles in the eastern Deadfire before vanishing into the depths. None know what drives the titanic beast, nor where it will appear next - or what destruction it might wreak when it rises. |
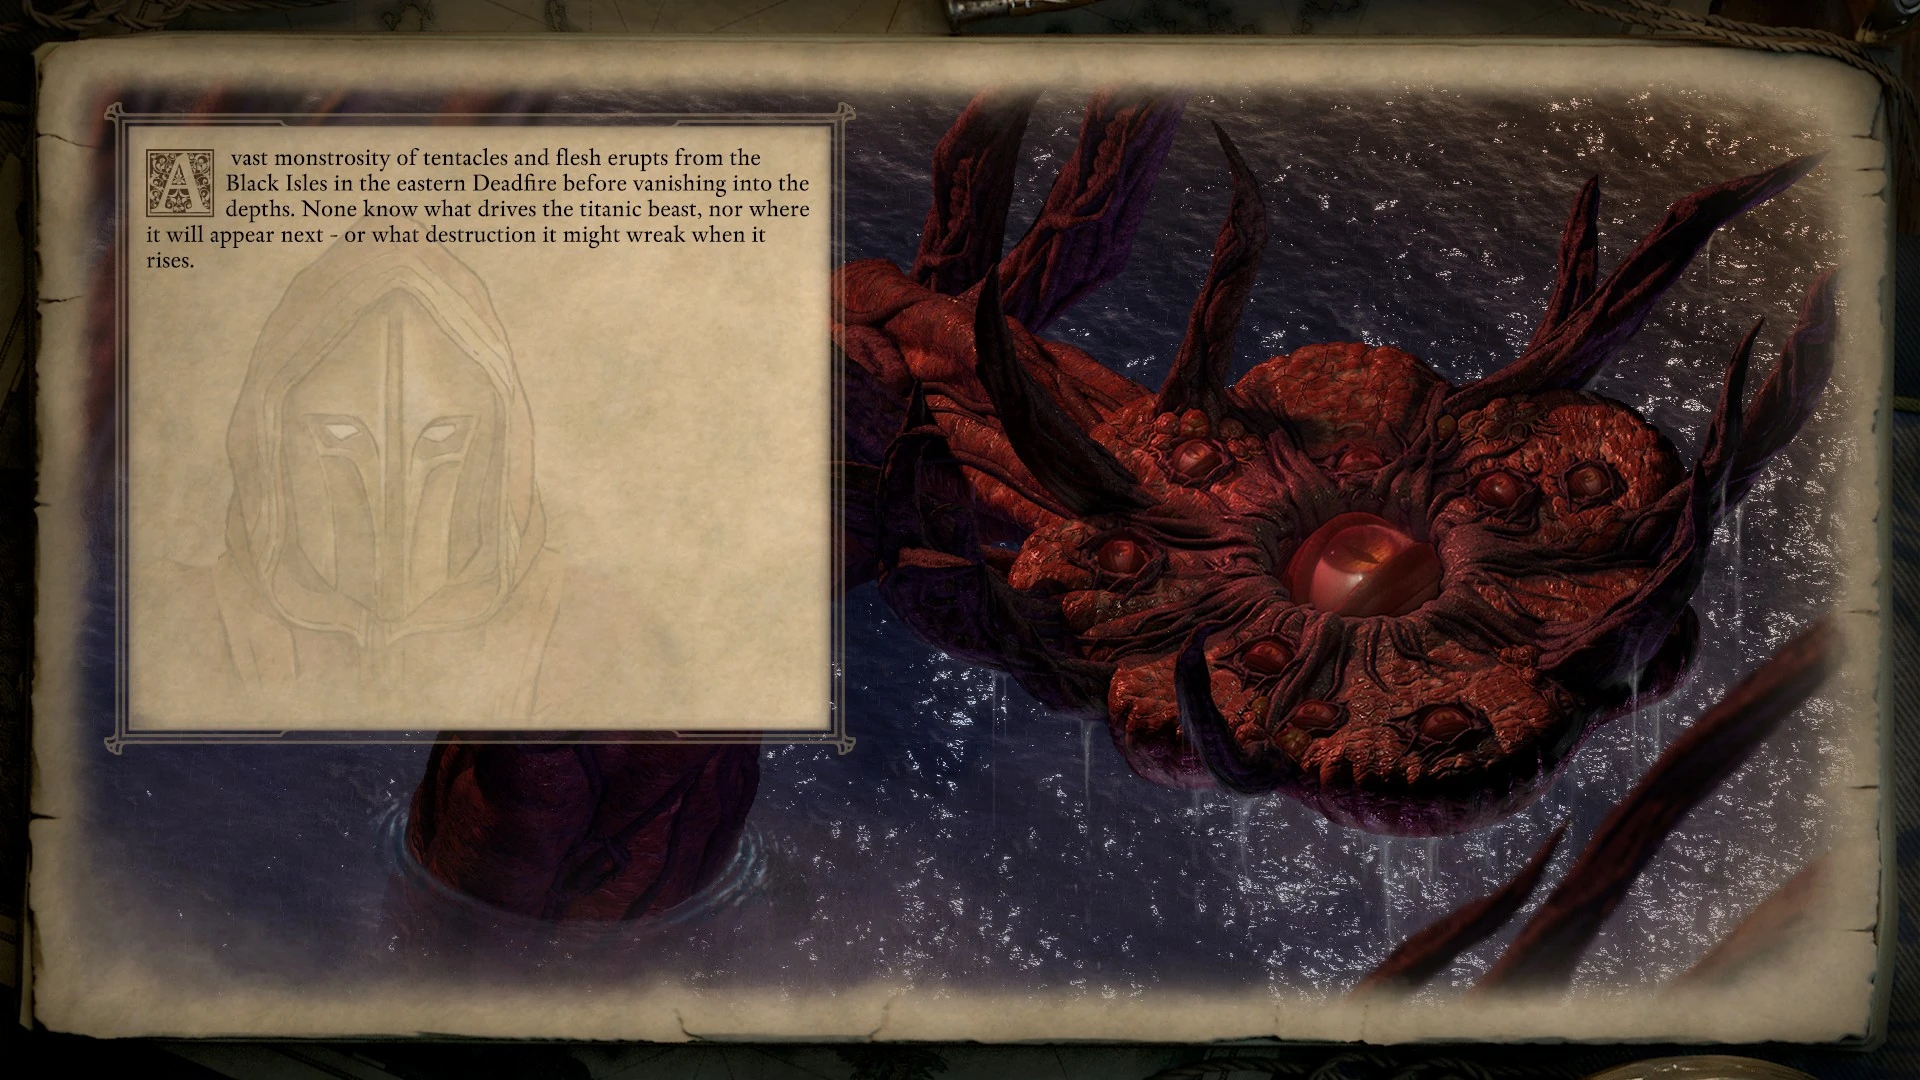
|
| Convince Wael the body should be killed. | Wael's body is killed and eventually implodes.
Slain by your hand, the titan of Wael poses little further threat to Eora. As the corpse decays, it putrefies into a massive nest of hungry fungal monstrosities. Vessels that anchor off the shores of the Black Isles tend to go missing, only to turn up shipwrecked months or even years later against distant shores. With time, the body collapses upon itself, and the Black Isles finally implode. |
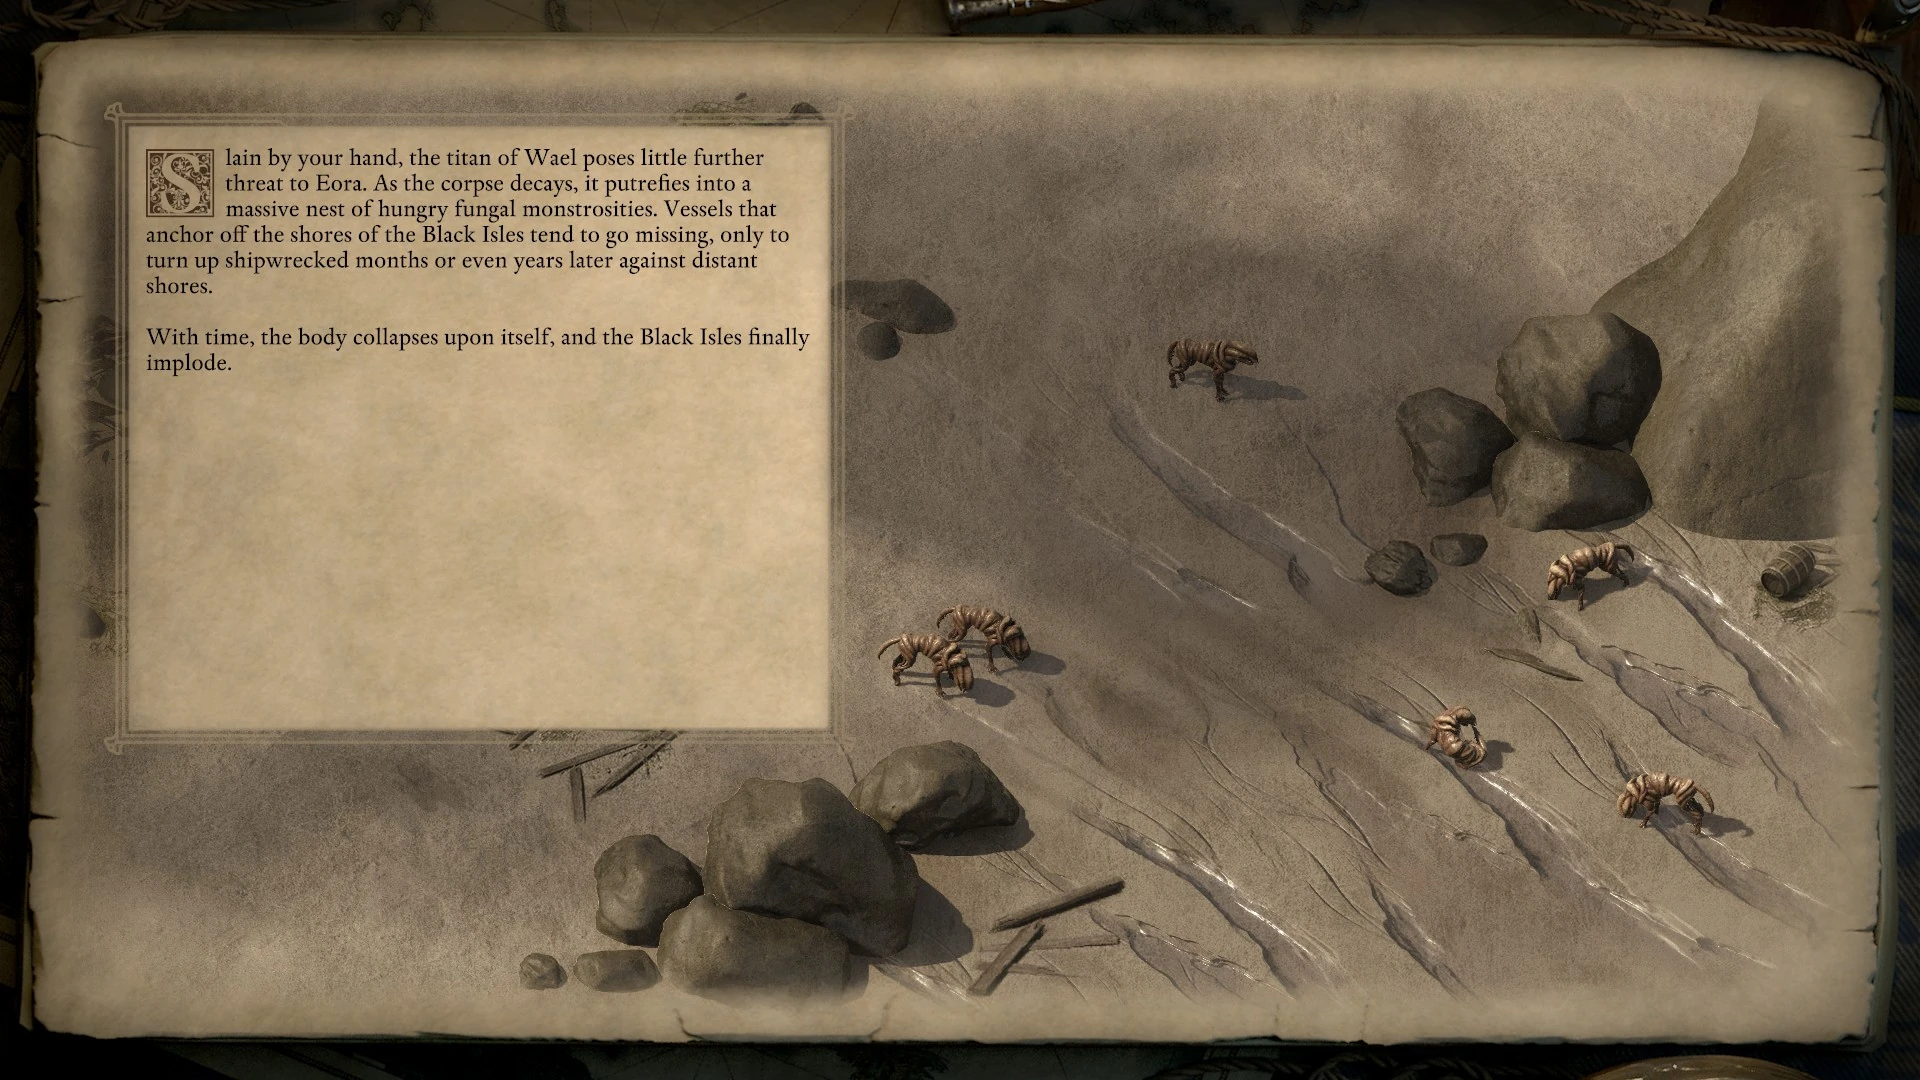
|
| Convince Wael the body should be put back to sleep. | Wael's body is put back to sleep and becomes an institute of knowledge.
The fleshy mass of Wael's abandoned body continues to slumber beneath the Halls Obscured, guarded - and studied, of course - by the Circle of Archmagi. The group establishes a permanent presence above the Halls, and, with time, the Black Isles become one of the preeminent institutions of arcane knowledge in Eora. |
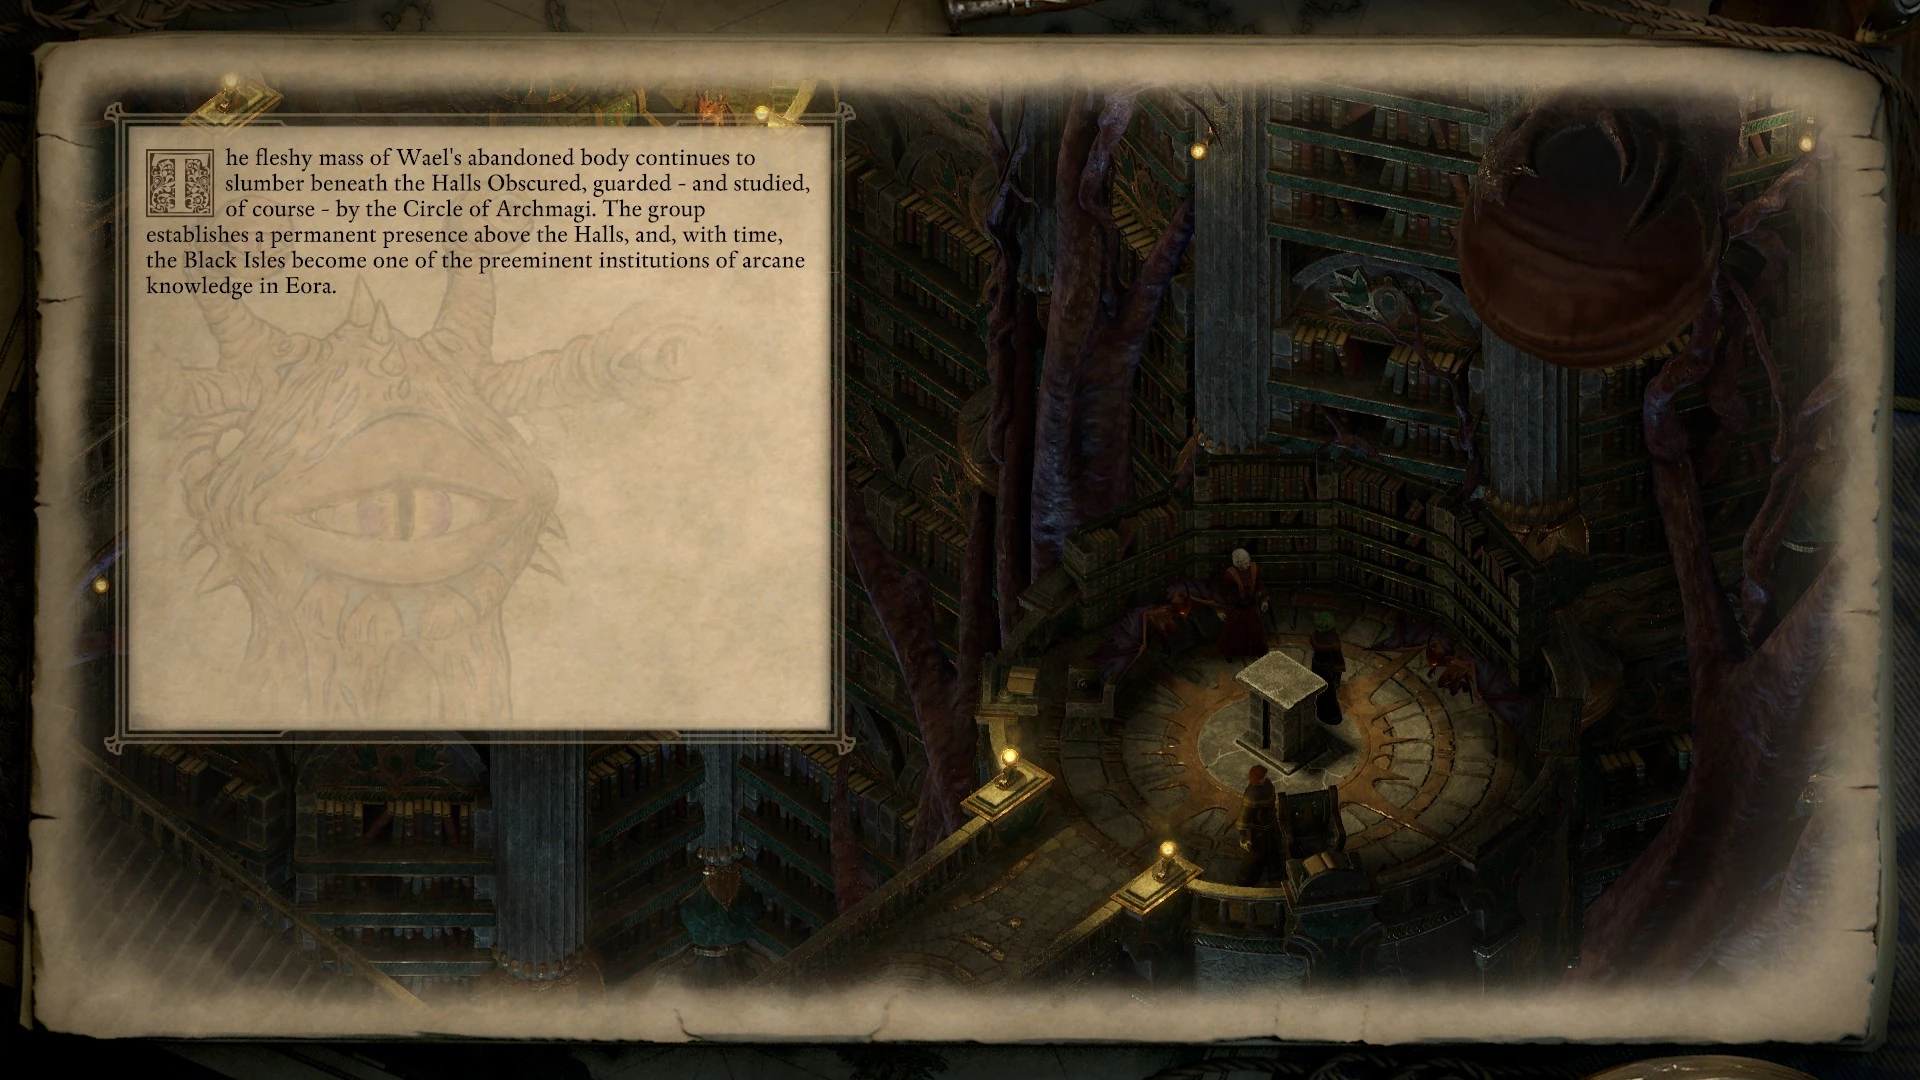
|
| Convince Wael to fight Eothas at Ukaizo. | Wael's titan attacks Eothas and then disappears.
Following its intercession at Ukaizo, Wael's titan vanishes again into the sea. In the years that follow, you occasionally sense an impossibly vast shadow fall upon you while gazing into the In-Between - a deeper darkness in that already dark place. You wonder if, by reuniting Wael with their body, you gave the god of mystery access to the one realm once obscured to even their sight. |

|
| Convince Wael to let the spore colony take the body. | The body becomes a living island that haunts the seas of Eora and still claims to be Llengrath.
The mass of Wael's body haunts the seas of Eora, a vast, living island of flesh forested by thinking, speaking fungi. Those few mariners who encounter it and survive report that the entire island claims to be a single living creature - the archmage Llengrath. The Circle of Archmagi keep their own counsel regarding the being and make no move to interfere with its slow migrations across Eora. |
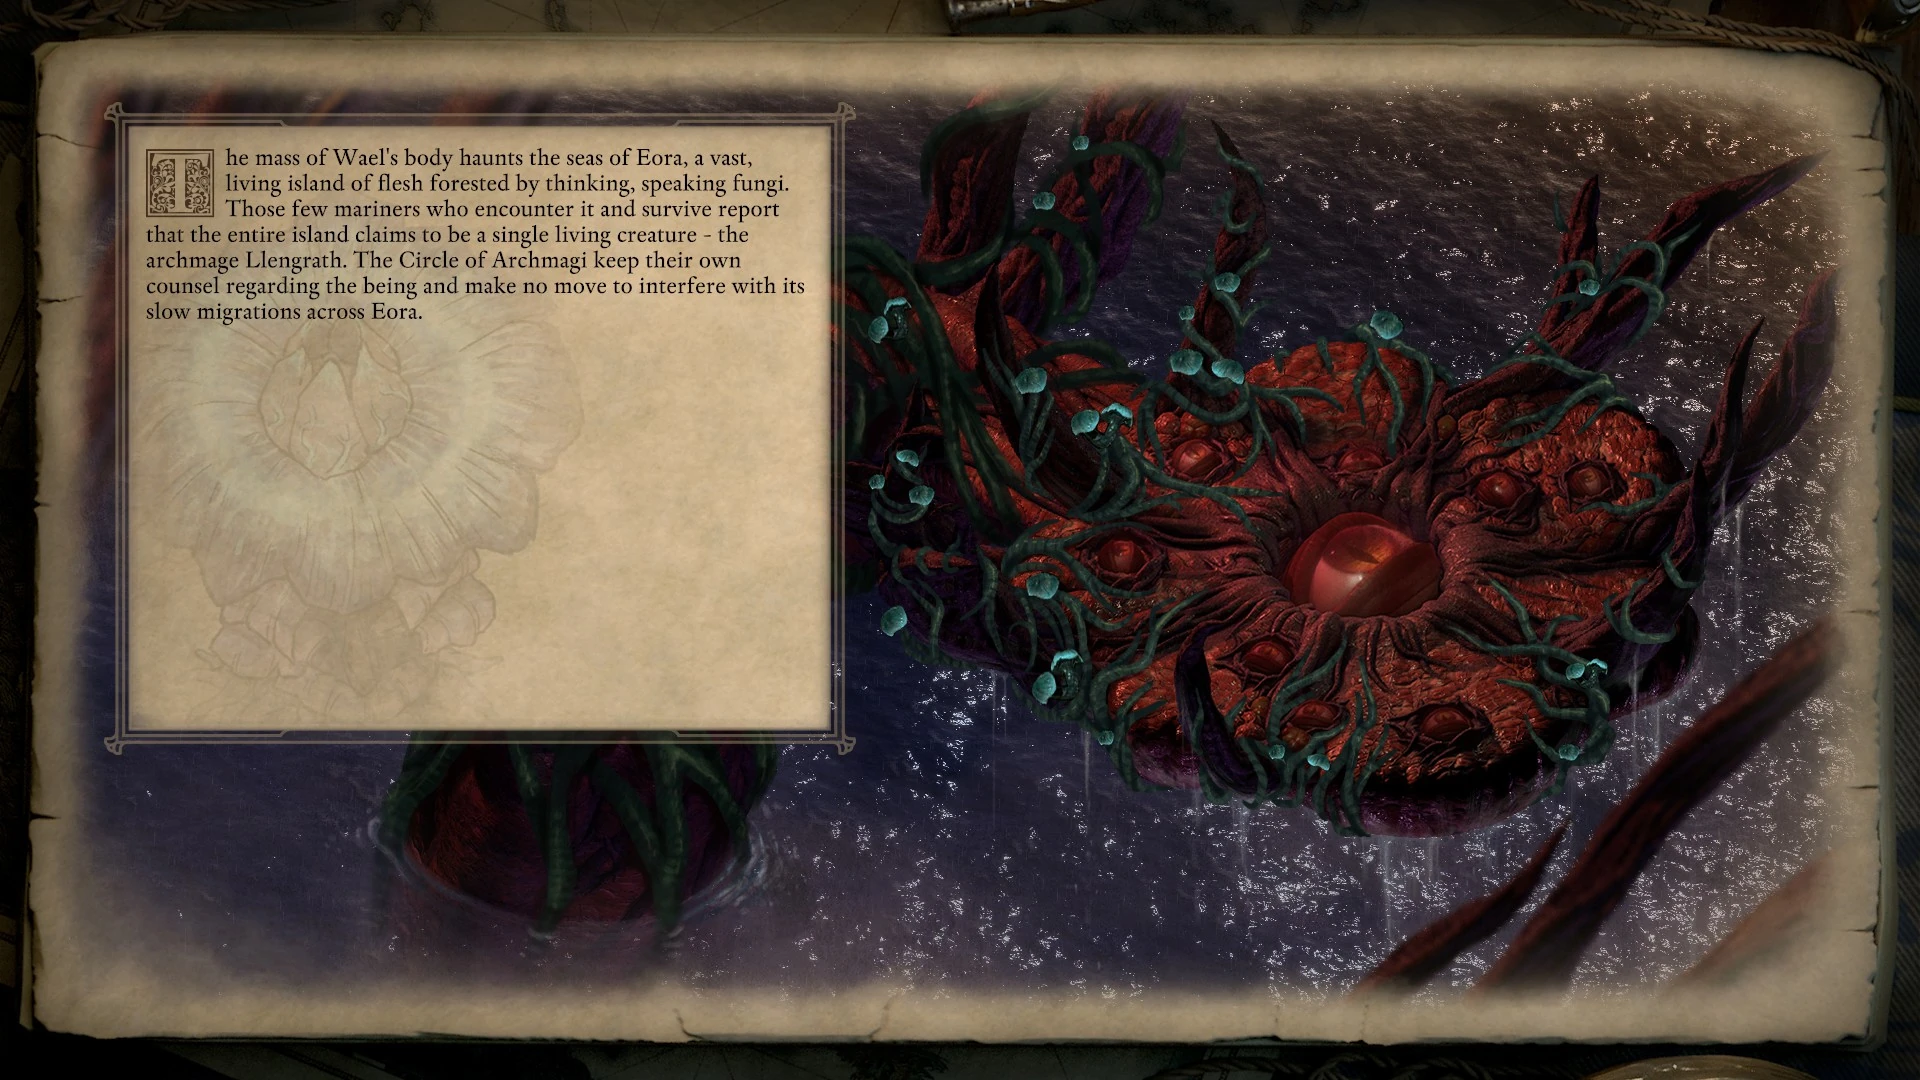
|
| Wael's body is given to Concelhaut. | The Circle of Archmagi attack, but Concelhaut escapes.
Concelhaut's ascension to near-divinity shocks the Circle of Archmagi, who are uncharacteristically rapid and unified in their response - immediate and violent censure of the lich. Concelhaut's titanic form weathers the magical attack, however, before disappearing into the depths of the Deadfire. He likely lurks in the deepest darkness of Ondra's realm, plotting, scheming, and awaiting a time he might rise again to reclaim his rightful authority. |
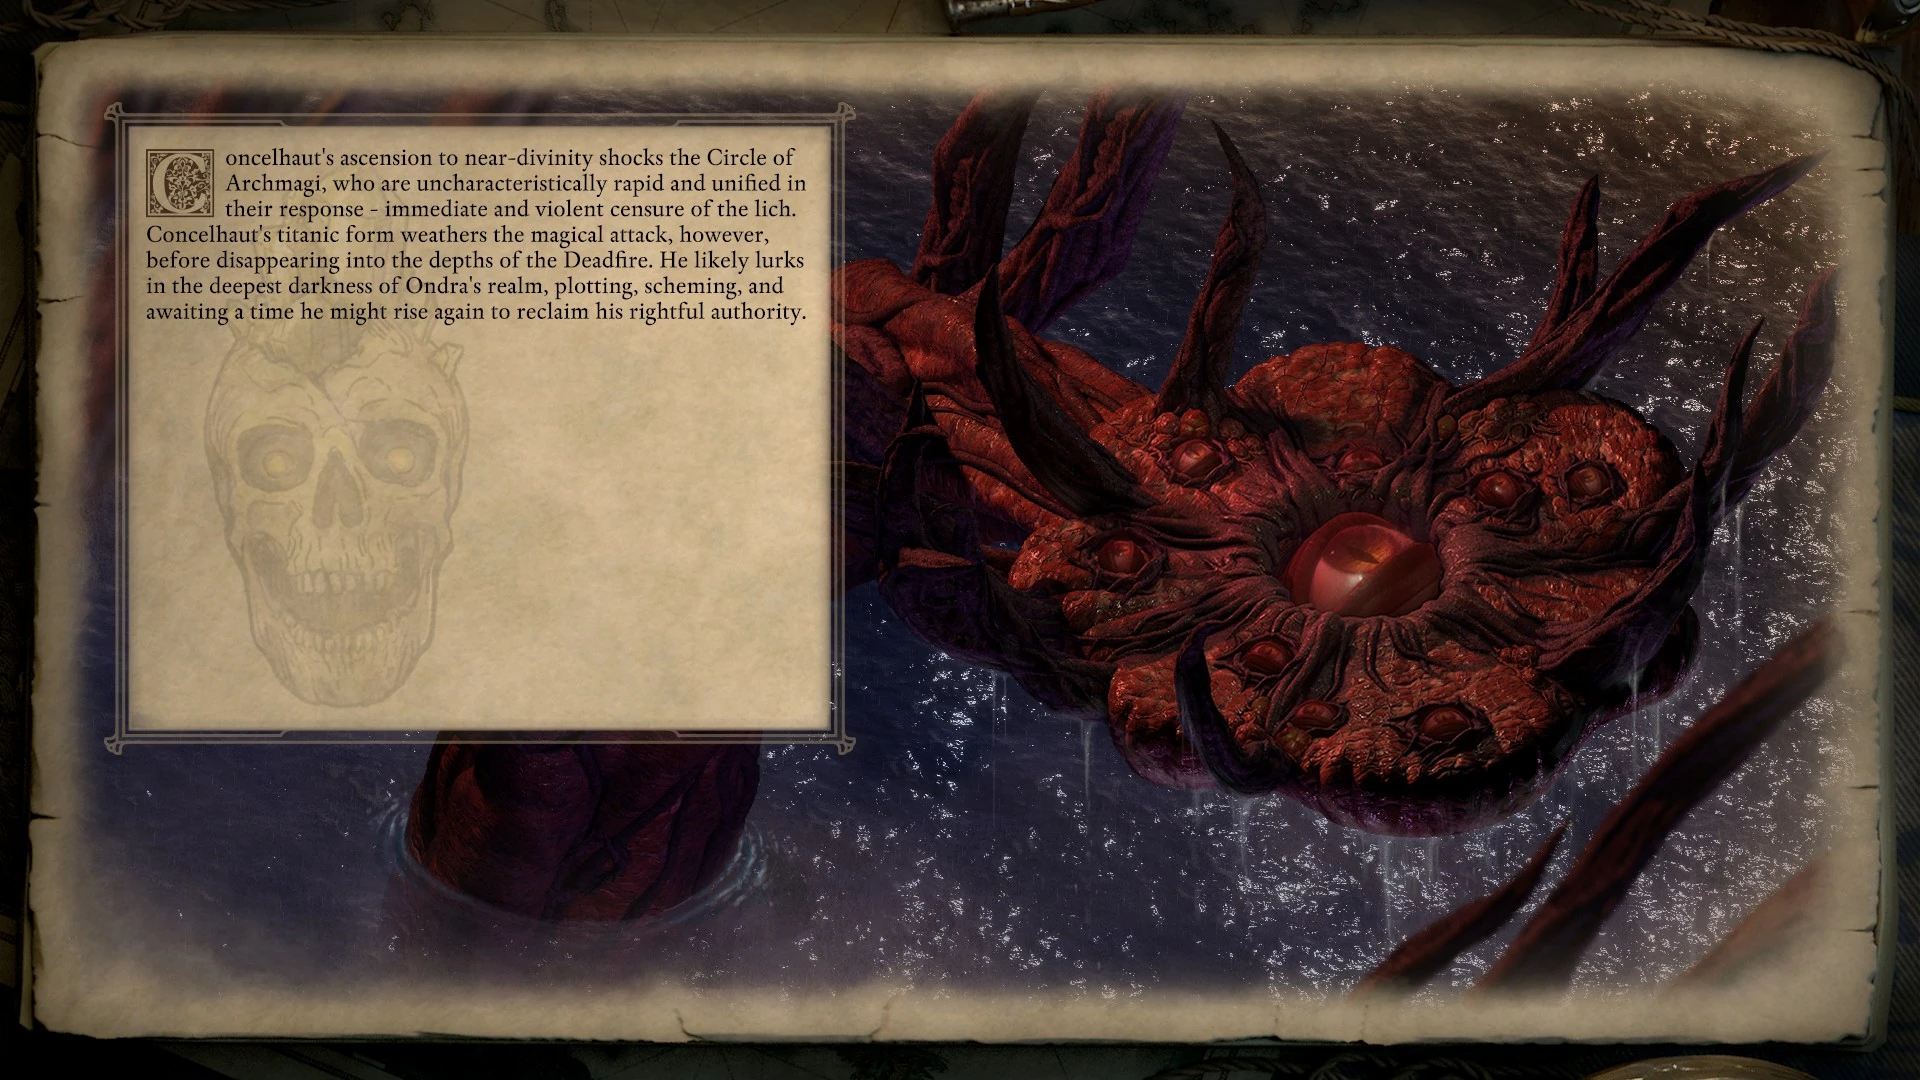
|
The ending slides of the various quests in the DLC.
| Conditions | Outcome | Slides |
|---|---|---|
| Don't kill the Giant Luminescent Spore, Maura's body is infected by the spore colony and you avoid the fight with her during Annotated History. | Maura becomes a host to the spores.
Infrequent but persistent rumors speak of an island overrun by primordial spore creatures and ruled by a roughly kith-shaped entity more fungus than not - a creature well-practiced at the most potent wizardry. No sailor or explorer, however, can furnish reliable charts to this fabled isle of decay. |
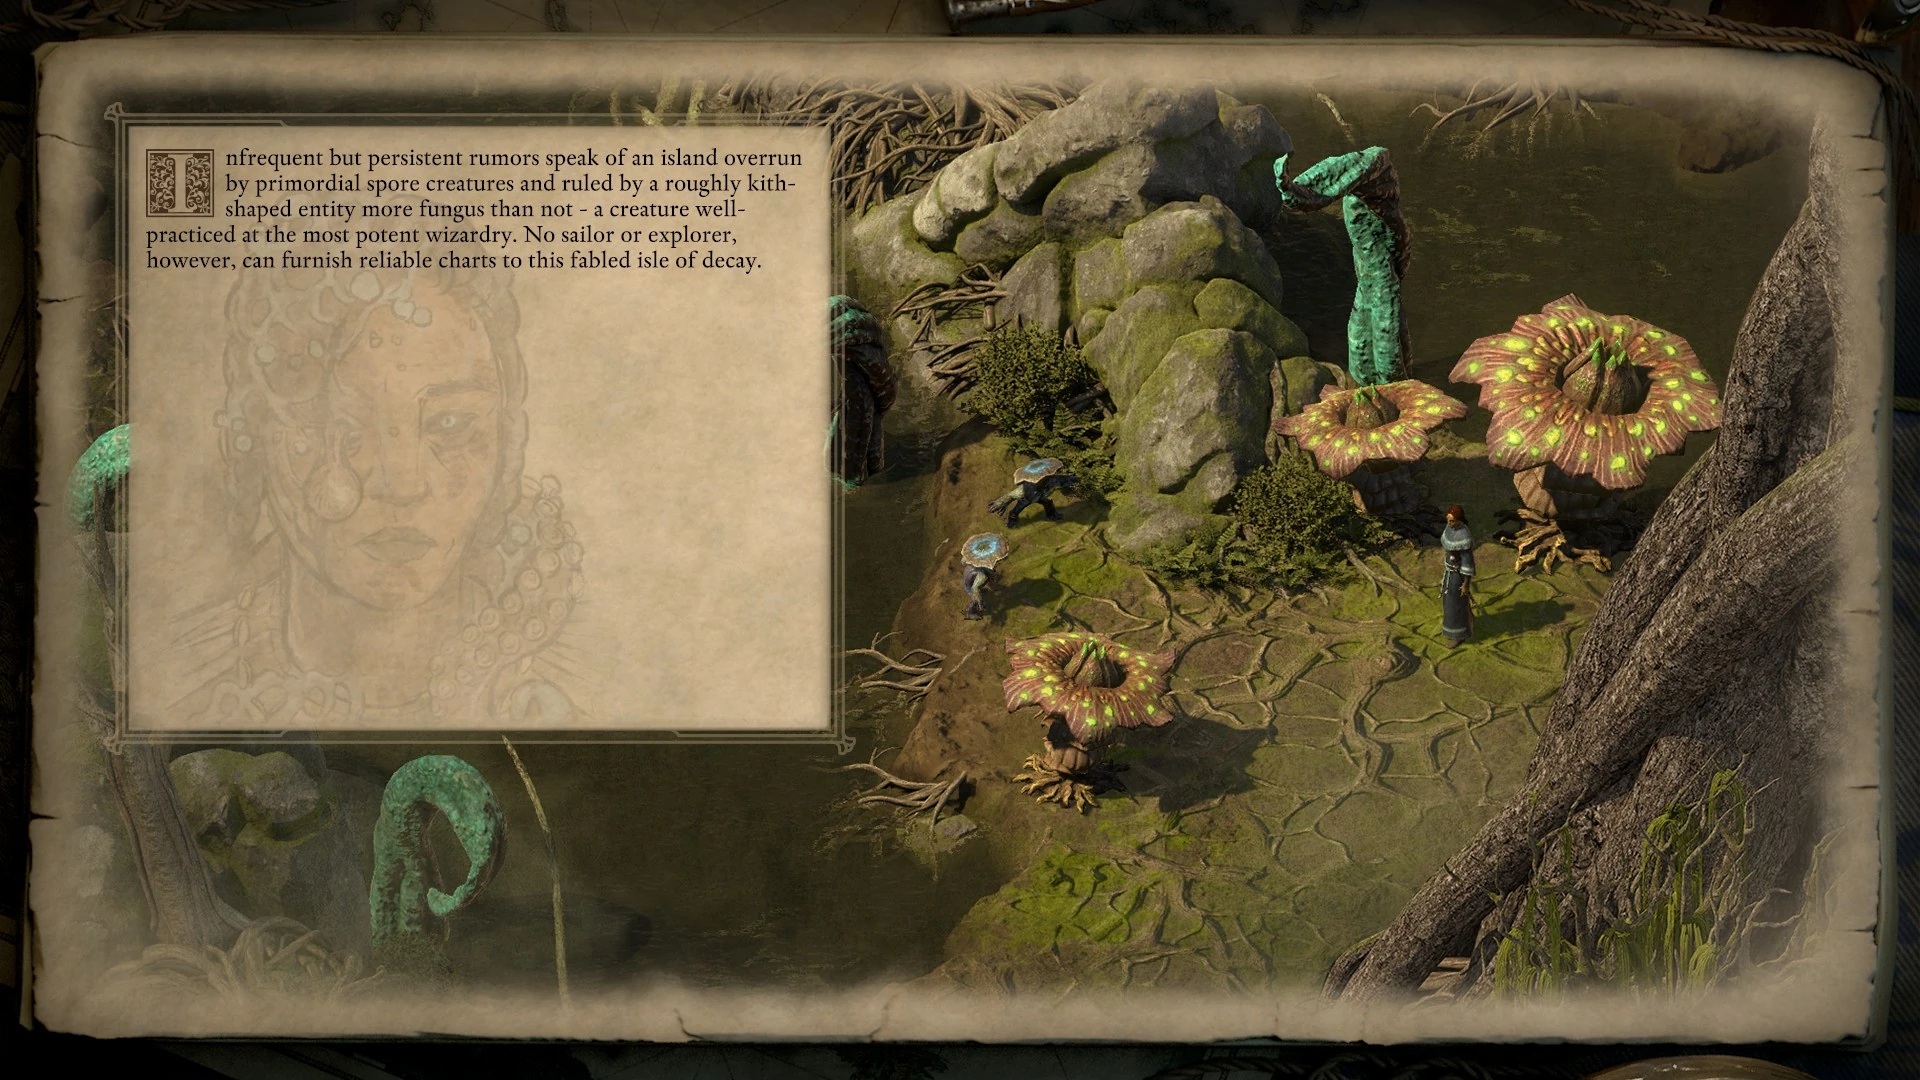
|
| Free the prisoners per Tayn's wishes during A Shout in the Dark. | Hundreds of kith - and no small number of wilder and primordials - flee from the Black Isle, their minds a confused collection of inconsistent and contradictory memories. Each escapee bares knowledge that was once lost, and agents of the Hand Occult across Eora work tirelessly in the years that follow to hunt down and end these fugitives. They find far fewer than they hope. |
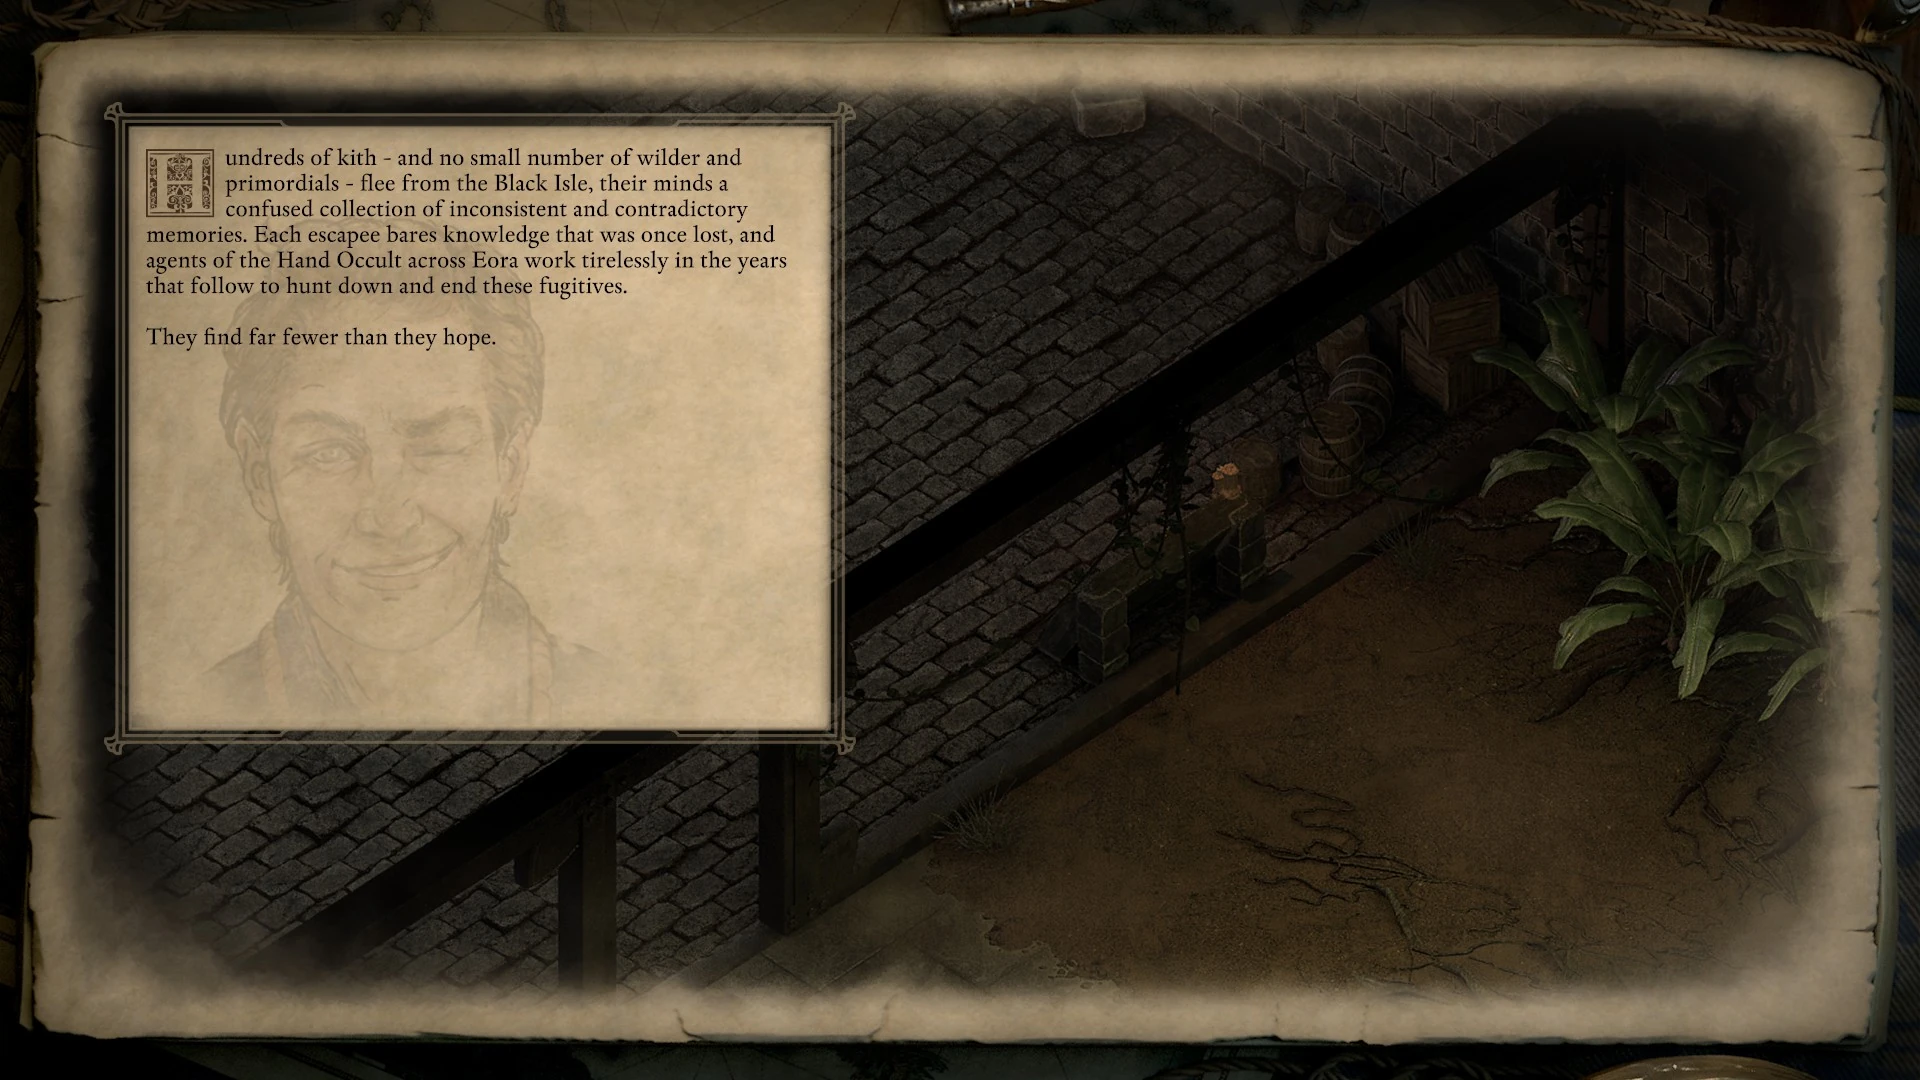
|
| Help Sissak in the Spun Terrace. | Released from their bondage to the Sightless Eye, the vithrack of the Halls Obscured abandon the Black Isle and resettle in the deepest and darkest recesses of the ruins beneath Neketaka. Sissak and his colony remain secretive and isolated, however, rarely interacting with those kith crawling about in the sunlight above. |
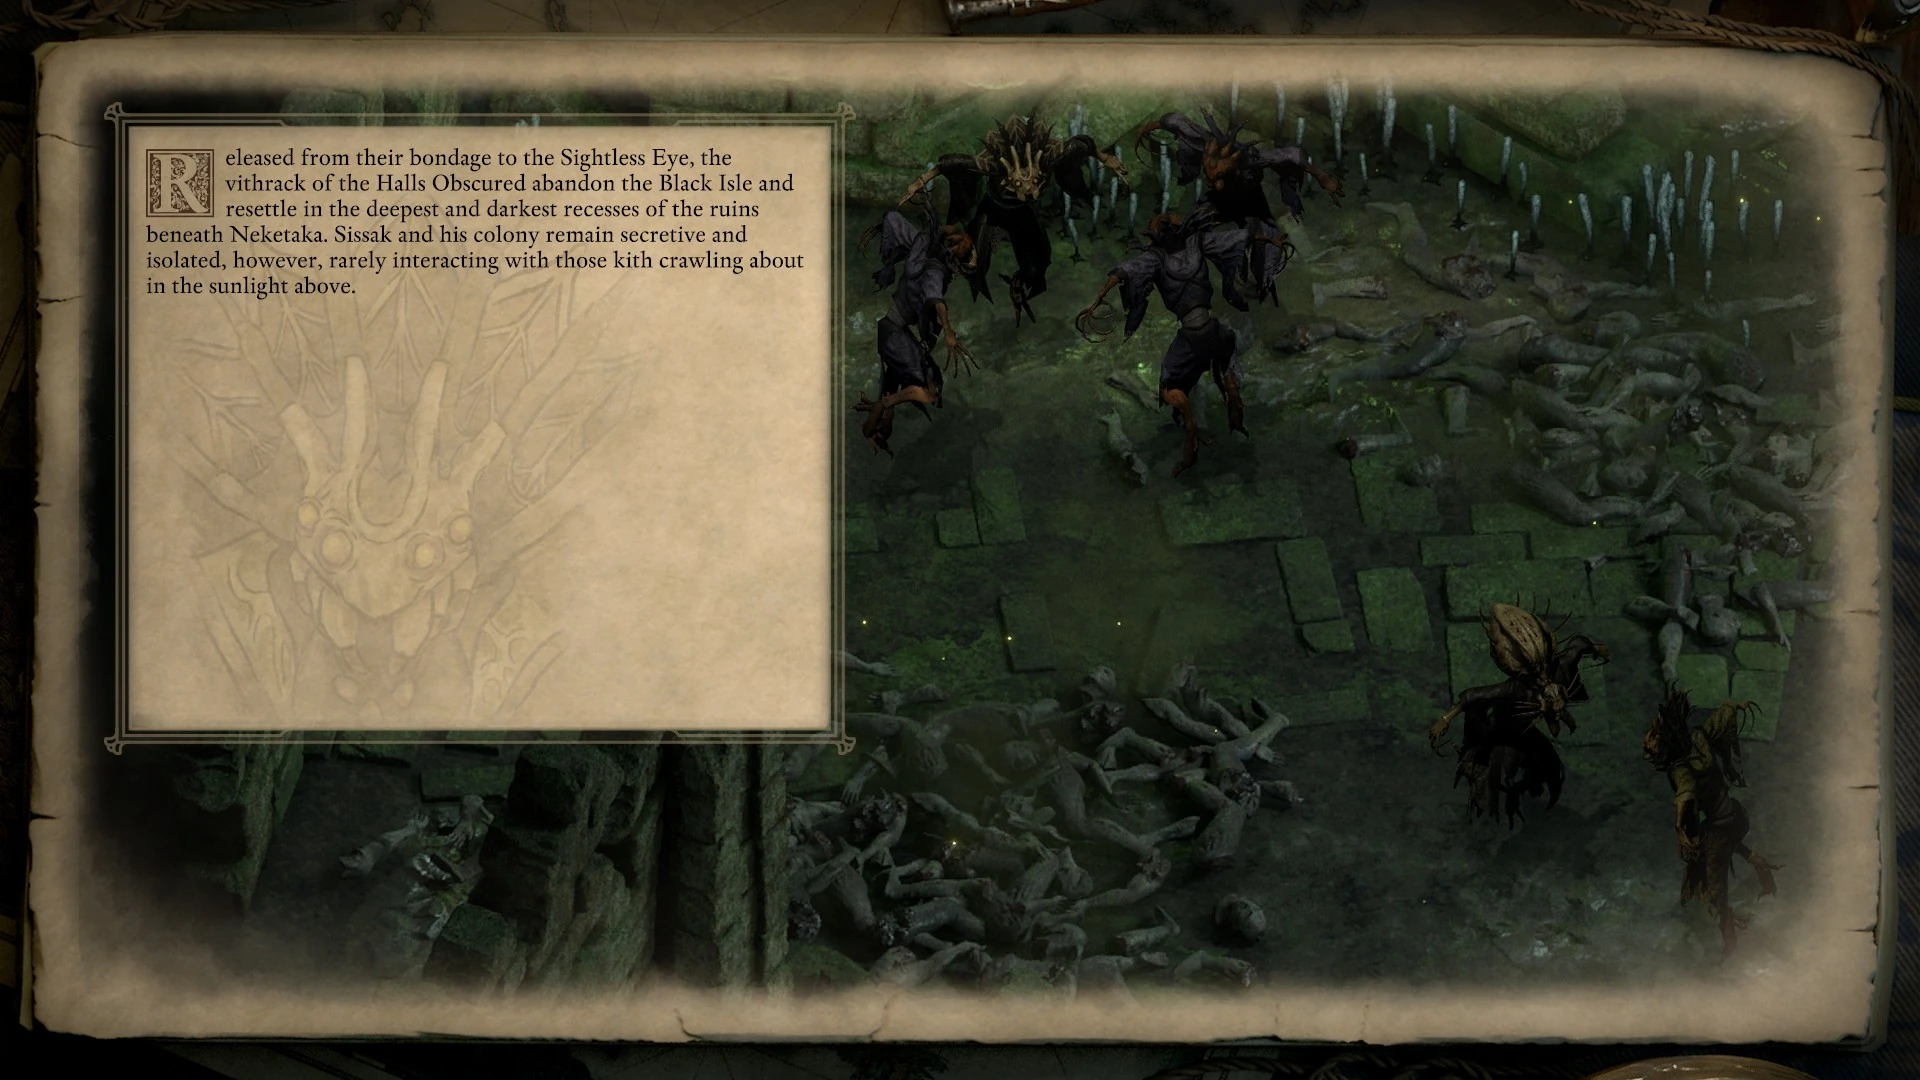
|
| Free and help Bekarna in Wasting Minds and A Rising Star. | Bekarna becomes a member of the Circle of Archmagi.
Encouraged by her arcane successes, Bekarna returns to her observatory to continue her studies of the celestial spheres. In time, her colleagues in the Circle of Archmagi come to accept her among their number. She takes on apprentices, and they trumpet her praises as both a brilliant innovator and nurturing pedagogue. |
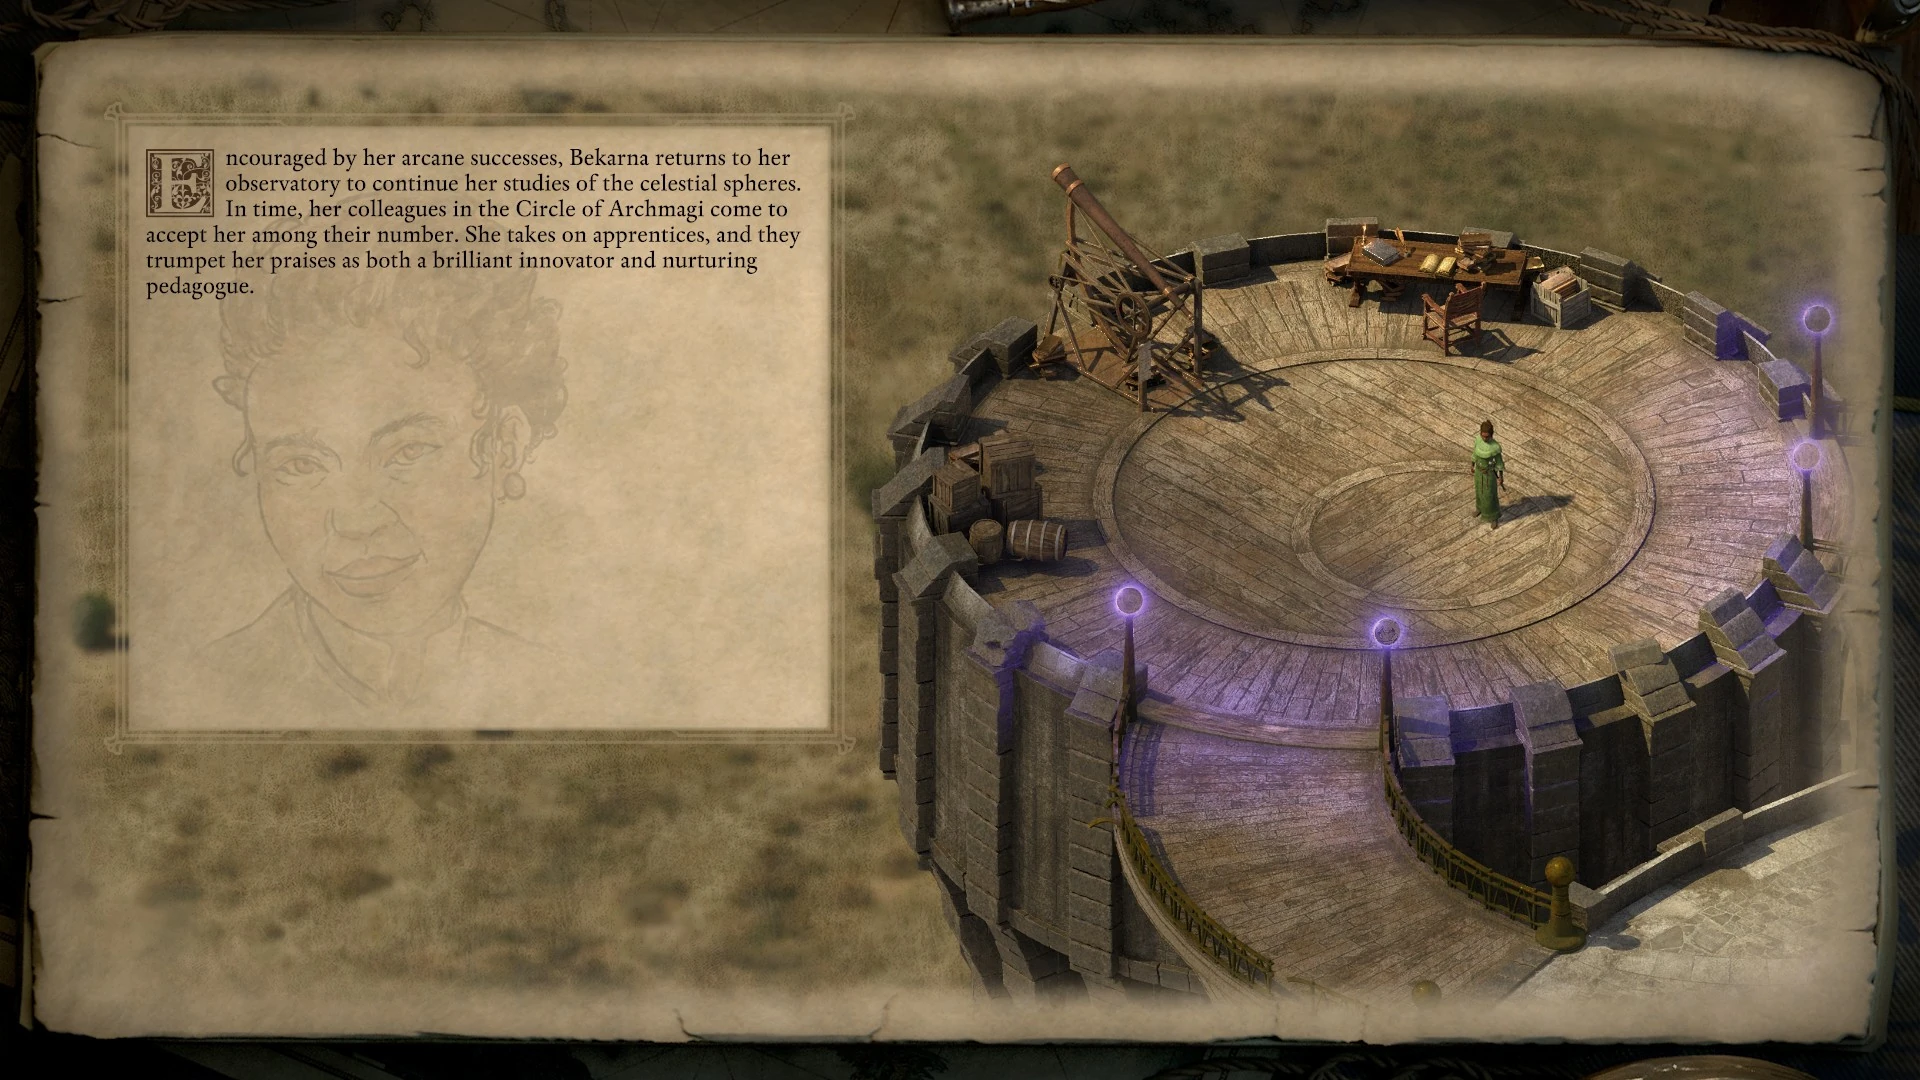
|
Finally the resolutions to The Seeds of Deception is shown.
| Conditions | Outcome | Slides |
|---|---|---|
| Give the Godseed to Llengrath. | Seeking a living receptacle for the essence contained within the tomes you unearthed in the Halls Obscured, Llengrath devotes herself to study of the godseed. She occasionally contacts you - usually on dragonback - to solicit your expertise and advice. Her progress with the ancient Engwithan device remains steady, if excruciatingly slow. |
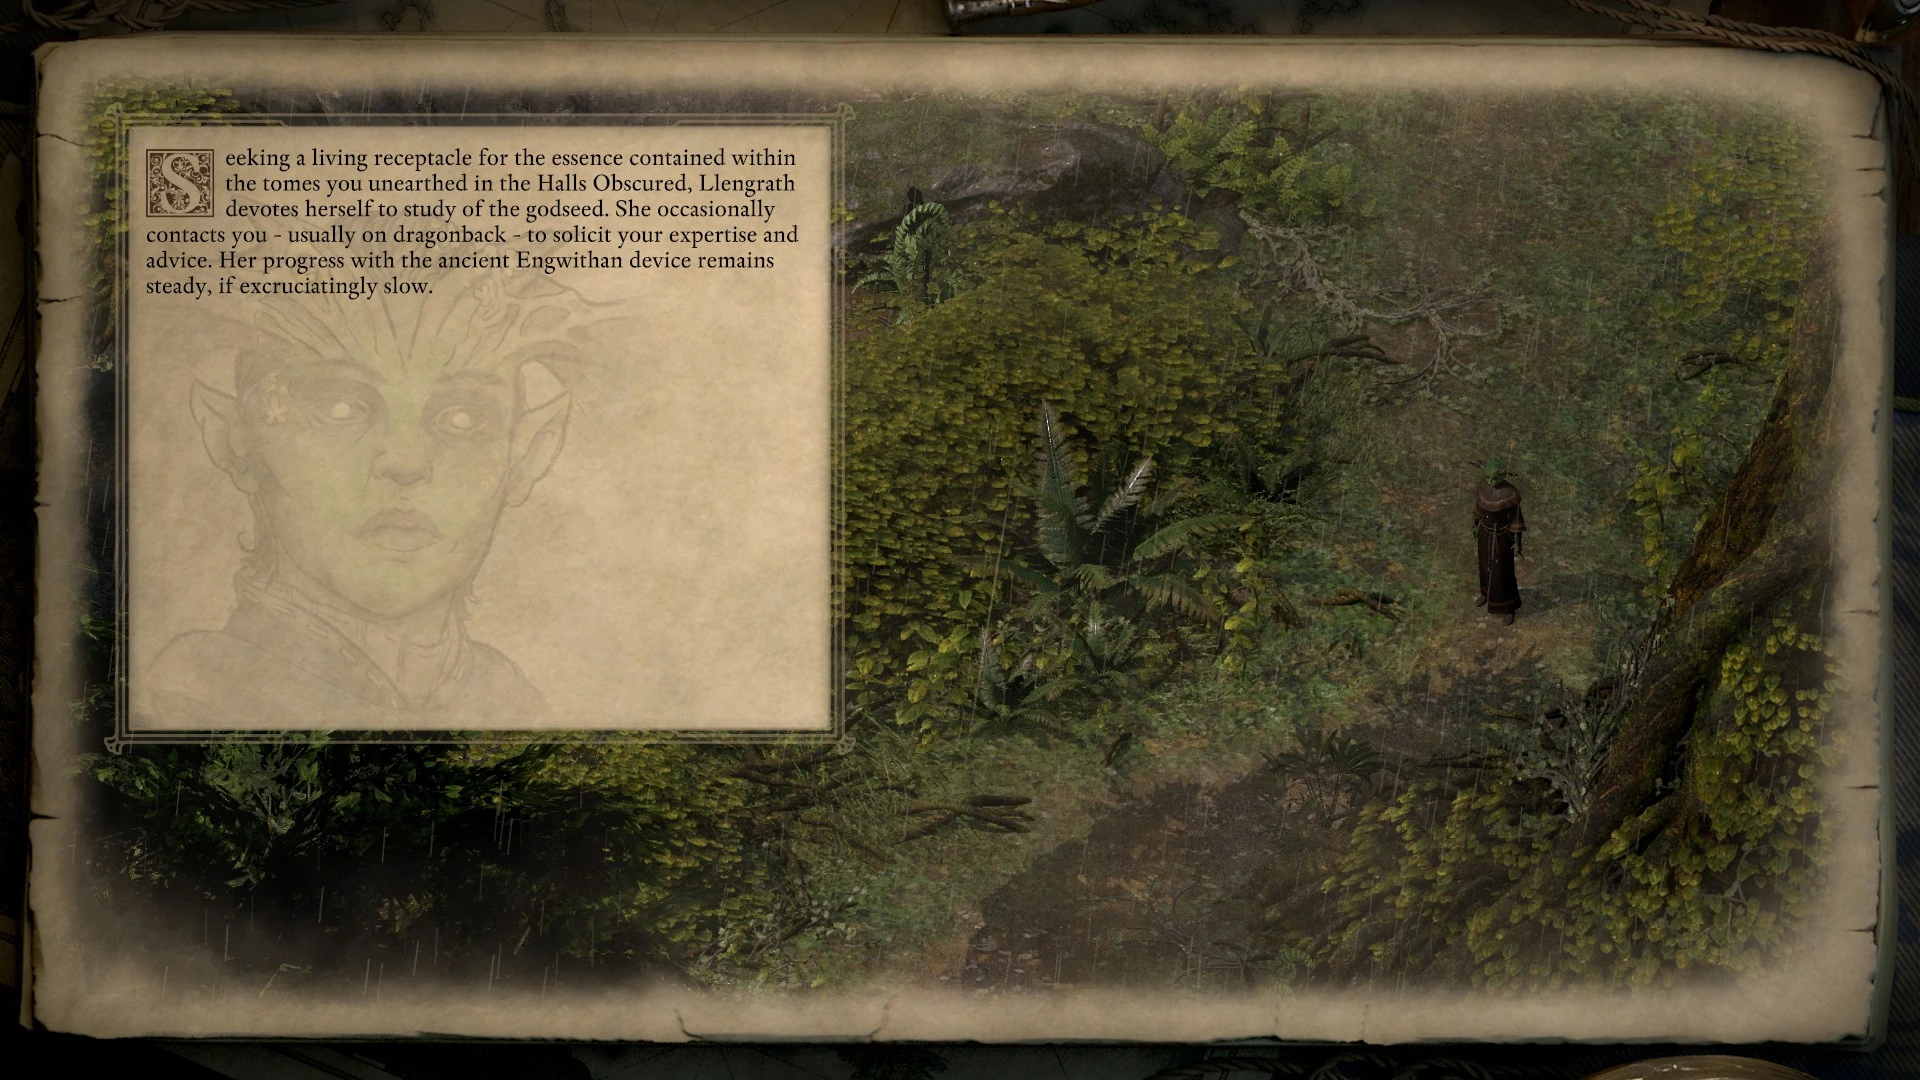
|
| Give the Godseed to Tayn. | True to his word, Tayn sets about trying to turn the godseed into a garden. When simply planting it in the Living Lands and leaving it for a year doesn't yield him any success, he resigns himself to actually studying the ancient device to unlock its secrets. Eventually, he jokes, his hard work might even bear fruit. Literally. |
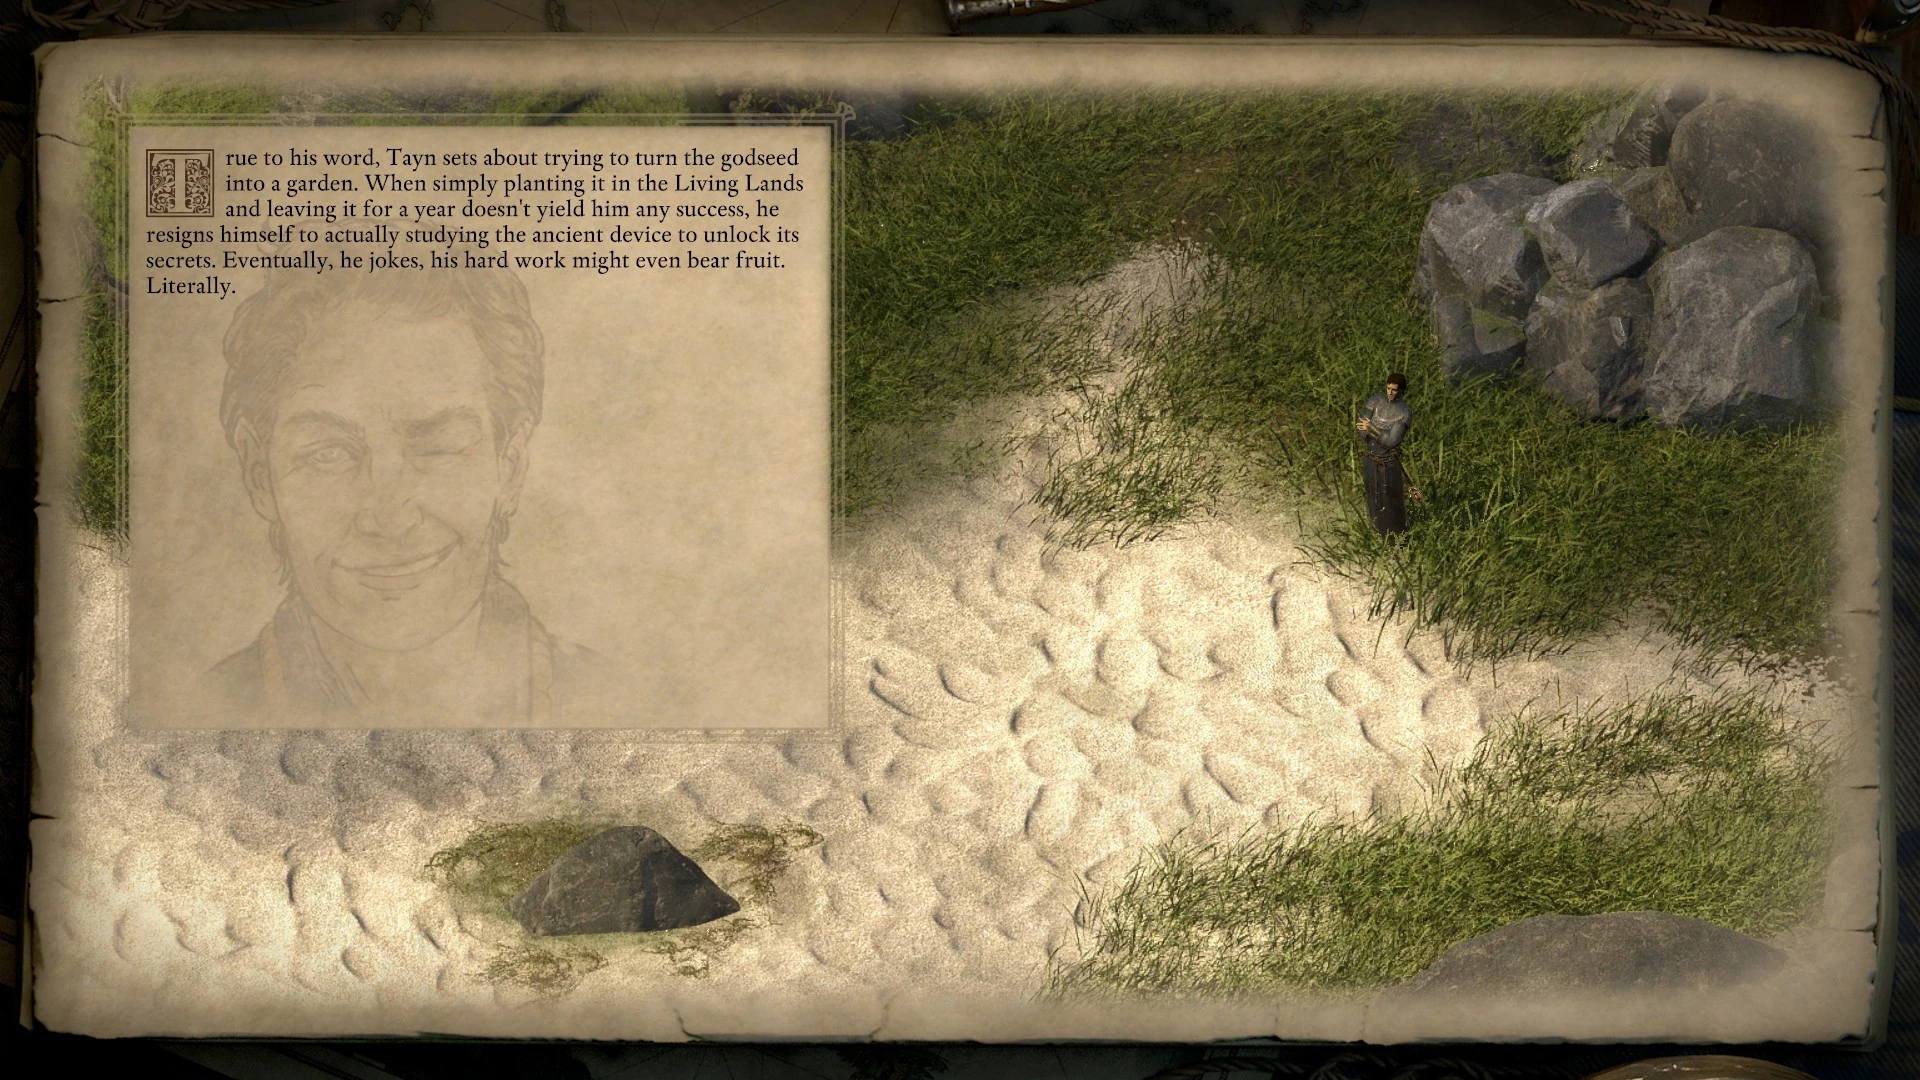
|
| Let the Oracle keep the Godseed. | The Oracle of Wael continues to use the godseed to develop and twist the titanic form of Wael, and not even the archmages above know the full extent to which its sprawling tendrils infect the Black Isles. |

|