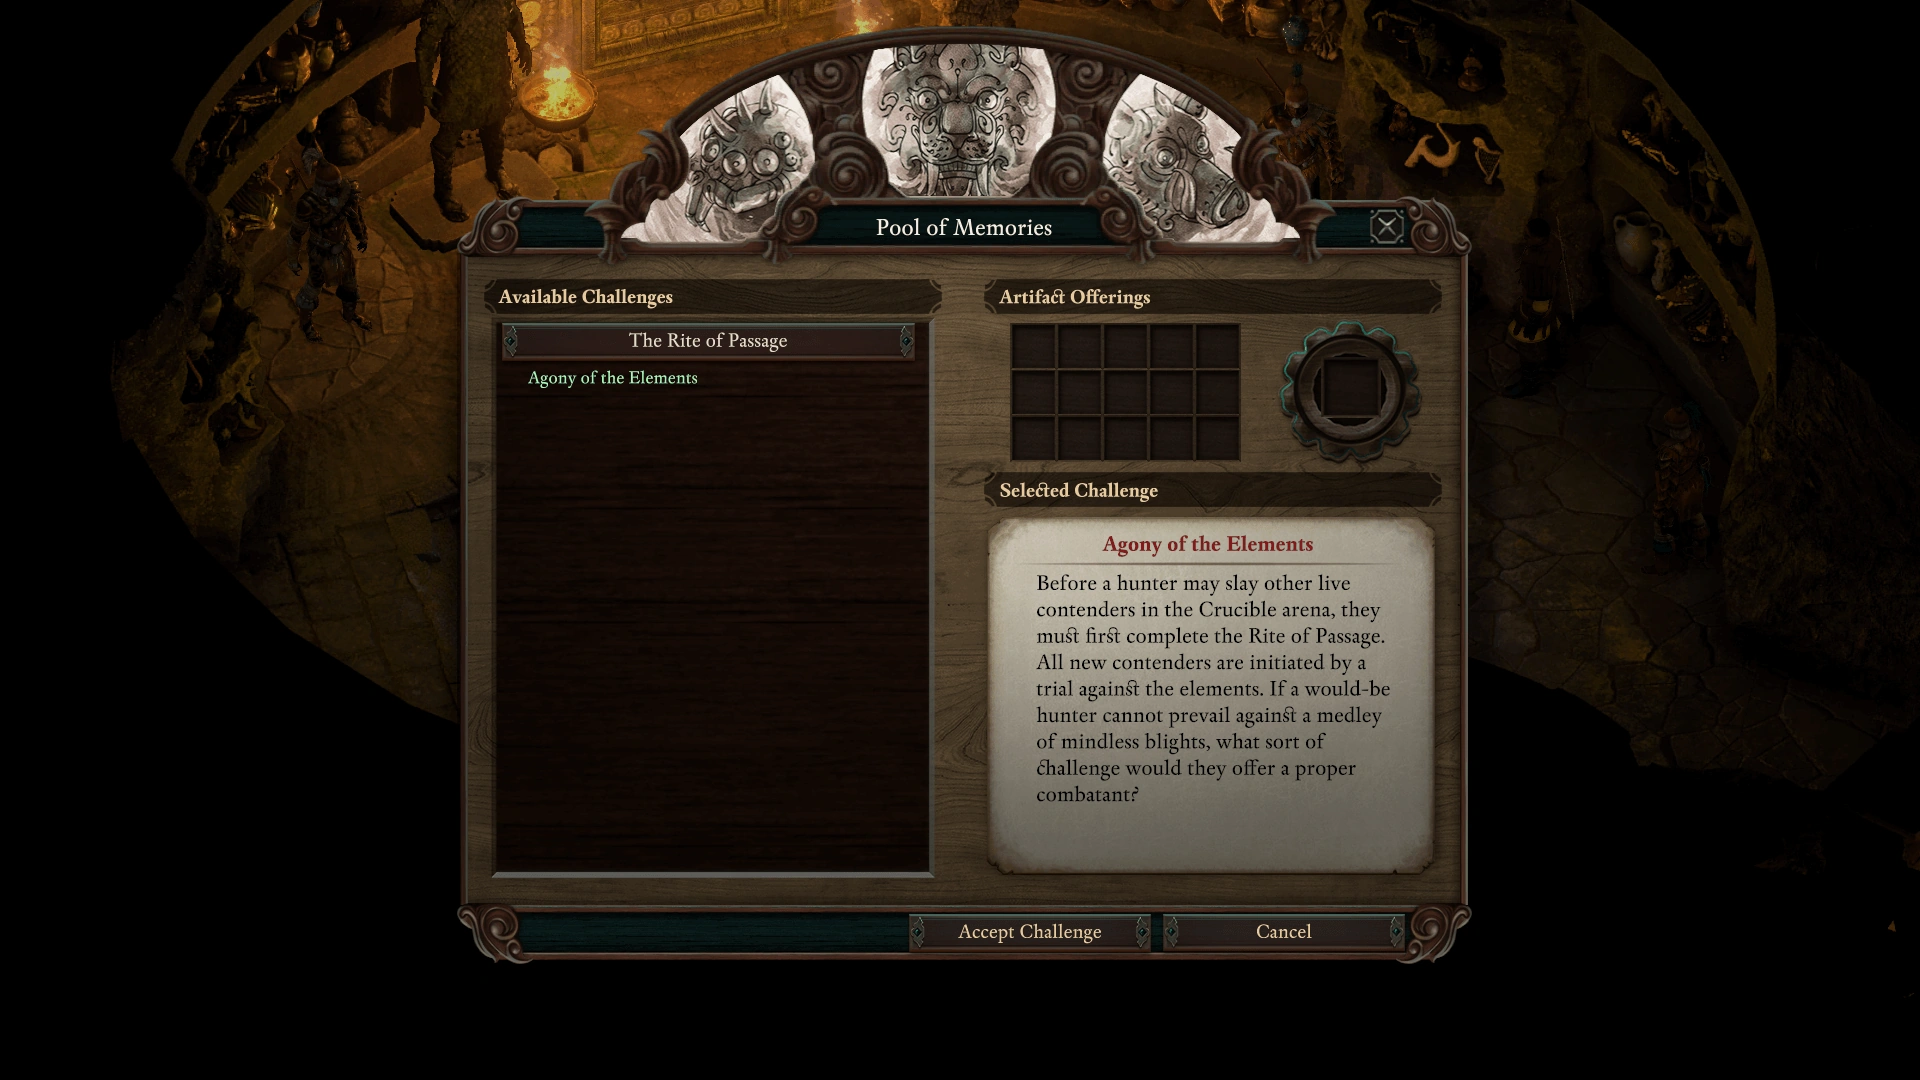
The Pool of Memories is the core feature of Seeker, Slayer, Survivor, allowing the Watcher to participate in a series of ever more challenging trials before Galawain and his Faces of the Hunt. The challenges are meant to provide the player with a good amount of difficulty - and, of course, loot. Each fight starts outside combat, giving you the ability to analyze your enemy and adjust your loadout and consumables accordingly.
The Rite of Passage[ | ]
Agony of the Elements[ | ]
“
Before a hunter may slay other live contenders in the Crucible arena, they must first complete the Rite of Passage. All new contenders are initiated by a trial against the elements. If a would-be hunter cannot prevail against a medley of mindless blights, what sort of challenge would they offer a proper combatant?
”
The first challenge takes place against a Tyrant of Decay, supported by several smaller and greater blights that spawn during the fight. The Tyrant is weak against slashing damage and particularly resistant against piercing damage.
Destroying the Elemental Totems around the arena will prevent further blights from spawning.
Trial of the Nāga[ | ]
“
Challengers that survive the elements must next endure being hunted by the naga. Though comparable in size and strength to kith individually, naga warriors, archers, and shamans fight as a united pack and can make short work of hapless foes.
”
This is a bigger challenge, against three naga warriors, two archers, and a sorcerer, and a shaman. The shaman and sorcerer can be problematic, as they are assisted by totems and hidden behind cover. They also summon fire drakes and bog oozes to support them.
Memories of a Mad Man[ | ]
“
The third battle in the Rite of Passage traditionally pits a challenger against an enemy drawn from their own recollections. In your case, the Crucible has decided you must face Maerwald. Depending on how you dealt with the old master of Caed Nua, Maerwald's wrath may be stoked by mistreatment or softened by mercy.
”
Although one might think otherwise, the battle is against multiple Maerwalds and soul mirrors of the characters currently in the party, who share the equipment and ability of their counterparts. Maerwald's ability and number are determined by how the player dealt with him in Pillars of Eternity. Consuming him is just about the worst possible outcome, resulting in three Maerwalds to fight.
The Bloodletting[ | ]
“
The fourth and final battle in any Rite of Passage pits two packs of contenders against each other. Two teams will enter the Crucible, but only one will earn Toamowhai's blessing and emerge alive. There is no victory in subduing the other into surrender - the Crucible demands a sacrifice, and only through the loser's death shall the victor advance.
”
In this round, you face Pipiltin and his Pack of mercenaries. Pipiltin (a paladin) hired them all to do his bidding and the fight is to the death. He comes at you with a party consisting of a fighter, monk, barbarian, and a rogue. Killing Pipiltin provides the The Maw of Ingimyrk and other high level loot.
The monk and the rogue are capable of dealing great amounts of damage in very limited time, so they should be dealt with first.
The Seeker's Path[ | ]
Note: Requires donating the skull obtained during The Seeking Face
Shades of the Seeker[ | ]
“
The fight recreates the final struggle of a Seeker contender slain by his rival's shade minions. Knowing his foe to be a wild and frenetic brute prone to leaping in and out of the fray, the assassin gave his shades special instructions designed to counter his foe's savage and unpredictable fighting style.
”
Pause frequently to keep track of which shade has dropped the invincibility shield and focus them down. To some extent you can ignore the lesser shades as they have timed lives but you may wish to kill them for the sake of crowd control.
Secrets of the Ooze[ | ]
“
Territorial and protective by nature, bog oozes defend to the death whatever environment they choose to inhabit. Some oozes develop a symbiotic affinity for magical wards, which makes dispatching them a more complicated task. Enterprising Seekers will need to find a means of dealing with their primordial foes while navigating the dangers of active wards.
”
Simple and straightforward fight, just aggro the oozes and pull your team back away from the warding traps to avoid picking up needless curses.
The Spider's Web[ | ]
“
Two spider matriarchs and their respective broods have woven their ambush, awaiting a contender brave (or foolish) enough to venture into their trap. Though lacking the mind of any kith hunter, the spiders have their own brand of feral cunning, and many hunters have been slain by the Seeker's chosen.
A perennial crowd favorite, the Changeling's Dance challenges contenders to test their might while wearing a form not their own. A warrior that perseveres even when denied their core strengths is one truly blessed by Toamowhai.
”
The party is transformed into a group of monsters and cannot use any of their equipment and abilities, but gain the abilities of the creature they are transformed into. Those creatures include:
An Ironclad construct that can soak up good amounts of damage and exudes a flame AoE aura upon being hit;
The best approach to the fight will be to use the Ironclad construct to soak up damage, while the lagufaeth disables the more powerful enemies via paralyze and the other 3 creatures focus-fire the more fragile enemies one by one.
A Trial by Fangs and Fur[ | ]
“
Though stelgaer and other wild cats rarely hunt alongside their cousins, many hunters have wandered into lands where territories overlapped and suffered the combined wrath of the elusive stelgaer and their lithe cousins. Test your might against such a deadly encounter with felines of every size.
”
Summons a group of Greater Stelgaers, Stelgaers, Elder Panters and other Felines. The Greater Stelgaers are by far the most dangerous of the bunch, as they have rogue-like abilities: Backstab, Sneak Attack, Deathblow and can become invisible. Almost all beasts in this encounter also have prone attacks.
This battle pits contenders against a clutch of poison nāga led by a mighty poison shaman capable of summoning reinforcements and enhancing the powers of its venomous allies.
”
This encounter is not that different than Trial of the Naga. The party faces a few Naga Warriors, Naga Skirmishers and Naga Shamans that have various corrode and poison attacks and summon oozes. Party members with the lowest hit point total should carry antidotes. The Naga Shamans are placed on top a platform flanked by Poison Totems, which makes them difficult to reach. It is advisable to lure them to come down towards the party.
The Survivor's Stand[ | ]
Note: Requires donating the crimson crystal obtained during The Surviving Face
Gul Trouble Endurance Trial[ | ]
“
Test your mettle against an overwhelming tide of ravaging guls. Starved for flesh and devoid of mercy, the mass of guls have been known to completely devour less capable contenders in their locust-like orgy of kith consumption.
While the mundane boar is an ornery beast in its own right, the massive boars of Kazuwari are blessed with Toamowhai's fortitude and fury. Over the centuries, countless hunters of this island have perished in pursuit of pork.
”
Each boar upgrades on death twice, so focusing one at a time trivializes the fight.
Relive the final moments of one animancer's disastrously successful experiments. This fight will pit contenders against an overwhelming horde of constructs, with only the animancer's ill-conceived failsafe to even the odds.
”
Five waves of various constructs. Electric damage and intellect afflictions are extremely effective. Dismissal and Scrolls of Great Abjuration can eliminate entire waves, assuming the caster's level is high enough.
Other challenges[ | ]
Battle Royale[ | ]
“
This year's Seeker, Slayer, and Survivor chosen have shown their merit. The time has come for the three teams to fight for the grand honor of Champion of the Hunt. It's every pack for themselves in this free-for-all battle.
While most warriors eventually fall prey to the cycle of seasons, the Engwithan Titan is a construct of ageless prowess. Centuries cannot dull the purpose nor erode the resilience of these massive statues made animate. This battle recalls an ill-fated expedition into Engwithan ruins, and the brief, fiery altercation with the ancient city's timeless guardian that ended the explorers.
”
To unlock this challenge, donate the Titan's Heart to the Pool.
Tenebrous Tenacity[ | ]
“
Ready yourself for a foe that draws strength from its own defeat. Relive the demise of Jorrean do Aldres, an ambitious chanter who, in her quest to summon and spar with increasingly formidable opponents, invoked a host of sparring partners far tougher than she expected.
While any contender capable of surviving the Rite of Passage can fell a simple skeleton or two, it takes a skilled warrior to survive a near-endless barrage of these fearless, crazed vessels. Put your staying power to the test in this pitched battle against numerous hordes of skeleton adversaries.
”
To unlock this challenge, donate the Matron's Skull to the Pool.
The Lagufaeth Brood[ | ]
“
Savage and unrelenting, the lagufaeth are a nominal challenge when fought solo and a formidable foe when encountered as a ready pack. This battle recalls an ill-fated raid against a lagufaeth broodmother and her vile minions, and challengers will encounter the brood in a defensible, prepared position.
”
To unlock this challenge, donate the Adra Pearl to the Pool.
Xaurip Chronicles[ | ]
“
While the foolish xaurip hunts alone, more successful packs rear drakes from a young age and train their reptilian cousins to defend their xaurip masters with cold-blooded determination. This battle recollects the xaurip and drake hunting party that prowled this island before the Huana arrived. Had history unfolded differently, the xaurips might still hold this isle, and the Crucible might never have been built.
”
To unlock this challenge, donate the Hunter's Head to the Pool.
Tactical Ogres[ | ]
“
Brace for impact as you relive a skirmish against a crew of ogre pirates. Twice as tall and many times as massive as any kith, the ogre is a living embodiment of the Slaying Face, and even a single ogre is capable of taking and dealing immense amounts of pain on its way down.
”
To unlock this challenge, donate the Luckless Coin to the Pool.
The Brothers of Book and Branch[ | ]
“
This battle recreates the last stand of the Waidyo brothers. The two brothers, each brilliant in their own respective fields of magic, divided their studies between mastering their own skills and learning to counterspell their brother's wizardry. Attacked during a laboratory test of each other's defenses, each brother dragged countless assailants into the Wheel with them in their dying blaze of glory.
Protect the research notes before the archmage's unruly imps can destroy their master's corpus of work. While an individual imp may not be a major threat, each set of research notes the imps destroy will inflict a cumulative creeping death on the non-imp participants.
”
To unlock this challenge, donate the Uncut Gem to the Pool.
Tomb of Vathor Cadhu[ | ]
“
Relive the plundering of the tomb of Vathor Cadhu. Where the original thieves seeking the riches of this trapped mausoleum found only death and ruin, perhaps you will fare better in the Crucible's recreation of this deadly treasure hunt gone awry.
Galawain's many-faced incarnation known as the Changeling has issued a challenge against the bearer of its namesake relic, the Changeling Mantle... which currently happens to be you. Defend your honor and title against this mighty avatar of the Lord of the Hunt.